The right scan resolution for school sports photos depends on intended use: 600 DPI for archival masters and hall-of-fame displays, 300 DPI for standard print reproduction, and 150–200 DPI for web-only or digital display output. Scanning at the wrong resolution wastes storage on files you can’t use, or produces pixelated images that embarrass a program when displayed on a trophy-case touchscreen or a banquet slideshow.
This checklist walks athletic directors, school archivists, yearbook advisers, and IT staff through every decision point: asset types, resolution tiers, file formats, color mode, file-naming conventions, and quality verification steps. The goal is a batch of digital files that serve recognition programs—hall-of-fame inductee galleries, athletic award banquets, donor walls, and interactive campus displays—for decades without requiring a costly re-scan.
Who This Guide Helps
- Athletic directors and coaches digitizing team photo archives from storage closets and filing cabinets
- School archivists and librarians building systematic collections of yearbooks, game programs, and composite photos
- IT and facilities staff setting up scanning workflows before installing digital recognition kiosks or touchscreen displays
- Booster club and parent organization volunteers helping a school scan donations of historic photos before a reunion or anniversary event
- Yearbook advisers creating digital masters from printed editions for alumni access
If your school is preparing materials for a hall-of-fame display or an upcoming athletic awards gala, this checklist provides the technical foundation for photos that will look professional at any display size.

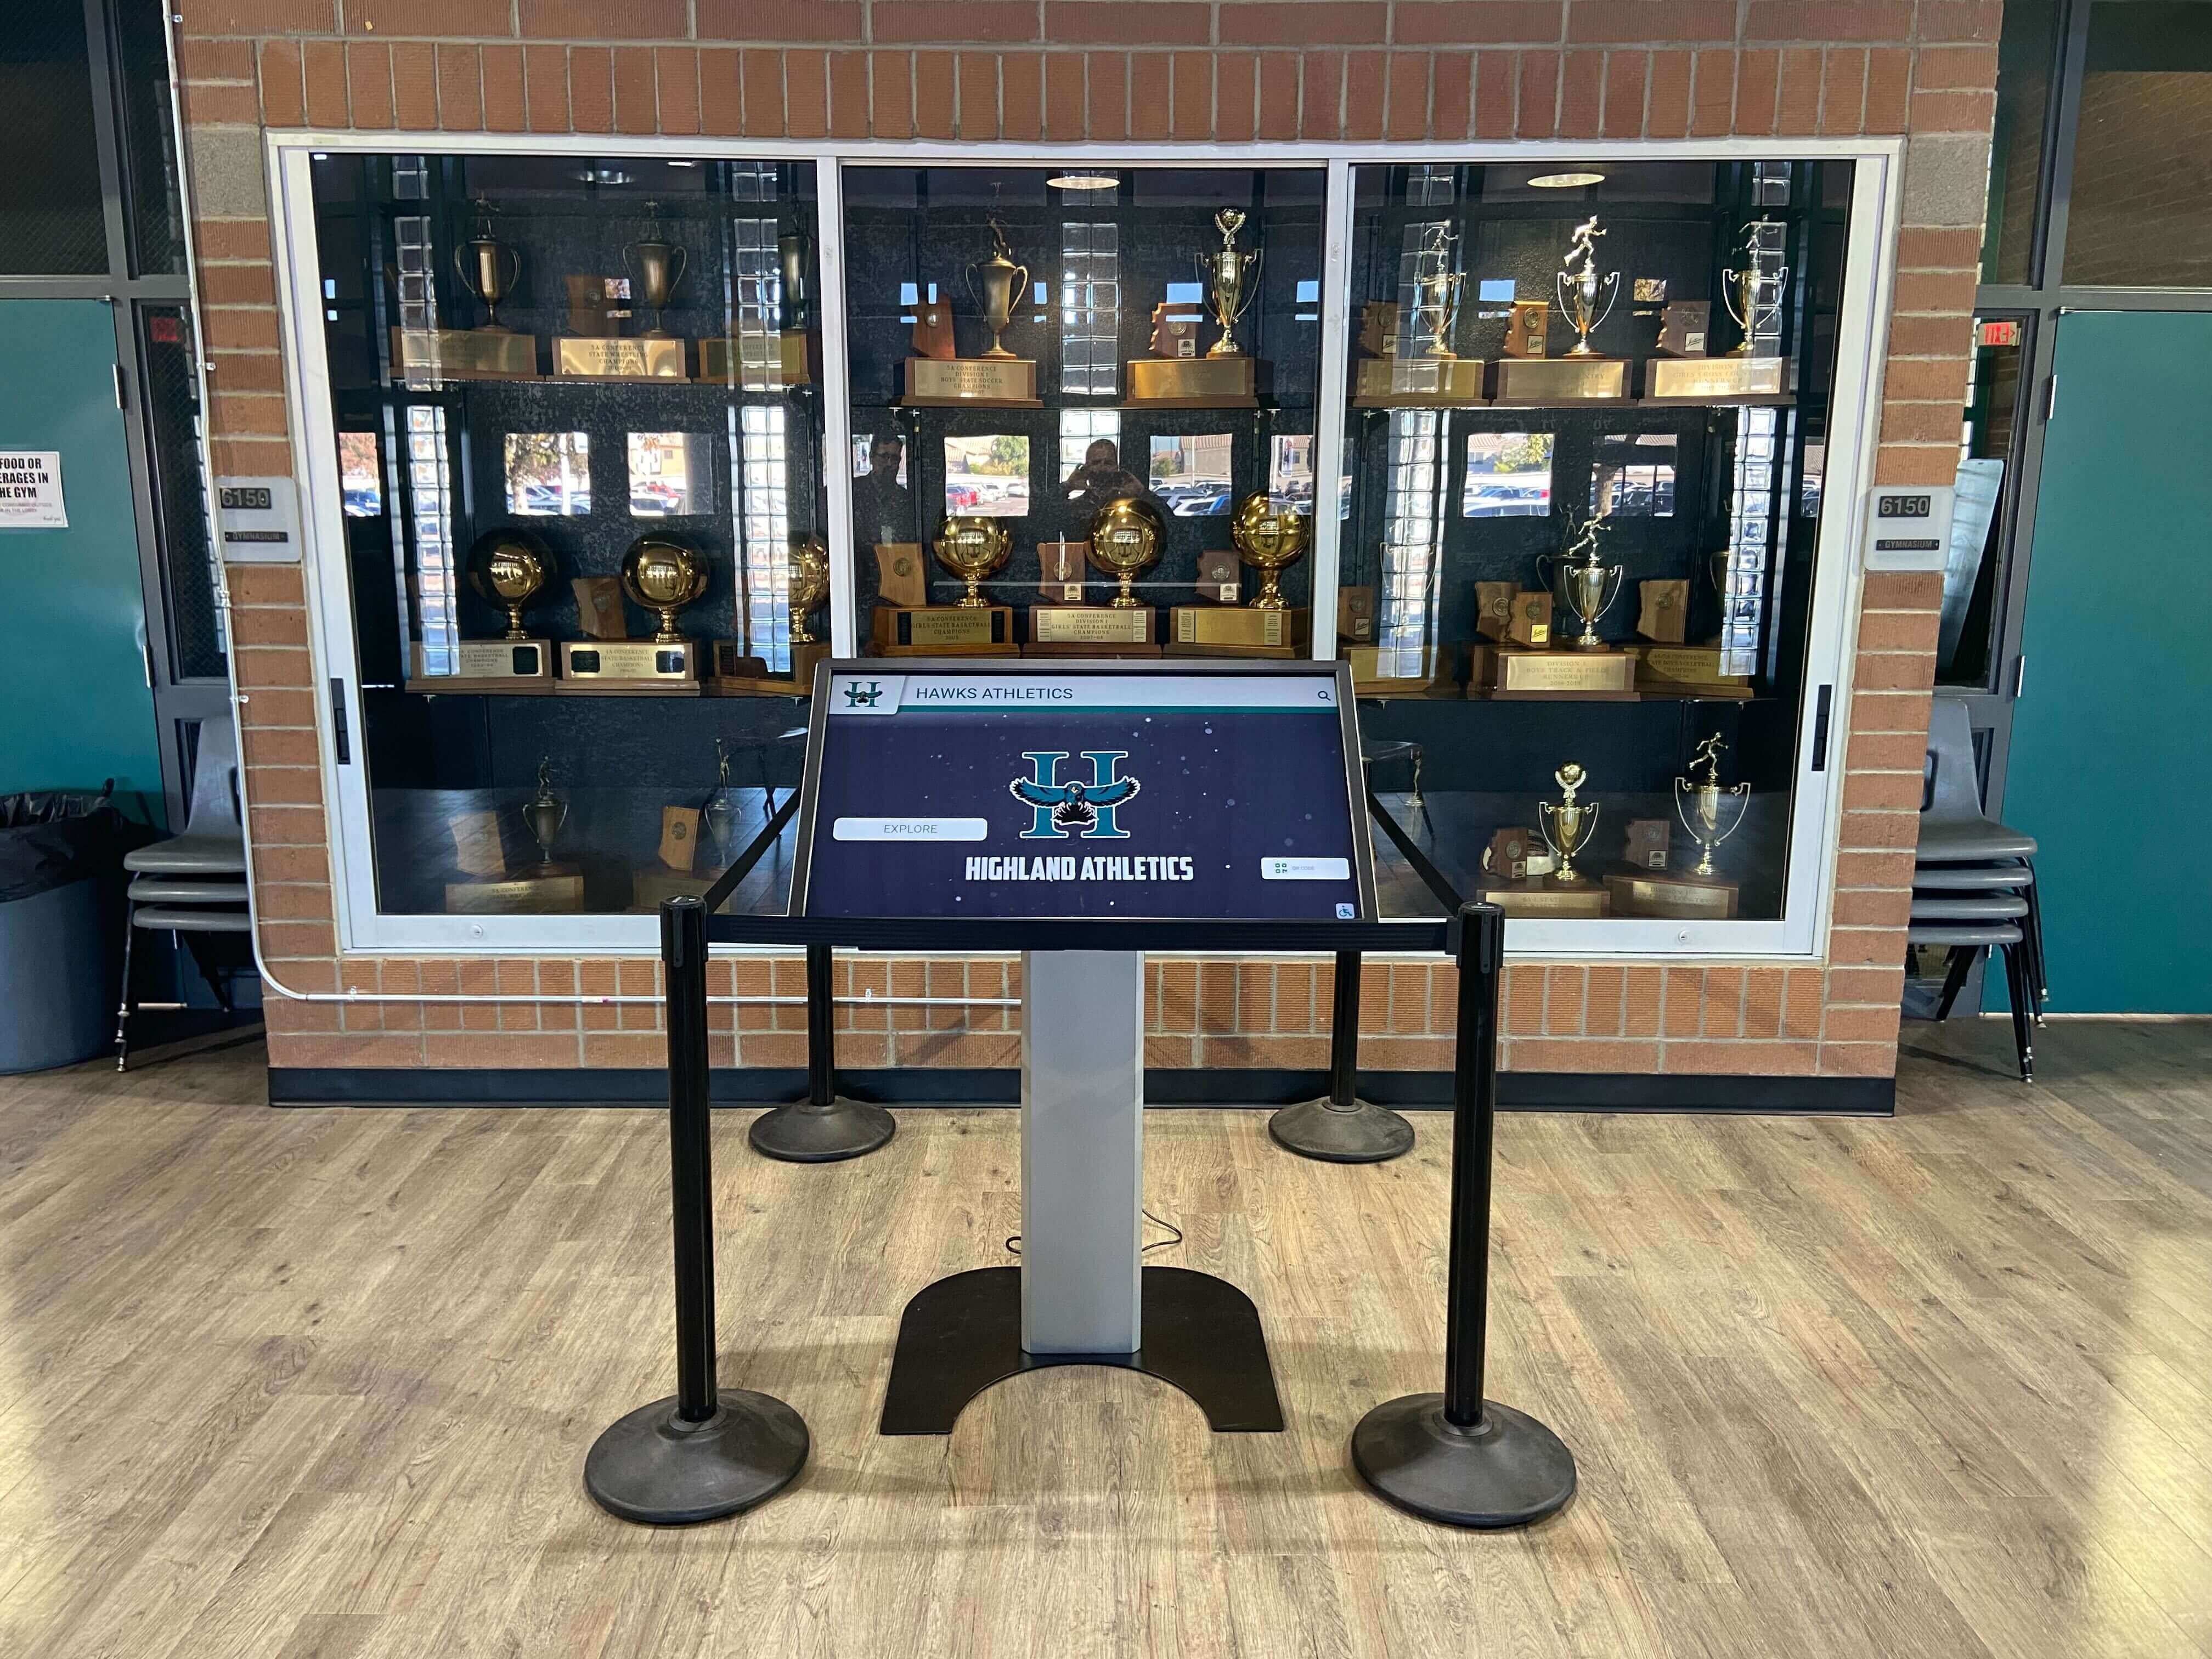
A trophy-case touchscreen kiosk depends on high-resolution source scans — pixelated originals produce unprofessional results on large-format or interactive displays
Step 1: Identify and Sort Your Asset Types
Before touching a scanner, catalog what you have. School athletic archives typically contain several distinct asset types, each with different size, fragility, and resolution requirements.
| Asset Type | Typical Original Size | Common Condition Issues |
|---|---|---|
| Individual player portrait (wallet/4×6) | 2.5×3.5 in – 4×6 in | Fading, creases, tape residue |
| Team composite photo | 11×14 in – 16×20 in | Yellowing, rolled edges, moisture damage |
| Yearbook page | 8.5×11 in – 9×12 in | Binding shadows, foxing, color shift |
| Game program cover | 5.5×8.5 in – 8.5×11 in | Staple rust, newsprint yellowing |
| Championship banner or poster | 11×17 in – 24×36 in | Fold lines, ink cracking |
| Newspaper clipping | Varies | Extreme yellowing, brittleness |
| Slide or film negative | 35mm – 4×5 in | Scratch, curl, mold |
Sort materials into three priority tiers before scanning:
- Urgent — Actively deteriorating (crumbling paper, sticky photos, mold). These should be scanned first, with extra care in handling.
- Standard — Stable but not archival quality. Schedule these in the main scanning batch.
- Reference only — Modern digital photos printed locally or materials already available in digital form. Scan last or skip entirely.
Step 2: Choose the Right Resolution for Each Use Case
Resolution (measured in dots per inch, or DPI) determines how much detail a scan captures and how large it can be displayed or printed before quality degrades. The following table is your core school sports photo scan resolution checklist.
Resolution Reference Table
| Intended Use | Recommended DPI | Notes |
|---|---|---|
| Archival master (hall of fame, trophy display) | 600 DPI | Highest quality; supports large-format prints and zoomed digital displays |
| Standard print reproduction (program inserts, event handouts) | 300 DPI | Industry standard for offset and laser printing |
| Interactive touchscreen display (lobby kiosk, digital yearbook) | 300–400 DPI | Higher end if source image is small (wallet photos) |
| Web gallery or slideshow embed | 150–200 DPI | Lower file size; acceptable for screen-only use |
| Newspaper clipping or low-quality original | 400–600 DPI | Compensates for original quality loss |
| Oversized composite (11×14 or larger) | 400–600 DPI | Large originals scanned at high DPI produce very large files—plan storage accordingly |
| Slide or film negative | 2000–4000 DPI | Requires dedicated film scanner; produces usable 8×10 equivalent files |
Key rule: Scan at the highest tier that applies to a given item. An archival master scanned at 600 DPI can always be downsampled; a 150 DPI web file cannot be upsampled to useful quality.
If storage space is a genuine constraint, scan originals at 300 DPI and note that a second archival-quality pass may be needed if items are ever used in large-format displays or printed at full size.
Step 3: Select File Formats
Resolution determines image quality; file format determines how well that quality is preserved and how usable the file is across applications.
| Format | Use Case | Compression | Notes |
|---|---|---|---|
| TIFF | Archival master | None (lossless) | Largest files; best for long-term preservation and reprinting |
| PDF/A | Yearbook pages, programs | Lossless | Preserves page layout; supports searchable text via OCR |
| JPEG (quality 90–95%) | Access copies for display | Lossy | Smallest files; sufficient for screen display; do not re-save repeatedly |
| PNG | Graphics, text-heavy clippings | Lossless | Better than JPEG for high-contrast text; larger than JPEG for photos |
| DNG or TIFF | Scanned slides/negatives | Lossless | Use with film-scanner software output |
Recommended two-file approach: Scan once at high resolution to a TIFF archival master, then export a JPEG access copy for immediate use in displays, slideshows, or online galleries. Never discard the TIFF—replacement scans cost time and occasionally cost the original if the photo is borrowed.
The Federal Agencies Digital Guidelines Initiative (FADGI) recommends TIFF as the preservation format for still images in government and institutional digitization programs—the same logic applies to school athletic archives.
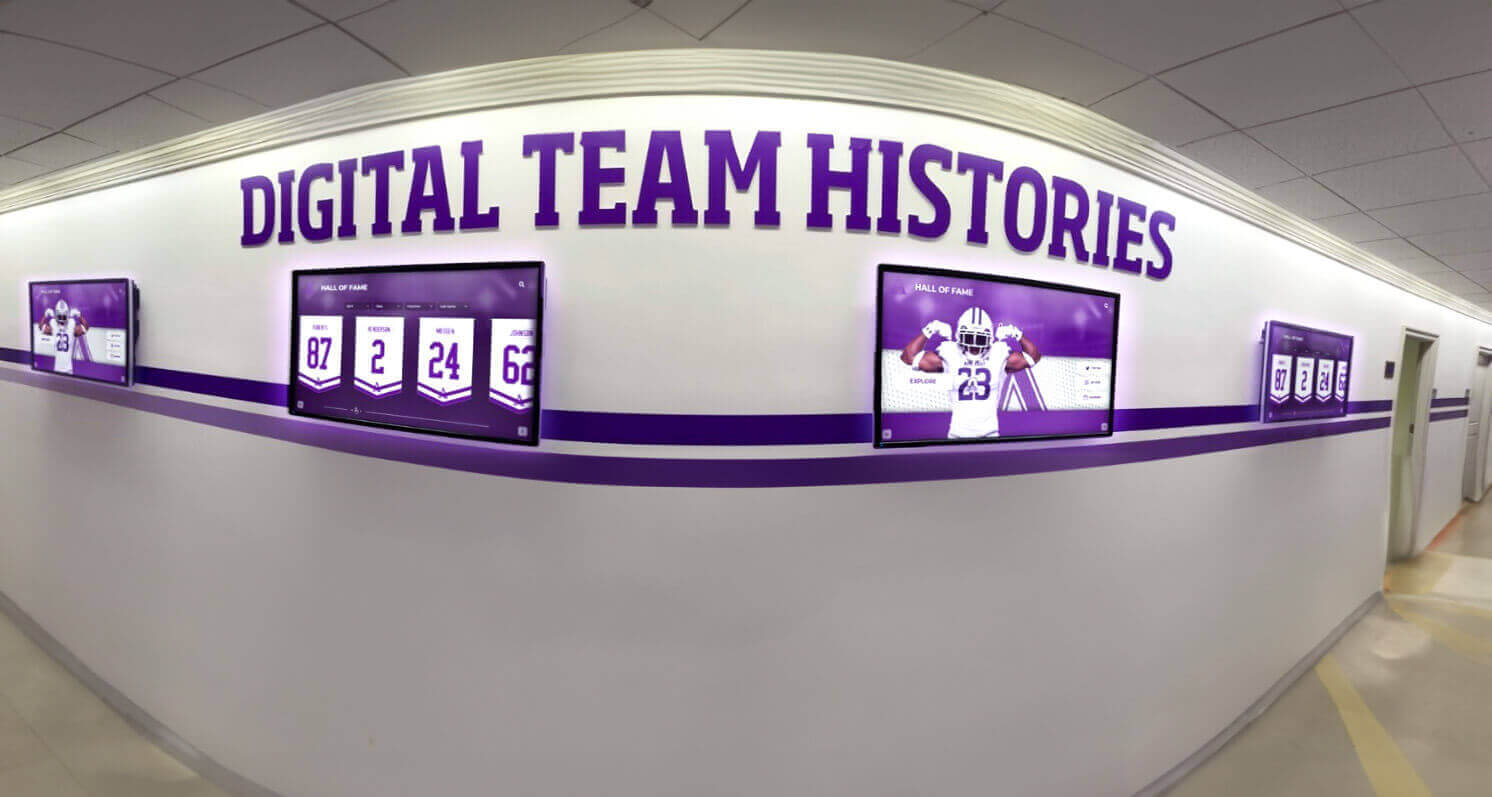
Hallway displays cycling through athletic history need source scans that hold detail at large screen sizes — under-resolution originals show pixelation on modern high-definition displays
Step 4: Set Color Mode Correctly
Color mode affects file size and color accuracy. Choosing the wrong mode wastes storage or loses tonal information.
| Source Material | Recommended Color Mode | Avoid |
|---|---|---|
| Color photo (any era) | RGB, 24-bit | CMYK (for print output only, not archival) |
| Black-and-white photo | Grayscale, 8-bit | Bitonal (1-bit); loses halftone detail |
| Newspaper clipping (black text only) | Grayscale or Bitonal | RGB (unnecessary file size increase) |
| Yearbook page with color photos | RGB, 24-bit | Grayscale (loses color information permanently) |
| Faded color print | RGB, 24-bit | Grayscale (captures fade; color correction can be applied later) |
Scan black-and-white photos in grayscale, not RGB. A grayscale TIFF is one-third the file size of an equivalent RGB TIFF with no visible quality benefit for truly monochrome originals. Scan faded color prints in RGB regardless of how washed-out they appear—color information that looks absent in a faded print is often partially recoverable in software.
Step 5: Prepare the Scanner and Physical Materials
Technical settings produce good results only when the physical scanning process is sound.
Scanner Preparation Checklist
- Clean scanner glass with a lint-free cloth before each session
- Check for residue, fingerprints, or dust on the glass surface
- Verify that the scanner calibration strip is undamaged (flatbed scanners only)
- Select the correct scanner profile for the material type (reflective for prints; transparency mode for slides/negatives)
- Disable automatic color correction and sharpening in scanner software — apply corrections manually after scanning to avoid baking in errors
Physical Material Handling
- Wear cotton gloves when handling fragile or historic photos
- Flatten rolled or curled prints under a clean glass weight for 24–48 hours before scanning
- Do not force bound yearbooks flat; use a book scanner or scan pages at a slight angle to avoid binding shadows
- Document fragile items with a quick photo on a smartphone before handling — this captures condition evidence if materials are damaged
- Return materials to archival sleeves or acid-free folders immediately after scanning
Scanner Settings Checklist
- Set DPI to the appropriate tier from Step 2
- Set color mode to the appropriate option from Step 4
- Disable automatic cropping — capture full image including borders
- Disable descreening unless scanning halftone newsprint (descreening halftone originals reduces moiré patterns)
- Set bit depth to 8-bit per channel minimum; use 16-bit for slides, negatives, or faded originals
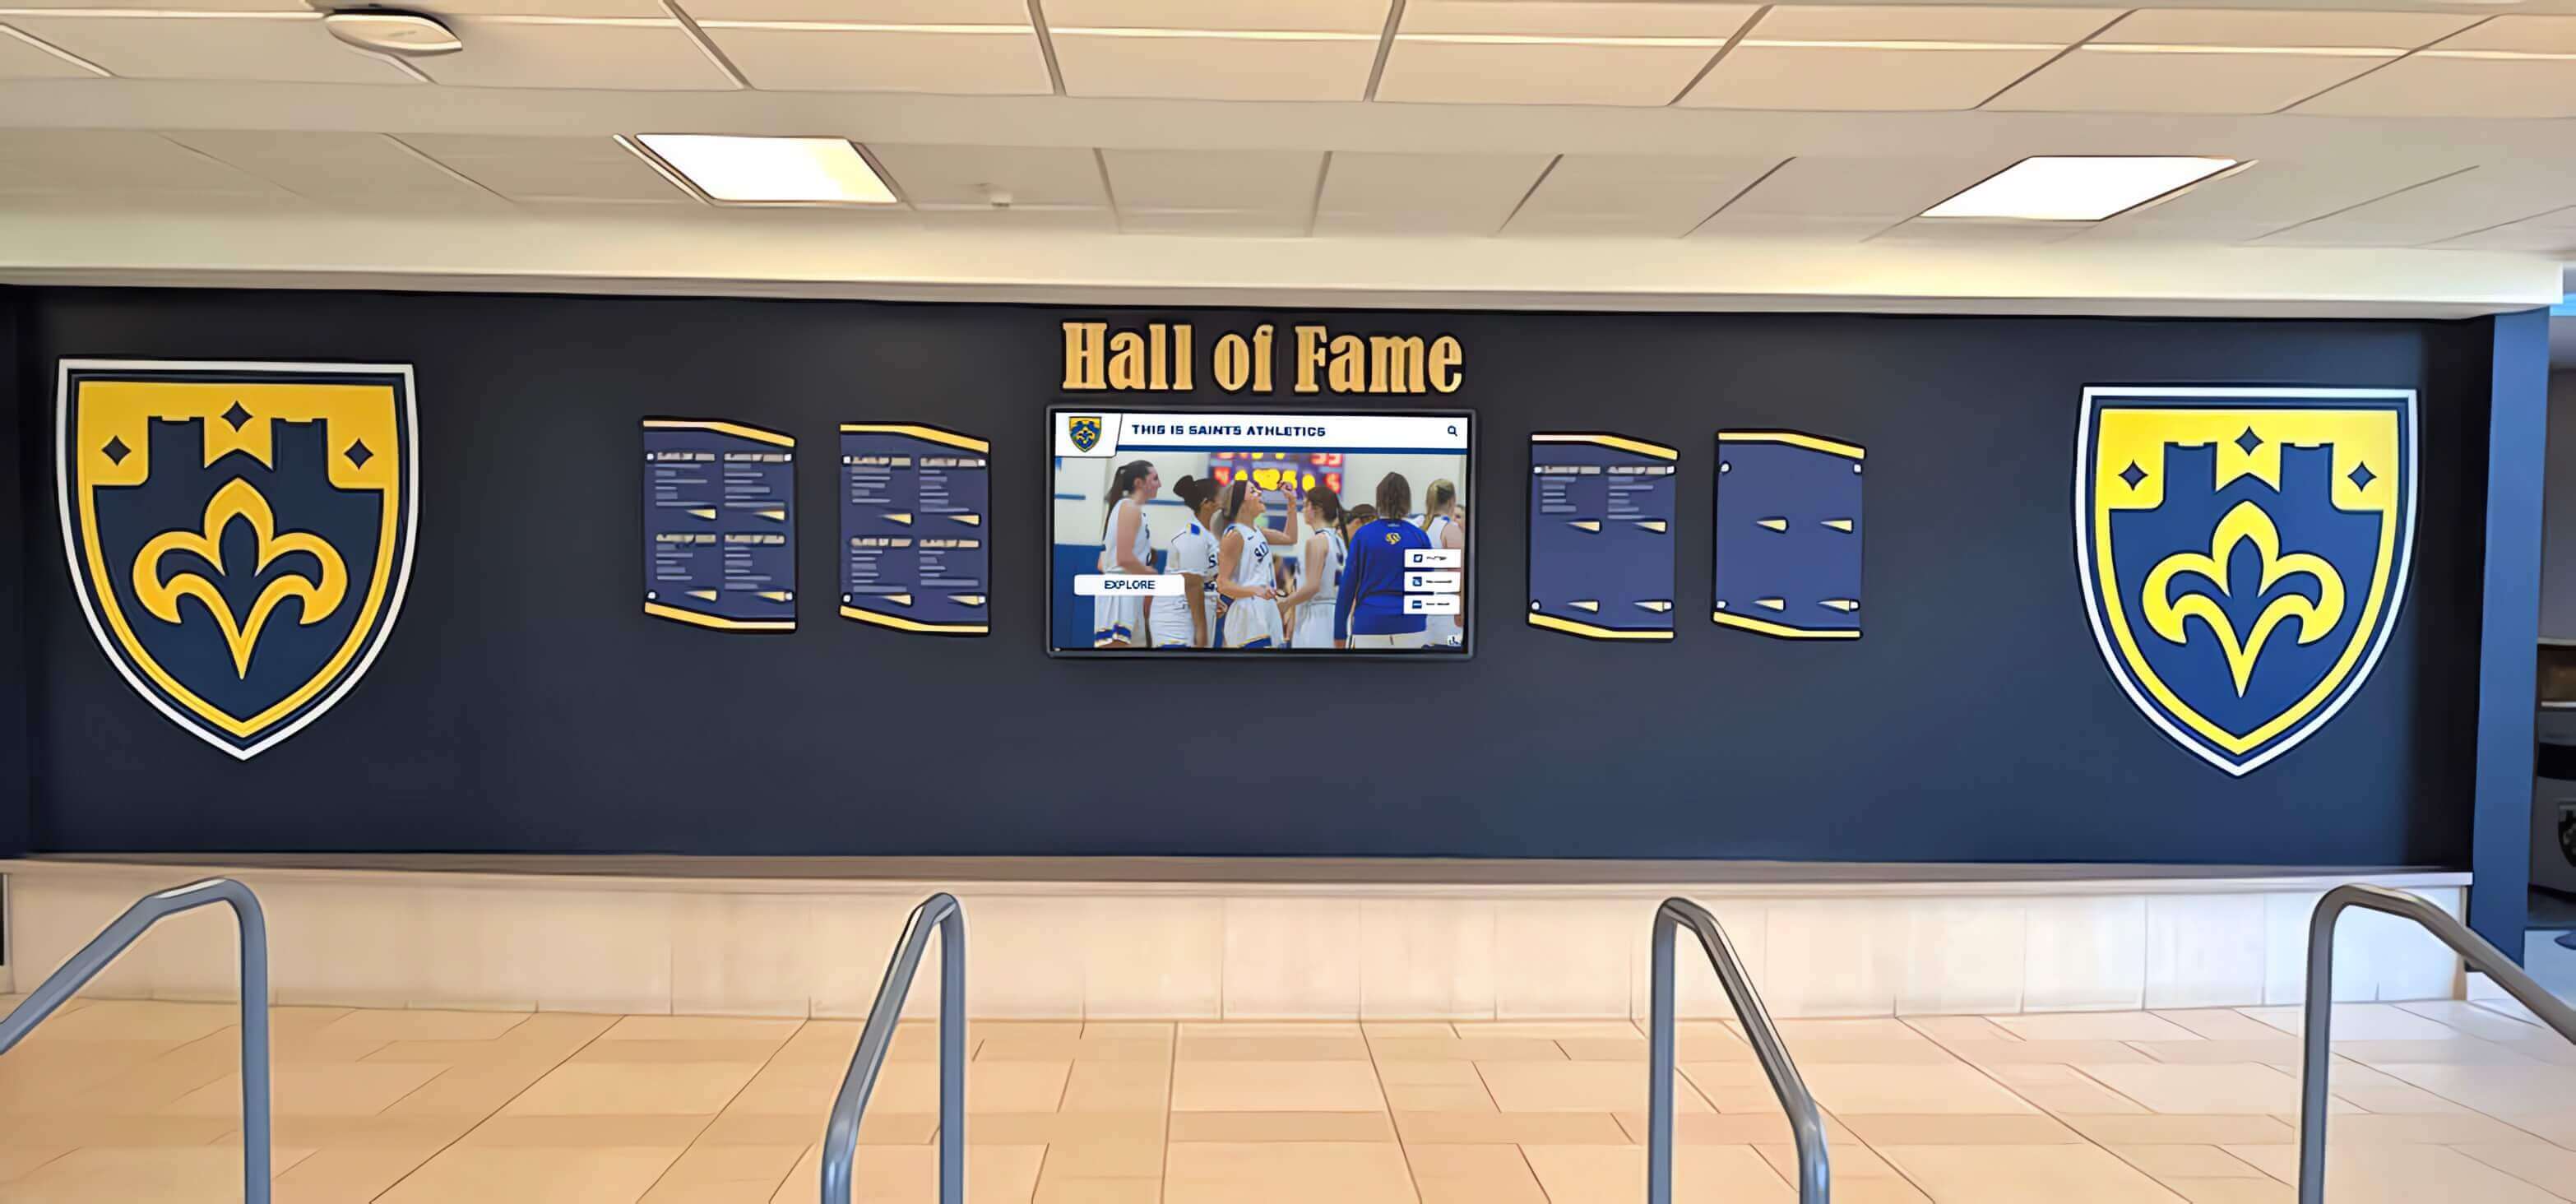
Hall-of-fame lobby displays rely on source photos scanned at archival resolution — 600 DPI TIFF masters allow flexible output across print, touchscreen, and web formats
Step 6: File-Naming Conventions
A consistent file-naming system allows you to locate, sort, and retrieve specific photos years from now without relying on memory or folder browsing alone.
Recommended Naming Format
[SCHOOL]-[SPORT]-[YEAR]-[TYPE]-[SEQUENCE].[FORMAT]
Examples:
RHS-FOOTBALL-1998-TEAMPHOTO-001.tif       (archival master)
RHS-FOOTBALL-1998-TEAMPHOTO-001_access.jpg (access copy)
RHS-BASKETBALL-2005-COMPOSITE-001.tif
RHS-SWIMMING-2012-YEARBOOK-PG047.tif
RHS-TRACK-1975-CLIPPING-001.tif
Naming rules:
- Use all caps for the school abbreviation and sport name
- Use a four-digit year (not two-digit)
- Include
_accesssuffix on all access copies — never on archival masters - Use zero-padded sequence numbers (001, 002 … 099, 100) so alphabetical and numerical sort order match
- Never use spaces, apostrophes, or special characters in filenames
Store archival masters and access copies in parallel folder structures:
Athletics-Archive/
├── Masters/
│   ├── Football/
│   ├── Basketball/
│   └── Track/
└── Access-Copies/
    ├── Football/
    ├── Basketball/
    └── Track/
Step 7: Quality Verification Before Filing
Before filing any scanned file, complete the following quality checks. Catching problems now avoids discovering them when a photo is needed for a hall-of-fame display or an award ceremony slideshow.
Visual Quality Checklist
- No scanner glass dust or debris visible as small white dots in the image
- No clipped shadows (solid black areas where shadow detail should be visible)
- No blown highlights (solid white areas where highlight detail should be visible)
- No visible moiré pattern in halftone areas (newsprint, yearbook photos)
- Binding shadow does not obscure identifiable content for yearbook pages
- Full image captured — borders not cropped
- Image is straight (within 0.5° of level); re-scan if significantly skewed
Technical Quality Checklist
- File opens correctly in at least two different applications
- Reported DPI in file metadata matches the scanner setting used
- Color mode in file metadata matches the intended color mode
- File is not zero bytes or obviously truncated (check file size against expected range)
- TIFF file is saved without LZW compression errors (open in image editor and re-save if uncertain)
Metadata Checklist
Add the following metadata to each archival master file before filing:
- Title or description (e.g., “1998 Roosevelt High School Football Team Photo”)
- Date or approximate year
- Sport or subject area
- Individuals identified, if known (list in order, left to right, front to back)
- Physical size of original
- Condition notes (e.g., “crease lower-right corner, slight fading”)
- Scanner model and DPI used
- Date digitized and operator initials
Tools such as ExifTool (free, command-line) or DigiKam (free, desktop application) allow batch metadata entry directly into TIFF and JPEG files, keeping the metadata with the file rather than in a separate database that can become detached.
Athletic recognition walls incorporate printed and digital photo displays — source files must be scanned at resolution sufficient for both output types
Step 8: Storage, Backup, and Long-Term Preservation
High-resolution TIFFs are large. A session of 50 team photos at 600 DPI produces 2–5 GB of archival masters. Plan storage accordingly before starting.
Storage Tier Approach
| Tier | Purpose | Example |
|---|---|---|
| Working storage | Active scanning session | Local desktop or laptop drive |
| Primary archive | Permanent archival masters | Network-attached storage (NAS) or cloud drive |
| Off-site backup | Disaster recovery | Cloud storage (AWS S3, Google Cloud, Backblaze B2) |
| Access distribution | Staff access to access copies | Shared school drive, digital display platform |
Apply the 3-2-1 backup rule: three copies, on two different media, with one off-site. For most school programs, this means the NAS, a periodic external drive backup, and a cloud storage bucket.
Review storage integrity annually: run checksums on archival files to verify no bit-level corruption has occurred. Tools such as Fixity (free) automate this verification on scheduled intervals.
Format Migration Planning
File formats become obsolete. TIFF is a robust, widely supported format with a long track record in institutional preservation, but format migration planning protects against future changes. Document the file formats in use and assign a review cycle (every five years is common practice in institutional archives) to verify that files remain accessible and standards remain current.
Connecting Scanned Photos to Recognition Programs
A completed archive of high-resolution sports photos is most useful when it feeds into the recognition systems that students, alumni, and families actually see—not when it sits in a folder on a server.
Common display destinations for digitized athletic photos include:
- Hall-of-fame touchscreen kiosks in school lobbies or athletic facilities, where visitors browse inductee profiles linked to team photos and career highlights
- Digital yearbook platforms that allow students and alumni to access historic editions with individual portrait search
- Athletic awards banquet slideshows presenting championship team photos alongside individual honorees, as described in guides on recognition event planning
- Donor and sponsor recognition walls where athletic booster contributions are acknowledged alongside the programs they supported
- Class reunion and alumni event displays that pull decade-specific team photos to surface shared memories, a format explored in class reunion planning resources
When photos are destined for an interactive touchscreen display, the 600 DPI TIFF master allows the display platform to render high-quality detail at zoom levels that touchscreen users expect. A 300 DPI JPEG access copy works well for static digital frames and slideshow presentation software. Using the wrong file type for the display format is a common cause of blurry or pixelated recognition displays that undercut an otherwise polished recognition program.

Interactive touchscreen hall-of-fame platforms require source images scanned at sufficient resolution to support pinch-to-zoom and large-format portrait display
Schools building alumni databases for K–12 athletics recognition benefit from photos that include embedded metadata identifying individuals — search by name becomes possible only when names are stored in the file, not just in an external spreadsheet that can become detached from the photos.
Athletic programs that have used touchscreen recognition technology for ROTC or other structured recognition contexts, as covered in resources on ROTC scholarship recognition, find that consistent scan specifications allow photos from multiple decades and program types to display coherently within a single platform.
Frequently Asked Questions
What DPI should I use for old black-and-white team photos from the 1950s or 1960s?
Scan at 600 DPI in grayscale mode. Older photos often show detail loss, yellowing, or fading that a high-resolution scan partially compensates for. The extra resolution also preserves photographic grain that constitutes part of the historical character of older images.
Our photos are oversized composites (16×20 or larger) that don’t fit on a flatbed scanner. How do we handle these?
For items larger than the scanner bed, you have three options: (1) scan in overlapping sections and stitch in software such as Adobe Photoshop or the free GIMP; (2) use a camera-copy stand with a high-resolution DSLR or mirrorless camera; or (3) contract a professional digitization service with large-format scanner equipment. Camera-copy digitization is practical for most schools — a 24-megapixel camera produces file quality comparable to a 400 DPI flatbed scan for a 16×20 print.
Should we scan yearbook photos in addition to loose prints?
Yes. Yearbook pages digitized at 400–600 DPI serve as both preservation copies and sources for extracting individual portraits. A yearbook page scanned once at 600 DPI allows you to crop individual photos at effective resolutions of 150–300 DPI — sufficient for display without a second scan of the original.
How do we handle donor-loaned photos that must be returned to families?
Scan loaned materials at 600 DPI and provide donors with a JPEG access copy as a courtesy. The school retains the TIFF archival master. Document the loan agreement noting that the school has retained a digital copy. Alumni recognition programs often build significant collections this way — families are frequently willing to loan materials they would not donate permanently when they receive a digital copy in return.
Is there a difference in scanning requirements for photos destined for digital displays versus those going into printed programs?
Yes. Print requires 300 DPI at the final print size — a photo printed at 8×10 must be scanned at 300 DPI minimum at 8×10 inches. Screen-only display can use lower resolution, but scanning at print-quality resolution keeps the file useful for both output types. Scan once at a level that covers your most demanding likely use; you can always generate lower-resolution derivatives.
What about photos shared at digital events or displayed in public spaces like trophy cases?
Public display contexts, including digital displays in shared facilities, typically show images at sizes where 300–400 DPI access copies perform well. However, the archival master should still be scanned at 600 DPI — display hardware and screen resolutions continue to improve, and a file scanned today at 300 DPI may appear inadequate on display technology five years from now.
Summary Checklist
Use this condensed checklist as a session-by-session reference during scanning projects.
Before scanning:
- Assets sorted by priority tier and type
- Scanner glass cleaned
- Resolution and color mode confirmed for asset type
- Automatic correction and sharpening disabled in scanner software
- Physical materials flattened or stabilized
During scanning:
- DPI matches the table in Step 2
- Color mode matches the table in Step 4
- Full image captured without automatic cropping
- File saved to correct folder with correct naming convention
After scanning:
- Visual quality check completed (no dust, moiré, or clipping)
- File opens in two applications
- Metadata entered (description, date, individuals, condition notes)
- Access copy generated from archival master
- Archival master backed up to primary archive and off-site location
Ready to connect your digitized sports photo archive to interactive hall-of-fame displays, digital yearbooks, and athlete recognition platforms?































