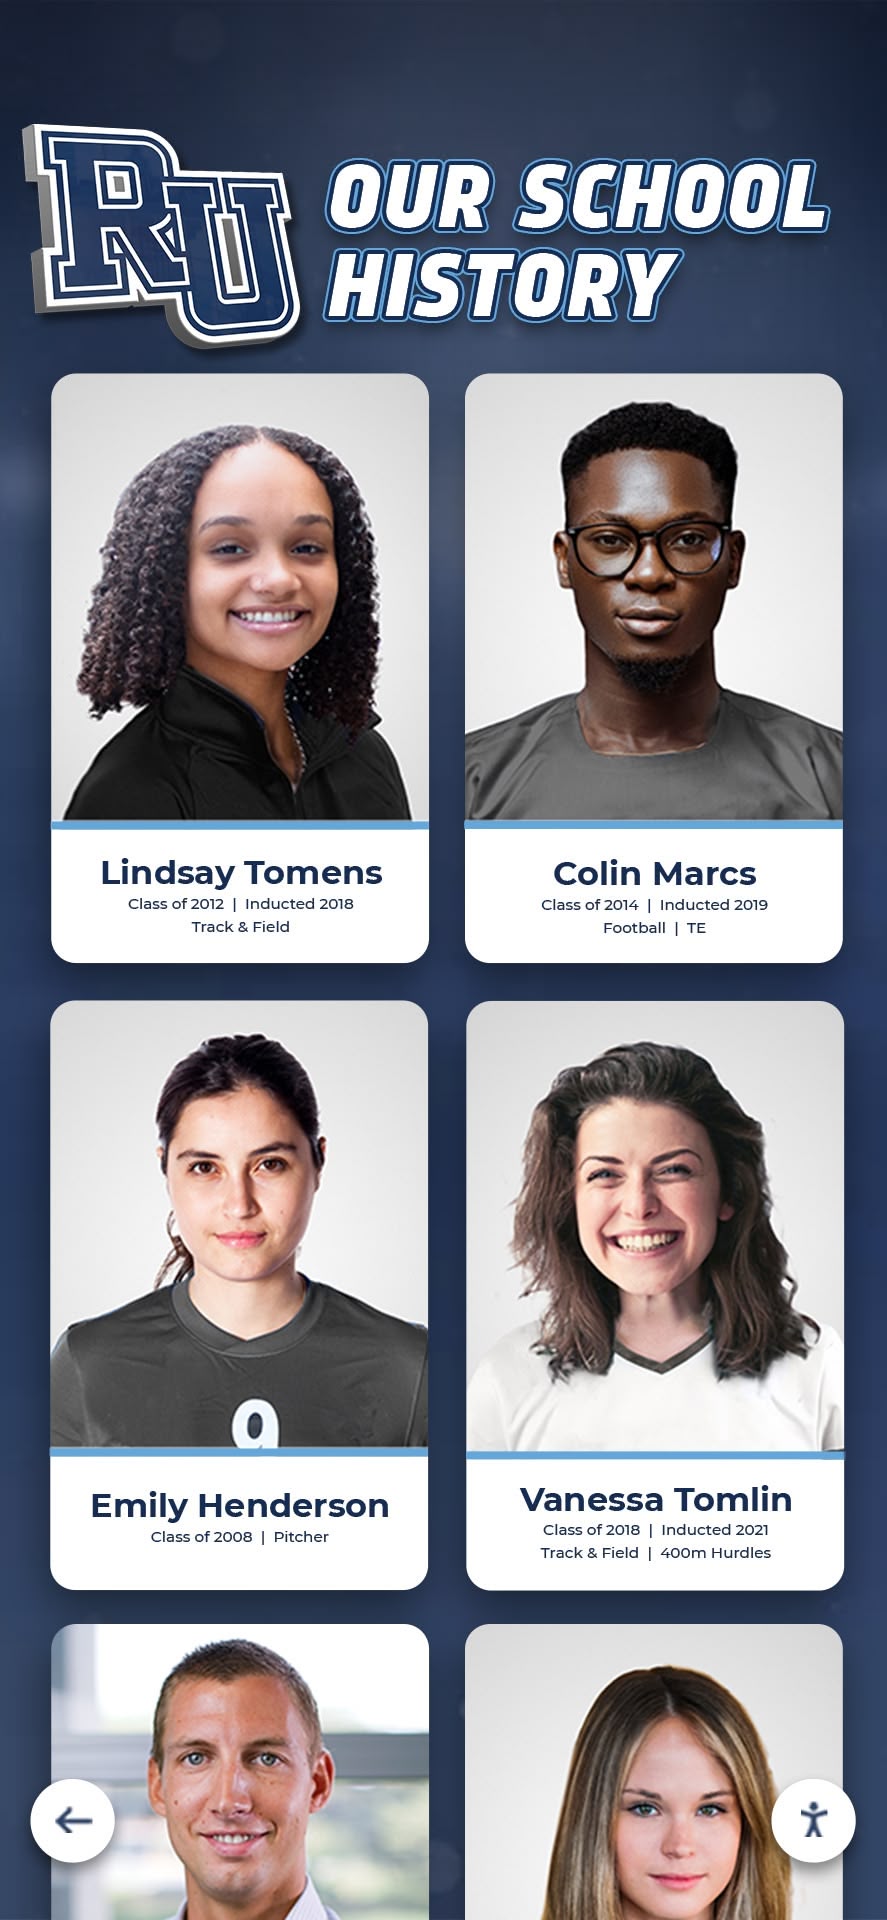
Every printed yearbook from the 1960s through the early 2000s is a library of halftone photographs — tiny grids of ink dots that, when rescanned on a flatbed, generate a repeating interference pattern called moiré that makes faces look textured like woven fabric and team photos look like they were shot through a screen door. A structured digital yearbook descreening workflow removes that interference pattern at the scan and post-processing stages so that alumni portrait cards, championship team photos, and award ceremony images emerge clean, smooth, and display-ready for searchable digital archives, hall-of-fame touchscreens, and athletic recognition programs.
The core answer is brief: scan at a resolution that avoids the halftone’s resonance frequency, apply a descreening filter tuned to the screen ruling of your source material, sharpen selectively to recover edge detail, and verify results with a side-by-side QA pass before committing files to archive. The numbered workflow below expands each step with concrete scanner settings, software filter parameters, a quick-reference table, and a QA checklist your team can use to sign off on each batch — whether you are processing a single donor’s scrapbook or a rolling cart of decade-by-decade yearbooks.
Who This Workflow Serves
Descreening is a production skill, not an IT specialization. The right people to own this workflow are the staff members who are closest to the source material and the display systems it feeds:
- Yearbook advisers and communications directors digitizing back issues for alumni engagement programs and anniversary publications
- Athletic directors and archive staff scanning printed team photos, game-day programs, and tournament brackets for hall-of-fame collections
- IT and media center teams responsible for ingesting scanned images into digital asset management systems or cloud yearbook platforms
- Alumni relations staff building searchable academic recognition programs that depend on clean portraits of graduates from decades past
- Facilities and library staff preparing historical imagery for lobby touchscreens, digital hall-of-fame displays, and anniversary murals
- School historians and booster club volunteers contributing yearbook materials to multi-decade athletic or academic archives
Any team scanning a halftone-printed source — a yearbook, a game program, a newspaper sports section, an awards ceremony print — can apply this workflow. The steps scale from a single image to a full decade of yearbooks processed in batch.
What Is a Halftone and Why Does Moiré Appear?
Before configuring a scanner, it helps to understand the physics that cause moiré, because the fix at each workflow step is a direct response to that physics.
Offset-printed photographs are not continuous-tone images. They are grids of tiny dots — a halftone screen — where dot size varies to simulate light and dark tones. When you rescan that dot grid on a flatbed scanner, the scanner’s own sensor grid creates a second regular pattern. When two regular patterns of similar but not identical frequency overlap, they generate a third pattern — the moiré — whose coarse, wavy structure is visible at normal viewing distances.
| Term | Plain-Language Meaning | Why It Matters for Descreening |
|---|---|---|
| Halftone screen | A regular grid of ink dots used in offset printing to simulate photographic tone | The source of the repeating pattern that causes moiré |
| Screen ruling (lpi) | Lines per inch of the halftone dot grid; typically 65–175 lpi in yearbooks | Determines the descreening filter frequency you need to apply |
| Moiré | The interference pattern produced when two regular grids overlap at close but different frequencies | The artifact you are removing from scanned yearbook images |
| Descreening filter | A low-pass or Gaussian blur applied at the halftone frequency to average out the dot grid | The primary software correction step |
| Resonance scan resolution | A scanner DPI value that creates a moiré-amplifying relationship with the halftone lpi | A value to avoid when choosing your scan resolution |
| Optimal scan resolution | A DPI that does not align with the halftone frequency, minimizing moiré before any filter is applied | The hardware first line of defense |
| Anti-aliasing | Smoothing applied by the scanner or software at pixel boundaries | A secondary moiré reducer, less powerful than deliberate DPI selection |
The halftone screen ruling of a typical school yearbook ranges from 85 lpi (newsprint-quality, common in smaller school publications through the 1980s) to 133 lpi (magazine-quality glossy, common in larger district yearbooks after 1990). Knowing your source material’s approximate screen ruling before you scan lets you choose filter settings with purpose rather than guessing.
The Digital Yearbook Descreening Workflow: Step-by-Step
Step 1 — Identify the Source Material and Halftone Type
Before opening a scanner lid, examine two or three pages under a loupe or by zooming in on a test scan at very high resolution. Confirm:
- Halftone type: Classic round dots (most common), elliptical dots (often used for flesh tones in 1970s–1990s publications), or stochastic/FM screening (random dot placement, used in some late-1990s digital-press yearbooks)
- Approximate screen ruling: Count the dot rows visible across a measured area, or compare the texture to a reference chart. An 85 lpi screen has coarser, more visible dots than a 133 lpi screen. If you cannot measure precisely, note whether the dots are clearly visible to the naked eye (85–100 lpi) or require a loupe to distinguish (120–150 lpi)
- Paper stock: Newsprint, uncoated offset, or coated glossy — this affects which rescan DPI values produce the sharpest derivatives
Document this information in a batch log before processing begins. Settings that work perfectly on a 1975 newsprint-quality yearbook will over-blur a 1998 glossy publication with finer halftone screening.
Step 2 — Set Scanner Resolution to Avoid Resonance
The first line of defense against moiré is hardware: choosing a scan resolution that does not harmonically resonate with the halftone screen ruling.
The general rule: scan at a resolution that is not a simple multiple of the screen ruling. For a 100 lpi halftone, a scan at 200 DPI (exactly 2×) amplifies moiré; a scan at 300 DPI or 240 DPI (neither a simple multiple) reduces it.
| Source Screen Ruling | Avoid These DPI Values | Recommended Scan DPI | Notes |
|---|---|---|---|
| 65–85 lpi (newsprint yearbooks) | 130, 170, 255, 340 | 200 or 300 | 300 DPI gives the software descreening step more pixel data to work with |
| 100–120 lpi (uncoated offset) | 200, 240, 300, 360 | 270 or 400 | 400 DPI at 100 lpi is safe and gives ample resolution for display |
| 133–150 lpi (glossy yearbooks) | 266, 300, 399, 450 | 360 or 500 | 500 DPI is a practical ceiling for most display-quality derivatives |
| 175 lpi (high-end glossy, post-1995) | 350, 525 | 400 or 600 | Use 600 DPI only if the derivative will be displayed at large format |
If your scanner software includes a descreening pre-set at the hardware level, enable it — this is separate from the software descreening step in Step 4 and works at the sensor readout level to smooth dot interference before the image is formed. Hardware descreening and software descreening are complementary, not redundant.
Step 3 — Configure Scan Color Mode and Bit Depth
For yearbook portraits and team photos:
- Scan in color even if the source image appears black-and-white. Sepia-toned or aged monochrome images contain color information that a grayscale scan discards; color scanning preserves it for later adjustment.
- Use 16-bit per channel if your scanner and workflow support it. The additional tonal range gives the descreening and sharpening steps headroom to operate without introducing banding.
- Scan the archival master at full resolution — do not apply descreening during the master scan. Save the master as an uncompressed TIFF. The descreening, sharpening, and color-correction steps in this workflow operate on a working copy of the master, never the master itself.
Step 4 — Apply the Software Descreening Filter
With the master saved and a working copy open, apply the descreening filter. Most image-editing environments offer this as a Gaussian blur, a median filter, or a dedicated descreening function. The target is to average out the halftone dot grid without destroying photographic edge detail.
Gaussian blur descreening (most universal method):
The blur radius to apply is approximately half the halftone dot pitch. Dot pitch in pixels equals scan DPI ÷ screen ruling in lpi.
- Example: 300 DPI scan of a 100 lpi halftone → dot pitch = 300 ÷ 100 = 3 pixels → apply Gaussian blur with radius 1.5 pixels
- Example: 400 DPI scan of a 133 lpi halftone → dot pitch = 400 ÷ 133 ≈ 3 pixels → apply Gaussian blur with radius 1.5 pixels
- Example: 300 DPI scan of an 85 lpi halftone → dot pitch = 300 ÷ 85 ≈ 3.5 pixels → apply Gaussian blur with radius 1.7–2.0 pixels
| Scan DPI | Source Screen Ruling | Dot Pitch (px) | Recommended Blur Radius | Expected Result |
|---|---|---|---|---|
| 200 | 85 lpi | 2.4 | 1.2 | Light smoothing; moiré may persist in dark areas |
| 300 | 85 lpi | 3.5 | 1.7–2.0 | Good moiré removal; slight softness corrected in Step 5 |
| 300 | 100 lpi | 3.0 | 1.5 | Effective moiré removal with moderate softness |
| 400 | 133 lpi | 3.0 | 1.5 | Clean descreening with minimal softness at display sizes |
| 500 | 133 lpi | 3.8 | 1.9–2.0 | Conservative setting; use 1.5 if results look too soft |
| 400 | 85 lpi | 4.7 | 2.3–2.5 | Strong descreening needed; check for over-softening in Step 5 |
Dedicated descreening tools — available in professional scanning software, Photoshop plug-ins, and open-source tools such as GIMP’s Enhance → Unsharp Mask with a negative threshold — allow you to specify the screen frequency directly in lpi rather than calculating blur radius manually. If your workflow tools include this option, use it: the algorithm is optimized for halftone removal and typically produces less overall softness than a general Gaussian blur at equivalent moiré suppression levels.
After applying the blur, zoom to 100% and confirm that the dot grid is no longer visible in the midtone areas. Residual dot pattern in shadows is acceptable — shadow areas are less visible at display sizes — but dot structure in skin tones and light backgrounds should be fully resolved.
Step 5 — Sharpen Selectively to Recover Edge Detail
Descreening blurs the image. The next step recovers sharpness at meaningful edges — faces, jersey lettering, trophy hardware, architectural details — without re-introducing the halftone texture you just removed.
Unsharp Mask settings for descreened yearbook images:
- Amount: 80–120%
- Radius: 0.8–1.2 pixels (narrower than the blur radius used in Step 4)
- Threshold: 4–8 levels (the threshold setting suppresses sharpening in smooth areas — exactly what prevents the halftone texture from returning)
Apply the sharpening and immediately zoom to 100% in an area with fine edge detail — a jersey number, a name plate, or the edge of a trophy. The edge should be crisper than the blurred intermediate version without showing halo artifacts or the return of any dot pattern.
If sharpening partially reintroduces moiré in dark or heavily saturated areas, reduce the amount to 60–80% or increase the threshold to 10–12 levels. The goal is visible edge recovery, not absolute maximum sharpness.
Step 6 — Color Correction for Aged Yearbook Photographs
Printed yearbook photos from the 1960s through the 1980s typically exhibit:
- A yellow or orange cast from aged newsprint and ink oxidation
- Reduced contrast in shadow areas from ink spread on absorbent paper stock
- Color shifts in flesh tones toward red or magenta from printing ink degradation
Apply corrections to the working copy only. Never modify the archival master. Recommended correction sequence:
- White balance: Use the Auto Color Correction or set a gray point from a neutral area (the white of a jersey, the background of a portrait card) to remove the dominant cast
- Levels or Curves: Pull the white point input slider inward to brighten faded images; lift the black point slightly if shadows are completely crushed
- Selective color or Hue/Saturation: Reduce yellow and magenta in skin tone ranges if flesh tones appear unnatural after white balance correction
Apply corrections at the minimum strength that produces a natural result. Over-correction of aged photographs removes the historical character that makes them authentic. The target is legible and displayable, not a simulation of how the original photograph looked when it was new.
Step 7 — Quality Assurance: Before/After Comparison
Before writing the derivative file, run a structured QA pass comparing the processed image to both the original scan and the archival master.
QA checks:
- Moiré resolution: Zoom to 100%. The dot grid should be fully resolved in midtones; faint residual texture in shadows is acceptable only if it disappears when the image is viewed at its intended display size
- Edge integrity: Zoom to 100% on a face or jersey number. Edges should be visibly sharper than the blurred intermediate without halo artifacts
- Tonal range: The lightest area in the image should not be pure white (clipped); the darkest shadow should not be pure black unless the source was
- Color neutrality: A gray card or white shirt in the image should appear neutral gray or white, not tinted
- No new artifacts: Confirm that sharpening has not introduced ringing around high-contrast edges, and that color correction has not created posterization in smooth gradients
Flag any image that fails a QA check for re-processing rather than archiving the flawed derivative. A batch log noting which files required a second pass provides useful feedback for calibrating settings on the next batch of similar material.

Printed portrait cards and yearbook photographs become the source material for descreening workflows that restore their legibility for digital archives, touchscreen recognition displays, and hall-of-fame programs
Step 8 — File Naming, Metadata, and Derivative Filing
Name each derivative using a convention that connects it to the archival master without ambiguity:
MASTERS/  1987_Yearbook_Football_TeamPhoto_pp042.tif
DERIVATIVES/  1987_Yearbook_Football_TeamPhoto_pp042_descrn.jpg
The _descrn suffix flags the file as a processed derivative at a glance. Store derivatives in a folder structure that mirrors the master archive — same sport, year, and document-type hierarchy — so any team member can locate the master for a given derivative and vice versa.
Embed minimum metadata in each derivative before distribution:
- Title: Image content, year, and source publication
- Creator: School name and archive department
- Description: Names, event, and page reference if known
- Date Created: Original photograph date (not the scan date)
- Rights: Copyright holder and any distribution restrictions
- Keywords: Sport, school, year, and key subject names
Embedded metadata ensures that when files are separated from their folder structure — uploaded to a cloud platform, shared with an alumni committee, or ingested into a digital recognition data system — their context travels with them and supports accurate search indexing.
Step 9 — Ingest to Display System, Yearbook Platform, or DAM
Upload approved derivatives to your digital asset management system, yearbook platform, or recognition display content management system. Before bulk upload, confirm:
- Resolution match: The derivative’s pixel dimensions match the display system’s expected image size, or are larger (the system can downscale; it cannot add pixels)
- Color profile: The derivative is saved in sRGB for web and display systems; convert from any working color space before upload
- Compression: JPEG quality 85–95% is appropriate for display-quality derivatives; use lossless PNG only where the platform or display CMS requires it
For images destined for touchscreen hall-of-fame kiosks or interactive displays, confirm with the display system’s specifications that portrait images are oriented correctly and team photos are cropped to the platform’s expected aspect ratio. Rescaling or cropping after upload can re-introduce softness that the descreening and sharpening steps worked to remove.
Quick-Reference Descreening Settings Table
| Source Material | Likely Screen Ruling | Recommended Scan DPI | Blur Radius (px) | Sharpen Amount | Sharpen Threshold |
|---|---|---|---|---|---|
| Pre-1980 newsprint yearbook | 65–85 lpi | 300 | 1.7–2.0 | 80–100% | 8–12 levels |
| 1980s uncoated offset yearbook | 85–100 lpi | 300–400 | 1.5–2.0 | 90–110% | 6–10 levels |
| 1990s standard yearbook | 100–133 lpi | 400 | 1.5 | 100–120% | 4–8 levels |
| Post-1995 glossy yearbook | 133–150 lpi | 400–500 | 1.5–1.9 | 100–120% | 4–6 levels |
| Game program (newsprint) | 65–100 lpi | 300 | 1.7–2.0 | 80–100% | 8–12 levels |
| Newspaper sports section | 65–85 lpi | 300 | 2.0 | 80% | 10–15 levels |
| Awards ceremony print (glossy) | 133–175 lpi | 400–600 | 1.2–1.5 | 110–120% | 4–6 levels |
Descreening QA Checklist
Use this checklist to sign off on each image batch before delivering derivatives to the display system or archive.
Pre-Processing
- Source screen ruling identified and documented in batch log
- Archival master saved as uncompressed TIFF before any processing
- Scan DPI confirmed to avoid resonance with the source screen ruling
- Color mode set to color (not grayscale), 16-bit per channel
Descreening Pass
- Blur radius calculated from dot pitch (DPI ÷ screen ruling ÷ 2)
- Descreening filter applied to working copy, not master
- 100% zoom confirms dot grid resolved in midtones
- Residual shadow texture reviewed and acceptable at display size
Sharpening Pass
- Unsharp Mask applied with threshold ≥ 4 levels to protect smooth areas
- 100% zoom confirms edge recovery without halo artifacts
- No reintroduction of halftone dot pattern in sharpened output
Color Correction
- White balance corrected from a neutral reference point in the image
- Tonal range confirmed: no clipped highlights or crushed shadows
- Flesh tones and neutral areas reviewed at 100% zoom
Filing and Metadata
- Derivative named with
_descrnsuffix and saved in parallel derivative folder - Metadata embedded (title, creator, description, date created, rights, keywords)
- Batch log updated with file count, settings used, and any manual re-processing notes
Ingest
- Derivatives exported in sRGB color profile
- JPEG quality set to 85–95%
- Pixel dimensions confirmed against display system requirements
- Spot-check of 5–10 images at display size confirms clean appearance
Batch Processing Tips for Large Yearbook Archives
Work one decade at a time, not one yearbook at a time. Screen rulings and paper stocks are consistent within a printing era: your school’s yearbooks from 1975 to 1985 were almost certainly printed on similar equipment with similar halftone specifications. Processing by decade lets you dial in settings once and run a clean batch rather than re-calibrating for each volume.
Scan a pilot batch of 20–30 pages before committing to the full archive. Verify settings on a representative mix of portraits, team photos, and action images. Problems discovered in a 30-image pilot take minutes to fix; the same problems in a 3,000-image batch take hours.
Keep a physical reference print. When calibrating your software descreening settings, print a test sheet from the finished derivative at the approximate display size (8×10 for a portrait card, 11×17 for a team photo) and compare it to the source image under good light. A result that looks perfect on screen can still show faint moiré at print or large-display size.
Separate color yearbooks from black-and-white yearbooks. Color pages require a different correction workflow than monochrome pages; running them in separate batches prevents settings from one group contaminating the other.
Validate data consistency across batches. When derivatives from multiple batches feed into the same recognition archive, a documented data validation process catches naming mismatches, resolution inconsistencies, and metadata gaps before they reach the display system.
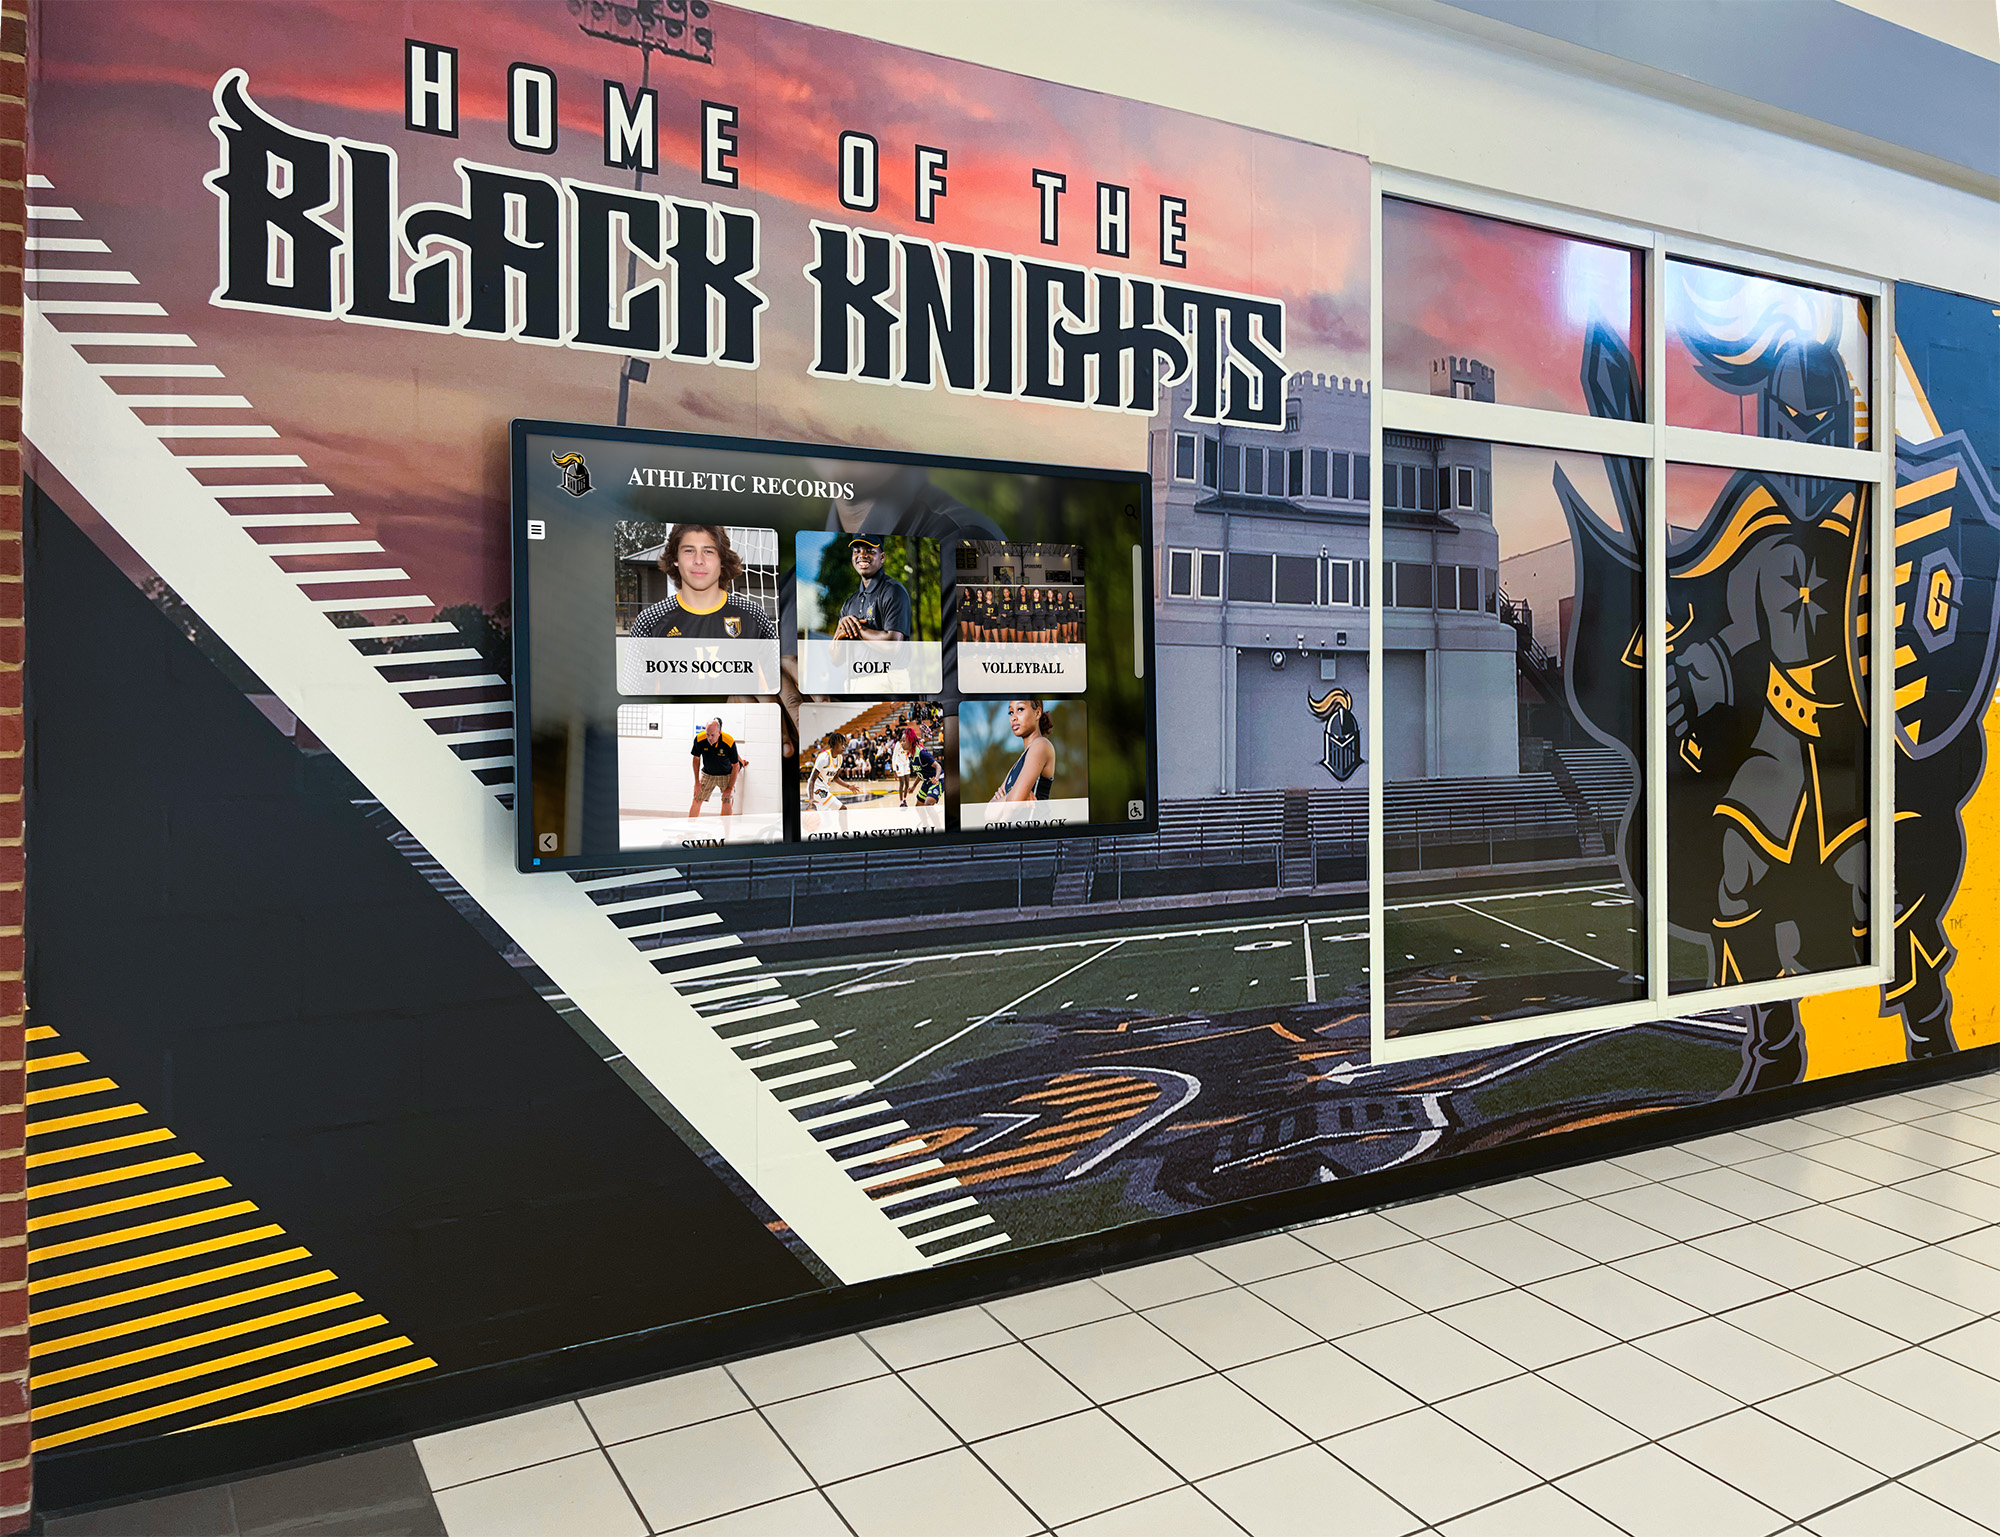
Recognition displays that surface decades of school history depend on clean, moiré-free derivatives produced by a documented descreening workflow — the production step that transforms printed yearbook photographs into assets that display well at any size
Connecting Descreened Archives to School Recognition Programs
A descreened yearbook image is an archival asset, but its value is realized when it becomes part of a living recognition program that students, alumni, and visitors can discover.
Hall-of-fame touchscreen displays: Clean portrait cards and team photos from descreened yearbooks populate athlete profiles in interactive kiosk systems. A visitor browsing a touchscreen hall-of-fame display can view the same photograph of a 1978 state championship team that appeared in that year’s printed yearbook — now rendered without moiré, properly sharpened, and correctly color-balanced. Building accessible, navigable digital recognition experiences around that content requires high-quality source imagery that survives the rendering pipeline intact.
Digital yearbook archive pages: Multi-decade yearbook archives that include descreened photographs support browsable filter-based navigation by year, sport, or name — a capability that depends on image quality being consistent enough to display well at any panel size in the archive interface.
Athletic awards recognition: Schools that maintain multi-year records of letter winners, academic all-state honorees, and team captains can connect descreened yearbook portraits to their awards data. When focus and accessibility standards are met across the display interface, that content is usable by every visitor regardless of how they navigate the system.
Logo and insignia recovery: Halftone-printed logos — school crests, team mascots, booster club marks — appear throughout printed yearbooks and programs. Descreening these prints before using them in digital recognition materials prevents moiré from degrading branding elements. The same descreening principles apply to scanning rank insignia, organizational patches, and printed emblems. Schools working with civil service organization imagery or printed heraldic marks — for example, when digitizing archives that include Civil Air Patrol rank insignia or organizational logos from printed sources — face identical halftone interference problems that the filter settings in this workflow resolve.
Searchable alumni databases: Once descreened portraits are embedded with accurate metadata — name, graduation year, sport, award — they become the image layer of a searchable alumni database. Schools using OCR to index scanned text alongside their photographic records find that properly descreened images produce dramatically more accurate character recognition than unprocessed scans, because the OCR engine is not interpreting halftone dots as text characters.
Frequently Asked Questions
What is moiré and why does it appear when scanning printed yearbooks?
Moiré is a visible interference pattern produced when two regular grids overlap at slightly different frequencies. Printed yearbook photographs are halftone grids of ink dots. When a flatbed scanner’s sensor grid reads that halftone grid, the two patterns interact to produce a third wavy pattern that is visible in the scanned image. The solution is a combination of choosing a scan resolution that does not harmonically resonate with the halftone frequency, and then applying a descreening filter that averages out the dot grid in software.
How do I find out what screen ruling my yearbook used?
Examine the image under a loupe magnifier or zoom in on a high-resolution test scan. If the dots are clearly visible to the naked eye, the screen ruling is likely 65–100 lpi. If you need a loupe to distinguish individual dots, the ruling is likely 120–150 lpi. For most school yearbooks printed between 1960 and 1985 on newsprint or standard offset, 85–100 lpi is a safe assumption. Yearbooks printed post-1990 on glossy paper are typically 133–150 lpi.
Should I apply descreening during the scan, after the scan, or both?
Both if your scanner supports hardware descreening. Hardware descreening operates at the sensor level before the image file is formed and reduces moiré at its source. Software descreening operates on the image data after capture and provides fine control over filter strength. Used together, hardware descreening reduces the gross moiré pattern and software descreening cleans up the residual interference. If your scanner does not offer hardware descreening, software-only descreening is effective when paired with correct DPI selection.
Will descreening make my yearbook images look blurry?
Descreening introduces softness because it applies a blur to average out the halftone dot grid. The selective sharpening step (Step 5) recovers edge detail without reintroducing the dot pattern. The key is setting the sharpening threshold above zero — this tells the software to sharpen only areas with actual tonal transitions (faces, lettering, edges) and leave smooth areas unsharpened. At a threshold of 4–8 levels, the final image is visibly sharper than the blurred intermediate version and free of the moiré pattern that was present in the original scan.
Can I automate the entire descreening workflow for a large archive?
The core scan-settings and filter-application steps can be batch-automated in most professional image-editing environments using actions, scripts, or batch-processing modes. The QA pass — verifying that moiré is resolved and sharpening has not introduced artifacts — should include manual spot-checks, particularly on images that will be prominently displayed in public-facing recognition programs. A fully automated pipeline without any quality gate will occasionally produce under-descreened or over-sharpened images that are not caught until they appear on a lobby display. The checklist above is designed to keep the manual review portion brief while catching errors that matter.
Do descreened yearbook images work with OCR text indexing?
Yes — descreened images produce substantially more accurate OCR results than unprocessed halftone scans. OCR engines attempt to identify character shapes; halftone dots introduce noise that the engine misinterprets as text characters, producing garbled output. A properly descreened image presents smooth tonal transitions and clean edges that the OCR engine can parse reliably. For schools building searchable name indexes from captioned yearbook photographs, descreening is a prerequisite, not an optional enhancement.
What resolution should I save my display-quality derivatives at?
For most hall-of-fame and digital yearbook display systems, JPEG derivatives at 96–150 DPI scaled to the display system’s required pixel dimensions are appropriate for screen display. For print-on-demand applications (awards programs, banquet slideshows, printed tribute pages), save at 300 DPI at the intended print size. Confirm the target resolution with your display platform before batch-producing a large derivative archive — changing the resolution after the fact means reprocessing from masters.
Ready to Put Your Descreened Archive to Work?
Rocket Alumni Solutions helps schools transform decades of cleaned-up yearbook photographs, athletic portraits, and team photos into interactive hall-of-fame displays, searchable digital archives, and recognition programs that connect students, alumni, and families to a school's full history. The right platform makes that content navigable, accessible, and display-ready — from a single lobby kiosk to a multi-campus recognition network.
Request Your Free DemoConclusion: Descreening as the Gateway to a Living Archive
A digital yearbook descreening workflow is the production step that determines whether decades of halftone-printed school history become a navigable digital archive or stay locked in a format that makes faces look like they were photographed through a wire mesh. The eight steps in this guide — material assessment, resonance-aware DPI selection, hardware and software descreening, selective sharpening, color correction, QA verification, structured filing, and platform ingest — give any school team a repeatable process that scales from a single yearbook to a multi-decade archive.
The physical effort required is modest. The archival benefit is permanent: every album processed through this workflow produces clean, searchable, display-quality derivatives that can power a hall-of-fame touchscreen, a digital yearbook anniversary page, or an athletic recognition program for as long as the school’s community finds value in its own history.
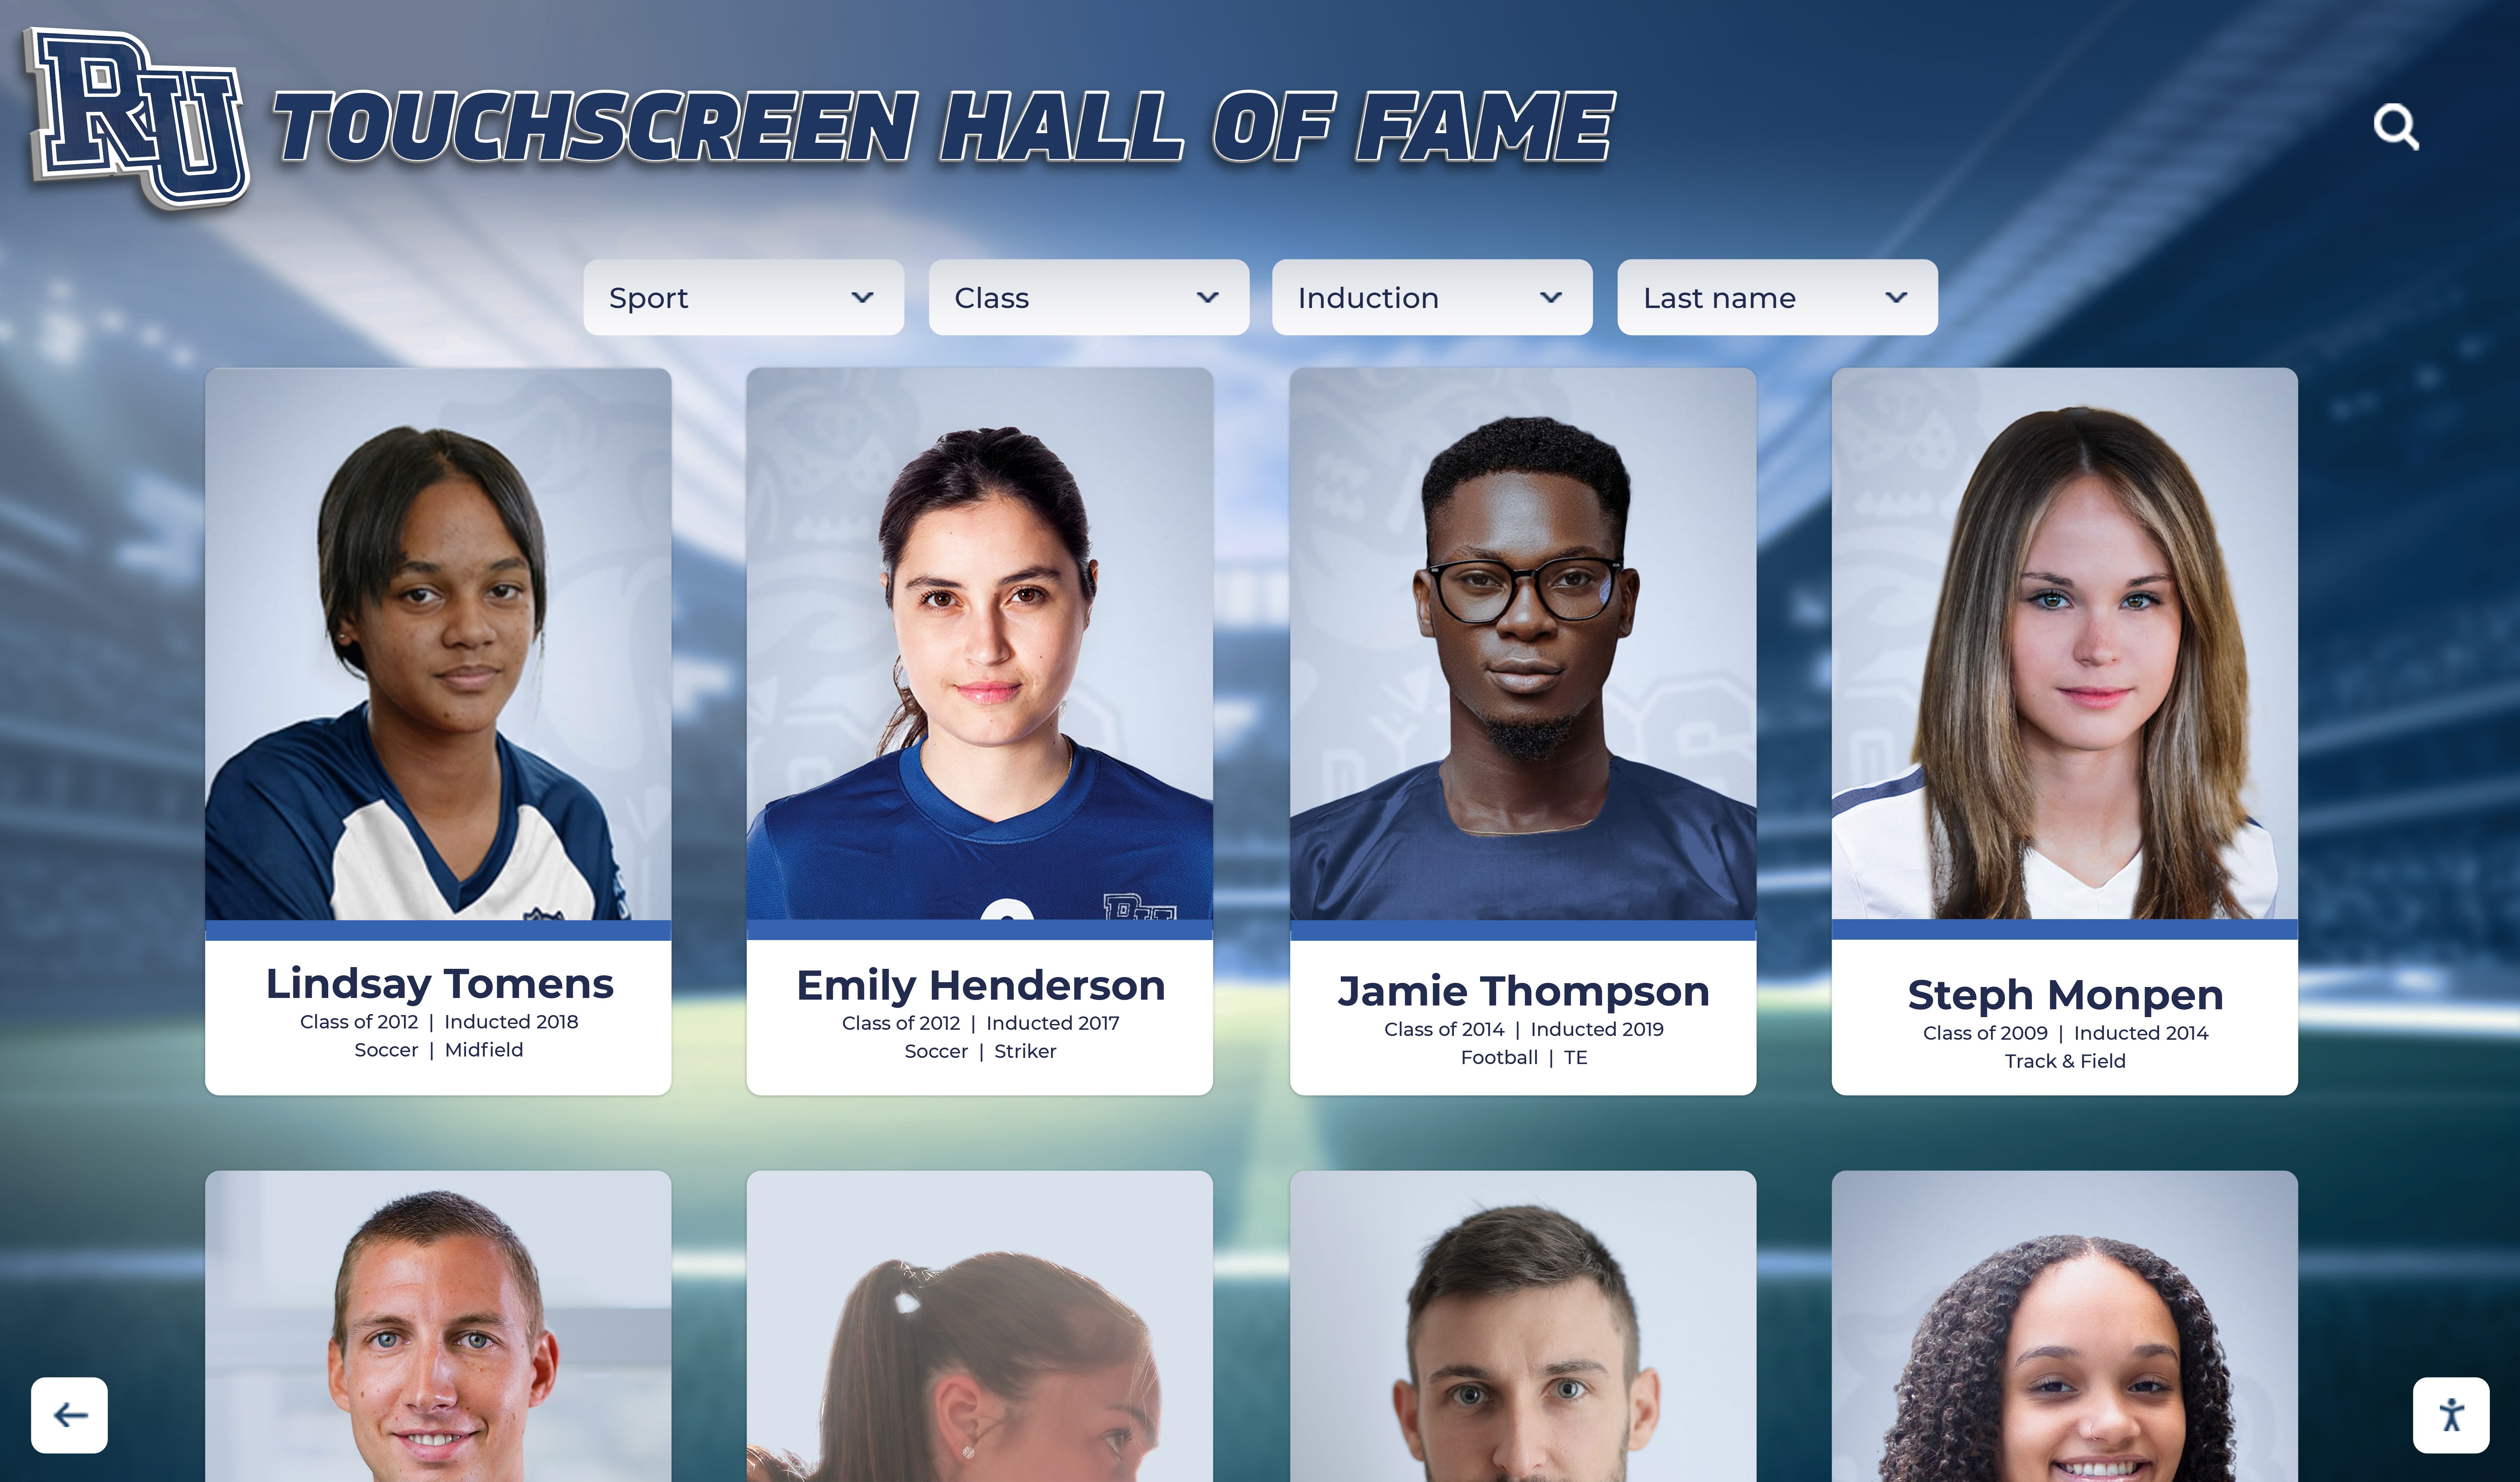
Touchscreen recognition installations that surface decades of athlete portraits and team photographs depend on display-quality derivatives produced by a documented descreening workflow — clean source imagery that survives any panel size without moiré artifacts
The tables, checklists, and FAQ in this guide are designed so that a yearbook adviser, an IT team member, or an athletic director can run the workflow without outside expertise. The physics of halftone interference are fixed; the settings that resolve it are learnable. What the workflow requires is consistency — the same documented process applied to each batch — and a commitment to verifying results before committing derivatives to a recognition program that the school community will rely on for years.































