Athletic departments accumulate decades of irreplaceable history on removable media — floppy disks from the early 1990s holding team rosters, CD-Rs containing championship game highlights, USB drives stuffed with coaching photos, and external hard drives that last spun up during a different administration. When it comes time to pull that content into a modern digital archive, the single biggest risk is accidental modification: a careless copy job, an auto-indexing system writing metadata to the source disk, or a malware scan that tags files on the original media.
A write blocker prevents all of that. By inserting a hardware or software barrier between the legacy media and the host computer, the athletic archive write-blocker workflow guarantees that every bit read from a source disk is delivered unaltered — and that nothing is ever written back. The result is a verified, court-admissible image of the original that can be stored, migrated, and displayed without touching the source media again.
This guide walks athletic directors, IT/AV coordinators, school archivists, and facilities teams through a practical write-blocker workflow — from identifying which legacy media your department holds, through selecting the right hardware, to producing checksummed archive packages ready for display in digital hall of fame systems and interactive campus exhibits.
Schools that treat original athletic media as evidence — protecting it the way a forensic investigator protects a hard drive — never face the situation of discovering that an old disk was overwritten during routine copying. The workflow below is designed to prevent exactly that outcome, while turning decades of stored media into a living recognition archive.

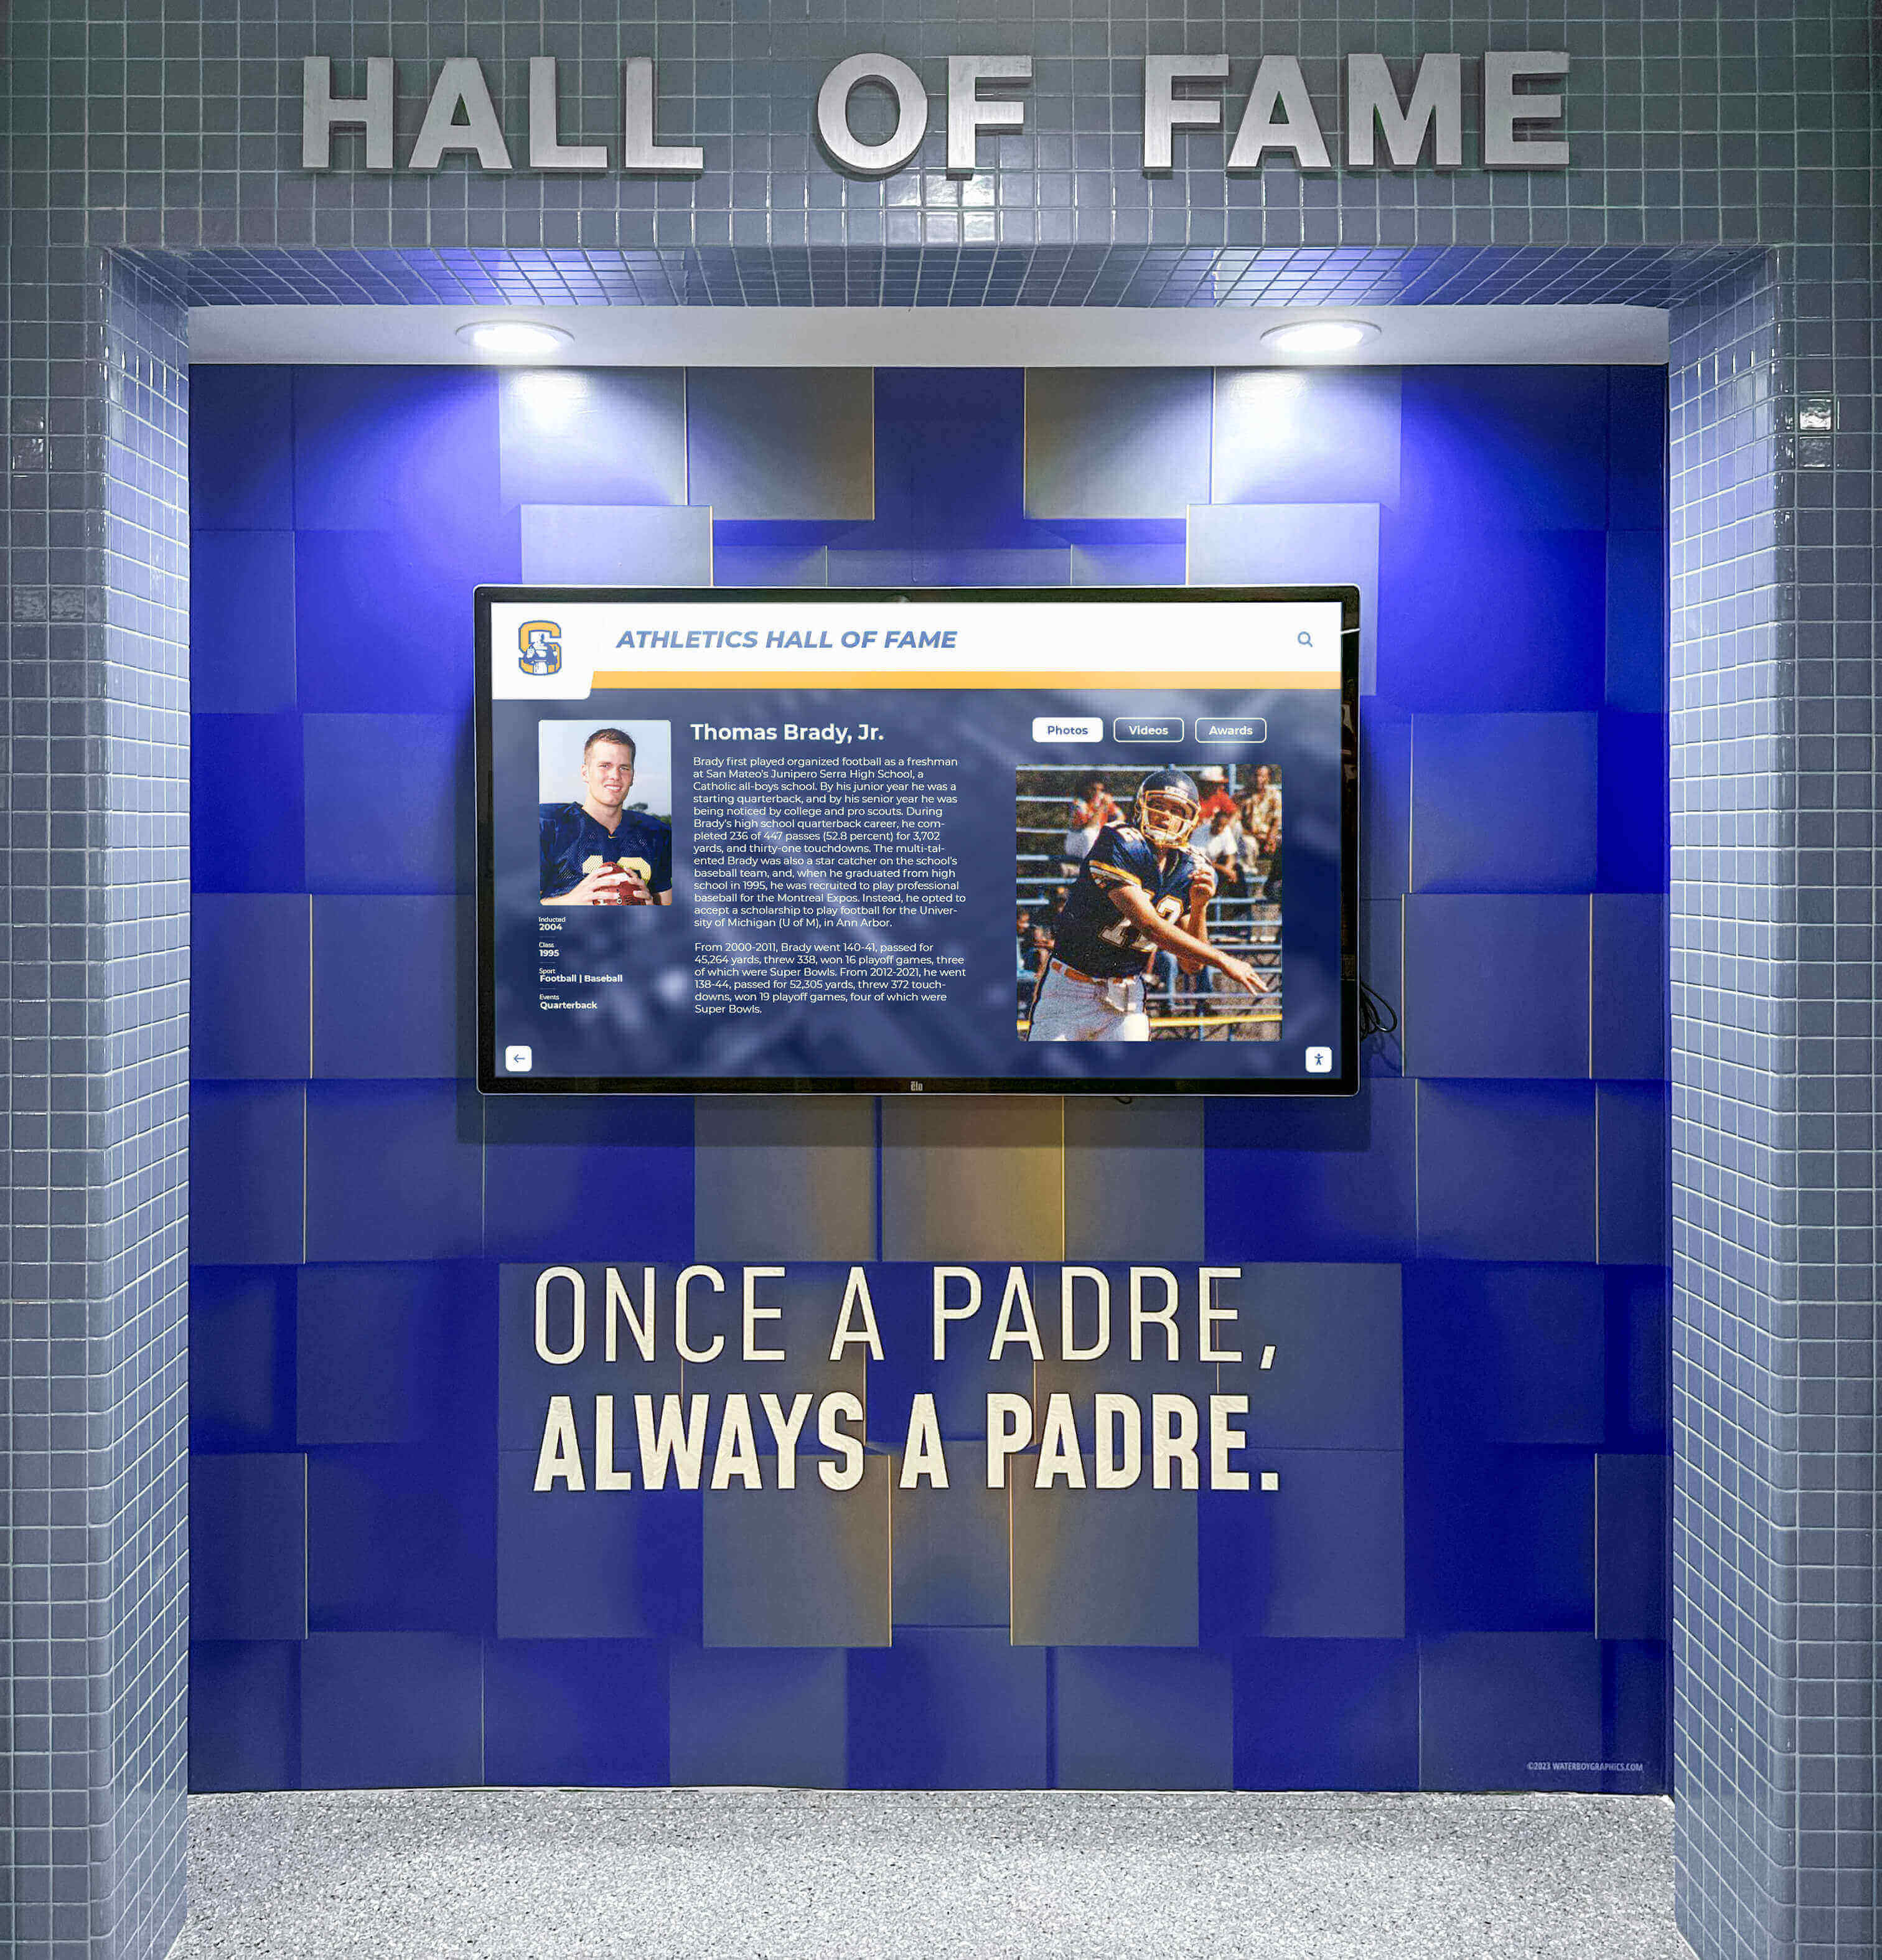
Decades of athletic history stored on legacy media can power modern recognition displays — but only when the original disks and drives are protected during ingest through a proper write-blocker workflow
Why Write Blockers Matter for Athletic Archives
A write blocker is a device — hardware, software, or both — that intercepts every write command sent from a host computer to a connected storage device and discards it, while passing all read commands through normally. The host operating system behaves exactly as if it mounted a writable device, but no data is ever changed on the source media.
Without a write blocker, even read-only operations can modify a disk. Windows auto-generates thumbnail caches. macOS writes .DS_Store files. Antivirus software timestamps files during scans. These changes are invisible in the file listing but alter the media’s state — potentially invalidating chain-of-custody records and, more practically, corrupting fragile data structures on aging disks that cannot handle unexpected write cycles.
For athletic archives, the stakes are concrete:
- Unique content. Championship game footage shot on DV tape and transferred to a CD-R in 2003 may not exist anywhere else. One write error on that disk during ingest could render it unreadable.
- Original metadata. File creation and modification timestamps on old photos record the actual date of a game or event. Copying without a write blocker often resets those timestamps to today’s date, erasing historical context.
- Legal record integrity. Some athletic records — particularly scholarship documentation, eligibility certifications, and disciplinary files stored on removable media — may be subject to records retention requirements. Demonstrably unmodified copies support compliance.
- Long-term re-ingest. Properly write-blocked originals can be re-imaged years later with better tools. Media that was overwritten or accidentally modified cannot be recovered.
The write-blocker workflow is not bureaucratic overhead. It is the minimum standard for responsible athletic archive management.
Inventorying Your Legacy Athletic Media
Before any hardware arrives, conduct a complete inventory of what your athletic department actually holds. Media types commonly found in school storage rooms include:
| Media Type | Common Era | Typical Athletic Content |
|---|---|---|
| 3.5-inch floppy disks | 1990–2005 | Roster files, scheduling software data, early desktop-published programs |
| Zip disks (100 MB, 250 MB) | 1995–2005 | Photo archives, scorebook scans, video frame grabs |
| CD-R / CD-RW | 1998–2012 | Game video, team photo collections, digital programs |
| DVD-R / DVD-RW | 2002–2015 | Full game footage, highlight reels, recruitment video |
| USB flash drives | 2004–present | Mixed photo and video archives, coaching notes |
| External hard drives (USB/FireWire) | 2006–present | Season-length photo libraries, video archives |
| SD / CompactFlash cards | 2004–present | Camera card backups, still photo raw files |
| MiniDV tape (via capture card) | 1996–2010 | Game and practice video transferred to digital files |
Log every item found: media type, approximate year range, any visible label, physical condition, and the department or staff member it came from. A spreadsheet or simple database entry per item gives you the project scope and helps prioritize which media is most fragile or most historically significant.
For optical media (CDs and DVDs), inspect the disc surface under bright light before any ingest attempt. Disc rot — visible as bronzing, cloudiness, or pin-hole degradation — may require professional data recovery before write-blocking can help. Prioritize deteriorating discs in your ingest schedule.
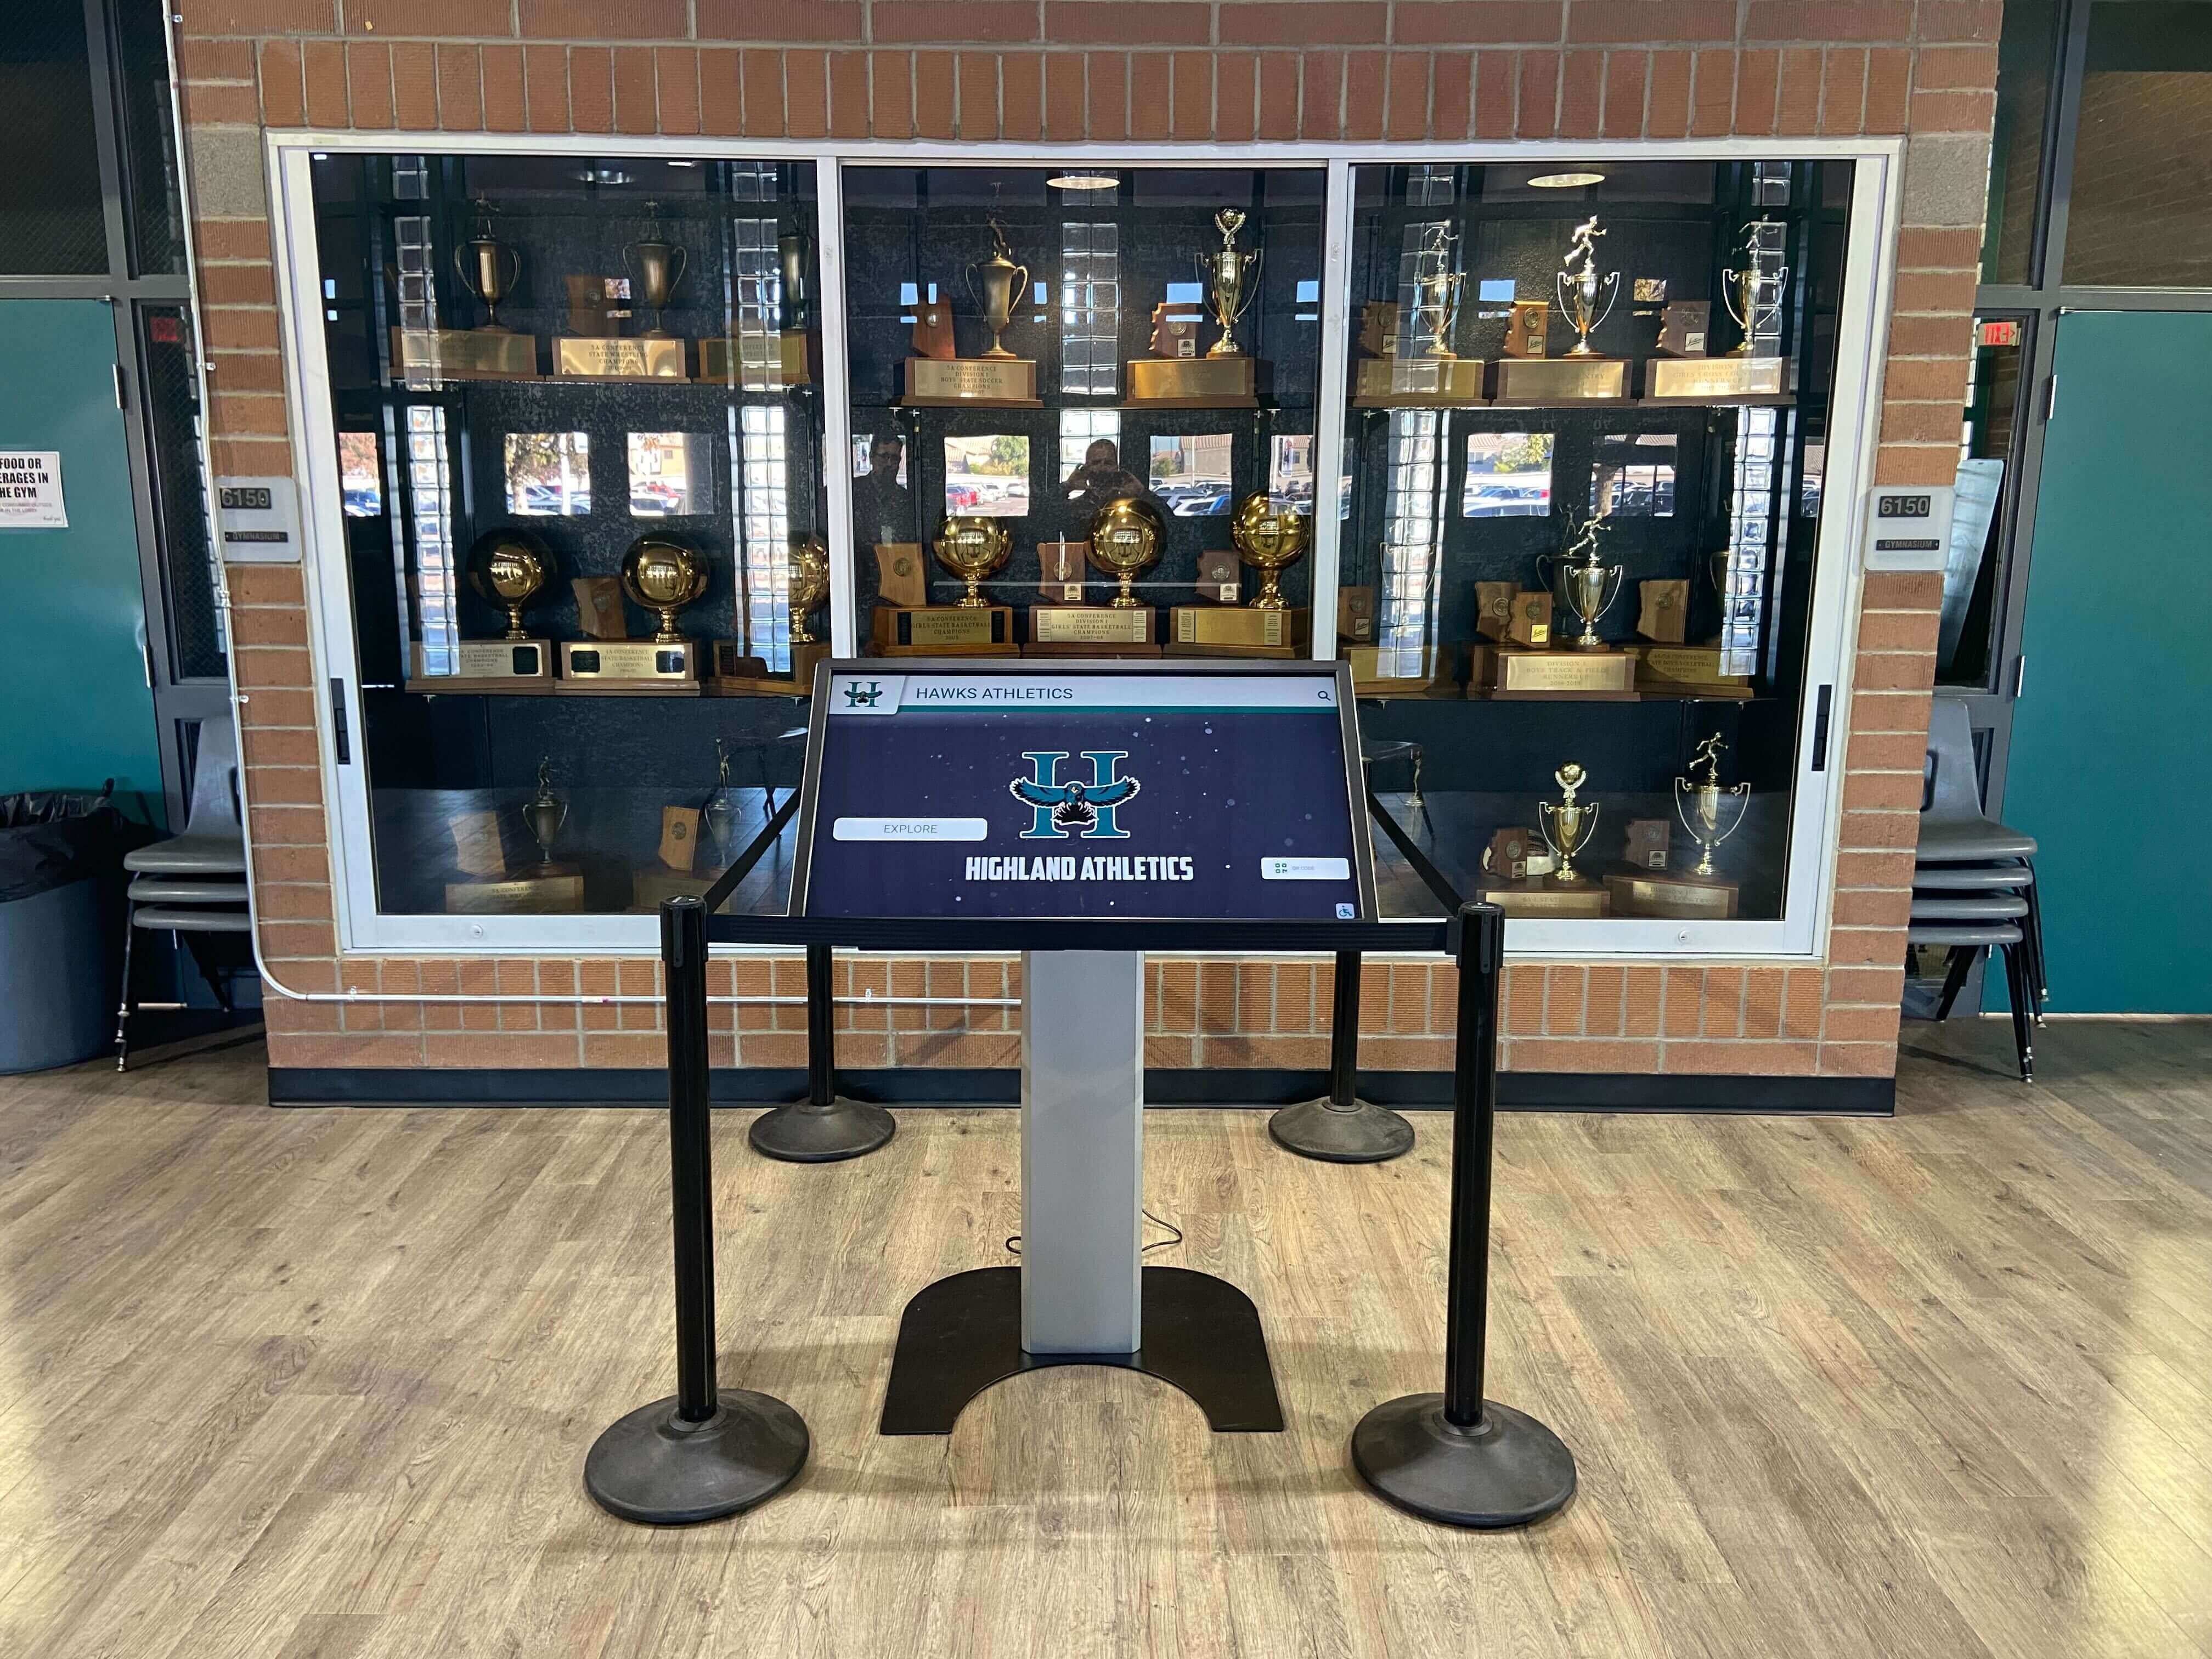
Trophy cases increasingly pair physical artifacts with interactive touchscreens — the athletic content that feeds those displays comes directly from legacy media ingested through write-protected workflows
Selecting the Right Write Blocker
Hardware write blockers are the gold standard for archival ingest because they operate at the hardware interface level, independently of the host operating system or any software running on it. A software write blocker can fail if the OS updates, if a driver conflict occurs, or if a privileged process bypasses the block — risks that hardware eliminates.
Hardware Write Blockers by Interface Type
Choose a write blocker that matches the interface you need to read. Many archival workstations use a multi-interface unit covering several connection types in one device.
USB (Type-A and Type-C) Universal, covers modern flash drives and most portable hard drives. Look for units that support USB 3.x passthrough so large hard drive ingests do not bottleneck on USB 2.0 speeds.
SATA / IDE Required for bare internal drives removed from older laptop or desktop computers. If a staff member’s old coaching laptop contains years of practice film stored internally, a SATA write blocker lets you read that drive directly without booting the laptop.
SD / CF / microSD Many athletic photographers archived directly from camera cards. A dedicated card write blocker or a multi-format unit with protected card slots prevents any auto-indexing from running on raw camera cards.
USB optical drive (CD/DVD) Optical discs are inherently read-only media in normal use, but a dedicated drive for archival purposes — combined with software verification — ensures that no session-closing write accidentally appends to a multi-session disc.
Forensic multi-format units from vendors such as Tableau (now part of OpenText Forensics), WiebeTech (now CRU), and Logicube cover USB, SATA, IDE, and card interfaces simultaneously. These are widely used by law enforcement and digital archivists and are appropriate for institutional athletic archive projects. Prices range from roughly $300 for a single-interface USB unit to $1,000–$2,500 for multi-interface forensic workstations.
Software Write Blockers
For environments where hardware is not immediately available, software write blockers — typically implemented at the operating system’s device driver level — provide a functional interim solution. Windows Registry tweaks can enable a software write block for USB mass storage devices. Linux provides block device write protection through hdparm flags and blockdev --setro commands. macOS’s disk arbitration layer can be configured for write protection.
Use software write blockers only when:
- The media is solid-state (no mechanical read/write heads that could benefit from hardware protection)
- You understand the host OS and can verify the block is active before mounting the device
- You document the software version and settings used, for audit purposes
For a school athletic archive project where physical originals must be preserved long-term, the modest cost of a hardware write blocker is justified.
The Athletic Archive Write-Blocker Workflow: Step by Step
The following workflow applies to USB drives, external hard drives, and SD cards — the most commonly found legacy media in athletic departments. Optical disc and tape workflows follow the same principles with interface-appropriate hardware.
Phase 1: Prepare the Archival Workstation
Set up a dedicated workstation — or a reserved partition of an existing archival PC — for the ingest project. Install:
- MD5/SHA256 hashing tools:
md5sumandsha256sumon Linux/macOS; HashCheck, HashMyFiles, or Windows PowerShell’sGet-FileHashon Windows - Disk imaging software:
ddorddrescueon Linux/macOS; FTK Imager (free) or Guymager (free, Linux) on Windows - File transfer and verification tool:
rsyncwith checksum verification (--checksum) or Robocopy on Windows
Connect the hardware write blocker to the workstation via its host interface (typically USB 3.0 from the blocker to the workstation). Verify that the write-protect indicator LED on the blocker is active before connecting any source media.
Phase 2: Compute a Pre-Ingest Hash
Before copying a single file, calculate a cryptographic hash of the entire source device. This hash is the fingerprint of the media in its original, unmodified state.
# Linux/macOS — hash entire device (replace sdX with your device identifier)
sudo sha256sum /dev/sdX > /archive/project/source_media_001_sha256.txt

# Windows PowerShell — hash a mounted volume's contents
Get-ChildItem -Recurse "E:\" | Get-FileHash -Algorithm SHA256 | Export-Csv source_media_001_hashes.csv
Record the hash alongside:
- Media inventory number
- Date and time of hash computation
- Write blocker model and firmware version
- Operator name and department
This record is your chain-of-custody documentation. It proves — to an auditor, a compliance officer, or a future archivist — that the files you deliver are identical to the files that were on the original disk when you received it.
Phase 3: Create a Disk Image (Optional but Recommended)
For fragile or deteriorating media, create a sector-by-sector disk image before working with individual files. A disk image is a single file that contains the complete binary content of the source device, including file system structures, deleted file remnants, and any unallocated space.
# Linux/macOS — create a compressed image with ddrescue for resilience on damaged media
ddrescue -d -r3 /dev/sdX /archive/project/media_001.img /archive/project/media_001.log

# FTK Imager (Windows GUI) — File > Create Disk Image > Physical Drive
# Select E01 format for forensic imaging with built-in verification
Disk images allow future re-analysis if better recovery tools emerge, preserve deleted files that may have historical value, and can be mounted read-only for browsing without touching the original device again.
Phase 4: Copy Files with Verification
Whether working from the live device or a mounted image, copy files using a tool that verifies each transferred file against its source:
# rsync with checksum verification
rsync -av --checksum /mnt/source_media/ /archive/project/media_001_files/

# Robocopy (Windows) with file hash logging
robocopy E:\ D:\archive\media_001 /E /COPYALL /LOG:media_001_transfer.log
Log every file copied, its size, and its hash. Flag any files that fail checksum verification for manual inspection before the source media is disconnected.
Phase 5: Compute a Post-Transfer Hash
After copying, hash the destination files using the same algorithm as the pre-ingest hash. A matching hash confirms that the transfer introduced no corruption. A mismatch indicates a problem with the transfer tool, storage medium, or cable — and means the copy must be redone before the source is disconnected.
Document the post-transfer hash alongside the pre-ingest hash in your project record. These two matching values are the formal verification that the ingest succeeded without modification.
Phase 6: Store Originals Safely
Once verified, the source media returns to archival storage:
- Optical discs: Acid-free polypropylene sleeves in a binder or archival box, stored upright, away from direct light and temperature extremes
- Magnetic media (floppy, Zip, hard drives): Anti-static bags inside archival boxes, in a stable, low-humidity environment
- Flash media (USB, SD): Anti-static bags, in a cool, dark location; note that flash memory degrades in long-term storage without power cycling, so plan to re-verify and re-image every 3–5 years
Label each item with the inventory number, ingest date, and file location in the digital archive. The original media should never need to be mounted again — but it should always be findable if it does.

Historic athletic content ingested from legacy media can populate interactive touchscreen displays where visitors browse team histories, championship records, and individual athlete profiles by year or sport
Organizing Ingested Athletic Content for Display
Raw files on an archive drive are preservation, not presentation. The real payoff of the write-blocker workflow comes when organized, verified content flows into recognition programs, campus displays, and alumni platforms.
Folder and Naming Conventions
Establish a naming convention before ingest begins and apply it consistently:
/athletic-archive/
  /photos/
    YYYY_sport_team-name_description.jpg
    (e.g., 1998_football_varsity_championship-banner.jpg)
  /programs/
    YYYY_sport_opponent_date.pdf
  /video/
    YYYY_sport_event-description.mp4
  /documents/
    YYYY_document-type_description.pdf
Consistent naming allows any future database or display system to parse the metadata embedded in filenames — year, sport, and content type — without requiring manual re-entry.
Metadata Embedding
Embed IPTC and XMP metadata into image files as part of the ingest workflow. Tools like ExifTool (free, cross-platform) can batch-write fields including:
Title: Team name and seasonDescription: Caption describing the image content and contextDateCreated: Original event date (from original file timestamp or label)Keywords: Sport, team, year, players identified in the imageCreator: Original photographer if known
Embedded metadata travels with the file regardless of where it’s copied, indexed, or displayed — making it the most durable form of descriptive record for athletic archive content.
Connecting to Campus Recognition Systems
Once organized and metadata-tagged, ingested athletic content integrates naturally with the interactive recognition displays that bring institutional heritage to life in lobbies, hallways, and trophy rooms. Schools building advanced touchscreen recognition programs draw directly from verified digital archives — the clean, checksummed files produced by a write-blocker workflow are exactly the inputs those systems expect.
For schools displaying sports memorabilia and athletic history in engaging formats, properly ingested and organized archive content eliminates the manual rekeying of historical information — the archive becomes the authoritative source for years, rosters, and achievements that display software can read directly.
If your school is building or expanding an alumni recognition program, alumni spotlight recognition guides demonstrate how archived athletic content from legacy media — old team photos, championship programs, letter-winner rosters — fits naturally into modern alumni engagement formats.

Arena lobby displays that celebrate individual athletes rely on verified, high-quality digital files — the kind that a write-blocker ingest workflow produces from legacy media that has been in storage for decades
Common Challenges and How to Address Them
Unreadable Discs and Drives
Optical disc rot, magnetic degradation, and flash memory corruption all produce read errors during ingest. ddrescue handles these better than dd by retrying failing sectors and mapping which sectors succeeded — allowing partial recovery of a deteriorating disc rather than an all-or-nothing failure. For severe degradation, professional data recovery services with cleanroom facilities may recover content that standard archival tools cannot.
Always attempt ingest before assuming media is unrecoverable. Many discs that trigger read errors in consumer drives read successfully in a different drive model or at a lower read speed.
Proprietary File Formats
Coaching software from the early 2000s may have written files in formats that no current application can open — .SID or .ATH or similar proprietary extensions. Before declaring these unreadable:
- Search the original software manufacturer’s website or archived pages for documentation
- Try opening files in current versions of the same software category (video editing, statistics, scouting platforms)
- Submit format samples to the Library of Congress Format Registry or the PRONOM database, which catalogs thousands of legacy formats and may identify a reader
- Contact the software vendor directly — some maintain legacy format documentation even for discontinued products
Documenting unresolvable proprietary formats in the archive record preserves the information that the file exists, even if its content cannot currently be read.
Chain of Custody for Shared Media
Media that passed through multiple departments (coaching staff, athletic communications, IT) may have unclear ownership. Before ingesting shared drives, confirm with appropriate administrators that the ingest is authorized. Document who provided the media, when, and for what purpose. This is especially important for any media that may contain student-identifiable information governed by FERPA.
Storage Capacity Planning
A full ingest of a large athletic department’s legacy media can produce several terabytes of raw disk images and extracted files. Plan storage before beginning:
| Collection Size | Estimated Raw Data | Recommended Storage |
|---|---|---|
| Small (< 50 items) | 100 GB – 1 TB | NAS with RAID-1 plus offsite backup |
| Medium (50–200 items) | 1–10 TB | NAS with RAID-6 or RAID-10 plus cloud backup |
| Large (200+ items) | 10–50 TB | Dedicated archive server plus dual offsite copies |
Apply the 3-2-1 rule: three copies of every file, on two different media types, with one copy off-site.
Connecting the Archive to Ongoing Athletic Recognition
The write-blocker workflow is the foundation of a digital athletic archive — but the archive is most valuable when it actively serves the school community. Historic content from properly ingested legacy media feeds multiple downstream programs.
Hall of fame nominations. A searchable archive of team photos, program PDFs, and game summaries gives selection committees the evidence they need to evaluate nominees from decades past. Schools building wrestling and specialty sport hall of fame programs rely on verified archive content to populate inductee profiles accurately.
Community showcase projects. Athletic archive content — championship game programs, letter-winner portraits, record-board photos — integrates naturally into broader community showcase projects that celebrate school heritage across sports, arts, and academic achievement.
Donor recognition. Former athletes who see their own history accurately documented are more likely to support the programs that preserved it. Donor recognition walls for nonprofits increasingly incorporate athletic heritage content as a way to connect giving to visible institutional impact.
Graduation and honor displays. Athletic achievement intertwines with academic recognition. Graduation honors recognition displays that incorporate multi-sport letter winner and athletic scholar information draw directly from the same archive that the write-blocker workflow produced.
Rocket Alumni Solutions can help your school connect a verified athletic archive to interactive campus displays that make the content discoverable for students, visitors, and returning alumni. If you want to see how ingested legacy content translates into a live recognition experience, request a demo to see the platform in action.
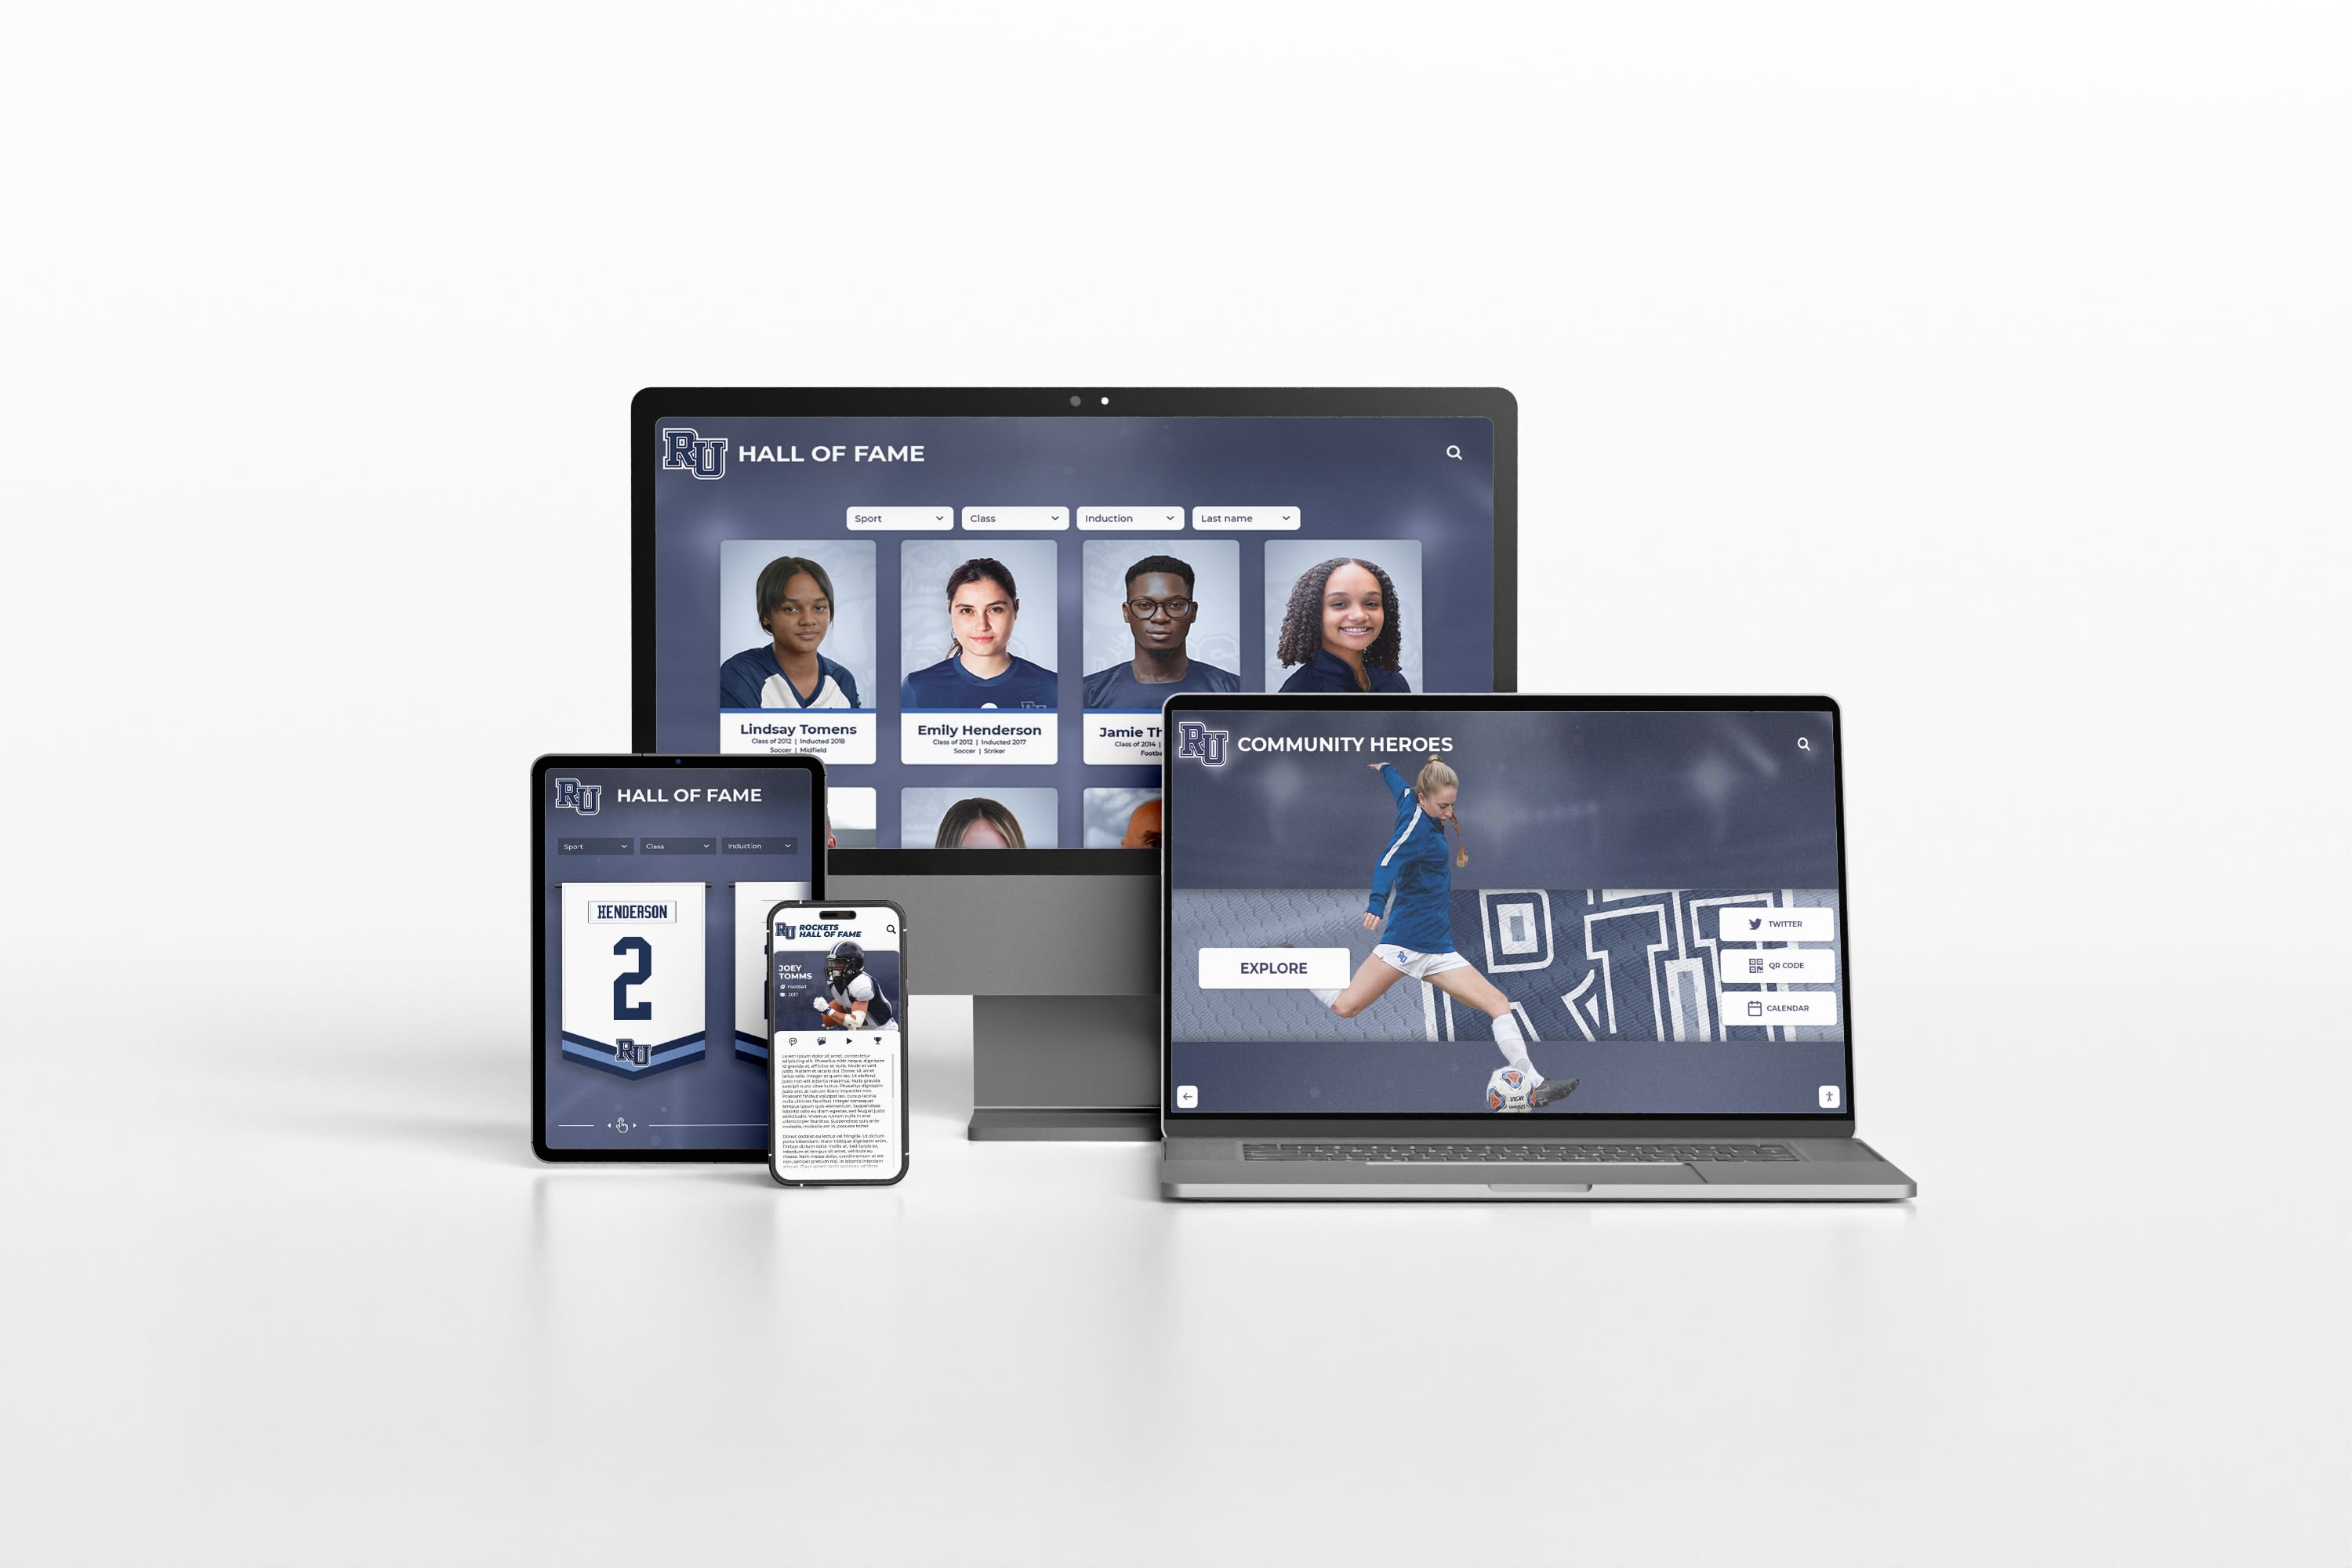
A write-blocker ingest workflow that produces verified, organized athletic archive files makes it straightforward to publish historical content across web and mobile platforms — giving alumni access to school history from anywhere
Building a Write-Blocker Ingest Program for Your District
A one-time project covers existing backlogs, but athletic departments continuously generate new legacy media as equipment cycles and staff turn over. Building a sustainable program means establishing the workflow as standard practice.
Recommended Equipment List
| Item | Purpose | Approximate Cost |
|---|---|---|
| USB 3.0 hardware write blocker | Primary write protection for flash drives and portable HDDs | $300–$500 |
| SATA/IDE write blocker | Internal drive extraction from old laptops and desktops | $400–$700 |
| Multi-card reader with write protection | SD, CF, microSD card ingest | $150–$300 |
| Forensic imaging workstation (or dedicated PC) | Running hash, imaging, and transfer tools | $800–$2,000 |
| NAS with RAID storage | Archival storage for images and extracted files | $500–$3,000 |
| Anti-static bags and archival sleeves | Physical storage of original media after ingest | $50–$200 |
Total initial investment for a complete single-department setup: approximately $2,200–$6,700. District-wide programs that serve multiple schools can share the write blocker hardware while each school maintains its own archival storage.
Staff Training Priorities
One or two IT/AV staff members trained in the write-blocker workflow can manage an entire district’s legacy media ingest. Key competencies:
- Identifying media types and matching them to appropriate hardware
- Operating write blocker hardware and verifying the write-protect status
- Running disk imaging and file transfer tools with hash verification
- Applying consistent file naming and metadata conventions
- Documenting chain of custody for each ingest session
Annual refresher training keeps skills current as media types and tools evolve. Consider cross-training a library or archive staff member to handle overflow during busy seasons — year-end and post-championship periods when coaches hand over season’s media.
Integrating with Existing Records Management
The athletic archive does not exist in isolation. Coordinate with:
- District records retention schedules: Understand which categories of athletic records must be retained, for how long, and in what form. Some records categories require the original physical media in addition to digital copies.
- IT data governance policies: Digital archive files should be managed under the same backup, access control, and retention policies as other district institutional records.
- Alumni and advancement offices: The digital archive is a resource for alumni relations programs. Establish a process for alumni relations staff to request content from the archive for reunion programming, donor appeals, and alumni spotlights.
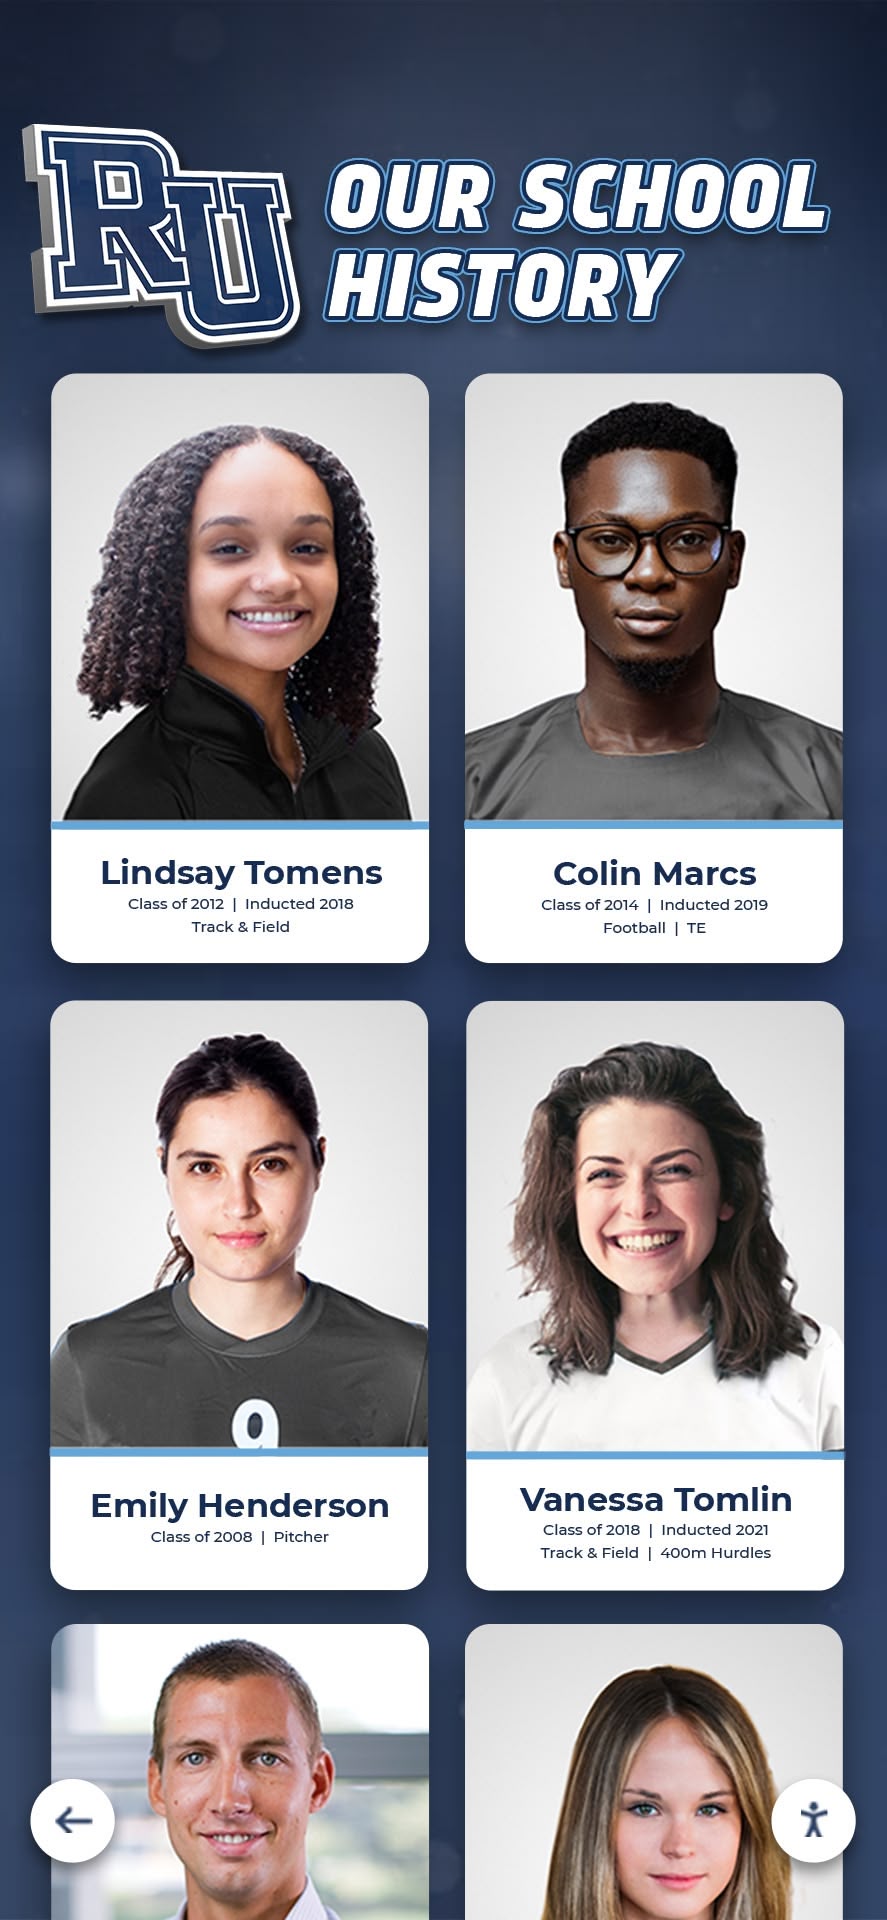
Portrait cards and team photos spanning multiple decades of athletic history — the kind of content recovered from legacy media through write-blocker ingest — become searchable institutional records that serve alumni, development, and campus display programs simultaneously
FAQ: Athletic Archive Write-Blocker Workflow
Do I really need a hardware write blocker, or will a software block work?
For archival purposes where original media must be demonstrably unmodified, hardware write blockers are the professional standard. Software write blockers are acceptable for interim use on solid-state media when hardware is unavailable, but they add risk because they depend on correct OS configuration. Hardware blockers operate independently of the OS and eliminate that variable.
Can I just copy files normally using Windows Explorer or macOS Finder?
No. Copying via the OS file browser does not prevent the OS from writing system metadata to the source device, does not verify file integrity during transfer, and does not create a pre/post hash for chain-of-custody documentation. Normal file copying is appropriate for routine data management, not archival ingest of original legacy media.
What if a disk has physically failed and won’t mount at all?
Physical failure — a clicking hard drive, a cracked optical disc, a snapped SD card — requires professional data recovery before write-blocking is relevant. Data recovery labs with cleanroom facilities can often recover content from mechanically failed media. Once the content is recovered, the write-blocker workflow applies to any replacement media or image file the recovery service delivers.
How do I handle media that contains student information under FERPA?
Apply your district’s standard records management and access control policies. Limit access to ingested archive files containing student-identifiable information to authorized staff. For legacy media received from individual coaches or staff members, confirm that ingest and retention are authorized under your district’s records policies before proceeding. Consult your district’s FERPA compliance officer if content scope is unclear.
How long should we retain the original physical media after a verified ingest?
Retain indefinitely for historically significant media — original championship game recordings, unique photographs, signed game programs. For commodity media (routine coaching notes, draft scheduling files) where digital copies are verified and complete, your district’s records retention schedule governs disposition. When in doubt, retain the original; the cost of archival storage is low compared to the risk of destroying irreplaceable content.
Can ingested archive files feed directly into digital hall of fame displays?
Yes. Properly organized, metadata-tagged image and video files from a write-blocker ingest are the standard inputs for digital recognition platforms. Systems like Rocket Alumni Solutions are designed to import historical content from verified archive libraries, matching file metadata to display fields for year, sport, athlete name, and achievement type — eliminating duplicate data entry.
What is the difference between a disk image and a file-level copy?
A disk image is a sector-by-sector binary copy of the entire storage device, including file system structures, deleted files, and unallocated space. A file-level copy transfers only files that the file system recognizes as present. For archival purposes, disk images are preferred because they capture everything on the device — including content that the file system no longer lists as a file — and can be verified against the source device hash. File-level copies are appropriate when storage space is limited and deleted-file recovery is not a project goal.
An athletic archive write-blocker workflow is a one-time investment that pays forward for every decade of athletic history your department still needs to preserve. The equipment is modest, the workflow is learnable in an afternoon, and the alternative — discovering years later that an original disk was silently modified or a transfer corrupted — is a risk no institution needs to accept when a straightforward technical solution exists.
Once your legacy media is safely ingested, verified, and organized, those files become the foundation for everything from hall of fame nomination packages to interactive lobby displays. Request a demo from Rocket Alumni Solutions to see how a verified athletic archive connects to a recognition platform that puts decades of school history in front of the students, visitors, and alumni walking through your building today.































