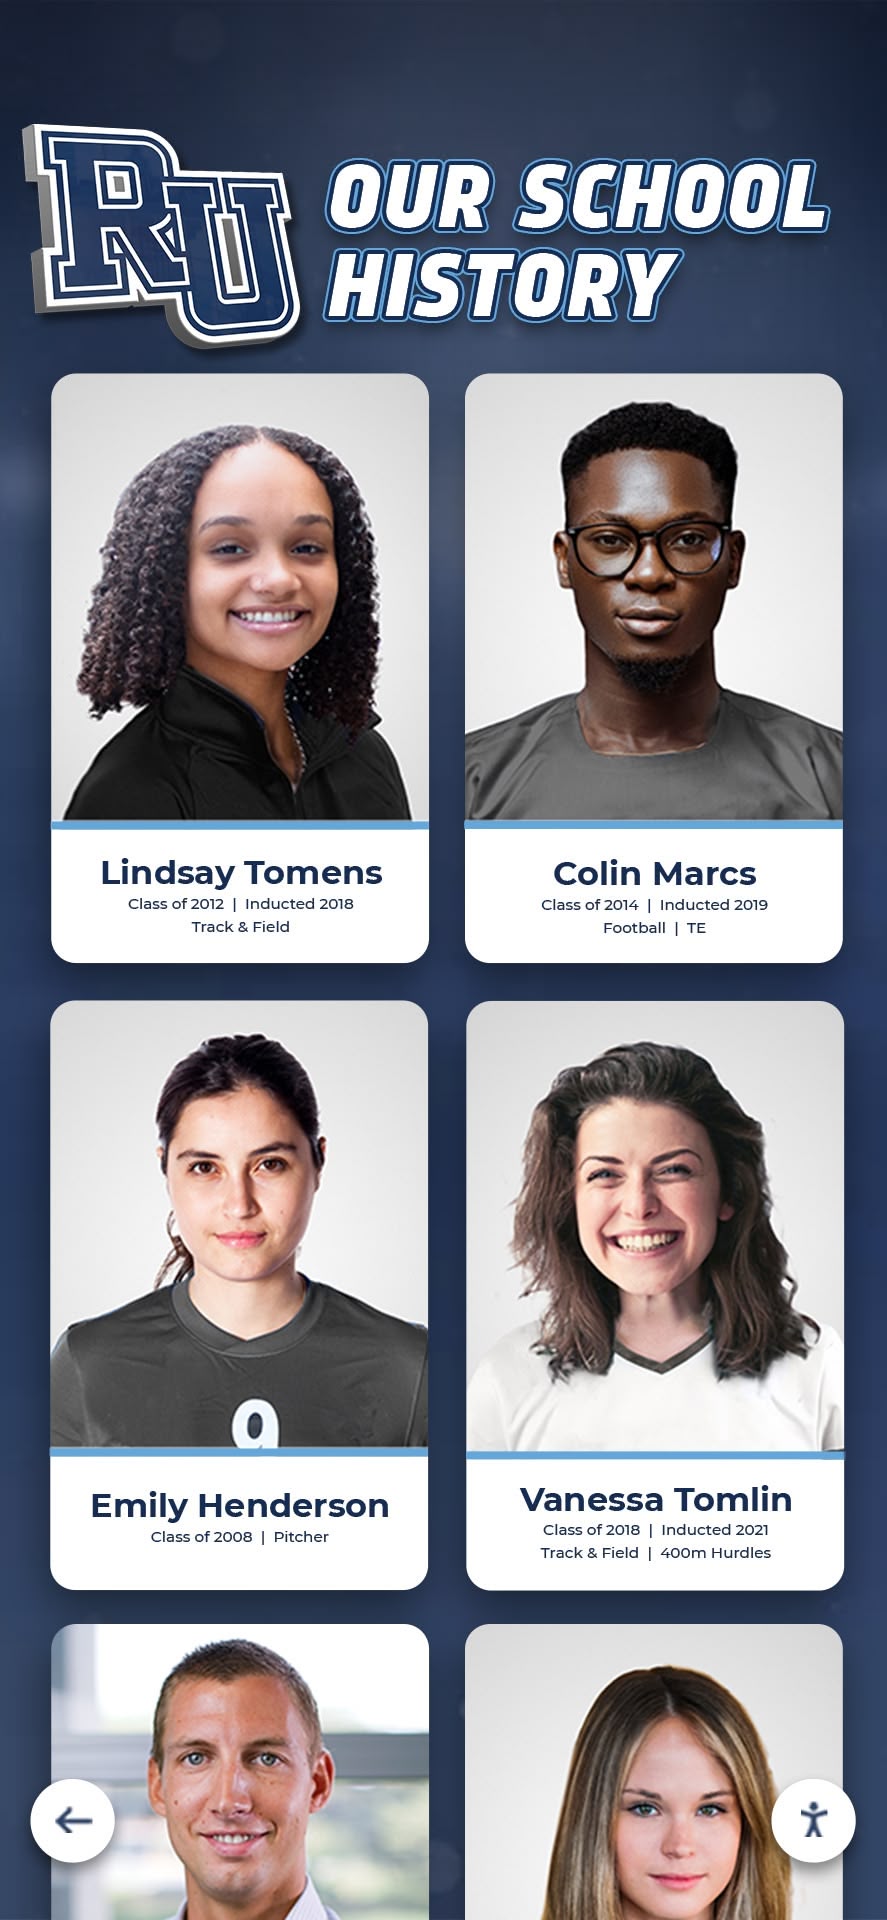
Historic school athletic photos carry decades of community pride—championship teams, record-breaking seasons, and the faces of athletes who shaped a program’s identity. But color casts from aging film, inconsistent scanning, and varied original lighting can make those images look dated or visually inconsistent when displayed on modern recognition screens or in digital yearbooks. An athletic archive white balance correction workflow solves this by giving you a structured, repeatable process that restores accurate color tone while preserving the archival authenticity that makes these photos meaningful.
For school administrators, athletic directors, and AV or IT teams managing yearbook archives or digital hall of fame systems, this workflow creates a consistent visual standard across photos from different eras, photographers, and printing methods. Corrected photos translate directly into higher-quality recognition displays, more credible award programs, and digital yearbooks that honor athletic history with the visual clarity it deserves.
This guide walks through every stage—from auditing your photo collection and identifying color cast sources through batch correction techniques, output settings, and preparing images for touchscreen recognition displays and digital yearbook platforms.
Historic athletic photos, when properly corrected, become powerful recognition assets. Whether you are restoring black-and-white team portraits from the 1960s or fixing the magenta drift typical of 1990s consumer film scans, the athletic archive white balance correction workflow described here gives every image the accuracy needed for credible public display.
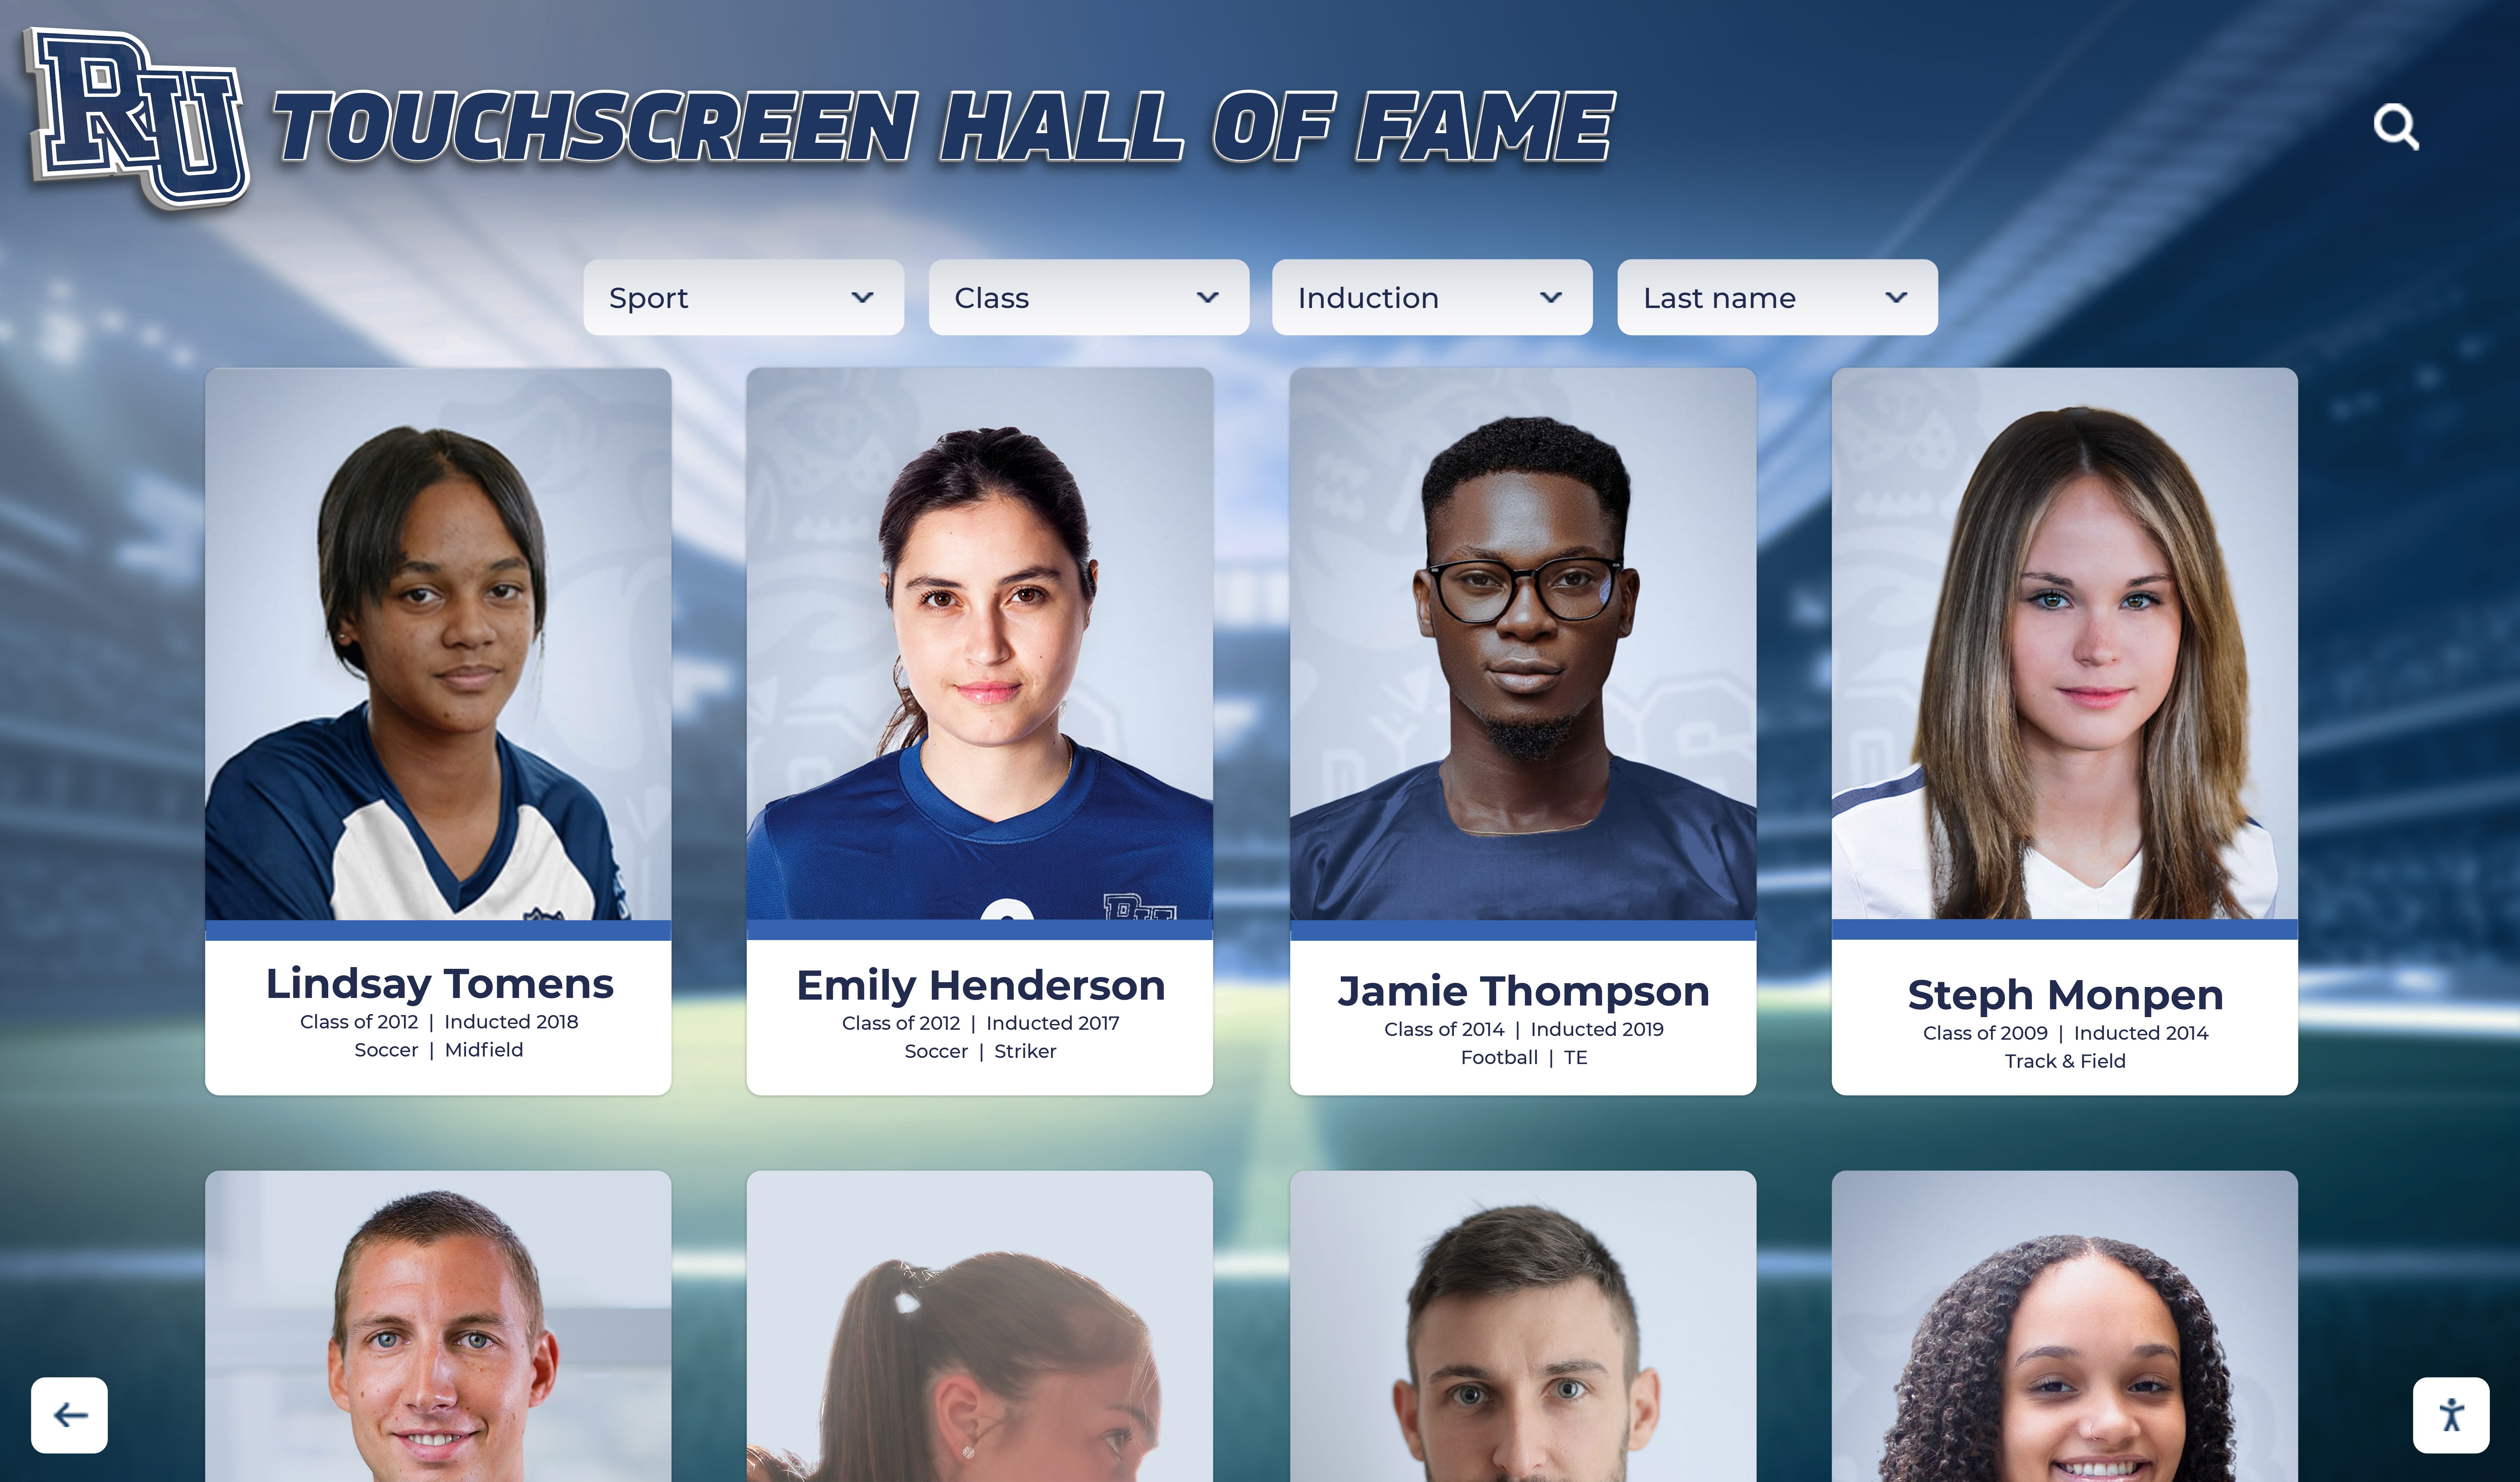
White balance-corrected historic photos integrate seamlessly into modern digital recognition systems, giving decades of athletic history a consistent, professional appearance
Why White Balance Matters for Athletic Archives
White balance describes the color temperature of a light source and how a camera or scanner renders it. A photo shot under tungsten gymnasium lighting without correction looks warm and orange; the same photo taken under uncorrected fluorescent lighting looks green or yellow. Film stocks from different decades each carried their own color bias, and the chemical processes used during development and printing introduced additional shifts that compound over time.
When photos from thirty or forty years of athletic history appear side by side—whether on a corridor touchscreen or in a digital yearbook—inconsistent color temperatures create visual noise that distracts from the athletic achievements being celebrated. Standardizing color through a systematic white balance correction workflow means coaches, players, and families focus on the recognition rather than the image quality.
Beyond aesthetics, accurate color serves archival integrity. A corrected image represents the subjects’ actual appearance more faithfully than an uncorrected scan—a meaningful consideration when photos become permanent institutional records displayed in varsity letter and recognition programs or athletics halls of fame.
Common Color Cast Sources in Athletic Archive Photos
Before correcting anything, identify what caused the cast. The table below maps common sources to their typical color shift and the eras when each is most likely to appear:
| Source | Typical Color Cast | Era Most Common |
|---|---|---|
| Tungsten gymnasium lighting | Warm orange / amber | 1950s–1990s |
| Fluorescent gym lighting | Green / yellow-green | 1970s–2000s |
| Outdoor shade without fill flash | Blue / cool | All eras |
| Consumer color negative film (aged) | Magenta / pink | 1980s–1990s |
| Color slide film (aged) | Cyan or yellow fade | 1970s–1980s |
| Inkjet or offset print scan | Variable; often magenta | 1990s–2000s |
| Flatbed scanner default settings | Slight red or green bias | 2000s–present |
| Mixed ambient and on-camera flash | Split warm/cool across frame | 1980s–2000s |
Identifying the dominant cast in a batch of photos lets you build targeted correction presets rather than adjusting each image individually—a critical efficiency gain when working through a full program archive.
The Athletic Archive White Balance Correction Workflow: 7 Steps
Step 1: Catalog and Sort Your Collection
Before touching a single image, inventory what you have. Group photos by decade, lighting environment (indoor gym, outdoor field, studio portrait), and original media type (color negative, slide, black-and-white print, digital capture, or printed photo scan).
Create a simple spreadsheet with columns for file name, approximate year, sport, shooting environment, and any visible color cast. This catalog becomes your guide for building correction batches and documenting the parameters applied—critical when multiple staff members or volunteers work on the same archive across multiple sessions.
Step 2: Establish Neutral Reference Points
Correction is only as accurate as your reference. Look for images in your collection that contain known neutral elements:
- White or gray athletic uniforms
- Painted white court or field markings
- White-painted walls, goalposts, or gym walls
- Referee uniforms (typically white or black-and-white stripes)
These neutrals serve as white balance targets. If your editing software supports clicking a neutral tone to set white balance automatically, use these elements as the click point. For batches where no reliable neutral exists, compare to well-documented contemporary photographs of the same sport shot under similar conditions.
Step 3: Choose Your Correction Approach
Three methods cover most athletic archive scenarios:
Global white balance shift: Adjusts color temperature (in Kelvin) and tint (green-magenta axis) uniformly across the entire image. Best for photos with a consistent, even cast from a single light source such as an outdoor field on an overcast day or a uniformly lit gymnasium.
Curves-based correction: Applies independent adjustments to the Red, Green, and Blue channels. More precise for photos with complex or split casts—for example, a gym interior where tungsten lighting warms the court surface while an on-camera flash cools the athletes in the foreground.
Reference-photo matching: Opens a well-corrected reference image from the same era and uses the editing software’s match color or manual eyedropper tools to align a new image’s tonal range to the reference. Effective for large batches from the same event or season.
For RAW files from modern scanning or digital captures, start with the global temperature and tint sliders. For JPEG or TIFF scans of prints or negatives, curves-based correction provides finer channel-level control.
Step 4: Build Era-Based Correction Presets
Once you have manually corrected one strong representative image from each era and lighting group, save those settings as named presets. Apply presets as starting points to the remaining images in that batch, then fine-tune individually as needed.
Naming presets clearly—“1980s Indoor Gym Tungsten,” “1990s Outdoor Field Shade,” “2000s Fluorescent Court”—makes the workflow repeatable by any team member working with the archive over time. Document preset settings in a shared reference file so they can be recreated if software or hardware changes.
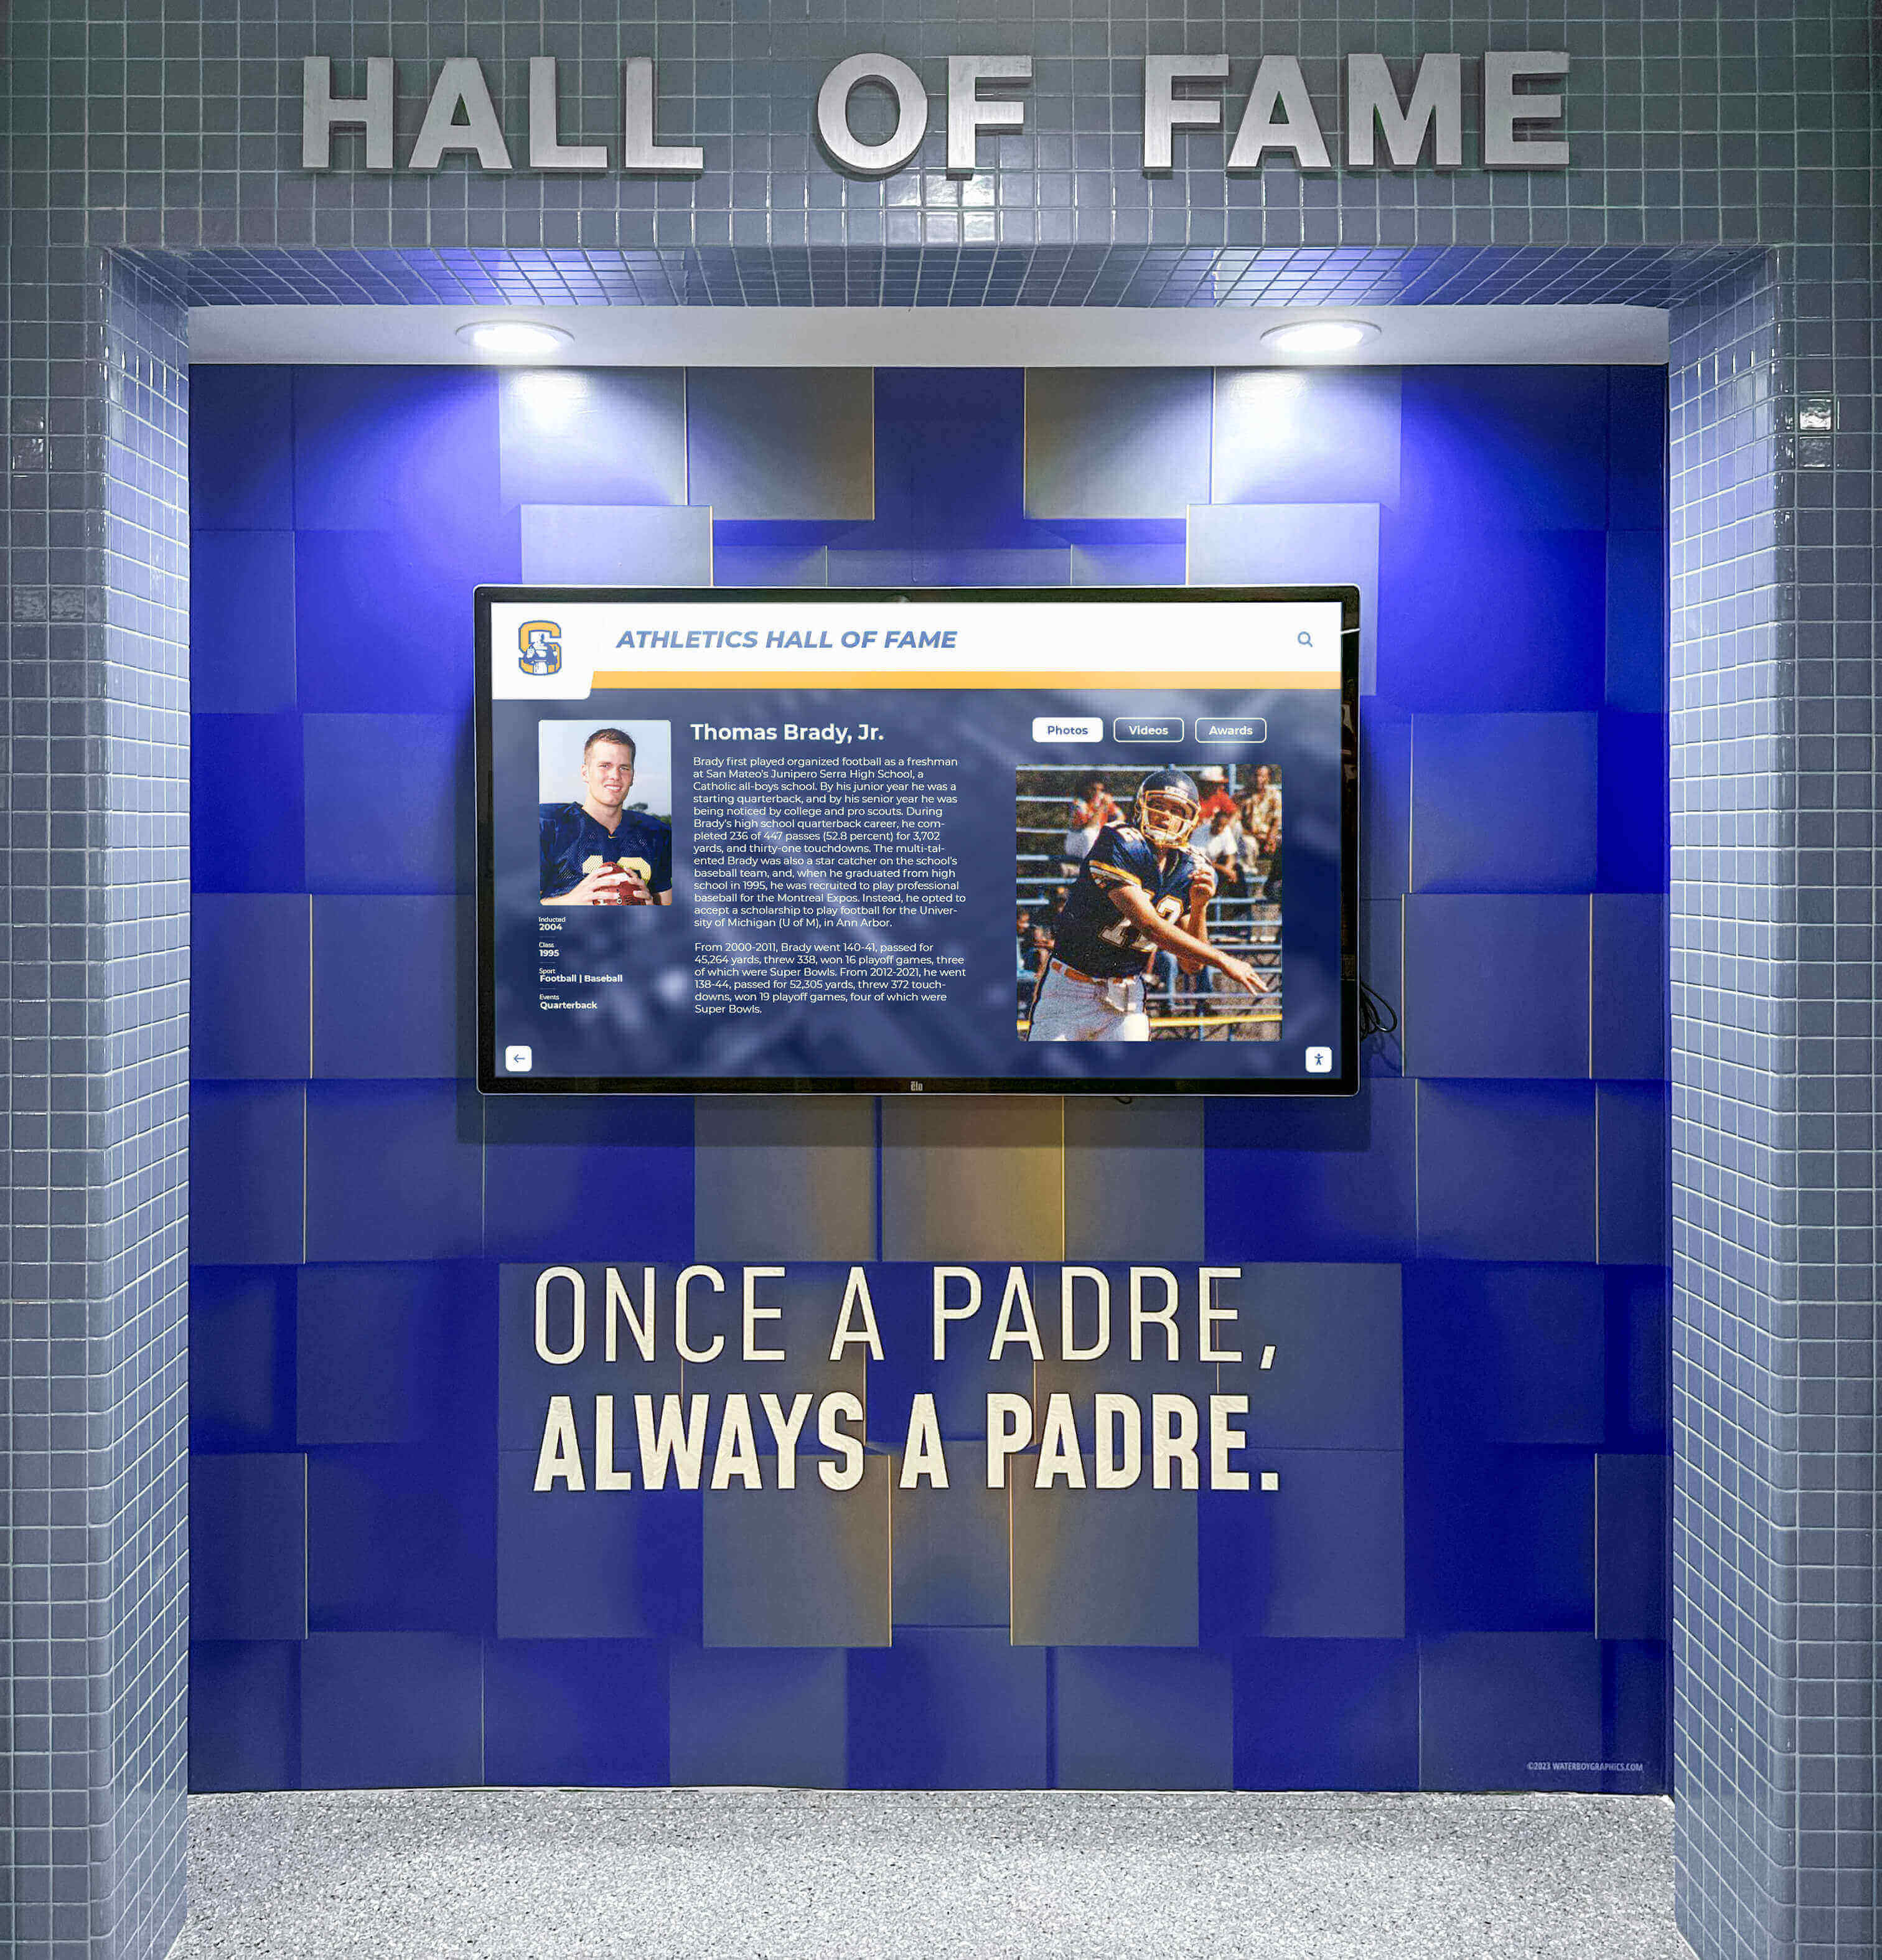
Era-based correction presets ensure historic photos from every decade display with consistent, accurate color on modern recognition screens
Step 5: Apply Corrections and Verify
Apply your preset to each batch, then verify by examining a neutral tone with your software’s info panel. The RGB channel values of a neutral gray or white area should read approximately equal across all three channels—for example, R: 220, G: 218, B: 217 is far better than R: 245, G: 200, B: 185, which indicates a remaining warm cast.
Spot-check five to ten images from each batch before processing the entire set. Pay particular attention to:
- Skin tones across athletes of different backgrounds
- Team uniform colors that should match a known standard
- Backgrounds that appear consistently across multiple photos from the same venue
When corrections drift visually from your reference, pause and adjust the preset rather than individually correcting every image. Batch consistency is one of the primary values this workflow delivers, and maintaining it requires catching drift early.
For interactive digital signage and recognition displays, corrected photos load and render as intended without on-screen color management struggling against a pre-existing cast in the source file.
Step 6: Handle Black-and-White Photos Appropriately
Black-and-white athletic photos from pre-digital eras often scan with a faint color cast from the scanning hardware or original printing process. You have two options:
Desaturate fully: Converts the image to a true neutral gray scale, removing all tonal color variation. Best for consistent presentation alongside color photos on modern displays where a warm sepia tone would look out of place.
Preserve the original tone: Retain the sepia or silver-blue character as part of the era’s aesthetic. Appropriate when the archival feel is a deliberate design choice—for example, a heritage section of a digital yearbook or a dedicated historical panel in a corridor display celebrating early program years.
Document which approach your program uses so future contributions stay consistent. Recognition programs that surface multi-decade histories—including coach appreciation recognitions that pull photos from many eras—benefit from a clear written policy on this distinction.
Step 7: Export for Intended Display Format
Correction without export optimization can introduce new quality problems. Match your export settings to the display destination:
| Destination | Format | Color Space | Resolution |
|---|---|---|---|
| Touchscreen hall of fame display | JPEG or PNG | sRGB | 1920 × 1080 px or native display resolution |
| Digital yearbook platform | JPEG | sRGB | 1200–2400 px wide |
| Print reproduction | TIFF | Adobe RGB | 300 DPI at final print size |
| Web archive / alumni access | JPEG | sRGB | 800–1200 px wide |
| Archival master file | TIFF or PNG | ProPhoto RGB or sRGB | Full resolution of scan |
Always save an unmodified archival master before applying any correction. Store masters and corrected working files in clearly labeled separate folders with naming conventions that prevent accidental overwriting.
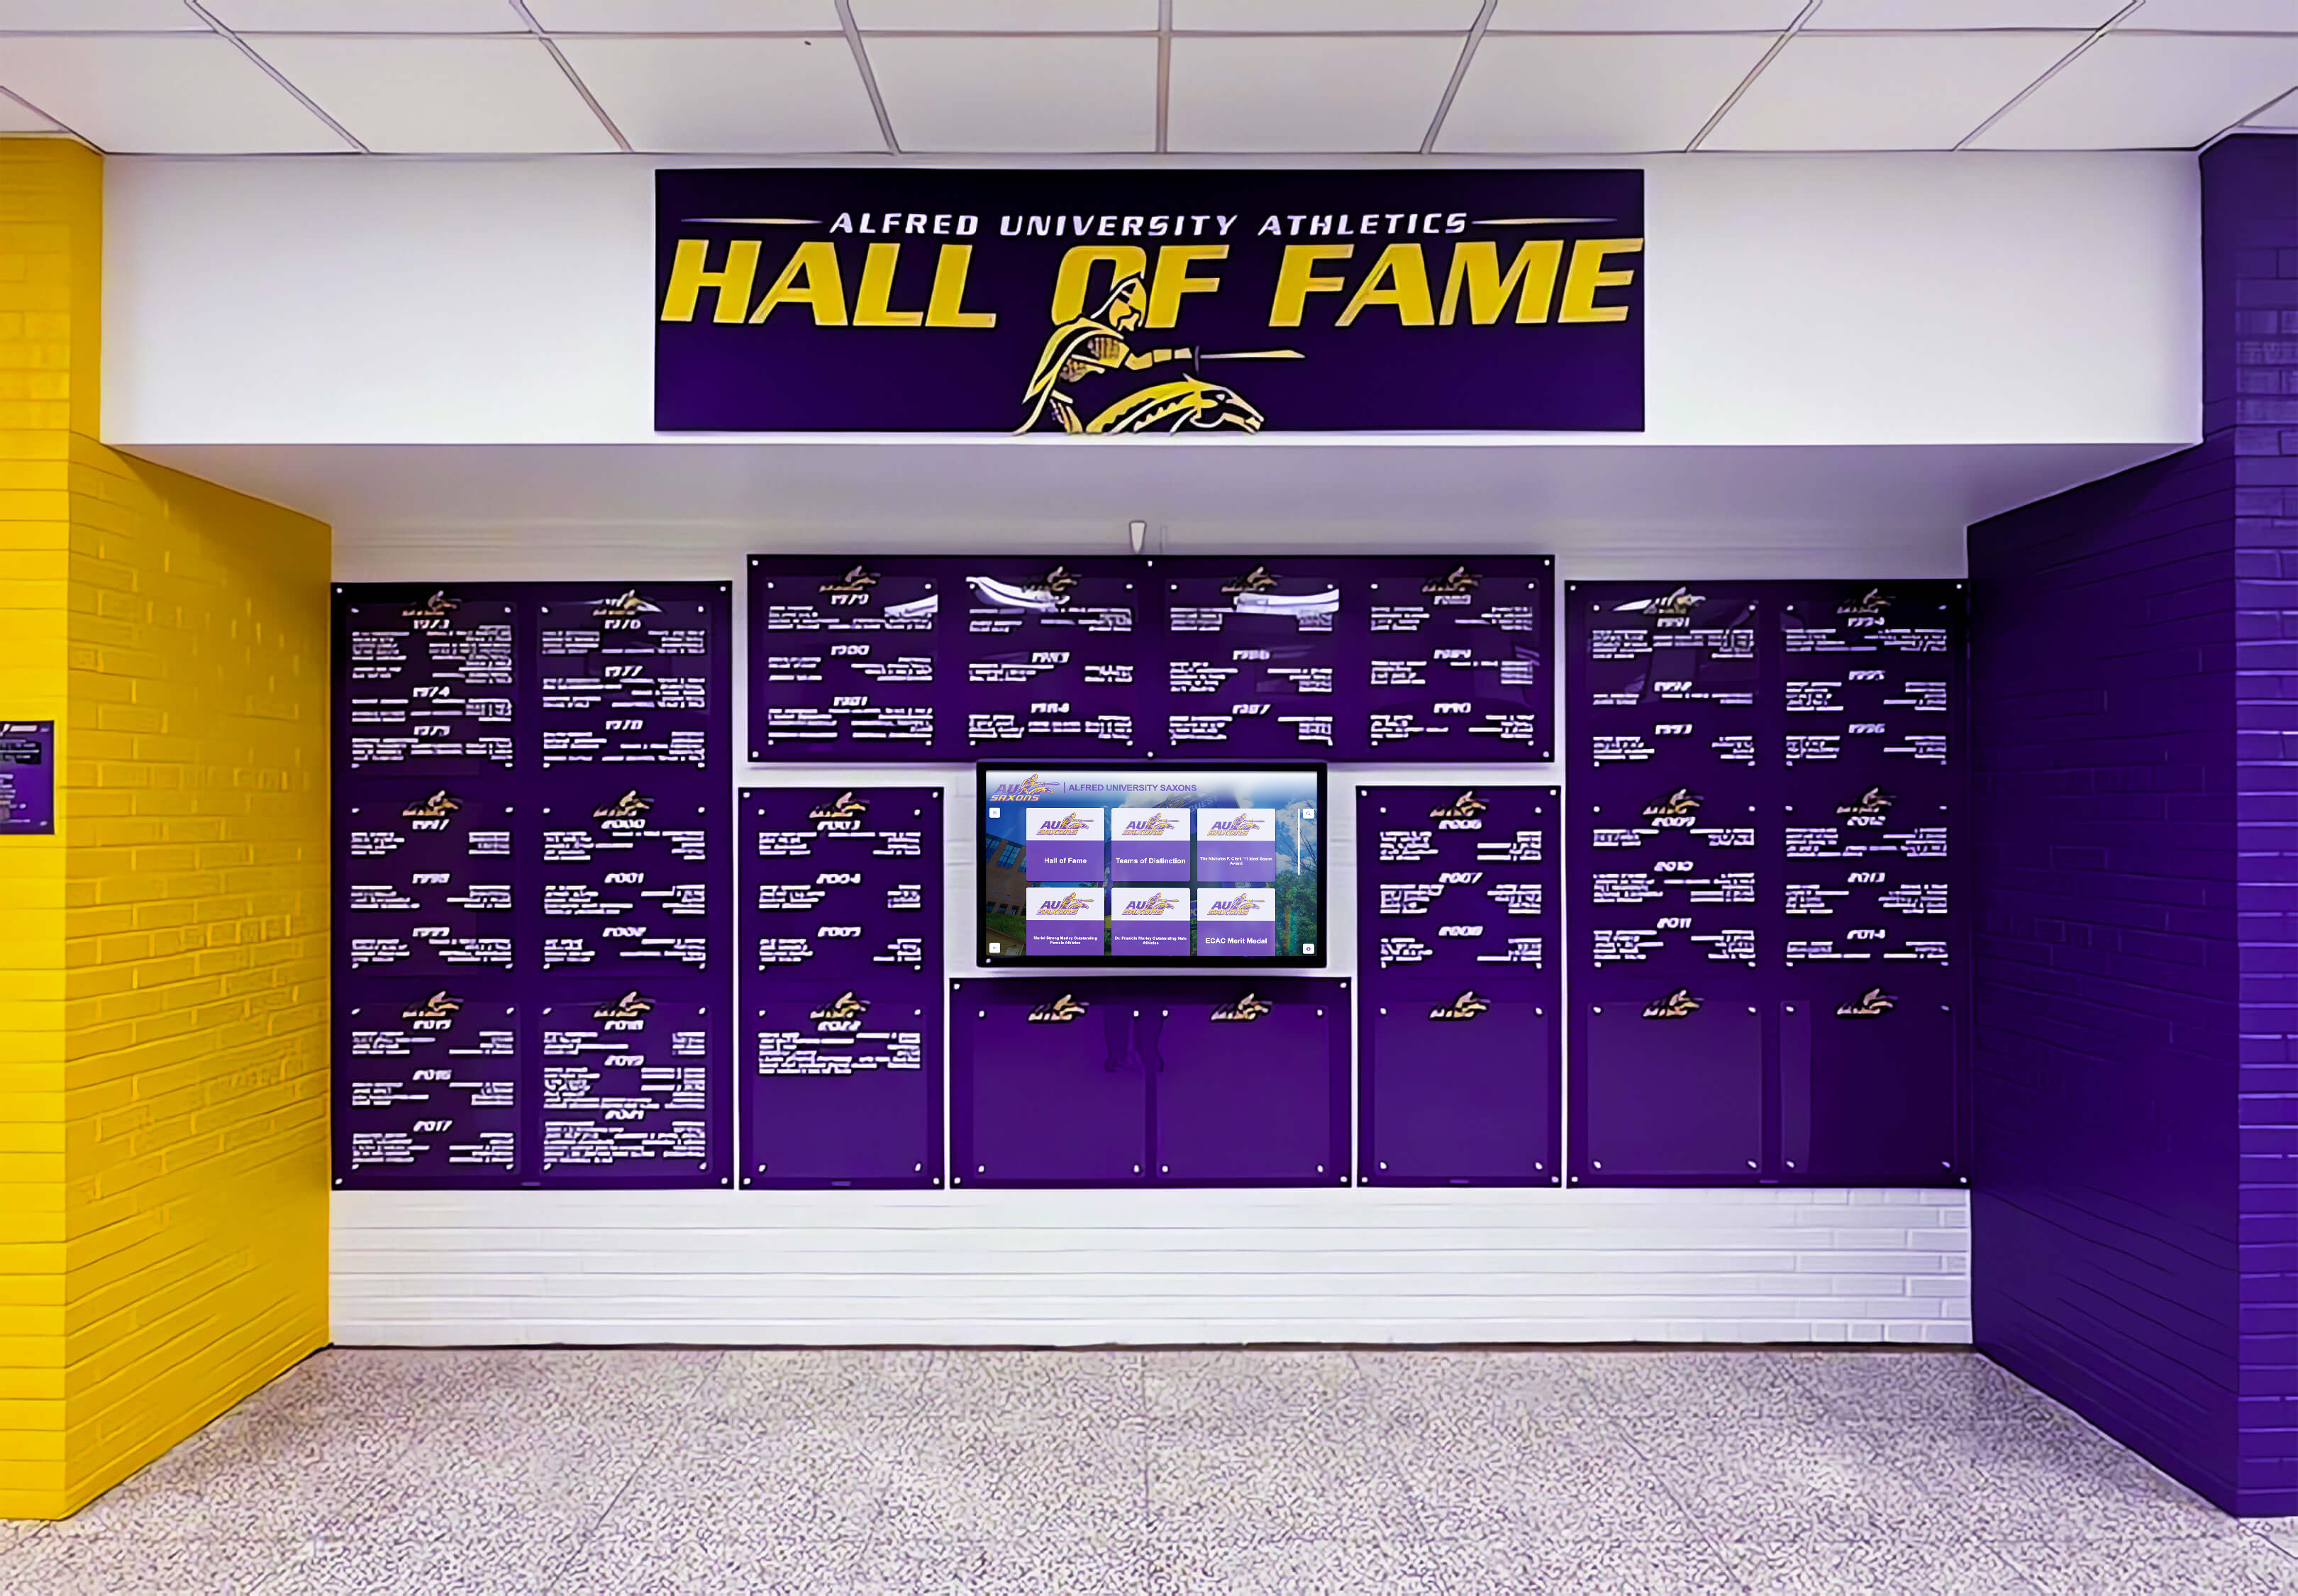
When white balance is corrected to match school identity standards, historic photos reinforce institutional color rather than conflicting with it
Connecting Corrected Archives to Recognition Programs
A corrected archive is most valuable when it is actively accessible. Schools that integrate white balance-corrected athletic photos into recognition systems—year-end senior celebrations, digital halls of fame, corridor touchscreens, and digital yearbooks—turn a photo restoration project into a sustained community asset rather than a one-time archival exercise.
Key integration considerations:
Consistent naming and metadata: Use a standard file naming convention such as sport-year-team-sequence (football-1987-varsity-014.jpg) and embed metadata tags for sport, year, subject name when known, and correction status. This makes photos discoverable when loading content into display systems months or years after correction work is complete.
Version control: Keep originals untouched. Maintain a “corrected-for-display” folder and a “corrected-for-print” folder as separate exports from the same master. When display systems are updated or replaced, you can re-export at new specifications without repeating correction work from scratch.
Review cycle: Schedule an annual review of photos added to recognition displays. New scans may need correction before they appear alongside an already-corrected archive, and the review cycle also catches any corrections that need refinement as display technology evolves.
Broader recognition programs: Corrected historic photos support academic recognition programs that surface multi-decade achievement histories, and color guard and performing arts recognition events where consistent visual presentation elevates the ceremony experience for participants and families.
Software Options for the Workflow
Several tools fit different budget levels and team skill sets:
- Adobe Lightroom Classic: Industry standard for batch processing, preset management, and color panel controls. Best for teams processing large volumes regularly.
- Capture One: Strong color management tools and layered adjustment support; often preferred by professional archivists managing high-value collections.
- darktable (free, open source): Capable white balance and curves tools with a fully non-destructive workflow; a solid option for programs with limited software budgets.
- GIMP (free, open source): Suitable for individual image correction using curves and levels; less efficient for large batch work than dedicated photo management software.
- IrfanView (free): Fast batch conversion and basic color adjustment; sufficient for straightforward global corrections across large sets of similarly-lit photos.
All five support batch processing and allow saving settings for reuse across an archive. Teams managing archives that span multiple sports—from lacrosse to track and field to marching band—will benefit from the preset and batch efficiency that Lightroom and Capture One provide.
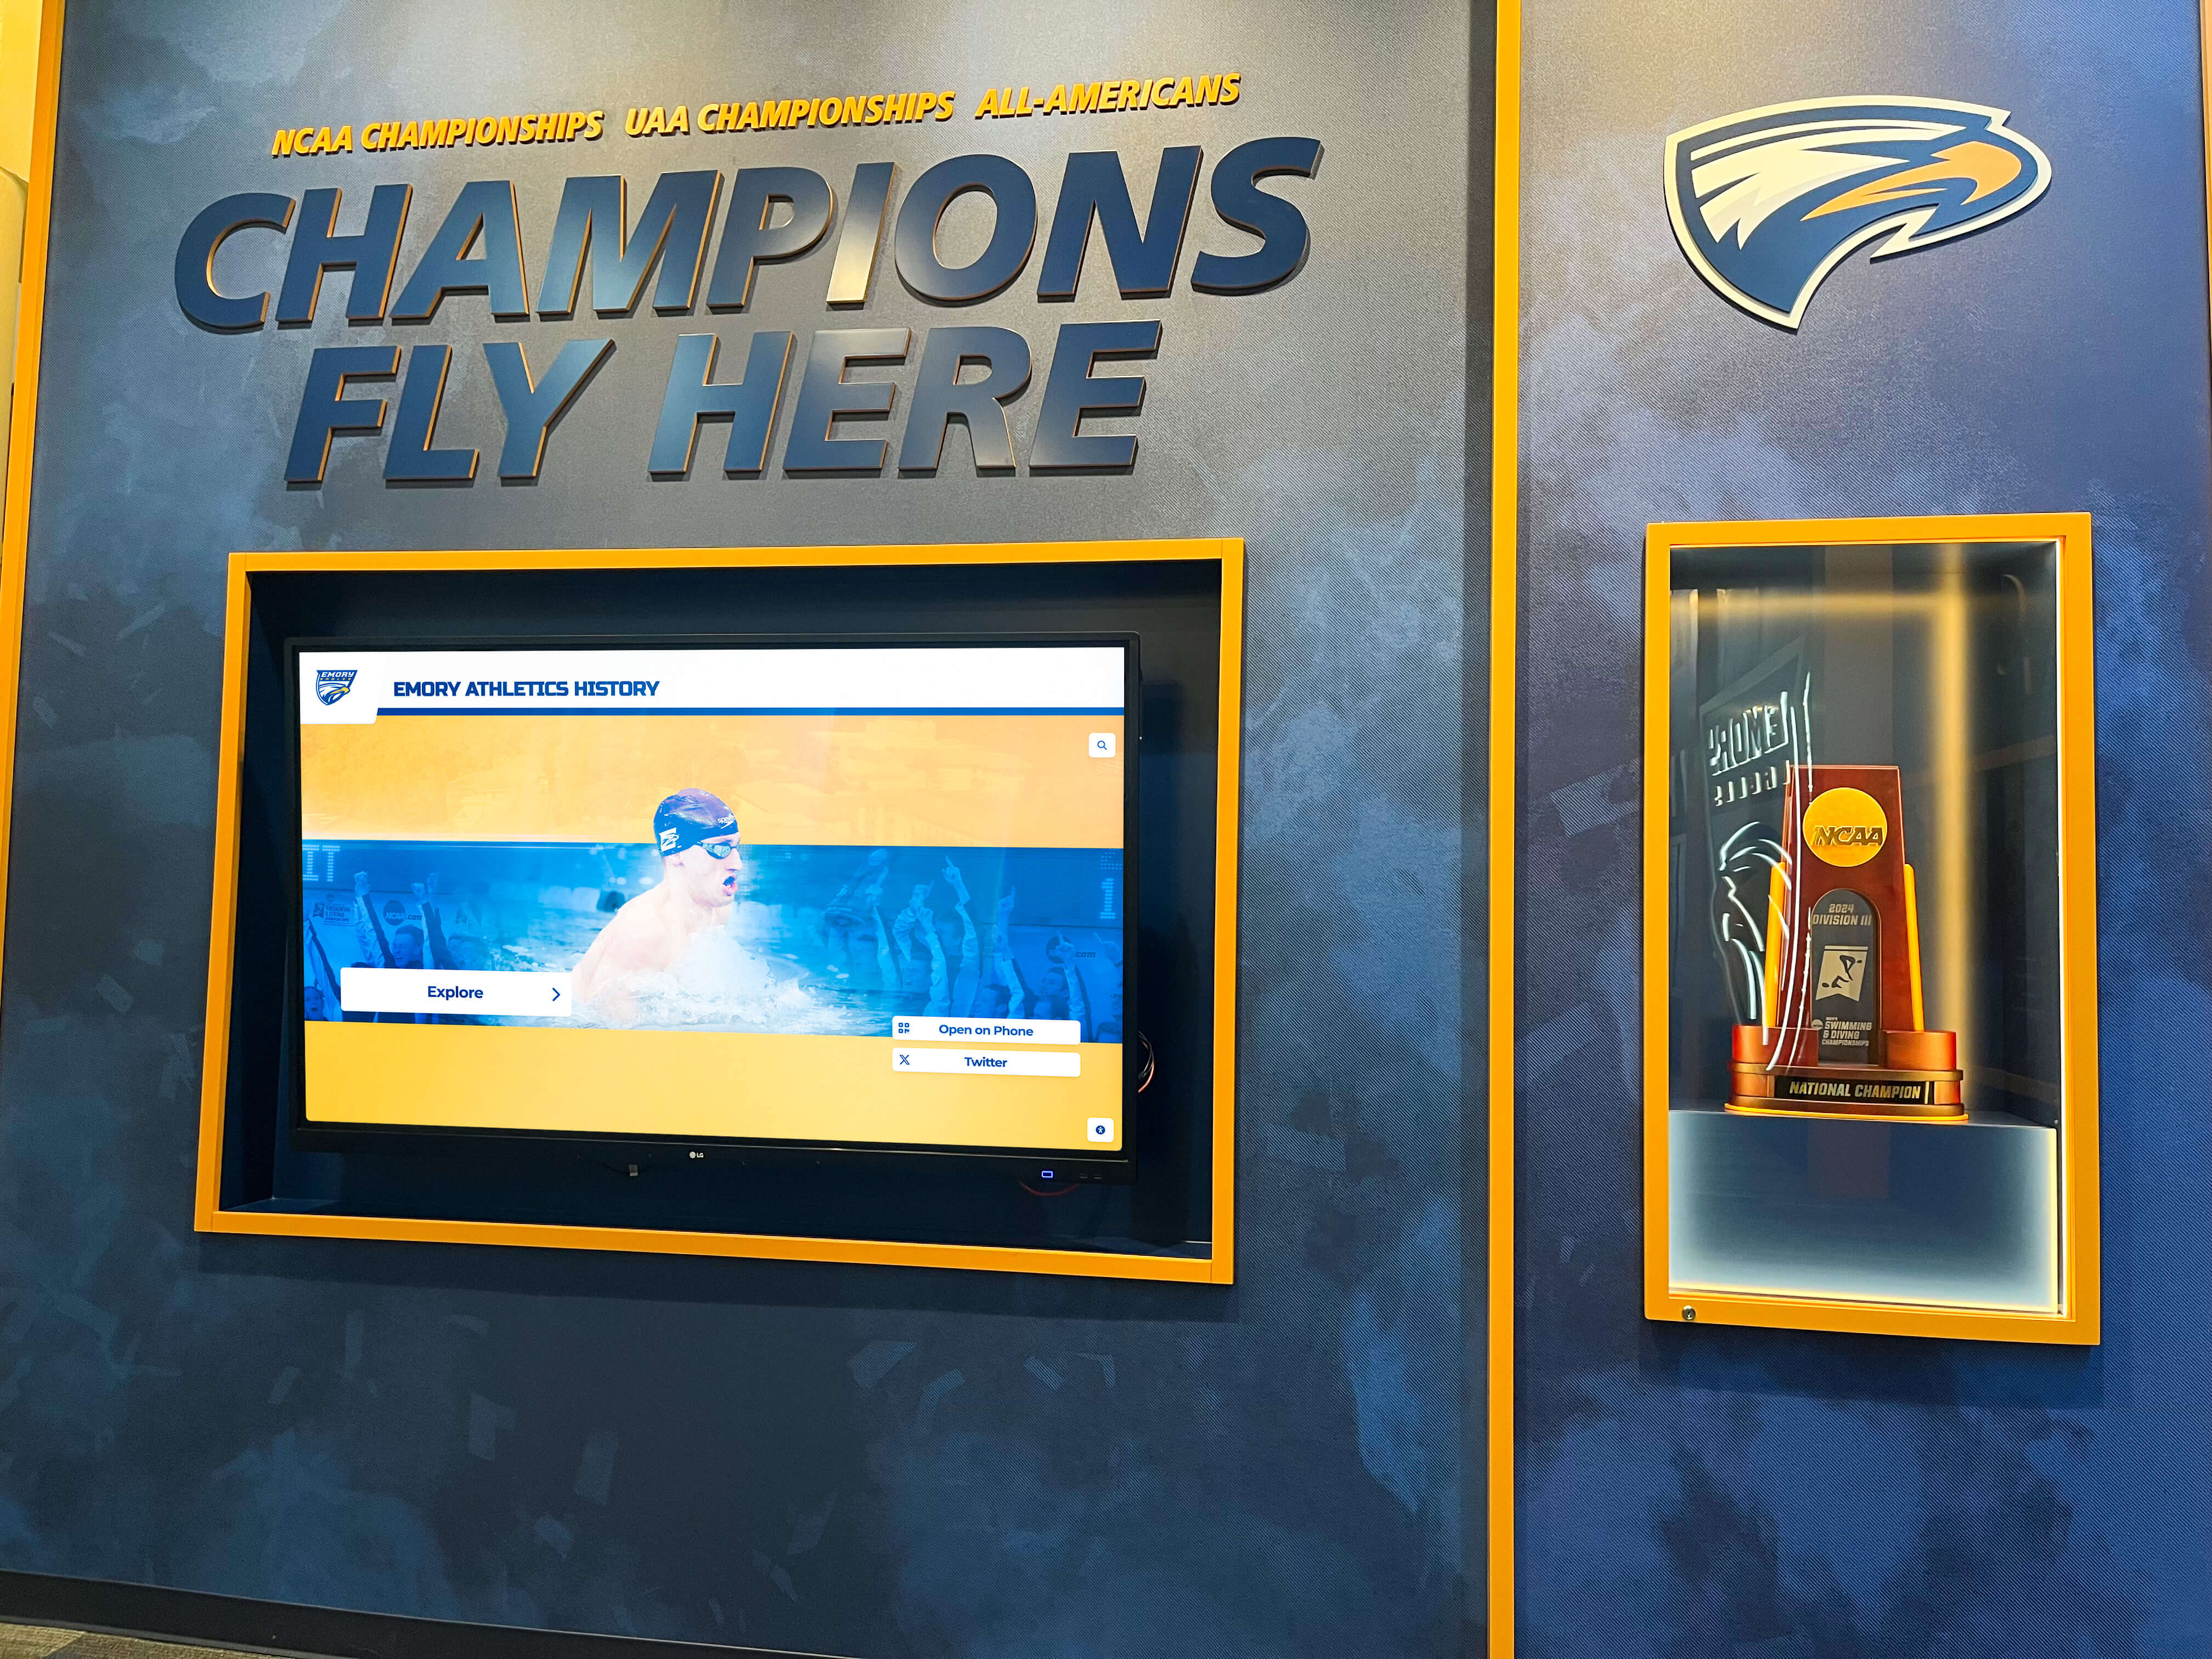
Corrected archive photos bring championship histories to life on modern recognition walls, connecting current athletes to the program's full legacy
Q&A: Athletic Archive White Balance Correction
Q: Do we need to correct black-and-white photos, or only color ones?
Black-and-white scans often carry a faint color cast from the scanning hardware or original printing stock. Whether to correct depends on your presentation goals: desaturating fully produces a clean neutral gray scale; retaining tonal color preserves era character. Document the decision and apply it consistently across the full archive so images look intentional rather than inconsistent.
Q: How do we handle photos where no neutral reference exists in the frame?
Use a secondary reference: find a well-corrected photo from the same era and lighting environment, open both images side by side, and match tone visually or with your software’s color sampling tools. Alternatively, use skin tone targets—neutral skin falls within a fairly predictable hue range—as a correction anchor when no other neutral element is present.
Q: Should corrections be reversible?
Always. Work non-destructively by adjusting files in Lightroom or Capture One without altering source files, or by keeping TIFF masters separate from exported corrected versions. This protects archival integrity and allows reconsidering correction decisions as display technology or organizational standards evolve over time.
Q: How do we maintain consistency when different staff members work on the archive?
Save presets with descriptive names tied to era and lighting category, store them in a shared folder accessible to all contributors, and maintain a written correction guide documenting the preset structure and the verification process. A brief onboarding session for new contributors prevents visual drift over time.
Q: Can corrected photos be used across programs beyond digital yearbooks?
Yes. Corrected photos serve any recognition context that surfaces historical imagery, including printed anniversary booklets, social media campaigns celebrating milestone seasons, lobby display murals, team history slideshows shown at award banquets, and digital yearbook archives. The sRGB exports produced in Step 7 work across all of these destinations without additional adjustment.
Conclusion: Color Accuracy as a Form of Athletic Respect
A systematic athletic archive white balance correction workflow is more than a technical process—it is an act of recognition. When a 1978 wrestling champion’s portrait appears on your school’s touchscreen hall of fame with accurate color and professional clarity, it communicates that the achievement matters as much today as it did then. Inconsistent, faded, or color-cast images send the opposite message, however unintentionally.
The seven-step workflow outlined here—catalog the collection, establish neutral references, choose the appropriate correction approach, build era-based presets, apply corrections and verify, handle black-and-white photos by policy, and export for the target format—gives any school, athletic department, or digital yearbook team a repeatable system for producing archive-quality corrected images that perform well across every display context.
Start with the era or sport that represents your highest-profile recognition moment, build a corrected sample set, validate it on your actual display hardware, and use that success as the template for expanding correction across the full archive.
See Your Corrected Athletic Archive Come to Life
Discover how a modern digital recognition platform can transform your white balance-corrected historic sports photos into a dynamic, searchable hall of fame that celebrates every era of your athletic program.
Request a Demo






























