
Athletic archive videotape oxide-shedding inspection is the pre-digitization assessment process that identifies whether the magnetic oxide layer on a legacy game tape is separating from its polyester base, determines how far that separation has progressed, and routes each affected tape to the correct stop-work, isolation, cleaning, and escalation response before any capture attempt is made. Oxide shedding is distinct from sticky-shed syndrome — the binder that binds the magnetic particles to the backing has failed at the adhesion level, releasing dry, powdery oxide rather than the tacky wet residue associated with binder hydrolysis. A tape actively shedding oxide deposits that debris on every surface it contacts in the playback path: the stationary guide posts, the rotating drum heads, the capstan shaft, and the pinch roller. Each deposit degrades the next tape to pass through that transport chain, turns a containable problem into a collection-wide contamination event, and can cause the very capture run intended to preserve a championship season to destroy its source recording instead.
This guide gives school athletic directors, AV coordinators, IT and facilities staff, and recognition-program owners a systematic inspection workflow for identifying oxide-shedding tapes before digitization begins — covering visible, audible, and tactile indicators; a stop-work threshold protocol; isolation and containment procedures; equipment cleaning after suspected shedding contact; and the specialist-escalation path for tapes that cannot be safely captured in-house.
Oxide-shedding inspection is not a final quality check — it is the first gate every athletic archive tape must pass before a capture deck is ever powered on in the same room.

Recognition kiosks, touchscreen hall-of-fame displays, and lobby video loops depend entirely on the archive's digitized source material — tapes that have begun to shed oxide can destroy both the recording and the capture equipment if played without pre-digitization inspection
What Oxide Shedding Is and Why It Threatens School Athletic Archives
Magnetic videotape stores information in a layer of iron oxide or metal-evaporated particles suspended in a polymer binder and bonded to a flexible polyester backing film. The binder’s job is to hold those particles against the backing firmly enough to survive repeated passes across a rotating head drum traveling at several meters per second. When the binder performs correctly, the head reads the magnetic signal without physically disturbing the particle layer. When the binder fails — through long-term hydrolysis, thermal cycling, humidity exposure, or simple material fatigue — its grip on the oxide particles weakens to the point where transport friction is sufficient to pull those particles free.
The resulting debris is not merely cosmetic. A single pass of a shedding tape deposits oxide particles in the microscopic gap of the rotating video heads, attenuating the signal and causing dropout. Continued passes accumulate enough debris to block the head gap entirely, causing the picture to drop to black while further abrasion damages the recorded layer. The debris also migrates to the stationary guide posts and the capstan pinch roller, where it transfers to the next tape loaded into the deck. A capture session that begins with one shedding tape can contaminate multiple tapes from what the operator believed was a healthy section of the collection.
School athletic archives are particularly vulnerable because:
- Format age. VHS, S-VHS, Betacam, and 3/4-inch U-matic tapes produced between the 1970s and the mid-1990s use binder chemistries that are now well past their expected service life. Collections held by athletic departments — often stored outside of climate-controlled conditions — have experienced decades of thermal and humidity cycling that accelerates binder degradation.
- Storage environments. Gym closets, equipment rooms, boiler rooms, and unconditioned storage units subject tapes to temperature extremes that cause the base film and binder layer to expand and contract at different rates, progressively weakening the bond between them.
- Handling history. Tapes played repeatedly during a team’s active seasons on consumer-grade decks — decks not always cleaned between uses — develop surface abrasion that thins the binder layer and initiates the shedding process earlier than a tape played infrequently on well-maintained equipment.
- Unknown condition. Unlike a labeled box marked “sticky shed — baked 2019,” a shedding tape typically has no warning on its spine. The only way to know its condition is to look.
Who This Inspection Workflow Serves
| Role | Primary Concern | How This Workflow Helps |
|---|---|---|
| School Administrator | Institutional record integrity | Prevents a capture session from destroying irreplaceable footage |
| Athletic Director | Program legacy and championship history | Ensures high-priority tapes are routed to the correct specialist path |
| Facilities / IT Staff | Equipment protection | Stops oxide contamination of capture hardware before it spreads |
| Librarian / Archivist | Collection integrity and accession documentation | Provides inspection records that follow each tape through digitization |
| Recognition-Program Owner | Display-ready content | Guarantees that the footage fed to lobby kiosks has been vetted at source |
Schools that have already assembled their athletic history for digital recognition programs and lobby displays will find that a systematic oxide-shedding inspection workflow protects the source archive those displays depend on and prevents the loss of footage that cannot be replaced from any other source.
Step 1: Visual Inspection — Recognizing Oxide Shedding Without Playback
The first and most important step is gathering as much diagnostic evidence as possible before any tape is inserted into a deck. Visual inspection takes approximately two to five minutes per tape and can identify active or advanced shedding conditions that make immediate playback unsafe.

Recognition hallways and digital athletic displays depend on archive content that survived the digitization process intact — a systematic visual inspection before any tape contacts a playback deck is the first line of defense against irreversible footage loss
Debris inside the cassette shell:
Hold the cassette with its tape window facing a bright, diffuse light source — a north-facing window or a desk lamp with a diffusing shade works well. Look for:
- Brownish or reddish-brown powder visible on the inner surface of the cassette shell, particularly near the tape window, along the hub flanges, and on the pressure pad. This powder is shed oxide. Even a light dusting indicates the binder has degraded sufficiently to release particles under the minimal friction of normal storage movement.
- Accumulation at the tape edges. Oxide that sheds while the tape is wound tends to migrate to the edges of the pack where it accumulates as a visible fringe or ring of brown powder along the hub flanges. A clean, healthy tape has no visible debris at the edges.
- Residue on the tape window or shell interior. A tape that has been played in a previous session and was already shedding will have deposited debris inside the shell as the transport returned it to the cassette housing. This is often the clearest indicator of prior shedding activity.
Tape surface appearance through the window:
Observe the tape surface visible through the cassette window. Healthy oxide has a consistent, uniform matte appearance — evenly colored and free of variations in reflectivity. Signs of shedding include:
- Patchy or uneven color. Areas where oxide has separated from the backing appear slightly lighter in color than surrounding regions, because the oxide layer that gives the tape its characteristic brown color is thinner or absent.
- Visible granularity. A surface that appears granular or dusty rather than smoothly matte is showing the texture of loose oxide particles that have not yet fully separated.
- Exposed base film. In advanced shedding, sections of the clear or translucent polyester base are visible where the oxide layer has fully separated, appearing as lighter or transparent patches against the surrounding brown oxide.
Tape edge condition:
Along the edge of the pack visible through the window, a healthy tape shows a clean, even line. Signs of shedding-related edge degradation include frilling (small folds or tears along the tape edge where the base film has lost binder support), a powdery or frosted edge appearance, or visible separation between the oxide layer and the base film at the tape’s edge.
Cassette shell exterior:
Note any cracks, warps, or deformation in the cassette body — physical damage to the shell can cause the tape inside to rub against deformed shell components, accelerating localized shedding. Also look for dried splatter or staining on the exterior of the shell that may indicate prior playback debris that was ejected from a loaded deck.
Visual Inspection Risk Rating
After completing the visual inspection, assign a risk rating to each tape before deciding on the next step:
| Visual Finding | Risk Rating | Recommended Next Step |
|---|---|---|
| No visible debris, consistent matte surface, clean edges | Low | Proceed to careful test threading with monitoring |
| Light debris visible at hub flanges only | Moderate | Condition before test threading; monitor closely during threading |
| Debris on shell interior, patchy surface, or edge frilling | High | Do not thread; route to specialist evaluation |
| Exposed base film patches, heavy shell debris, structural deformation | Critical | Quarantine immediately; do not thread under any circumstances |
Step 2: Audible and Tactile Indicators During Careful Test Threading
For tapes that pass the visual inspection at Low or Moderate risk, a brief manual threading test provides additional diagnostic data before any power-on playback. This step is performed by hand, without the deck motor engaged, and is stopped immediately at the first sign of resistance, debris, or abnormal sound.
Manual threading and pack movement:
With clean cotton gloves, open the cassette door (if the format permits) and use a pencil or tape-winding tool inserted in the supply hub to advance approximately 30–50 cm of tape manually. Observe and listen throughout:
- Resistance to manual winding. A tape that resists smooth manual winding — catching, stuttering, or requiring increased finger pressure — may have inter-layer adhesion caused by oxide debris packed between wound layers. This resistance is distinct from the normal light drag of a healthy tape.
- Audible sound during manual winding. A healthy tape makes very little sound when manually wound. A faint, gritty, or scratching sound during manual winding indicates oxide particles are present between wound layers and are grinding against each other or against the hub flange as the layers separate.
- Debris on gloves or tool. After manual winding, inspect the cotton glove fingertips and the winding tool surface. Brown or reddish-brown powder on either surface is definitive evidence of active oxide shedding. Even a faint trace of discoloration on a white cotton glove is sufficient to classify the tape as High risk and stop the inspection process.
Tactile assessment of the tape edge:
After advancing tape manually, lightly touch the edge of the tape strand with a gloved finger. A healthy oxide surface has a consistent, slightly rough texture but leaves no residue on the glove. A shedding tape leaves brown powder on the glove even from this minimal contact. Do not press the tape surface — the goal is tactile detection, not mechanical testing.
Olfactory check:
While the cassette is open, note any chemical odors. A faint chemical smell that is difficult to characterize is sometimes associated with advanced binder degradation. A vinegar-like smell suggests cellulose acetate base degradation (more common in open-reel formats). A musty or biological odor indicates mold contamination, which requires immediate quarantine regardless of the oxide shedding assessment.
Step 3: Stop-Work Threshold — When to Halt and Why
The stop-work threshold is the point at which continued inspection or playback is more likely to damage the tape than preserve it. Identifying this threshold clearly and communicating it to everyone involved in the digitization workflow is essential for protecting both the collection and the capture equipment.
Stop work immediately if any of the following are observed:
- Brown or reddish-brown powder on the glove after manual winding or tactile edge testing.
- Audible grit, scratch, or grind during manual tape advancement.
- Visible patchy or exposed-base-film sections on the tape surface through the cassette window.
- Active tape strand separation — any section of the tape where the oxide layer is visibly lifting, bubbling, or delaminating from the base film.
- The tape strand stalls or catches during manual advancement under normal light pressure.
- During a monitored power-on test play, any of the following appear: an audible squeal or scraping sound from the transport, visible brown deposits on the stationary guides or capstan after ejection, or progressive dropout in the monitor output accompanied by an increase in squeal pitch.
Why the threshold must be firm:
A common error in tape digitization workflows is to continue playback past the first sign of shedding because the video signal still appears on the monitor. The visible picture is produced by the head reading signal from oxide particles that are still adhered to the tape — but the debris accumulating on the head is being produced by particles already shed. The picture continues until enough debris blocks the head gap to cause full dropout. At that point, the operator ejects the tape and discovers that the head is coated with debris, the tape has lost oxide from the regions that produced the dropout sections, and the capture is incomplete. The stop-work threshold exists to prevent this sequence from beginning.
Schools building a broader recognition infrastructure — including interactive touchscreen displays, digital hall-of-fame platforms, and athletic award recognition systems — should include the stop-work threshold criteria in their digitization policy documentation so that all staff, including volunteers, know when to halt and escalate.
Step 4: Isolation and Contamination Control
A tape that triggers the stop-work threshold must be immediately isolated from the rest of the collection and from the capture workstation. The isolation procedure is not bureaucratic overhead — it is the containment step that prevents a single shedding tape from spreading oxide debris to healthy tapes stored nearby or to capture equipment shared across multiple sessions.
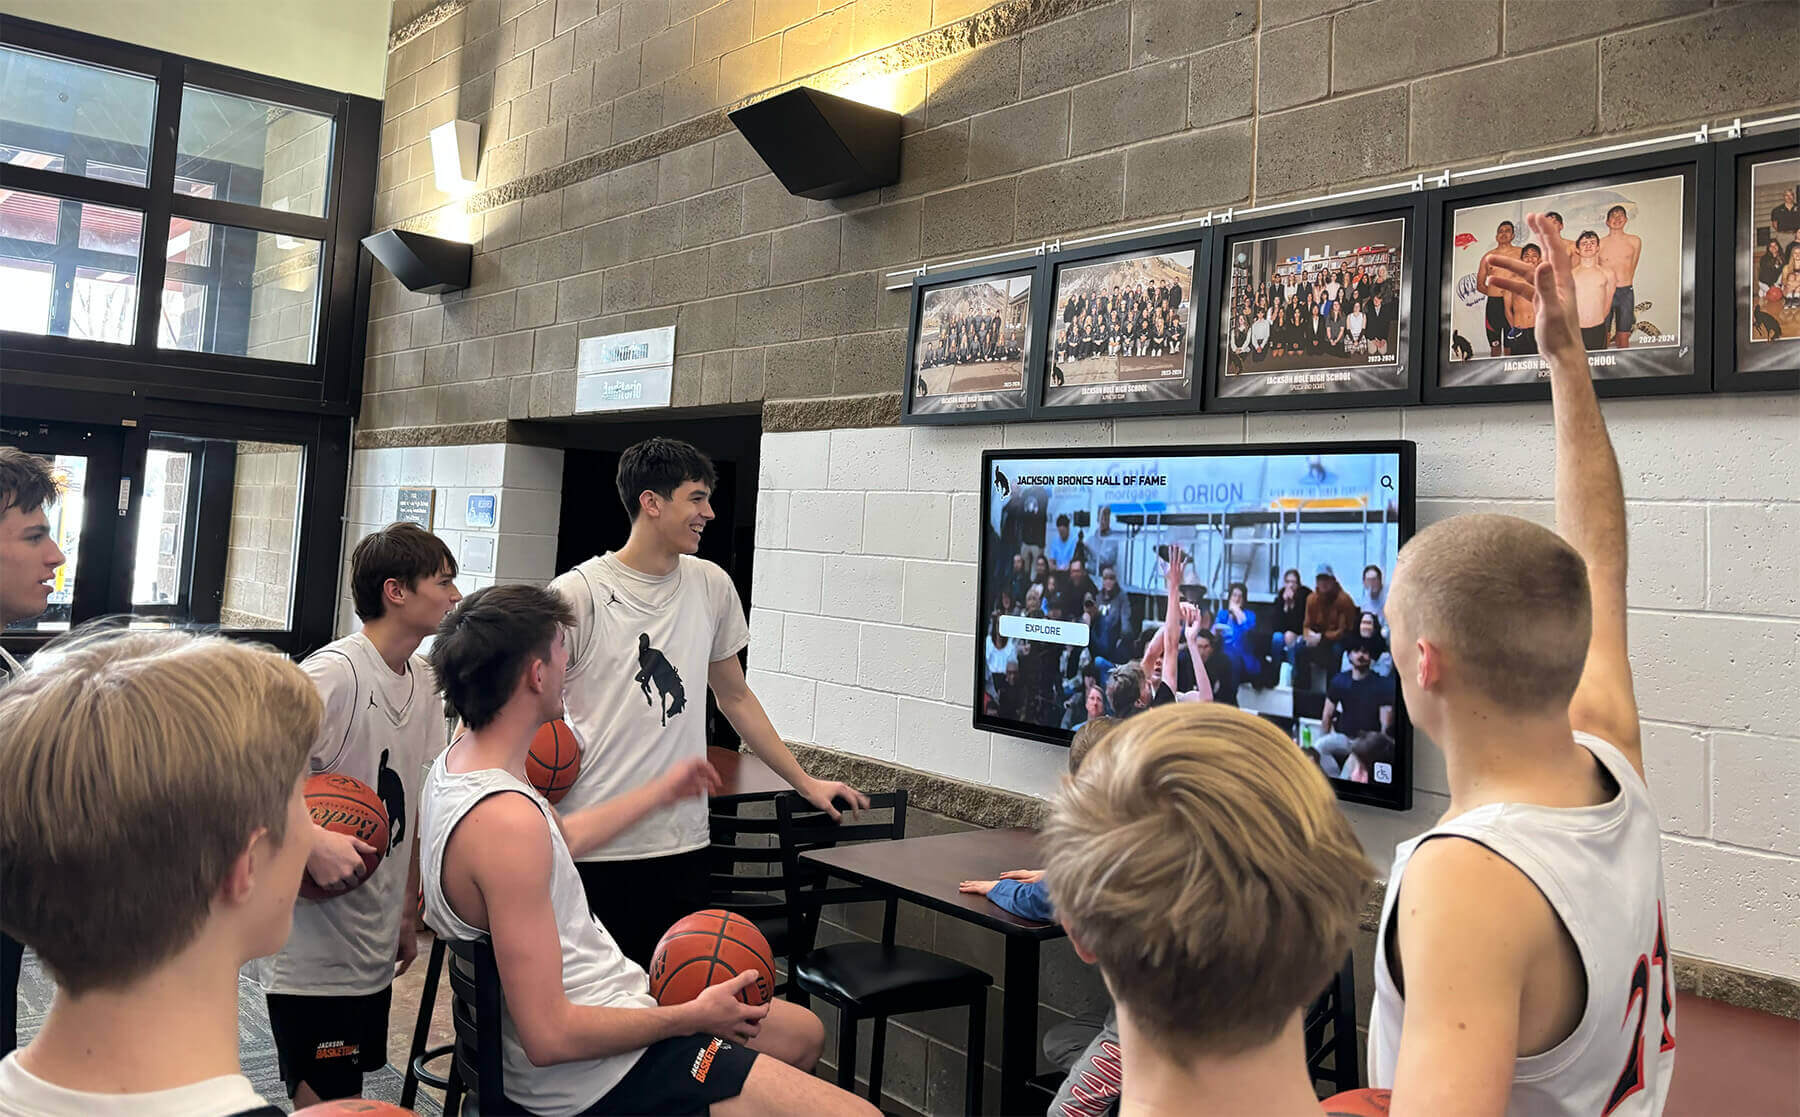
Athletic archive video displayed on lobby screens for current students and alumni was preserved through a digitization process that started with pre-playback inspection — tapes that shed oxide were isolated before contamination could spread to healthy recordings or shared capture equipment
Immediate isolation steps:
- Place the affected tape in a separate, clearly labeled container. Use a zip-lock bag or a plastic storage box dedicated to tapes requiring specialist treatment. Mark the container with a visible label: “OXIDE SHEDDING — DO NOT PLAY.” Include the tape’s accession number, the inspection date, the inspector’s name, and a brief summary of the findings.
- Do not return the tape to the main collection storage. Storing a shedding tape alongside healthy tapes risks transferring debris via air circulation, physical contact during handling, or shared storage containers. Designate a separate physical shelf, drawer, or cabinet for flagged tapes.
- Do not reuse packaging materials. Any plastic bag, cardboard sleeve, or box that has held a shedding tape and shows brown powder residue should be discarded rather than reused for healthy tapes.
- Log the tape in the collection’s accession record. Update the tape’s entry to reflect its current condition, the inspection findings, and its isolation status. This log becomes the referral document when the tape is sent to a specialist.
Collection-level contamination check:
If a shedding tape was stored in direct contact with other tapes in the collection — in the same box, on the same shelf without dividers, or in the same stack — inspect the adjacent tapes at the same time. Oxide powder migrates. A tape stored spine-to-spine with a heavy shedder may carry transferred debris on its shell exterior that requires cleaning before the tape itself is inspected.
Athletic programs that have completed a safe digitization workflow can bring their historic footage directly into lobby kiosks, touchscreen hall-of-fame installations, and digital yearbook archives. See how Rocket Alumni Solutions integrates archive video into recognition programs that serve students, alumni, and visitors every day.
Step 5: Equipment Cleaning After Suspected Oxide Contact
Any time a shedding tape has been manually wound in a cassette, partially threaded into a deck, or played through any portion of the transport path, the equipment that made contact must be cleaned before the next tape is loaded. This step applies even if the contact was brief, even if the visible debris appears minimal, and even if the tape was ejected at the first sign of shedding.
Tools and materials needed:
- Isopropyl alcohol (IPA) at 91% purity or higher — 70% medical-grade IPA contains too much water for electronic cleaning
- Cotton swabs (laboratory or medical grade; consumer cotton swabs shed fibers that can enter the head gap)
- Lint-free microfiber cloths
- A bright inspection light (small LED flashlight or penlight)
- A head-cleaning cassette (as a secondary pass after manual cleaning, not a replacement for it)
Cleaning procedure for stationary components:
- Tape guides and tension arms: Dampen a cotton swab with IPA and wipe each stationary guide post with a light circular motion. Inspect the swab tip after each pass — a brown or amber discoloration confirms oxide transfer. Continue with fresh swabs until the swab tip returns clean.
- Capstan shaft: Wipe the capstan shaft with an IPA-dampened swab, rotating the shaft manually as you wipe to ensure the full circumference is cleaned. Oxide debris on the capstan is particularly damaging because it transfers directly to the next tape’s backing and creates uneven tension.
- Pinch roller: Wipe the rubber pinch roller surface with an IPA-dampened cloth. Use gentle pressure — the rubber surface is softer than the metal guide posts and can be scratched by abrasive materials. Rotate the roller manually to clean the full circumference.
- Pressure pad: If the format includes a pressure pad (VHS pressure pads are located in the cassette housing, not the deck; U-matic and Betacam decks have internal pressure mechanisms), clean the pad with a swab and inspect for brown residue.
Cleaning the rotating head drum:
Head drum cleaning after oxide contact requires more care than guide cleaning because the drum rotates at high speed during operation and the head gaps are microscopic. The correct procedure depends on the deck type and the operator’s training level:
- Manual cleaning with a head-cleaning tape path: Some professional decks allow manual cleaning by carefully bringing an IPA-moistened chamois or proprietary head-cleaning strip into contact with the drum while rotating it slowly by hand. This technique requires specific training for each deck model — consult the service manual before attempting.
- Head-cleaning cassette (consumer): A non-abrasive wet head-cleaning cassette run for the manufacturer’s recommended duration provides a basic cleaning pass. This is not sufficient after heavy oxide contact but is appropriate for light suspected contact where manual winding only was performed.
- Professional head cleaning: If the deck was used for any playback of a heavy-shedding tape, route the deck to a qualified VCR service technician for manual head cleaning before it is used for further archive capture. An improperly cleaned head drum will degrade every subsequent tape.
Post-cleaning verification:
After cleaning all stationary components, load a sacrificial cassette — a tape of no archival value in the same format — and allow it to thread and play for approximately 30 seconds. Eject it and inspect the tape surface at the point of head contact for any brown debris transfer. If the sacrificial tape shows debris, repeat the cleaning process before proceeding with archive capture.
Schools building shared digitization stations for use by multiple departments or volunteer staff should post the cleaning procedure at the workstation and make the cleaning supplies immediately accessible so that the procedure is followed consistently regardless of who is operating the equipment. Resources on recognition display infrastructure for schools and honor roll recognition systems can offer additional context on how schools build durable, staff-maintained AV environments.
Step 6: Specialist Escalation — When In-House Inspection Is Not Enough
Not all oxide-shedding tapes are candidates for in-house digitization, even after inspection. Some tapes have progressed to a stage of binder degradation where safe playback requires interventions that school facilities and IT staff are not equipped to perform without specialized equipment and training.
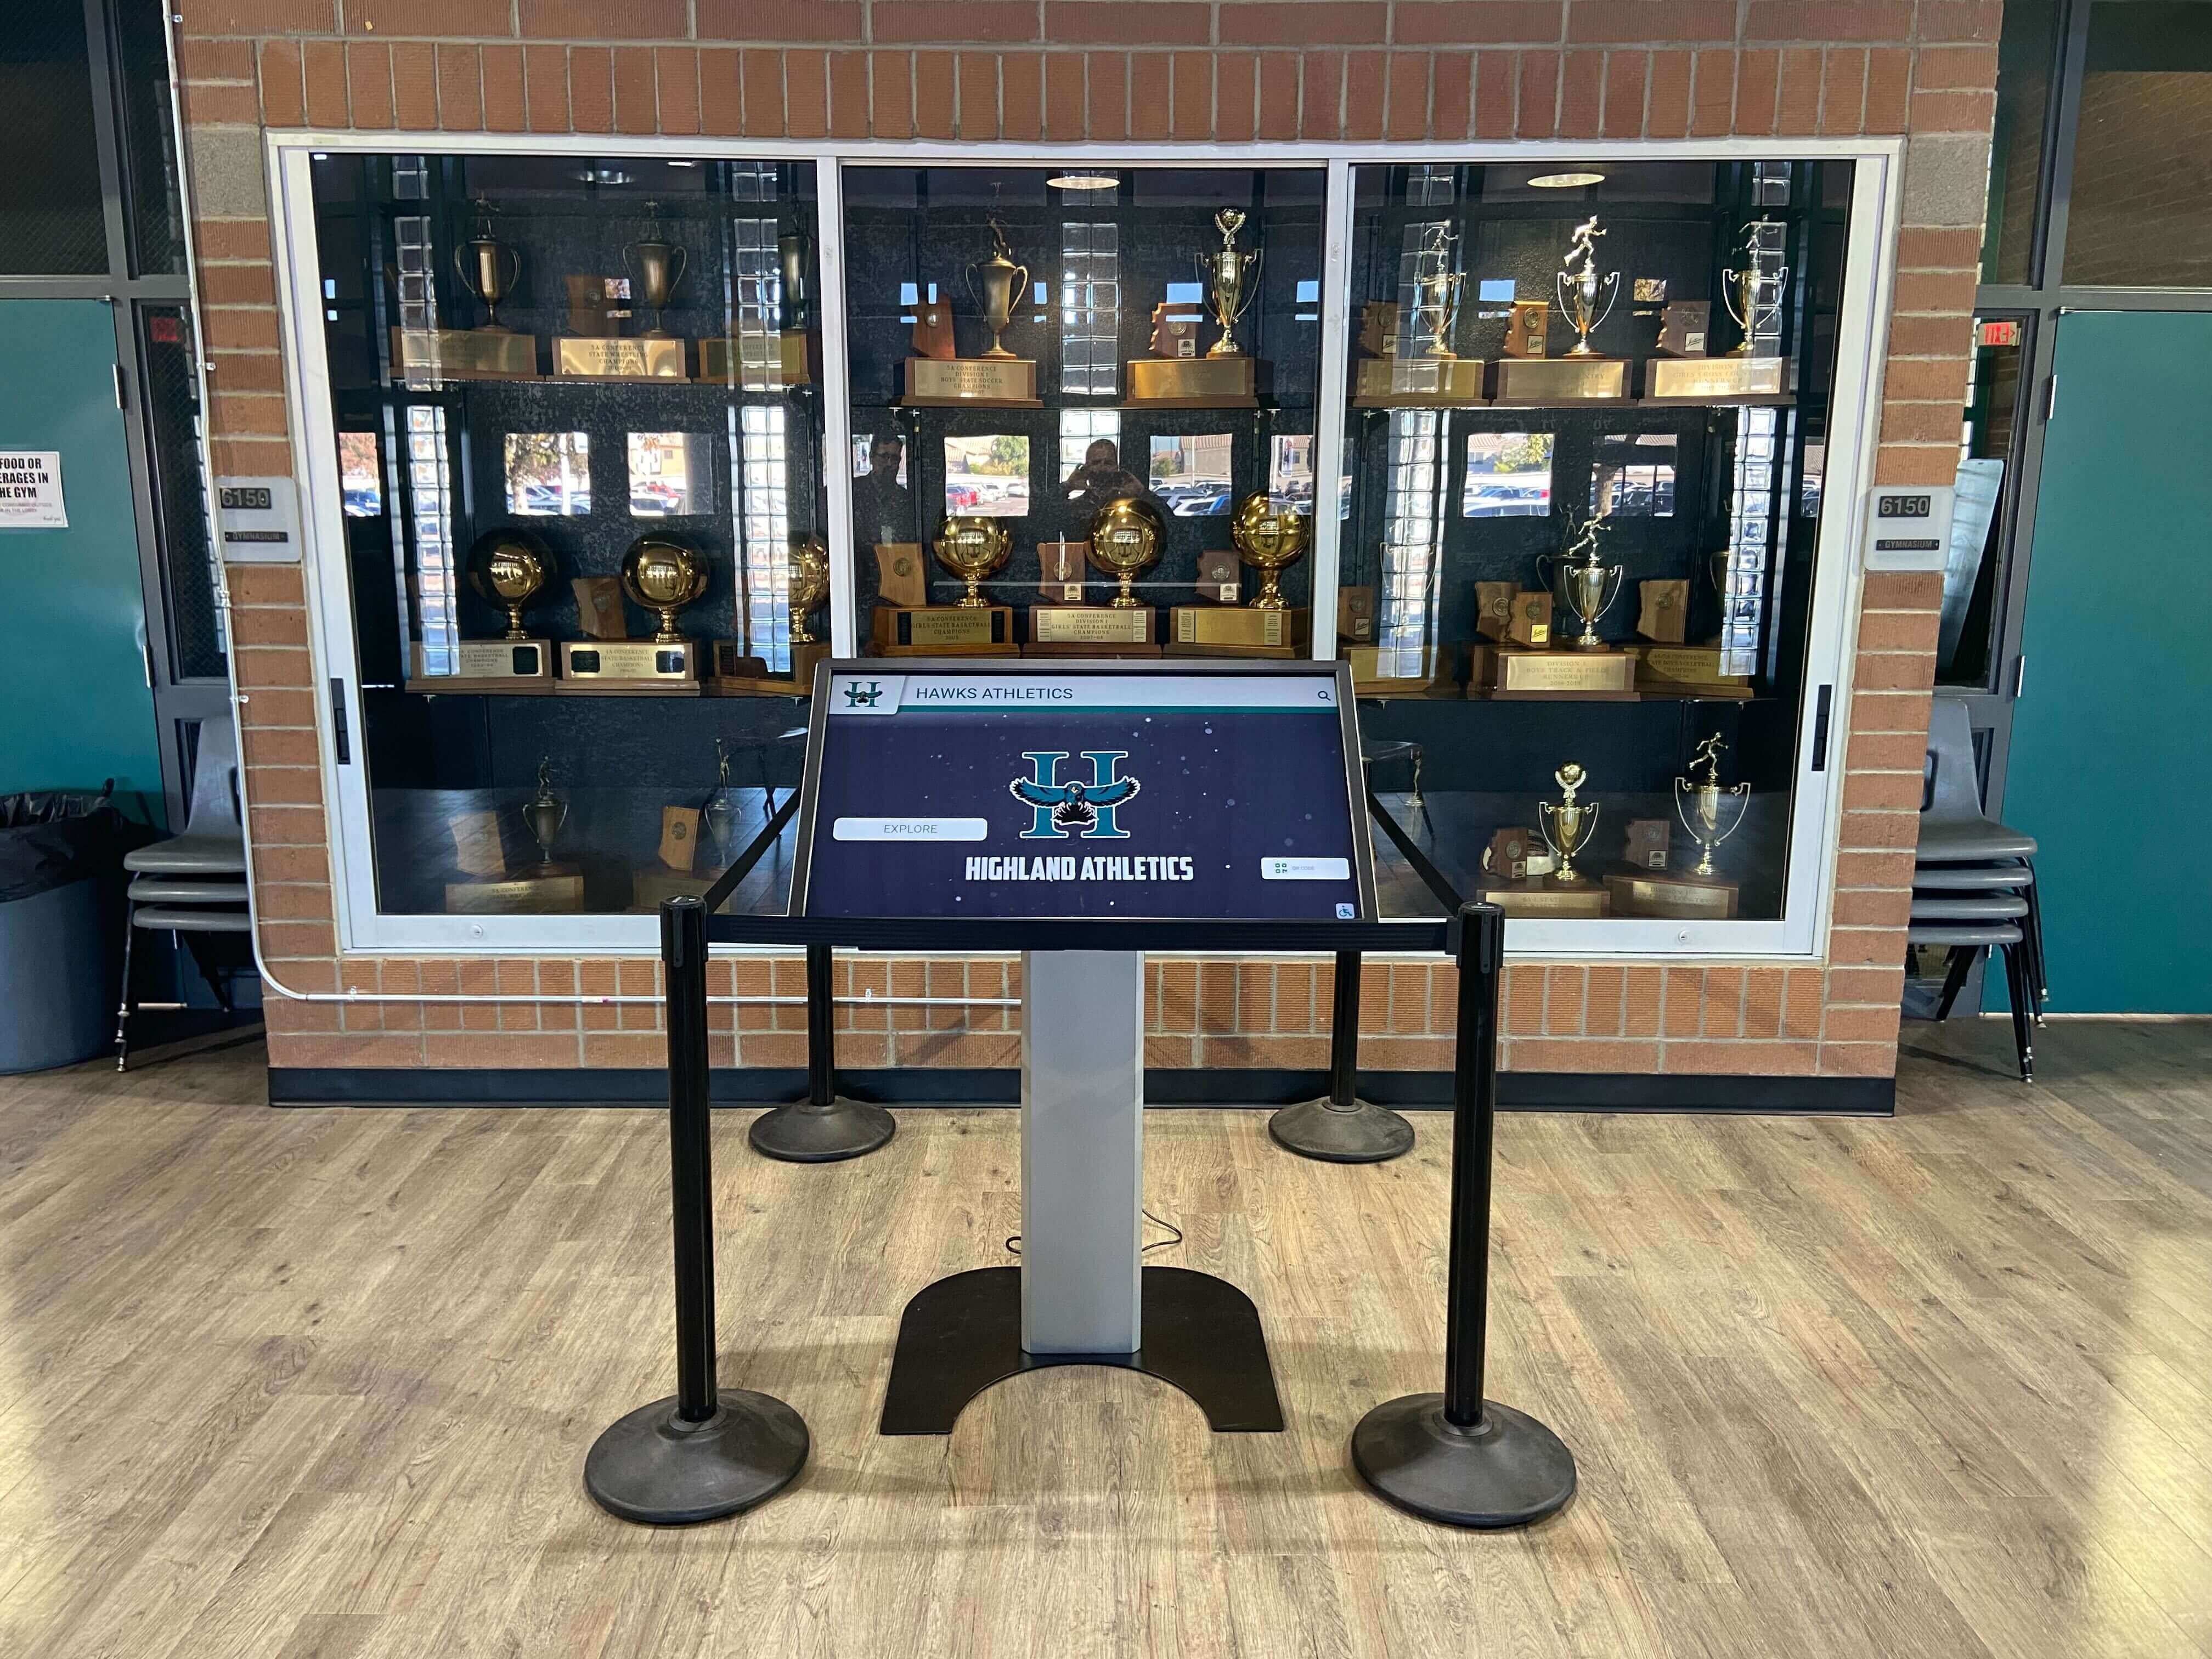
The most valuable tapes in a school athletic archive — championship game recordings, record-setting performances, and coach interviews — are often the oldest and most at risk from advanced binder failure; specialist escalation protects these recordings from in-house capture attempts that could permanently destroy them
Criteria for specialist escalation:
A tape should be escalated to a professional videotape preservation specialist rather than attempted in-house when any of the following apply:
- Visual inspection reveals exposed base-film patches or active delamination of the oxide layer
- Manual winding produces audible grit or leaves heavy debris on the inspection glove
- The tape is identified as a format requiring specialized playback equipment not available in-house (open-reel 2-inch, 1-inch Type C, early Betamax, or Video8 in significantly degraded condition)
- The tape is of high historical significance — a state championship game, a record-setting performance, a coach’s farewell speech — where the cost of specialist treatment is justified by the irreplaceability of the content
- The collection holds multiple tapes from the same recording run or the same tape brand and vintage that have shown shedding, indicating a systematic binder failure that is likely to affect all tapes in that group
What specialist services can do:
Professional preservation labs have equipment and techniques unavailable in most school AV environments:
- Baking (controlled thermal incubation): For tapes where binder hydrolysis and oxide shedding are occurring together, a controlled incubation at 50–55°C for 8–24 hours can temporarily re-bond the binder, allowing a brief window of playback during which the tape can be captured. Baking is not a permanent fix, and a baked tape typically returns to its pre-bake condition within days or weeks — but the capture window it provides may be sufficient to produce a complete master file.
- Wet-gate or spray cleaning: Some labs apply controlled solvent cleaning to the tape surface during playback to flush oxide debris from the head contact zone without mechanical abrasion, allowing the head to read the remaining signal from tapes too fragile for dry playback.
- Ultra-sonic cleaning: High-frequency sound waves in a controlled bath can loosen accumulated oxide debris from the tape surface without the abrasion that mechanical cleaning produces.
- Professional-grade deck maintenance: Labs that process archive tapes operate decks that are regularly serviced, calibrated, and cleaned between sessions — providing a capture environment that minimizes the deck-side contribution to oxide shedding during playback.
Preparing tapes for specialist transfer:
When sending tapes to a preservation specialist, include with each tape:
- The tape’s accession number and a copy of the inspection log from Steps 1 and 2
- The stop-work trigger observed, if any
- Any known storage history (years in climate-controlled vs. unconditioned storage, known exposure events)
- The desired output format for the master file (FFV1/MKV, uncompressed AVI, or the lab’s standard archival format)
- Priority ranking if multiple tapes are being sent simultaneously — specialist capacity is often limited and highest-priority tapes should be identified clearly
Schools that have already developed formal recognition programs — including digital hall-of-fame touchscreen systems and recognition displays that honor athletic achievement alongside academic and community contributions — will find that a specialist digitization referral for the collection’s highest-priority tapes is a natural extension of the investment already made in display infrastructure.
Oxide Shedding vs. Related Tape Conditions: A Comparison
| Condition | Surface Appearance | Debris Type | Audible Indicator | Recommended Response |
|---|---|---|---|---|
| Oxide shedding | Patchy, lighter color; possible exposed base | Dry, brown powder | Grit or scratch during manual wind | Stop work; isolate; specialist evaluation |
| Sticky-shed syndrome | Tacky or shiny surface; wet-looking | Wet, sticky residue | High-pitched squeal during playback | Stop work; bake before capture attempt |
| Dry-pack syndrome | Normal appearance; consistent matte | None visible | Squeal from friction, no debris | Lubricant reapplication; careful monitoring |
| Mold contamination | White or gray patches; irregular | Fibrous biological growth | None specific | Immediate quarantine; biohazard handling |
| Mechanical deformation | No surface debris; pack irregularity visible | None | Possible transport noise | Pack conditioning; winding correction |
Understanding the distinction between oxide shedding and these related conditions matters because the response to each is different. Baking a tape for sticky-shed syndrome does not help a tape whose problem is mechanical deformation. Lubricant reapplication for dry-pack syndrome does not address a tape that has already shed oxide from localized binder failure. Correct diagnosis — beginning with the visual inspection in Step 1 — is the foundation of the correct response.
Connecting Inspected Footage to School Recognition Programs
The goal of the inspection workflow is not the inspection itself but the outcome: safely digitized game footage that can take its place in the school’s living athletic record. Once a tape has cleared inspection and been digitized — or has been processed by a specialist and returned as a master file — that footage connects directly to recognition contexts that extend its reach beyond the archive room.

Every game clip, highlight reel, and athlete moment displayed on a school's recognition screens passed through the archive first — systematic pre-digitization inspection is what ensures those moments survived to be seen
Hall-of-fame touchscreen installations: Digitized game footage adds a motion-media dimension to inductee profiles that still photographs alone cannot provide. A short clip of a player’s record-setting performance, embedded in a touchscreen kiosk alongside their statistics and portrait, creates a recognition experience that visitors engage with far longer than static displays. Schools evaluating interactive touchscreen solutions for recognition programs will find that clean archive footage is the content that most differentiates a touchscreen display from a traditional plaque wall.
Lobby and hallway video loops: A 60- to 90-second highlight reel assembled from inspected and digitized archive footage, running on a lobby screen, communicates program history to every student, parent, and visitor who enters the building. The practical guide to lobby digital signage in schools outlines how schools integrate archive content into the signage systems already serving their facilities.
Athletic awards ceremonies and inductions: Projecting archive footage at an awards night or hall-of-fame induction ceremony — footage the audience may not have seen in decades — creates a shared memory that connects current athletes to the program’s history. Recognition programs that incorporate game footage alongside award plaques, trophy displays, and digital donor walls build a recognition culture that is immersive rather than merely commemorative.
Digital yearbook archives: Game footage recovered from the athletic archive can be embedded in digital yearbooks commemorating anniversary seasons, reunion years, or milestone championships. Current students who were not present for those moments gain access to a program history that print yearbooks can only gesture toward.
Alumni events and homecoming: A compiled archive reel assembled from multiple games — safely digitized through this inspection workflow — provides compelling content for homecoming nights, reunion screenings, and alumni fundraising events. Schools that have developed recognition display systems and corporate award strategies can apply the same recognition principles to alumni engagement, using archive footage as the centerpiece.
Programs exploring digital building directories and recognition infrastructure will find that safely digitized archive video integrates naturally into the same display network, adding motion content to a system already serving wayfinding and recognition functions.
Quick-Reference: Oxide-Shedding Inspection Decision Table
| Inspection Finding | Risk Level | Immediate Action | Capture Path |
|---|---|---|---|
| No debris visible; clean edges; no grit during manual winding | Low | Proceed with monitored capture | Standard in-house digitization |
| Light debris at hub flanges only; no grit on gloves | Moderate | Condition, monitor closely, stop at first sign | In-house with stop-work trigger active |
| Shell interior debris; grit on gloves; audible scratch | High | Stop work; isolate; do not thread | Specialist evaluation before capture |
| Exposed base film; heavy debris; active delamination | Critical | Quarantine immediately | Specialist digitization only |
| High-significance tape at any Moderate or above | Escalate regardless | Specialist consultation | Specialist-recommended path |
Frequently Asked Questions
Can I tell oxide shedding from sticky-shed syndrome without playback?
In most cases, yes. Sticky-shed syndrome produces a tape surface that appears slightly tacky or has an unusually shiny sheen — touching the oxide surface with a gloved fingertip leaves a faint, wet-feeling smear rather than a dry powder. Oxide shedding produces dry, powdery debris that comes off as brown dust on the inspection glove. Both conditions leave visible residue inside the cassette shell, but the texture is different: sticky-shed residue tends to clump or smear, while oxide-shedding debris is loose and powdery. Advanced cases may show both conditions simultaneously — a tape whose binder has hydrolyzed enough to cause sticky shed may also be actively shedding oxide from regions where binder adhesion has failed completely.
Should I try baking a tape to address oxide shedding before digitizing?
Baking is primarily a treatment for sticky-shed syndrome, where controlled heat temporarily re-crosslinks the hydrolyzed binder and restores a playback window. For oxide shedding caused by mechanical adhesion failure rather than chemical hydrolysis, baking produces limited benefit. If both conditions appear to be present — sticky shed combined with shedding — a specialist should evaluate the tape before baking is attempted, because the heating process can exacerbate mechanical delamination in some tape formulations. Baking is not a safe home remedy for all tape conditions, and school AV staff should not attempt it without guidance from a preservation specialist or a documented protocol specific to the tape format being treated.
How many tapes from the same era can I expect to have oxide-shedding problems?
Shedding risk is correlated with format, vintage, manufacturer, and storage conditions rather than being uniformly distributed across a collection. Certain tape formulations from the late 1970s through the mid-1980s — particularly some consumer VHS brands and certain Betacam formulations from that era — are substantially more prone to binder failure than others. A collection stored in a stable, climate-controlled environment will show lower shedding rates than the same collection stored in an unconditioned space with wide temperature swings. As a practical planning estimate: a collection of mixed-brand VHS tapes from the 1980s stored outside climate control should be assumed to have a meaningful shedding rate, and the inspection workflow should be treated as a systematic process rather than an occasional check.
Do I need specialized training to perform the visual inspection in Step 1?
The visual inspection described in Step 1 requires no specialized equipment beyond a bright light source and clean gloves. Staff who are trained to look for the specific indicators described — debris in the shell, surface appearance variations, edge condition — can perform this inspection reliably after a short orientation. The more technical steps — manual threading, head cleaning, and specialist escalation decisions — benefit from additional training or oversight by someone with prior tape handling experience. The stop-work threshold should be communicated clearly to all staff so that the decision to halt and escalate does not depend on technical judgment that a volunteer or first-time operator may not have.
A systematic athletic archive videotape oxide-shedding inspection workflow turns an uncertain collection of legacy game tapes into a documented, risk-tiered asset list — directing safe tapes to in-house capture, routing borderline tapes through careful monitored workflows, and escalating the collection’s most historically significant and most fragile recordings to the specialist treatment they require before any content is lost.
Ready to bring your safely digitized athletic archive footage into a recognition program that does justice to your program’s history?
Request a Rocket Alumni Solutions demo and see how schools are connecting legacy game footage to touchscreen hall-of-fame displays, lobby kiosks, and digital yearbook archives.































