
Before you press play on any VHS tape containing historic school athletic footage, inspect the cassette shell. A ten-minute visual check — no tools required, no disassembly — tells you whether a tape is safe to run through playback equipment, needs professional cleaning, or carries damage that requires a qualified transfer provider to handle. Skipping this step risks snapping tape strands, depositing mold spores onto a VCR head, or permanently destroying footage of championship wins, individual records, and team moments that no longer exist anywhere else.
School athletic directors, IT coordinators, and facilities staff overseeing archive digitization projects are not expected to be video engineers. But they are in the best position to conduct a first-pass assessment, flag problem tapes, and make confident routing decisions before any equipment is touched. This guide walks through that athletic archive VHS cassette shell inspection — what to look for, what each finding means, and when to refer a cassette to a qualified provider rather than attempting transfer in-house.
Athletic game film shot on VHS spans roughly 1980 through the mid-2000s for most K–12 programs. Tapes from that window hold irreplaceable footage of athletes whose achievements — state titles, school records, standout individual performances, and hard-fought seasons — deserve a place in a living athletic archive accessible to current students, alumni, and the wider community. A careful shell inspection is the first step toward making that preservation happen safely.

Every championship season and record-setting performance captured on VHS deserves a systematic inspection before transfer — protecting the footage that will eventually populate your school's athletic archive and recognition displays
Why VHS Shell Inspection Matters for School Athletic Archives
A VHS cassette is a mechanical object. The plastic housing keeps the tape wound on two spools, protects the oxide-coated tape surface from contamination, and guides the tape precisely during playback. When the housing degrades — through age, humidity, impact, or improper storage — the tape inside faces real risk every time the cassette is loaded into a VCR.
For school athletic archives, the stakes are high because there are no duplicates. A game film recording a district championship or a multi-sport athlete’s senior season may exist on one tape in one storage closet. A playback failure that stretches, snaps, or sheds tape oxide does not just ruin that session — it eliminates that footage permanently.
The inspection described here is non-destructive: it involves looking, listening, and smelling, not opening the shell or touching the tape surface. Anything requiring physical intervention — cleaning mold from tape surfaces, retensioning a loose pack, repairing a snapped leader — belongs with a qualified transfer provider, not general school staff.
For context on what happens downstream, the post on athletic archive gate weave stabilization and historic game film covers transfer problems that careful pre-inspection helps prevent.
The 10-Step VHS Cassette Shell Inspection
Work through these steps in a clean, well-lit space. A flashlight or desk lamp helps with the interior view through the tape window. Handle each cassette by the edges; avoid touching the tape visible through the window.
Step 1: Check the Exterior Housing for Cracks or Warping
Hold the cassette in both hands and examine all four edges and both flat faces under direct light. Look for:
- Hairline cracks running along seam edges or near the reel hubs
- Broken corners or impact fractures from drops or heavy stacking
- Warping — one face sitting higher or lower than the other when the cassette is laid flat
- Stress deformations from items stacked on top of the tape in long-term storage
A cracked shell can shed plastic fragments onto tape heads during playback. Warping prevents the cassette from seating correctly in a VCR. Either condition means the tape should be routed to a qualified transfer provider.
Step 2: Inspect the Tape Window for Clarity and Contamination
Every standard VHS cassette has a clear viewing window on the front face that allows you to see a portion of the tape pack. Check that window for:
- Fogging or interior condensation marks — evidence the tape was exposed to moisture
- Visible mold spots on the tape surface (irregular white, gray, or green patches)
- Tape clumped against the window rather than hanging freely on the reel
- Scratches obscuring the view — note these, but scratches alone do not indicate tape damage
If you see mold patches or clumping through the window, stop. The tape should be handled by a professional cleaning service before any playback attempt. Mold on VHS tape can transfer to playback heads and contaminate other tapes run through the same equipment during a single session.
Step 3: Test Reel Hub Movement
Gently rotate each reel hub through the cassette window using a pencil eraser or the tip of a ballpoint pen — avoid metal objects. Each hub should turn:
- Smoothly, without gritty resistance
- Freely, without sticking or locking at any point
- Without lateral wobble — a hub that rocks side to side suggests a broken reel bearing
A hub that grinds, sticks, or wobbles indicates internal mechanical failure. Send the cassette to a qualified transfer provider who can open and repair the shell in a controlled environment.
Step 4: Assess the Tape Pack for Even Winding
Through the window, look at the tape wrapped around each reel. A properly stored tape shows:
- Even, flush edges — the tape stack sits uniformly without stepped or staggered layers
- No fanned or splayed sections where tape edges are visibly uneven across the pack
- No slack loops of tape hanging loose inside the cassette housing
An uneven or loose pack means the tape was stored without being fully rewound or was stopped mid-play. Attempting playback on an unevenly tensioned tape risks crinkles, folds, or severe dropouts. A qualified provider can retension the pack before transfer.
Step 5: Smell the Cassette
Hold the cassette near the tape window and inhale gently. This is one of the most reliable early warning tests available to non-specialist staff:
- Musty or earthy smell — mold or mildew growth is almost certainly present
- Sharp, acidic, vinegar-like smell — vinegar syndrome, a decomposition process that produces acetic acid and indicates the tape needs priority transfer before further degradation
- No notable odor — the tape is likely in chemically stable condition
Either odor should send the tape to a qualified provider immediately rather than to an in-house playback setup. Vinegar syndrome is less common in VHS than in acetate film formats, but it does occur in tapes stored in warm, poorly ventilated spaces for extended periods.
Step 6: Check the Record-Inhibit Tabs
On the top edge of every VHS cassette sit two small plastic tabs — one at each rear corner. When present, the VCR can record over the tape. When a tab is removed or snapped off, the VCR locks out recording.
For athletic archives, a removed tab usually indicates someone intentionally protected the content. Note the status during inspection:
- Tab present — record-protect is off; staff handling transfer should ensure VCR equipment is in playback-only mode to prevent accidental overwrite
- Tab missing or snapped — content was deliberately protected; confirm transfer equipment respects this lockout
This step does not affect playback safety but matters for archive workflow and preventing accidental erasure.
Step 7: Test the Cassette Loading Door
Every VHS cassette has a hinged plastic door on its front bottom edge that covers the tape between the supply and take-up reels. Gently press the spring-loaded door release (typically a recessed button on one side edge) and observe:
- Door opens smoothly with light spring resistance
- Door returns fully when released, with no gaps at the edges
- No cracks or broken hinge points visible on the door panel itself
A stuck, broken, or missing door means the tape surface between the reels has been exposed to dust, light, and contamination. Whether the tape is still usable requires professional assessment.
Step 8: Look for Water Damage Indicators
Examine the cassette shell label and bottom seam for:
- Tide marks or dried water stains along the label edges
- Label lifting, bubbling, or curling from moisture absorption beneath the adhesive
- Rust-colored staining along the shell seams where metal screws have corroded
- Swollen or distorted shell edges indicating the plastic absorbed and retained moisture
Water damage does not automatically mean the tape is lost, but it does require professional assessment before playback. Tape that was wet — or was previously wet and dried in storage — can shed oxide onto a VCR head under the mechanical stress of playback.
Step 9: Confirm Label Information
While not a structural inspection step, verify that each tape carries enough labeling to be cataloged correctly. Many school athletic archives contain:
- Handwritten labels that have faded or partially detached
- Generic identifiers (“Game Film 1993”) without enough specificity for meaningful cataloging
- No label on tapes whose original identification fell off in storage
Inspection time is the right moment to log what is visible and flag tapes that need cross-referencing against season rosters or athletic records before they can be accurately cataloged.
Step 10: Record Your Condition Assessment
For each tape, document the results of every step before moving to the next cassette. A condition log with the tape identifier, a simple status code, and any flagged findings gives you an accurate picture of the full archive before transfer begins — and determines how to prioritize and route each tape through the right process.
VHS Shell Condition Decision Table
Use this table after completing the ten-step inspection to determine the correct action for each tape.
| Condition Found | Action |
|---|---|
| No defects — shell intact, pack even, no odor, door closes | Safe to proceed; qualified staff may attempt transfer |
| Minor label wear or cosmetic scuffing only | Safe to proceed |
| Cracked or broken shell | Send to qualified transfer provider |
| Warped shell | Send to qualified transfer provider |
| Visible mold through window | Send to qualified transfer provider (mold cleaning required first) |
| Musty or earthy odor | Send to qualified transfer provider |
| Vinegar smell | Send to qualified transfer provider as priority |
| Grinding or stuck reel hub | Send to qualified transfer provider |
| Loose or uneven tape pack | Send to qualified transfer provider |
| Broken or stuck cassette door | Send to qualified transfer provider |
| Water damage indicators on shell or label | Send to qualified transfer provider |
| Reel bearing wobble | Send to qualified transfer provider |
When in doubt, route the tape to a qualified provider. The cost of professional assessment is always lower than the cost of losing irreplaceable footage.
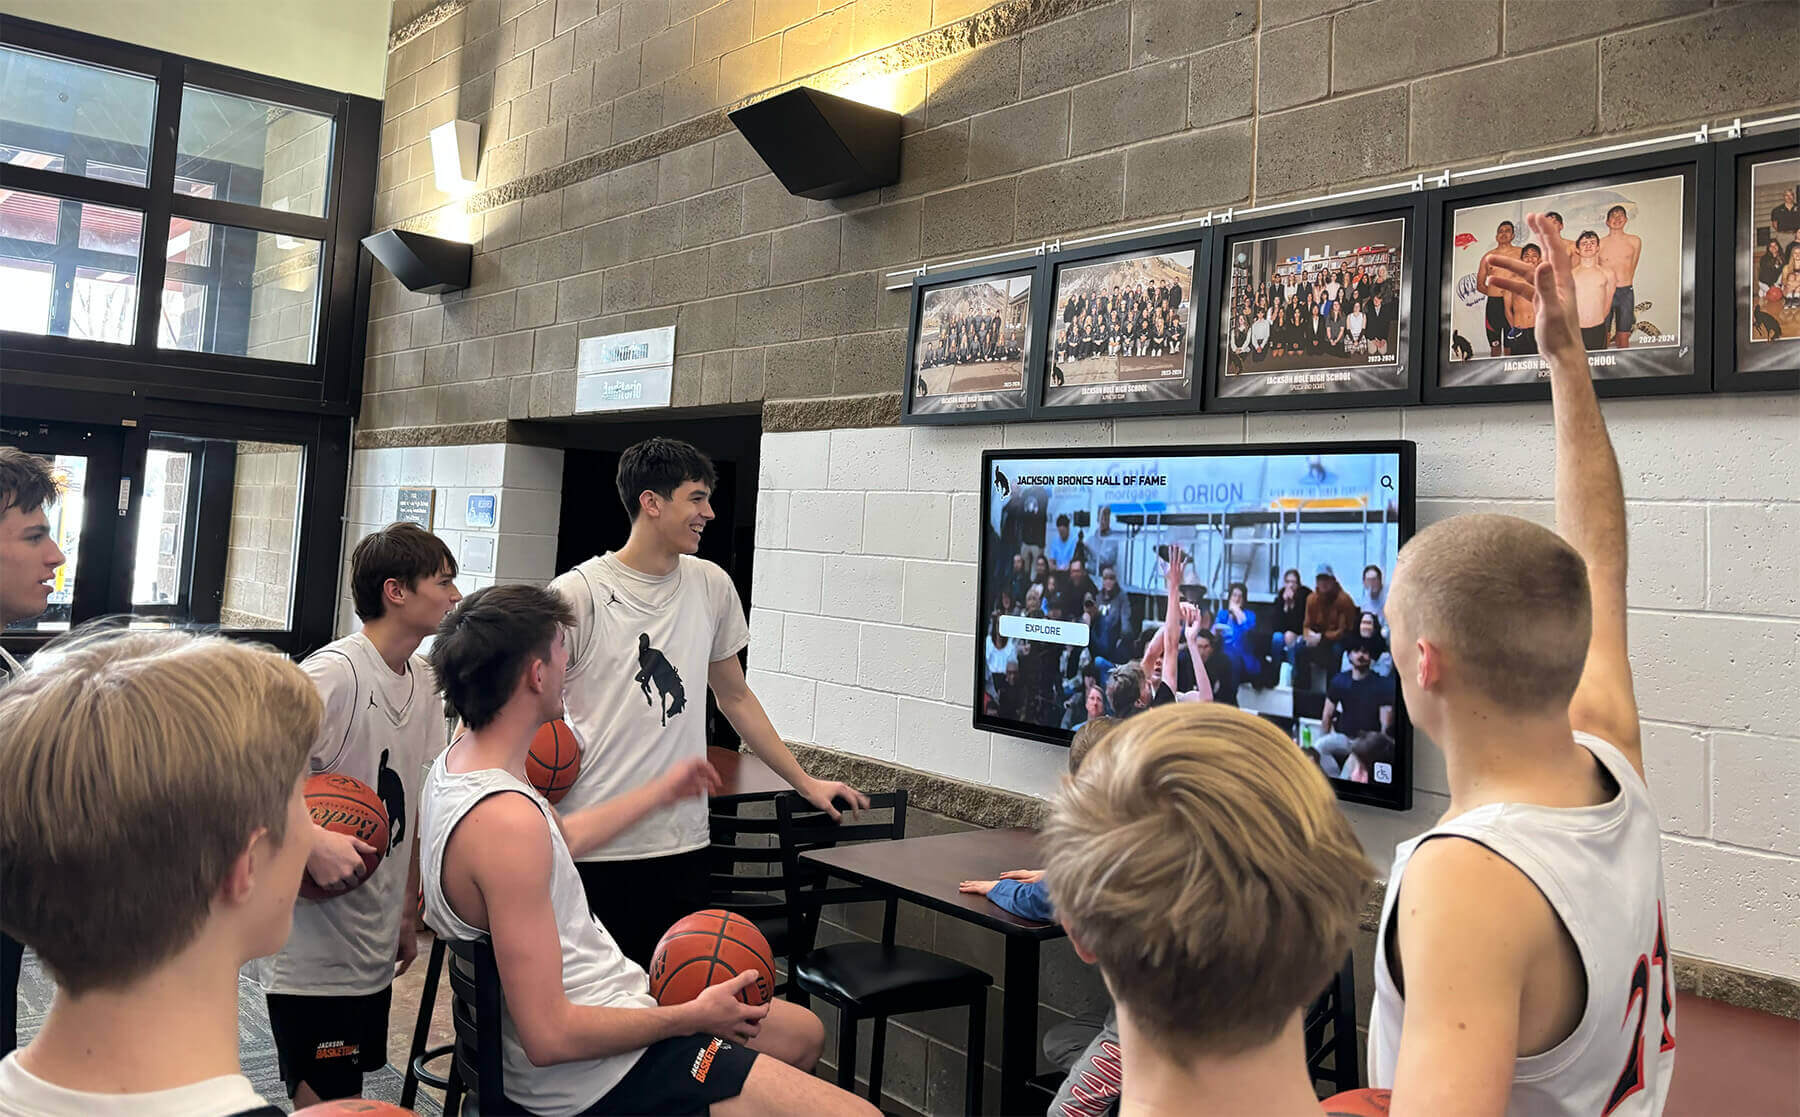
Once VHS game film is safely digitized, the footage supports recognition programs, alumni engagement, and digital displays celebrating school athletic heritage across every era
What Happens After Inspection
Tapes that pass the inspection cleanly can move to playback and transfer in a monitored workflow:
Equipment health: The playback VCR should itself be clean, well-maintained, and head-cleaned before a digitization session begins. A worn or contaminated head degrades even a healthy tape.
First-play monitoring: Staff should watch the first few minutes of each playback carefully for signs of dropouts, tracking problems, or unusual mechanical noise before committing to a full transfer session.
File format: Capture to a lossless or high-quality compressed format — ProRes, H.264 at high bitrate, or a lossless codec — that supports future reuse in recognition displays, yearbook archives, and alumni platforms without quality loss.
Tapes flagged for professional intervention should be grouped by issue type, packaged carefully for shipping or hand-delivery, and accompanied by the condition logs created during inspection. The better your documentation, the more efficiently a transfer provider can prioritize and process the collection.
Schools managing broader archival preservation across multiple physical media types benefit from a consistent pre-transfer checklist approach. A parallel framework for physical display materials appears in the school trophy case safety and film inspection checklist, which covers similar pre-condition steps for display materials before preservation work begins.
Integrating VHS Inspection Into a Broader Athletic Archive Project
A VHS shell inspection is one stage within a larger workflow. Athletic directors and IT staff launching a game film digitization project typically move through these phases:
Phase 1 — Inventory: Locate and log all VHS tapes in storage across the athletic facility, library, and any coach or office storage areas. Count tapes, record visible label information, and identify gaps in the archive.
Phase 2 — Inspection: Complete the ten-step shell assessment for every tape. Assign a condition code and routing decision — in-house transfer or qualified provider — before any equipment is touched.
Phase 3 — Transfer: Move tapes through the appropriate transfer path. In-house transfers proceed with monitored playback; flagged tapes are routed to a qualified provider with condition documentation.
Phase 4 — Review and cataloging: Preview transferred files to confirm content identity, correct any cataloging errors from illegible labels, and assign metadata — sport, season, opponent, date, individual athletes when identifiable from footage or documentation.
Phase 5 — Integration: Incorporate digitized footage into alumni platforms, recognition display systems, and digital yearbook archives where athletes, families, and the wider school community can access them.
Schools that also maintain trophy cases, photo archives, and physical recognition materials alongside game film will find that safe digitization methods for yearbooks and hall of fame displays offer directly applicable guidance for the broader physical-to-digital preservation workflow.
Who Should Conduct the Inspection
The ten-step inspection described here is designed for non-specialist school staff: athletic directors, facilities coordinators, IT staff, and library or media staff who manage physical archives. It requires no specialized equipment beyond a clean workspace and adequate lighting.
What it does not replace is professional assessment for flagged tapes. When a cassette shows mold, mechanical failure, or odor, the correct decision is referral — not improvised repair. Opening a cassette shell without proper training risks further damage to the tape, the mechanism, and any equipment the tape later contacts.
Alumni coordinators and recognition program managers can participate usefully in the inventory and cataloging phases, particularly when identifying individuals in footage or connecting game film to broader recognition initiatives. A team approach — athletic staff for inspection, IT for transfer, alumni or development staff for cataloging and use — typically produces the most complete and well-documented archive.
The effort sustains itself over time. Schools with digitized athletic archives report that historical game footage strengthens alumni engagement, supports recognition programming, and gives current athletes a tangible connection to the teams and players who shaped the program before them. That connection is part of what recognition tools like player of the game graphics and display programs build on — the deeper the archive, the richer the recognition context available to the whole athletic community.
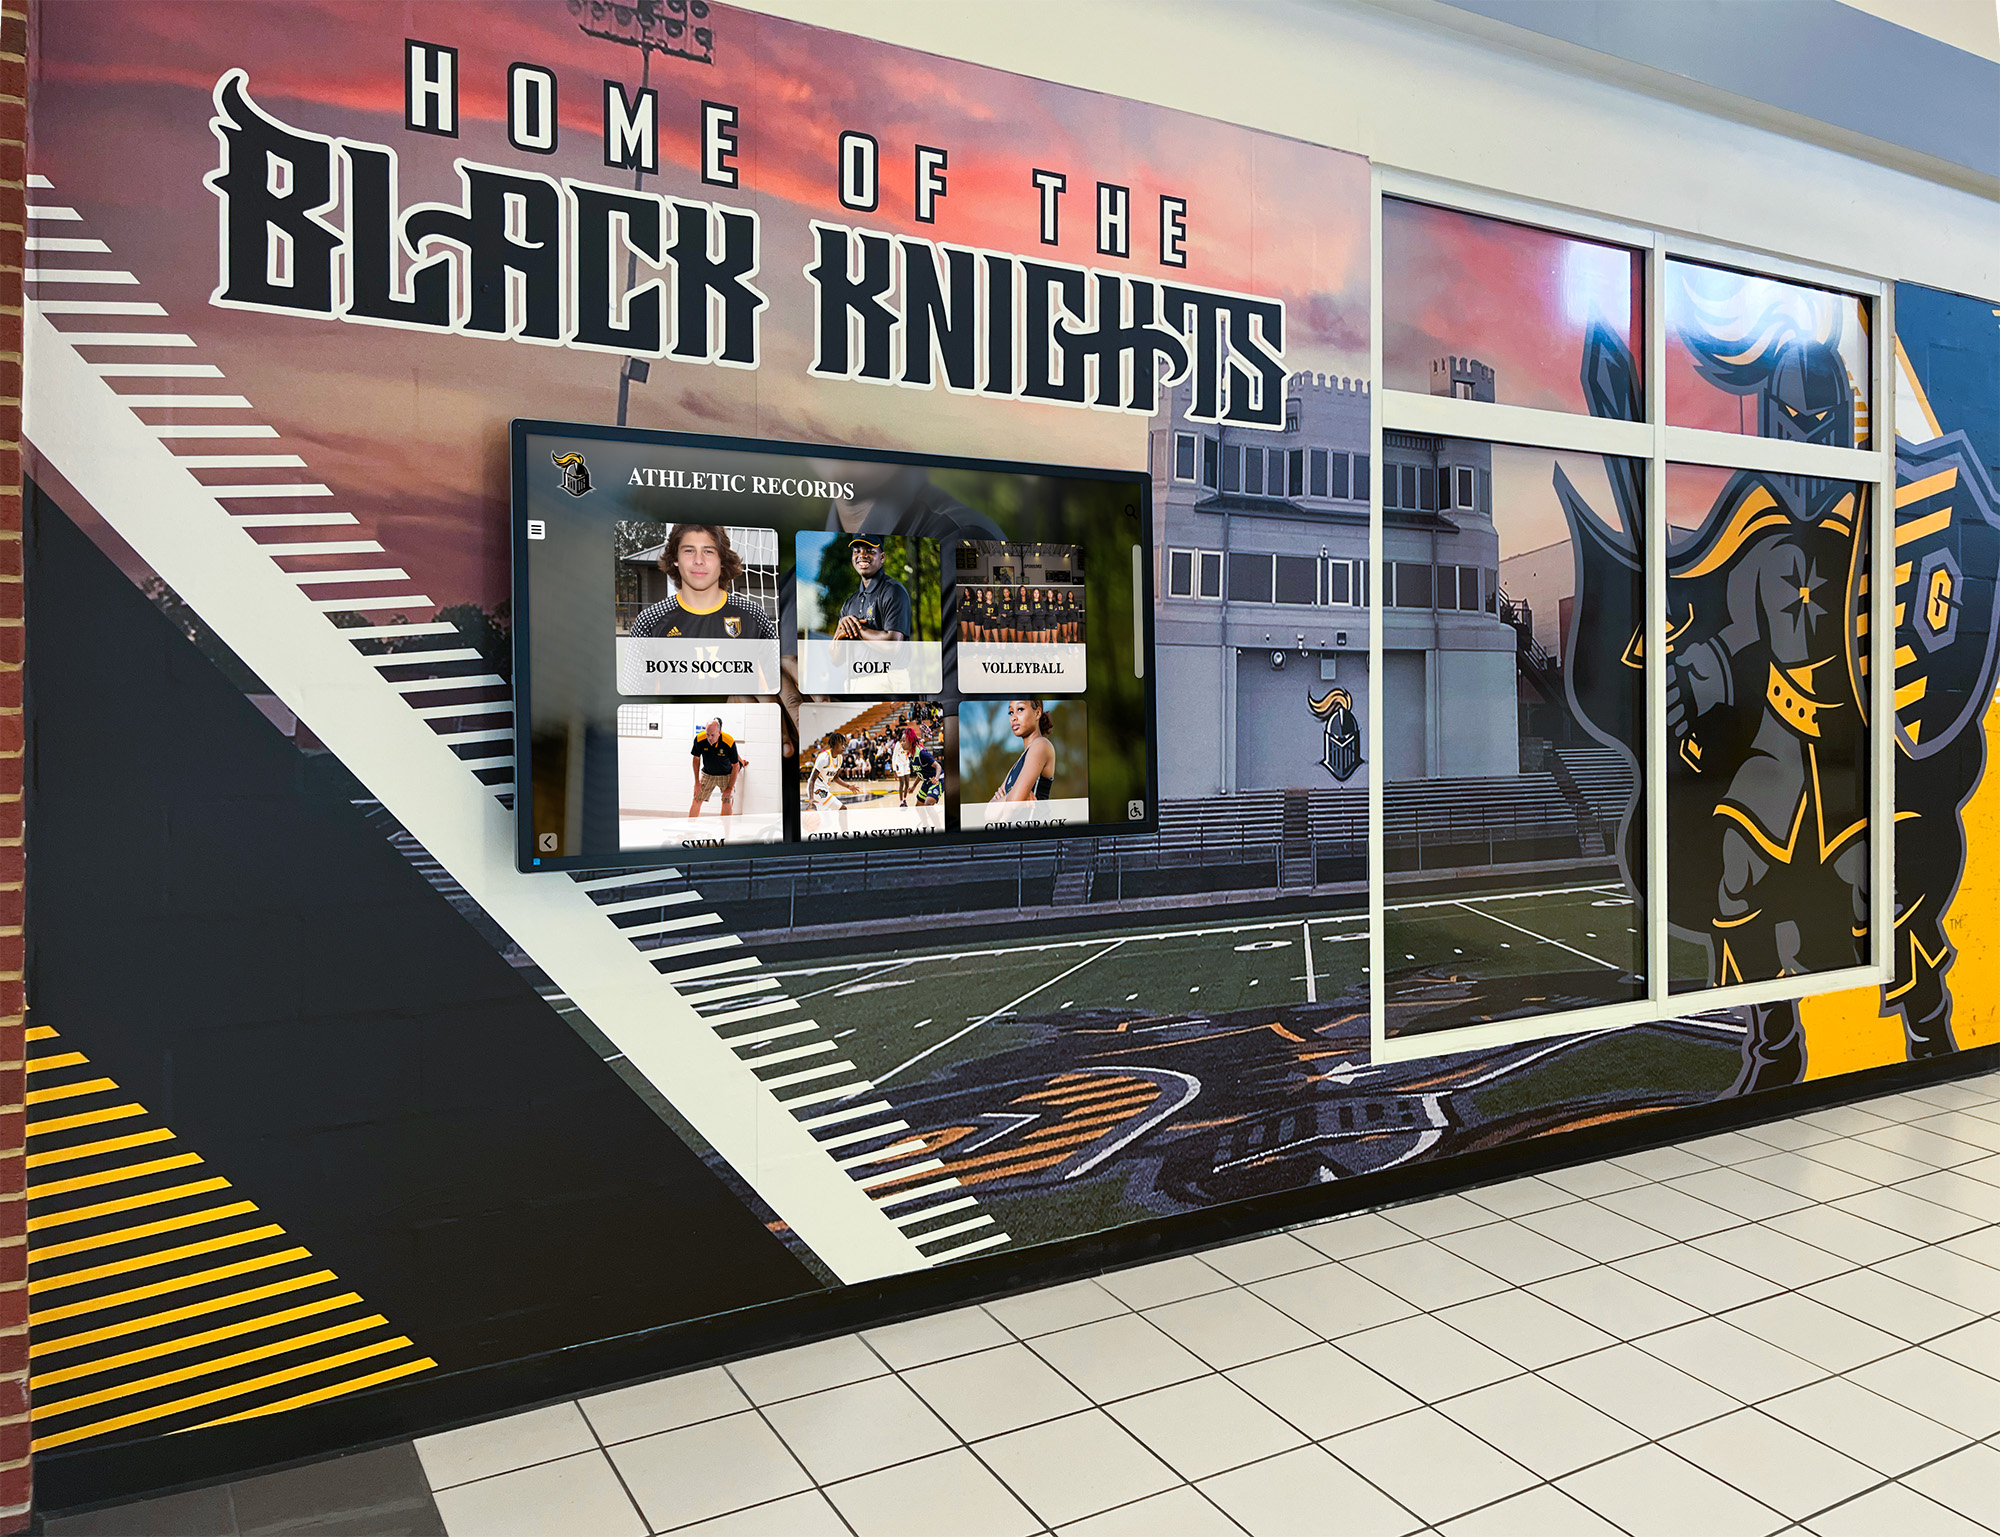
Footage that survives inspection and transfer becomes the foundation for digital recognition systems celebrating every era of a school's athletic history — from the earliest VHS recordings through today
Common VHS Storage Conditions in School Athletic Facilities
Understanding how game film tapes were typically stored helps predict what condition you will find during inspection and sets realistic expectations for the archive as a whole.
Gymnasium storage rooms: Often warm and humid in summer months, accelerating mold growth and mechanical degradation. Programs using these spaces should expect a higher rate of mold flags and uneven pack conditions.
Coach’s offices: Varied conditions depending on the office environment. Tapes stored near windows may have UV-related label damage; those in enclosed shelves or cabinets may be in better shape.
Library or media center storage: Generally the best-preserved tapes, as media centers historically maintained more consistent climate control and organized storage practices than athletic-area storage.
Unsorted closets and boxes: Highest risk of physical damage from items stacked on top of tapes, materials mixed with non-tape objects, or exposure to water during building incidents over the years.
Donated or returned tapes: Tapes that went home with coaches or staff and were later returned to the school may have experienced storage conditions entirely outside the school’s control.
Documenting storage conditions alongside individual tape findings during inspection provides context that helps a transfer provider prioritize fragile or high-risk tapes and informs ongoing storage improvements for any archive materials remaining in physical form.
Ready to Turn Game Film Into a Living Athletic Archive?
Protecting historic VHS footage through careful inspection is the first step. Once that film is digitized, it becomes the foundation for recognition programs, alumni connections, and digital displays that celebrate every era of your school’s athletic history. See how Rocket Alumni Solutions brings athletic archives to life — request a demo to explore how digitized game footage integrates with modern recognition platforms.
FAQ: VHS Cassette Shell Inspection for School Athletic Archives
Can a VHS tape that looks fine on the outside still be damaged inside?
Yes. The shell inspection described here assesses external and visible indicators only. Tape that looks clean through the window can still carry problems invisible without professional equipment: shedding oxide, dropout patterns from magnetic degradation, or physical deformation at the tape edges. If footage is particularly significant — a state championship, a multi-decade record, footage that alumni have specifically requested — professional assessment before transfer is the safest choice regardless of shell condition.
How long does an inspection take per tape?
Working through all ten steps takes roughly five to ten minutes per tape once staff are familiar with the checklist. A collection of fifty tapes can typically be assessed by one staff member in a full working day, including documentation time. Factor that estimate into the overall project plan before setting transfer timelines.
What if tapes have been stored in an uncontrolled space for decades?
Expect a higher proportion of flagged tapes. Mold, uneven packs, and adhesive residue from aged labels are common in long-stored collections. This is not a reason to avoid inspection — it is a reason to conduct it systematically before any transfer attempt. Knowing what you have before transfer begins allows you to route tapes appropriately and avoid equipment damage from a problem cassette.
Can a school attempt VHS transfer in-house at all?
For tapes that pass inspection cleanly — no damage, mold, odor, or mechanical issues — schools with appropriate playback equipment and technically capable staff can attempt transfer. The risk is manageable for healthy tapes run on clean, well-maintained equipment. For anything flagged during inspection, in-house transfer is not recommended: the potential for equipment damage and permanent tape loss is too high given what the footage represents for the athletic archive.
How does mold from one tape affect other tapes and playback equipment?
Mold on a VHS tape can transfer to a VCR’s playback heads during a single pass. Those contaminated heads then transfer mold to the next tape loaded into the same machine. A single moldy tape played without prior professional cleaning can spread contamination through an entire archive very quickly. This is why tapes flagged for mold must not be loaded into shared equipment without professional intervention first.
Does tape age alone determine whether inspection is needed?
No single factor does. A well-stored tape from 1985 may be in better condition than a poorly stored tape from 2003. Age increases risk but does not guarantee damage, and relatively recent tapes can fail badly in poor storage environments. Inspection is the only reliable way to assess actual condition — and it should be conducted for every tape in the archive, regardless of apparent age.
What metadata should schools capture during inspection and cataloging?
At minimum: sport, season year, event or opponent, and the condition code assigned during inspection. Stronger catalogs add individual athlete identifiers when visible on labels, recording date when documented, and the name of whoever originally recorded or donated the tape. This metadata becomes the backbone of downstream recognition work. Schools building digital athletic records programs find that well-cataloged archives give recognition platforms the historical depth needed to celebrate team and individual achievement meaningfully across decades.
Should the same inspection process apply to other video formats found in the archive?
The general principles — assess physical housing, check for mold and odor, test mechanical movement, document findings — apply broadly to other cassette formats including Betacam, Hi8, and MiniDV. The specific steps differ by format, and those formats often require more specialized playback equipment than VHS. If your athletic archive contains mixed formats, a qualified transfer provider can advise on inspection priorities and transfer sequencing across format types.
Protecting school athletic game film starts with a systematic VHS cassette shell inspection — one cassette at a time, one step at a time. The footage waiting inside those tapes connects current students to the athletes and teams who built your school’s legacy. Handle each tape with the care that legacy deserves.
Celebrate Your School's Athletic Legacy
From VHS inspection through digitization and into a modern recognition platform, every step brings your athletic archive closer to the students, alumni, and community who want to experience it. Schedule a demo to explore how Rocket Alumni Solutions helps schools build lasting athletic recognition programs that honor every era of their history.
Schedule Your Demo






























