School history, shared
Athletic Archive Tape Tension Inspection Workflow for Legacy Videotapes

The athletic archive tape tension inspection workflow is the pre-digitization assessment that determines whether a legacy VHS or analog game tape is mechanically safe to play — and whether the tape pack’s winding condition, edge alignment, and tension consistency will allow the capture deck to transport the tape without causing cinching, popped strands, or catastrophic shedding during the one session that matters most. Tape tension is the force that holds each wound layer of magnetic tape against the next during playback. When that tension is uneven — too loose in sections, too tight in others, or inconsistent across the width of the tape — the transport mechanism of a playback deck encounters resistance it was not designed to absorb. The result ranges from mild picture instability and audio drop to permanent physical damage: a crease, a cinch, a fold, or an oxide shed that removes program content from the archive forever.
For school athletic directors, facilities staff, IT coordinators, and volunteer archivists who are building a permanent digital archive of game footage from the 1970s through the early 2000s, tape tension problems are among the most common and most dangerous conditions encountered in collections that have spent years in gym closets, equipment rooms, and storage units. Unlike print-through or head-switching noise — defects that degrade quality without destroying the tape — a tension failure during playback can render an irreplaceable championship game or coach interview unrecoverable. This guide provides a systematic pre-digitization inspection workflow, a checklist for identifying pack problems before threading a deck, a format-by-format risk assessment, and documentation standards that protect the collection and support the recognition programs that depend on it.

Athletic record displays and recognition walls draw directly from archive master files produced during digitization — a tape tension failure during the capture session can permanently destroy content that no other copy preserves
What Tape Tension Is and Why It Fails in School Athletic Archives
Tape tension refers to the mechanical force applied to the magnetic tape strand as it moves from the supply reel through the transport path and onto the takeup reel during playback. A properly tensioned tape lies flat, tracks consistently across the stationary heads, and winds onto the takeup hub in a smooth, even pack. The transport mechanism — the capstan, pinch roller, and guide posts — is calibrated by the deck manufacturer to maintain specific tension values across the tape width throughout a full playback cycle.
When a tape has been stored for years in conditions that allowed the pack to shift, absorb moisture, or deform, the tension profile across the wound reel changes. Some layers tighten against neighboring layers; others develop slack. The deck’s tension sensors and brake mechanisms are not designed to compensate for significant pack deformation — they assume the tape arrives wound in a state close to factory specification. A tape that deviates substantially from that state will stress the transport in ways that cause the tape to slip, stall, crease, or shed oxide against stationary guide posts.
Why school athletic tape collections carry elevated tension risk:
- Irregular storage. Athletic departments rarely have climate-controlled archive storage. Tapes stored in gym closets or equipment rooms cycle through summer heat and winter cold repeatedly, causing the binder layer to expand and contract at a different rate than the base film. Over decades, this cycling loosens or tightens the wound pack unevenly.
- Vertical vs. horizontal storage position. VHS and other cassette formats are designed to be stored on their edge (spine down), not flat. Tapes stored flat allow the wound pack to sag under gravity toward the lower hub flange, deforming the pack edges and creating uneven tension across the width of the tape.
- Partial rewinding. Tapes left partially played — still threaded mid-reel in a halted state — and then stored for years develop a permanent tension differential between the played-out and unplayed sections. The capstan tension that was applied at the mid-point is released while the mechanical path holds the tape in partial contact with guide posts, creating a region of abnormal tension around that point.
- Rubber band and hub deterioration. The rubber components inside VHS cassette housings — the pressure pad spring, the brake pad, and the hub locks — deteriorate over decades. Failed hub locks allow the pack to spin freely inside the cassette shell during storage, causing the pack to loosen unevenly. A failed brake pad removes the consistent light drag that keeps the pack wound smoothly during non-play handling.
The practical consequence of all of these mechanisms is that a tape collected from a typical school storage environment is far more likely to carry tension problems than a tape stored in archival conditions — and the deck transport cannot compensate for what the storage conditions have done to the pack.
Visual Indicators of Tape Tension Problems: What to Look for Before Threading
The athletic archive tape tension inspection workflow begins with a visual assessment of the cassette shell and the tape pack before any tape is inserted into a deck. Most significant tension problems produce visible indicators on the wound pack that an experienced inspector can identify without playback.
Cassette shell inspection:
Examine the exterior of every cassette shell before inspection proceeds:
- Cracks, warps, or deformation in the cassette body indicate physical trauma (drop, crush, or heat exposure) that may have also deformed the internal tape pack
- Missing or broken hub locks (visible through the cassette window) mean the pack may have spun freely during storage
- A pressure pad that is visibly dislodged, bent, or missing will cause erratic tape-to-head contact during playback even on a properly tensioned tape
Tape pack inspection through the cassette window:
Every VHS and Betacam cassette has a clear inspection window or an opening through which the wound pack can be observed. Perform this inspection under good overhead lighting:
- Loose pack. The tape layers appear to have gaps between them when viewed from the edge — the wound pack is not uniformly tight. A loose pack will feed unevenly into the deck transport, causing tension surges and potential cinching.
- Cinched pack. One or more tape layers are visibly crushed inward or outward relative to the smooth cylinder of the rest of the pack. Cinching appears as a radial crinkle or a stepped deformation in the wound layers. A cinched tape will almost certainly jam or fold at the cinched point during playback.
- Pack edge irregularity (popped strands). The top or bottom edge of the wound pack is not a smooth, flat surface — individual tape strands project above or below the level of adjacent strands. Popped strands are a sign of tension imbalance across the tape width and indicate risk of edge damage during playback.
- Windowing (pack displacement). The wound pack appears offset to one side of its hub — one flange has more tape layers pressed against it than the other. Windowing is a consequence of improper storage orientation or hub deterioration and causes the tape to track off-center across the deck’s guide posts.
- Dirt and debris. Visible particulate matter, mold spots, or powdery residue on the exposed portions of the pack indicate biological or chemical deterioration that may have compromised the tape’s mechanical integrity beyond the tension problem.
Tape Tension Risk by Format and Storage Era
| Format | Typical School Archive Era | Tension Risk Level | Primary Failure Mode | Inspection Priority |
|---|---|---|---|---|
| VHS (standard play) | 1977–2005 | Moderate to High | Loose pack from storage cycling; hub lock failure | High — most common format; inspect every cassette |
| VHS (EP/LP long-play) | 1980–2005 | High | Thin tape more prone to cinching; loose pack more common | Very high — thin tape is most vulnerable to transport stress |
| S-VHS | 1988–2005 | Moderate | Professional cassette components, but consumer-stored examples still at risk | Moderate — assess storage history before assuming lower risk |
| Betacam SP | 1986–2005 | Low to Moderate | Cassette construction is more robust; but still vulnerable to extreme storage conditions | Moderate — verify shell integrity and check pack edges |
| 3/4" U-matic | 1972–1995 | Moderate | Large cassette; prone to pack loosening in flat storage; hub components age | High — age of format means longest storage time |
| Hi8 / Video8 | 1989–2005 | High | Small cassette with tight pack; hub failure causes rapid uneven loosening | High — inspect shell and hub before any playback attempt |
| 1/2" open reel | 1965–1985 | Very High | Open-reel packs loosen significantly over decades; reel flanges may warp | Very high — do not attempt playback without professional assessment |
| MiniDV | 1995–2010 | Low | Cassette construction designed for long storage; tension more stable | Low — verify shell and spot-check pack edges |
The formats that dominate most school athletic archives from the 1980s through the early 2000s — consumer VHS and Hi8 — are precisely the formats at highest tension risk. Schools beginning a digitization project that includes these formats should treat tape tension inspection as a mandatory first step, not an optional quality check.
Step 1: Set Up Your Inspection Station
A systematic tape tension inspection workflow requires a dedicated inspection station separate from the capture workstation. Combining inspection with capture risks introducing an uninspected tape directly to the deck before problems are identified.
Required equipment for a basic inspection station:
- A bright overhead light source or a portable LED work light for viewing the tape pack through the cassette window
- A jeweler’s loupe (5x to 10x magnification) or a magnifying glass for examining pack edges and visible leader
- Cotton gloves or nitrile gloves — handle all cassettes and tape surfaces with gloves to prevent skin oils from contaminating the oxide surface
- A cassette shell screwdriver set (JIS cross-point screwdrivers for most VHS cassettes) for shell inspections requiring opening
- A soft-bristle brush for removing surface particulate from the cassette exterior
- Inspection log sheets or a digital intake form for recording each tape’s condition
Optional but recommended equipment:
- A rewinder with tension monitoring capability (such as a Winthrop rewinds) for evaluating pack tension during controlled rewinding
- A bulk eraser positioned away from the inspection area (do not erase archive tapes; the eraser is for new blank reference tapes only)
- A reference cassette of known-good mechanical condition to calibrate visual expectations at the start of each inspection session

A thorough pre-digitization inspection of tape tension and pack condition protects the capture equipment as well as the tape — a mechanically failed tape can damage deck transport components and interrupt an entire digitization session
Step 2: Complete the Visual Pack Inspection Protocol
With the cassette held under good light, perform the full visual inspection before making any disposition decision. This inspection takes approximately three to five minutes per cassette for an experienced inspector.
Exterior assessment (30 seconds):
- Examine all four sides of the cassette shell for cracks, warps, and physical deformation
- Check that the cassette door (the hinged flap covering the tape window) opens and closes smoothly — a stiff or broken door indicates rough handling
- Confirm that both hubs rotate freely when the cassette is held level and the hubs are turned by hand through the cassette window hub openings; neither hub should bind or require force to turn
- Listen for rattling when the cassette is gently shaken — internal debris or broken components indicate a cassette requiring shell opening before any playback
Pack assessment through the cassette window (2–3 minutes):
- Hold the cassette at eye level with the tape window facing you under the overhead light
- View the wound pack edge-on by tilting the cassette 30 degrees — you are looking for the uniformity of the pack cylinder’s side profile
- Note any popped strands, windowing, or edge irregularity and record the approximate position on the reel (inner, middle, or outer winds)
- Look at the exposed tape span between the two hubs — the portion of tape visible through the window — and note any kinks, folds, splices, or dirt
- Check both hub flanges: the tape edge nearest each flange should be flush with the flange surface or within 1–2mm, not pressing hard against it (which indicates tension from windowing)
Pack tension assessment by hand rewind (1 minute, only for cassettes without visible damage):
Using clean gloves, engage one hub with a finger and apply gentle resistance while turning the other hub slowly by hand in the forward direction. The tape should advance smoothly with consistent resistance. Inconsistent resistance — a sticky section followed by a slack section — confirms uneven pack tension that requires attention before deck playback.
Step 3: Classify Each Tape Using a Four-Tier Condition System
A standardized condition classification gives your digitization team clear disposition instructions for each tape without requiring the capture operator to re-inspect tapes at the workstation.
| Condition Tier | Visual Signs | Pack Assessment | Disposition |
|---|---|---|---|
| Tier 1 — Play Ready | Shell intact; no visible damage | Pack tight and uniform; no popped strands; hubs turn freely; no tension inconsistency | Cleared for immediate playback; standard capture workflow |
| Tier 2 — Rewind First | Shell intact; minor edge irregularity or slight pack looseness | Minor tension variation detected by hand; no cinching visible | Rewind on controlled rewinder before capture; re-inspect after rewind; proceed if improved |
| Tier 3 — Requires Conditioning | Popped strands; windowing; shell minor damage; debris on tape surface | Significant tension variation; moderate pack deformation | Professional rewind and conditioning before playback; may require shell opening and repacking |
| Tier 4 — Professional Assessment Required | Shell damage; cinched pack; visible mold or shedding; major edge deformation | Severe tension variation or complete pack failure | Do not attempt playback; send to professional digitization service or conservator; document and quarantine |
Applying this classification system to every tape in the collection before beginning digitization allows the capture team to schedule Tier 1 and Tier 2 tapes for standard workflow, while Tier 3 and Tier 4 tapes are routed to appropriate conditioning or professional services. This triage step prevents a high-risk tape from reaching the capture deck before it has been assessed — the most common cause of transport damage in school archive digitization projects.
Schools that maintain structured athletic recognition programs understand that institutional records require the same systematic intake standards that govern other program documentation. A tape condition classification system is the archival equivalent of a records intake form — it creates a documented chain of custody from storage to archive master.
Step 4: Controlled Rewinding for Tier 2 Tapes
Tapes classified as Tier 2 benefit significantly from a controlled rewind before capture. Rewinding under controlled, consistent tension re-seats the pack into a more uniform winding state, reducing the tension inconsistencies that cause transport problems during playback.
Controlled rewind procedure:
- Use a dedicated cassette rewinder with a speed control and, if possible, a tension indicator — not a consumer VCR’s internal rewind mode, which applies high-speed, variable-tension rewinding that can worsen pack deformation
- Set the rewinder to its slowest available speed — most archive-quality rewinders allow speeds down to 1x or 2x play speed
- Rewind the tape fully to the beginning (leader end)
- Allow the rewound cassette to rest for 5 to 10 minutes before re-inspection — this settling period allows the newly wound pack to stabilize under its own resting tension
- Re-inspect the pack visually after rewinding, looking for improvement in pack uniformity and edge alignment
- If the pack shows visible improvement, reclassify to Tier 1 and proceed to capture
- If the pack remains irregular after two controlled rewinds, reclassify to Tier 3 and route to conditioning
What controlled rewinding corrects:
Controlled rewinding is most effective for tapes whose pack has loosened due to long-term storage in a wound state without periodic rewinding — a condition sometimes called “pack set.” It is less effective for tapes with true cinching, edge damage, or deformed leaders. Do not attempt to rewind tapes showing visible cinching — the cinched area will compress further against the rewinder guide, potentially tearing the tape.
For schools that have used professional digitization services for academic recognition program archival work, the expectation of pre-digitization tape conditioning is a standard that applies equally to in-house projects — the capture result is only as good as the mechanical state of the tape when it enters the transport.
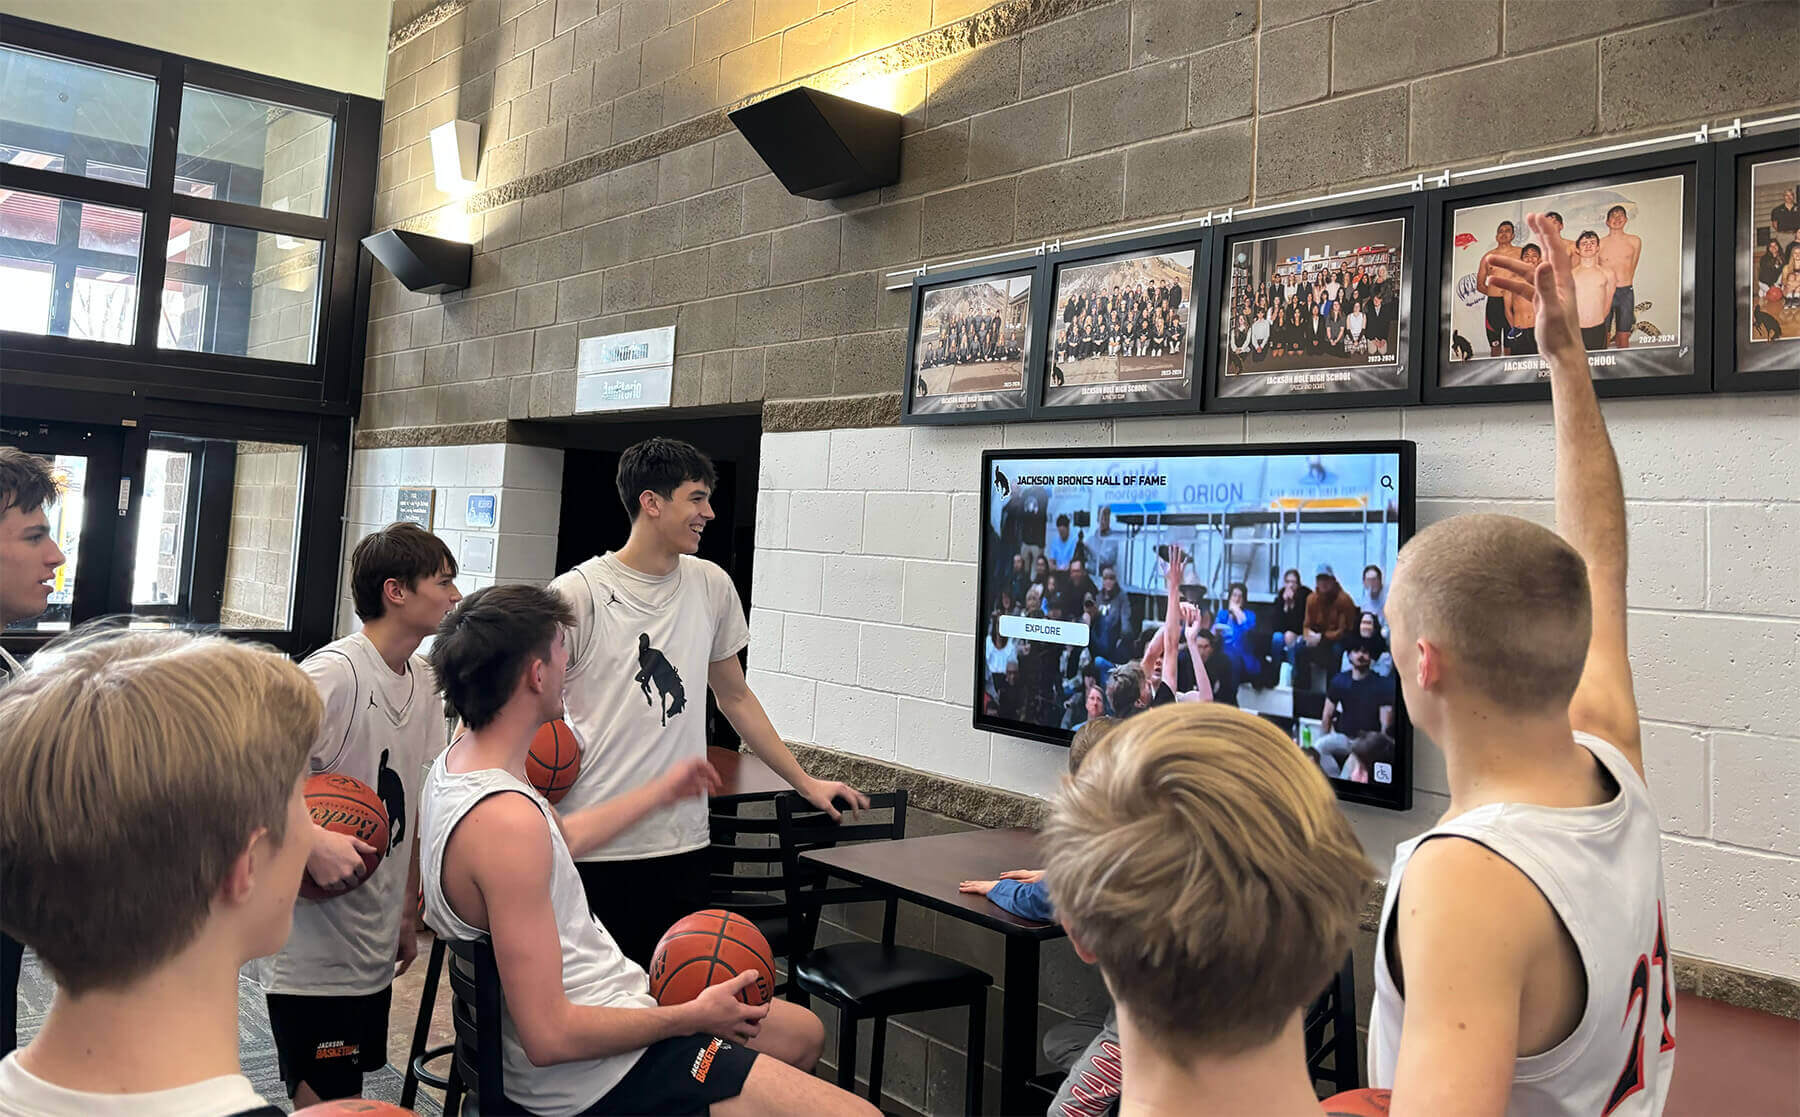
Lobby recognition screens present athletic archive footage at large scale to community audiences — the completeness and quality of that footage depends on whether the source tapes were inspected before playback and whether tension problems were addressed before they caused a transport failure
Step 5: Identify and Handle High-Risk Tape Conditions
Several conditions encountered during inspection require specific handling protocols before any playback attempt. Mishandling these conditions is the most common cause of permanent tape loss in school digitization projects.
Cinched tape:
A cinch is a fold or buckle that forms when the tape strand is forced to take a sharp bend it cannot absorb elastically. Cinching in a wound pack appears as a radial kink running from the inner winds toward the outer edge of the reel. Do not attempt to rewind or play a cinched tape — the cinched area will fold against the guide posts and either tear the tape or jam the transport.
Cinched tapes require a technician to open the cassette shell, carefully free the cinched area by hand, and repack the tape before playback. This work requires cassette shell tools, a flat clean work surface, and experience with the specific cassette format — it is not appropriate for untrained staff on irreplaceable recordings. Route all cinched tapes to a professional digitization service.
Sticky shed syndrome:
A tape suffering from sticky shed syndrome — caused by hydrolysis of the polyurethane binder layer — will feel tacky when handled and will produce a squealing sound if briefly engaged against the deck guide posts. Do not play any tape that feels sticky to touch through the cassette window area or produces squealing during a very brief, manually controlled test. Sticky shed tapes require baking (controlled low-temperature dehydration) before playback can proceed safely. Attempting to play an unbaked sticky tape will shed oxide from the tape surface onto the deck’s guide posts and heads, potentially damaging the deck and destroying content from the tape simultaneously.
Edge damage:
Tapes with visibly damaged edges — nicks, tears, or deformation along the top or bottom margin of the tape — are at risk of edge-guided tracking failure. The tape’s edges are used by the guide posts to maintain vertical alignment across the video heads. A damaged edge causes the tape to track erratically, producing picture instability and audio dropout. Edge-damaged tapes may still be playable, but capture should be performed on a deck with guard band protection, and the tape should be flagged for frame-by-frame review after capture.
Mold:
Visible mold on the tape surface — appearing as white, green, or gray fuzzy patches — requires quarantine from the rest of the collection before further handling. Mold spores are airborne and can transfer to adjacent tapes in storage. Moldy tapes require professional cleaning before playback. Do not attempt to clean mold with household cleaning products; improper cleaning will smear the contamination across the tape surface and potentially damage the oxide layer.
Is your school’s legacy game footage at risk from uninspected tape tension problems?
Rocket Alumni Solutions helps schools build systematic athletic archive workflows — from pre-digitization inspection through digital hall-of-fame display — so your game footage reaches recognition programs in the quality it deserves.
The Tape Tension Inspection Checklist
Use this checklist for every tape before it is cleared for digitization. A completed checklist for each tape becomes part of the tape’s archival intake record.
Cassette Shell and Mechanical Inspection
- Cassette shell inspected for cracks, warps, and physical deformation — no structural damage present
- Cassette door opens and closes smoothly
- Both hubs turn freely by hand through the cassette window hub openings without binding
- No rattling when the cassette is gently shaken — no internal debris or broken components
- Label condition noted — faded or missing labels recorded in intake log for re-labeling
- Cassette format confirmed and recorded (VHS SP/LP/EP, S-VHS, Hi8, U-matic, Betacam SP, etc.)
Visual Pack Assessment
- Pack inspected edge-on under good lighting — no visible cinching or radial deformation
- Pack edge profile examined — no popped strands projecting above or below the wound cylinder
- Pack windowing assessed — tape is seated symmetrically between both hub flanges
- Exposed tape span (visible through cassette window) inspected for kinks, folds, splices, and debris
- Hub flanges examined — tape edge is flush or within 1–2mm of each flange; not pressing against flange under tension
- No visible mold, powdery residue, or sticky surface condition on the exposed tape area
Physical Condition Assessment
- Hand rewind test completed at slow speed — tension is consistent with no sticky or slack sections
- Tape surface visible at leader examined for oxide shedding or sticky residue
- Condition tier assigned: Tier 1 (play ready), Tier 2 (rewind first), Tier 3 (conditioning required), Tier 4 (professional assessment)
Pre-Capture Decisions
- Tier 2 tapes rewound on controlled rewinder and re-inspected before capture
- Tier 3 tapes routed to conditioning or professional service — not scheduled for standard capture workflow
- Tier 4 tapes quarantined, documented, and not handled further without professional guidance
- Content priority level noted for each tape (high, medium, low) — affects professional service routing decisions
Documentation
- Tape identifier (label information, shelf location, or assigned accession number) recorded in intake log
- Condition tier recorded alongside any specific observations (cinch location, windowing severity, mold presence)
- Storage orientation before inspection noted (vertical/horizontal)
- Estimated date of last playback noted if known
- Disposition decision recorded: cleared for capture, pending conditioning, or pending professional service
Step 6: Integrate Tape Tension Inspection Into the Full Digitization Schedule
Tape tension inspection is most effective as a structured workflow phase that precedes the capture schedule, not a gate check performed one tape at a time immediately before threading. Separating inspection from capture allows the capture team to work from a pre-cleared queue and routes problem tapes to conditioning while standard tapes are being captured — maximizing use of the capture station’s time.
Recommended workflow phasing:
Phase 1 — Collection triage. Inspect every tape in the collection using the visual checklist before scheduling any captures. This inspection produces a tiered inventory: Tier 1 tapes ready for capture, Tier 2 tapes queued for rewinding, Tier 3 and Tier 4 tapes routed to professional assessment. Expected duration: 3–5 minutes per tape.
Phase 2 — Conditioning. Process all Tier 2 tapes through the controlled rewind protocol and re-inspect. Tapes that clear to Tier 1 move into the capture queue; tapes that remain at Tier 2 after two rewinds are reclassified to Tier 3 and routed to professional service. Expected duration: 10–15 minutes per tape.
Phase 3 — Capture scheduling. Schedule the Tier 1 capture queue by format and by content priority. High-priority content — championship game footage, induction ceremony recordings, coach farewell interviews — should be captured first, before deck head wear accumulates from processing the full collection.
Phase 4 — Professional service routing. Tier 3 and Tier 4 tapes are packaged and sent to a professional digitization service with documented condition notes for each tape. The service provider should be supplied with the condition classification and specific observations for each tape to allow informed handling decisions before playback is attempted.
For schools coordinating athletic archive projects alongside donor recognition and institutional history programs, scheduling the tape tension inspection phase as a distinct project milestone — with a specific completion date and a resulting inventory report — gives program coordinators a clear picture of what archival video content will be available and when. An inventory that shows 80 percent of tapes cleared for capture and 20 percent routed to professional service is far more useful for program planning than a collection that has not been assessed at all.
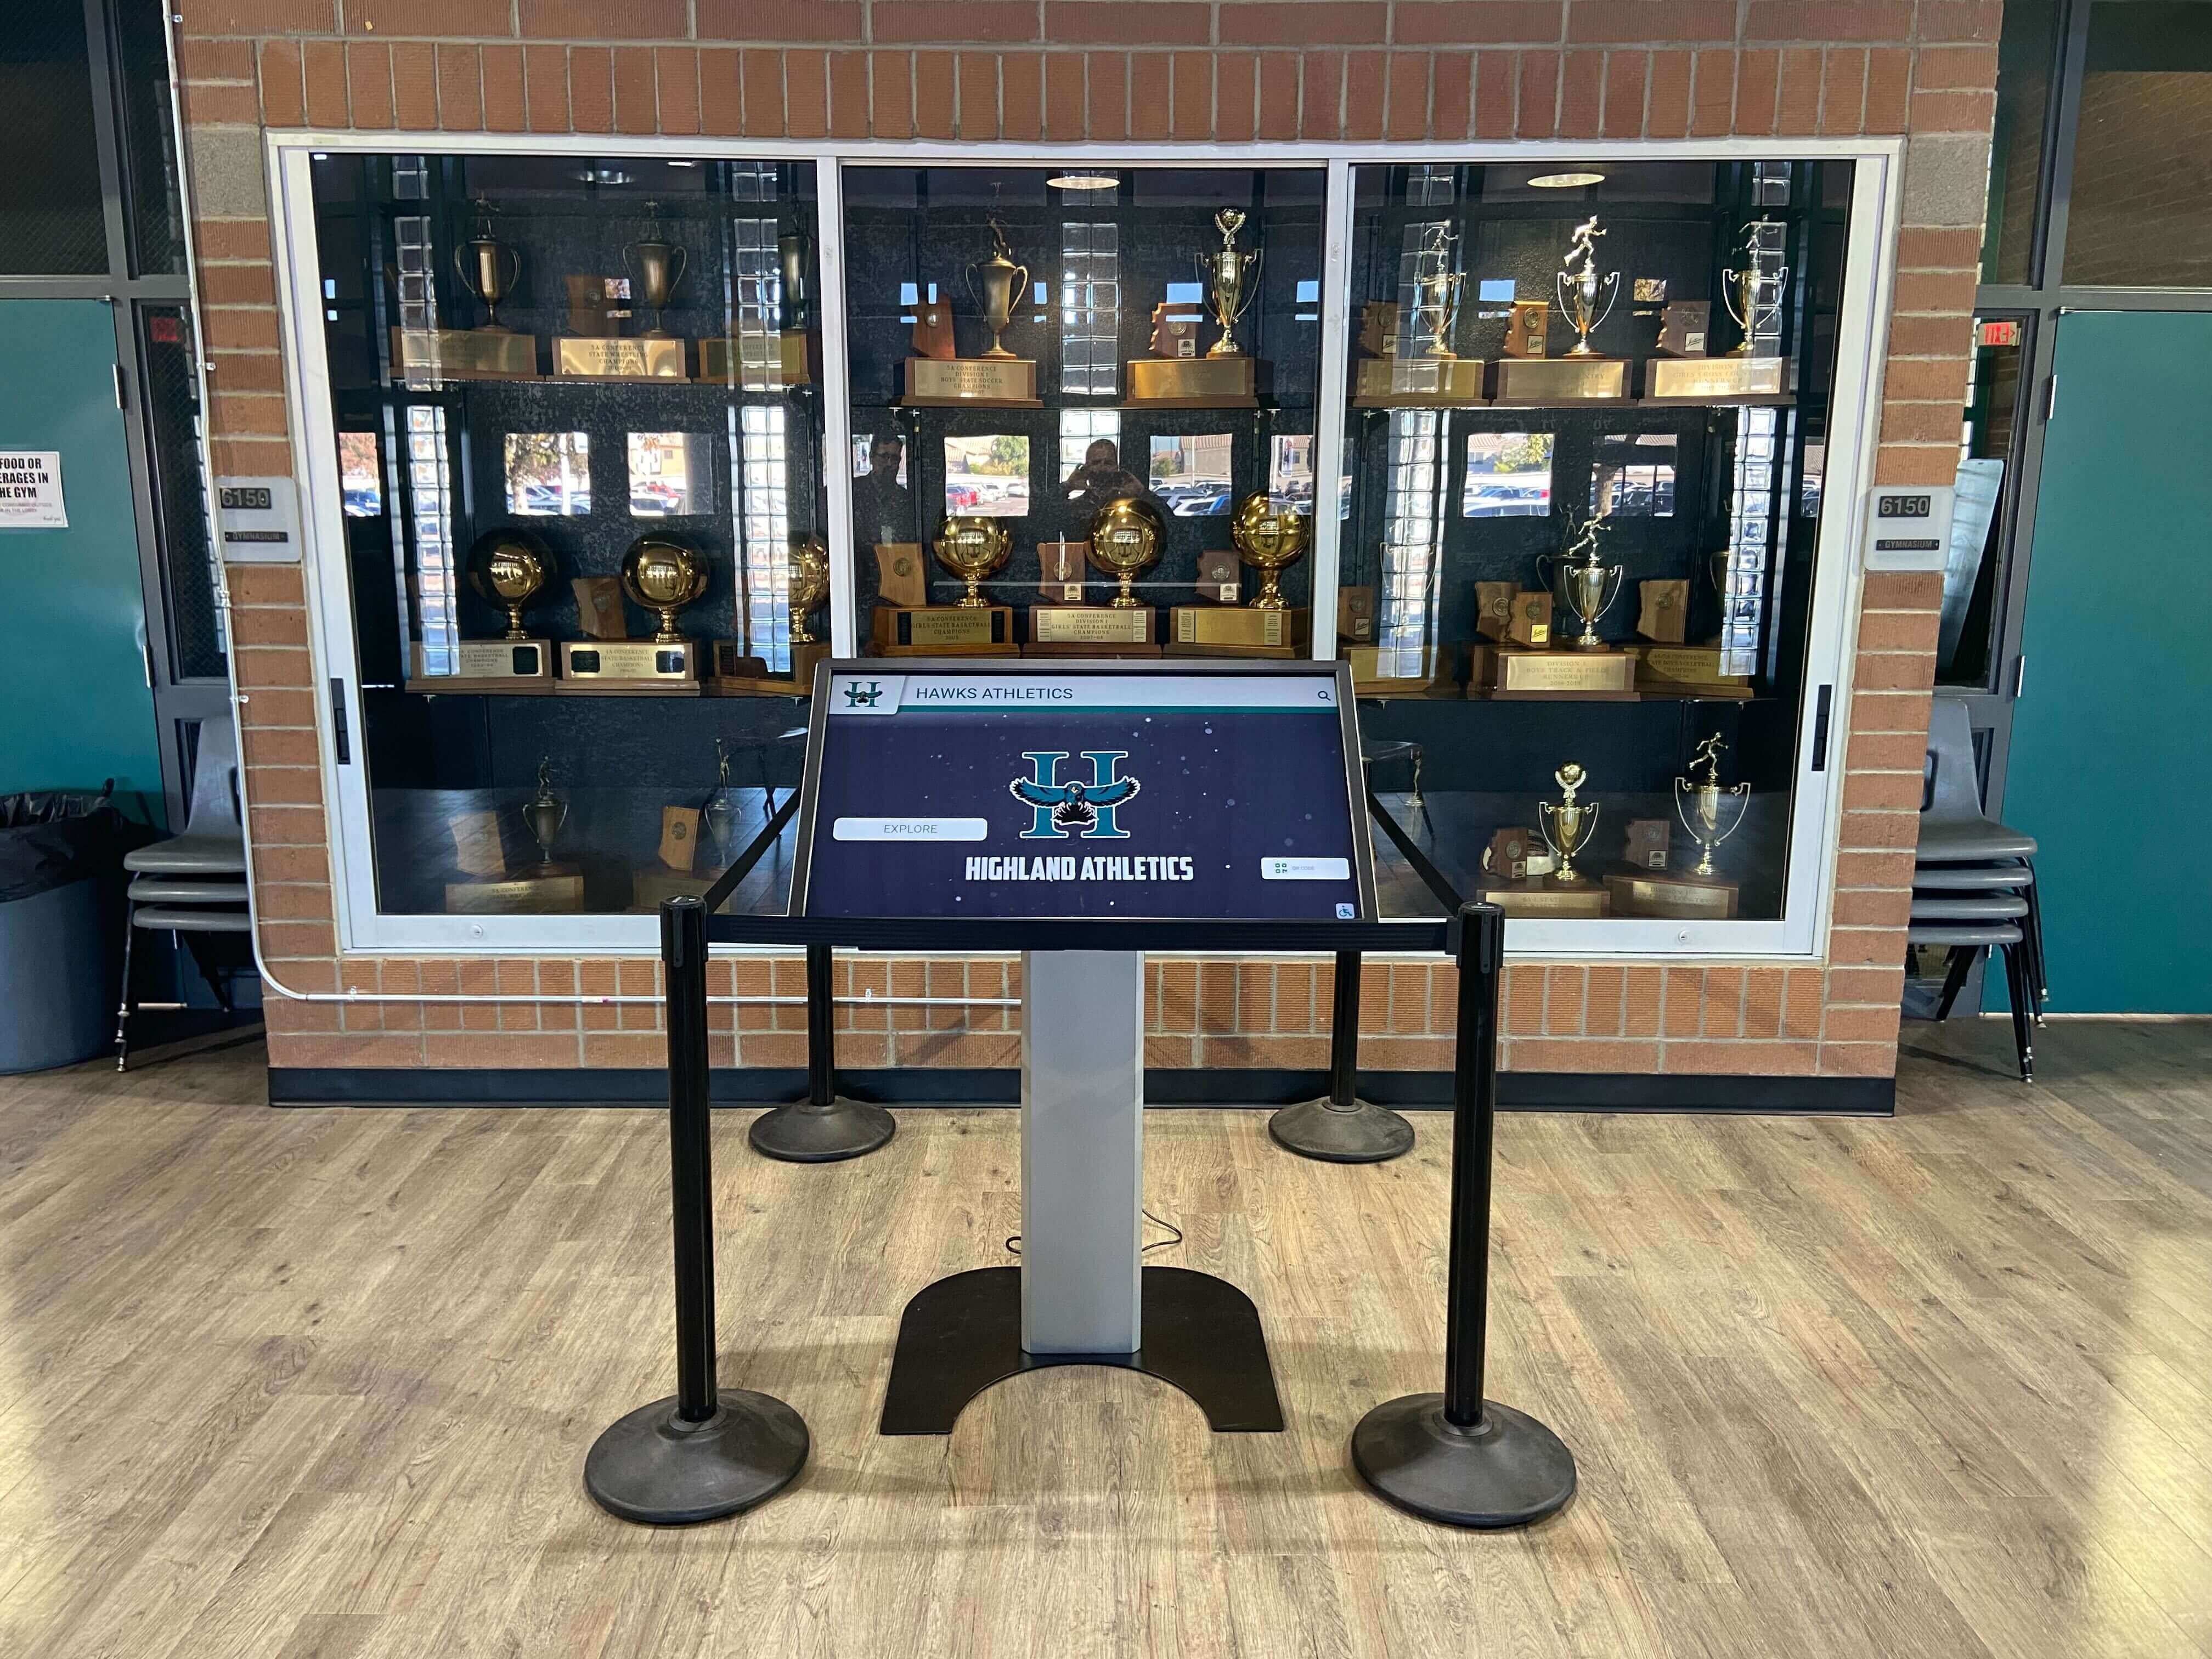
Trophy case kiosks and athletic recognition displays present decades of game footage to students, alumni, and community members — the completeness of that library of footage is determined in part by how many tapes were inspected and properly handled before capture was attempted
How Tape Tension Problems Affect Recognition Programs
The downstream effect of tape tension failures reaches beyond the archive into the recognition programs that depend on it. A tape destroyed during playback leaves a permanent gap in the archive — a championship game, a record-breaking performance, or a coach’s farewell season that no other source preserves.
Hall-of-fame induction displays draw on archival game footage to contextualize inductee profiles and give community members a visual connection to the achievements being honored. A tape tension failure that destroyed the footage from a specific season produces a display gap that the recognition program coordinator cannot fill from any other source. The inductee’s achievements are still honored, but the visual evidence is gone.
Athletic recognition walls and lobby kiosks cycle video content from the archive as part of their continuous display loop. Schools that have invested in digital recognition infrastructure for athletic and academic programs understand that the depth and quality of that content loop depends on the completeness of the archive behind it. Gaps from uninspected tapes that failed during capture become permanent gaps in the display.
Alumni engagement events that incorporate archival video — class reunion gatherings, athletic banquets, homecoming programs — depend on the archive to surface footage that resonates emotionally with the specific audience. A 50th-anniversary reunion program that hopes to show game footage from a specific era requires that the tapes from that era survived the digitization process intact. Tape tension inspection is the step that makes that possible.
Digital yearbook programs built on archival video content can incorporate game footage segments from across the school’s history. The range of historical content available for those yearbooks is bounded by what was successfully captured — and what was successfully captured is bounded by what was inspected before the capture session began.
The economic logic of inspection is straightforward: a three-to-five-minute inspection per tape is a small investment compared to the permanent, irreversible loss of irreplaceable content during a transport failure. For high-priority tapes — state championship games, first-year recordings of a program, sole-copy recordings of retired coaches — the inspection step is not optional regardless of the apparent condition of the cassette shell.
Documenting Tape Tension Findings in the Archive Record
Every inspection finding should enter the archive record as a permanent annotation on that tape’s intake document. This documentation has two functions: it informs the capture team about the tape’s condition and preparation history, and it creates a record for future archivists and recognition program coordinators who may need to understand the provenance and limitations of specific files.
What to record in the tape intake document:
- Tape identifier (assigned accession number, original label information, or shelf location)
- Format and recording speed (VHS SP, EP, S-VHS, etc.)
- Storage condition at intake (vertical or horizontal, storage environment description if known)
- Inspection date and inspector name
- Condition tier assigned and specific observations that informed the classification
- Any Tier 2 rewind actions taken and the re-inspection result
- Professional service routing decision and service provider name if applicable
- Final disposition: cleared for capture, awaiting conditioning, or forwarded to professional service
Connecting intake records to capture records:
After a tape is captured, the capture record should link back to the intake record. This connection allows a future archivist to trace any file quality issue — picture instability, audio dropout, visible damage at a specific timecode — back to the intake condition observations. If the intake record noted a popped strand at the outer winds, and the capture record shows audio dropout at a timecode that corresponds to the outer section of the tape, the connection is clear. If the intake record showed a Tier 1 clearance and the capture showed unexpected problems, that combination suggests a deck or capture issue rather than a tape condition issue.
Schools that have applied data integrity practices to their athletic award records are already familiar with the value of documented provenance chains for institutional records. The tape tension inspection record is the first link in the provenance chain for every video file in the archive — it establishes the state of the tape at the moment it entered the digitization workflow and documents what was done to prepare it for capture.
When to Engage a Professional Digitization Service
In-house tape tension inspection and basic conditioning address the majority of typical tension problems in a school athletic archive collection. But some conditions are beyond the scope of what in-house staff can safely address, and identifying those conditions quickly is part of the inspection workflow.
Indicators that professional service is the appropriate path:
- Any tape with visible cinching that requires cassette shell opening to address
- Any tape showing signs of sticky shed syndrome (tacky surface, squealing during minimal test contact)
- Any tape with visible mold on the oxide surface
- Open-reel format tapes (1/2", 1", or 2") that require specialized transport equipment not available in-house
- Any tape identified as a sole-copy recording of high-priority content where the risk of in-house handling is not acceptable
- Collections of 50 or more tapes requiring conditioning, where in-house processing capacity is insufficient to complete the work before the scheduled capture timeline
Professional digitization services specializing in archival video — including services that work with library collections and broadcast archives — have the equipment, controlled environments, and trained staff to handle these conditions. The cost per tape for professional service is higher than in-house capture, but the cost of destroying an irreplaceable tape during in-house playback is higher still.
Schools evaluating professional service providers should request documentation of the provider’s tape handling protocols, conditioning procedures, capture specifications, and quality control processes — the same due diligence that applies to evaluating digital recognition platform vendors for athletic hall-of-fame infrastructure. A service provider that cannot describe its tape handling and inspection workflow in specific terms is not an appropriate custodian for irreplaceable archive content.
For tapes routed to professional service, supply the intake record and condition classification that your inspection produced. This information allows the service technician to approach each tape with appropriate expectations and to document what additional conditioning was required before capture — documentation that should accompany the delivered files back to your archive.

Recognition displays that connect current students to athletic history depend on an archive whose legacy tapes survived the digitization process intact — tape tension inspection is the step that prevents mechanical failures from permanently removing that history from the archive
Frequently Asked Questions
Q: Do I need to inspect every tape, or only the ones that look damaged?
Every tape should receive the visual inspection described in this workflow before it is threaded into a capture deck, regardless of external appearance. A cassette with an intact shell and a legible label can have a severely deformed pack that is not visible from outside. The inspection takes three to five minutes and prevents transport failures that can destroy content and damage the playback deck. Visual triage based on external condition is not a substitute for pack inspection.
Q: Our tapes have been stored vertically for the last five years. Should we expect tension problems?
Vertical storage (spine down, on the cassette’s edge) is the correct storage orientation for VHS and similar cassette formats. If the tapes have been stored correctly in the recent past, tension problems are less likely from the storage orientation — though other factors (hub deterioration, pack cycling from temperature variation, prior flat storage) may still have produced problems. Inspect the pack regardless; storage orientation is one variable among several that affect pack condition.
Q: Can we play a tape briefly to test it without completing a full inspection first?
No. A brief test play on a tape with a cinched pack, a sticky surface, or a severely deformed wound pack can cause the same transport failure and content loss as a full-length playback session. The inspection is designed to identify conditions that make playback unsafe before any playback is attempted. Testing a tape by playing it is not a substitute for visual inspection — it is the risk that inspection is designed to prevent.
Q: How do we handle tapes where the label has faded or fallen off?
Assign a temporary accession number to the tape and record everything observable about its physical condition — format, shell color, any legible partial text, estimated era based on cassette construction — in the intake record. After capture, the content itself will help identify the tape’s subject. A temporary accession number on a written label applied to the cassette exterior (never to the tape itself) maintains the connection between the physical cassette and its intake record throughout the workflow.
Q: Is a standard consumer VCR appropriate for playing tapes after they clear the tension inspection?
Consumer VCRs are not recommended for archive capture. They typically lack the transport precision, head quality, and time base correction that produce stable, clean captures from aged tapes. More importantly, consumer VCRs are not designed to handle tapes whose tension is even slightly outside specification — they apply transport forces calibrated for fresh, well-wound tapes. Archival capture is best performed on professional-grade decks (JVC BR-S800, Panasonic AG-1980P for VHS; Sony BVU-950 for U-matic) paired with an external time base corrector. These decks have transport mechanisms that tolerate a wider range of tape tension variation without stalling or causing damage.
Q: We found mold on three tapes in a storage box. Do we need to inspect the other tapes in that box?
Yes. Mold spores are airborne and can transfer to adjacent tapes during storage. Any tape that was stored in proximity to a moldy tape — in the same box, on the same shelf, in the same drawer — should be inspected for mold under good lighting before it is handled further. Tapes showing any evidence of mold should be quarantined from the rest of the collection in sealed bags before routing to professional cleaning. Cross-contamination is a real risk in enclosed storage environments, and a small number of moldy tapes can affect an entire storage area if not isolated promptly.
Building Tape Tension Inspection Into Your Archive Culture
The athletic archive tape tension inspection workflow is most valuable when it becomes a standing protocol applied to every tape that enters the digitization pipeline — not an emergency response after a transport failure has already occurred. Schools that have built archival practices around systematic intake protocols understand that the cost of prevention is always lower than the cost of losing irreplaceable content.
For programs whose athletic archives extend back to the 1970s or 1980s, the window for digitizing that content is narrowing on two fronts: the physical tapes are degrading over time regardless of storage conditions, and the playback equipment to read them is becoming scarcer and more difficult to maintain. The tapes that represent historic championship seasons, the careers of coaches who have since retired, and the community moments that defined a school’s athletic identity are not replaceable. An inspection workflow that routes each tape to the appropriate care level before playback is the commitment to recovering that content before the tapes reach the point where recovery is no longer possible.
Schools that connect their recovered athletic archive to academic achievement recognition programs and hall-of-fame display systems gain a resource that serves the school community for decades. The game footage and program history that those displays present were preserved — or lost — at the moment of digitization. The tape tension inspection workflow is what makes the difference between an archive that covers its full history and one with permanent gaps where the uninspected tapes failed.
Ready to connect your inspected, digitized athletic archive to a recognition display that honors your program’s full history?
Rocket Alumni Solutions designs digital hall-of-fame systems, lobby touchscreen kiosks, and athletic recognition walls for schools — built to display archive-quality game footage from programs that preserved their history the right way.
Ready to see this for your school?
Picture your collection in a custom mockup
Start with your yearbook collection and digitization goals, then request a custom digital mockup for your school.