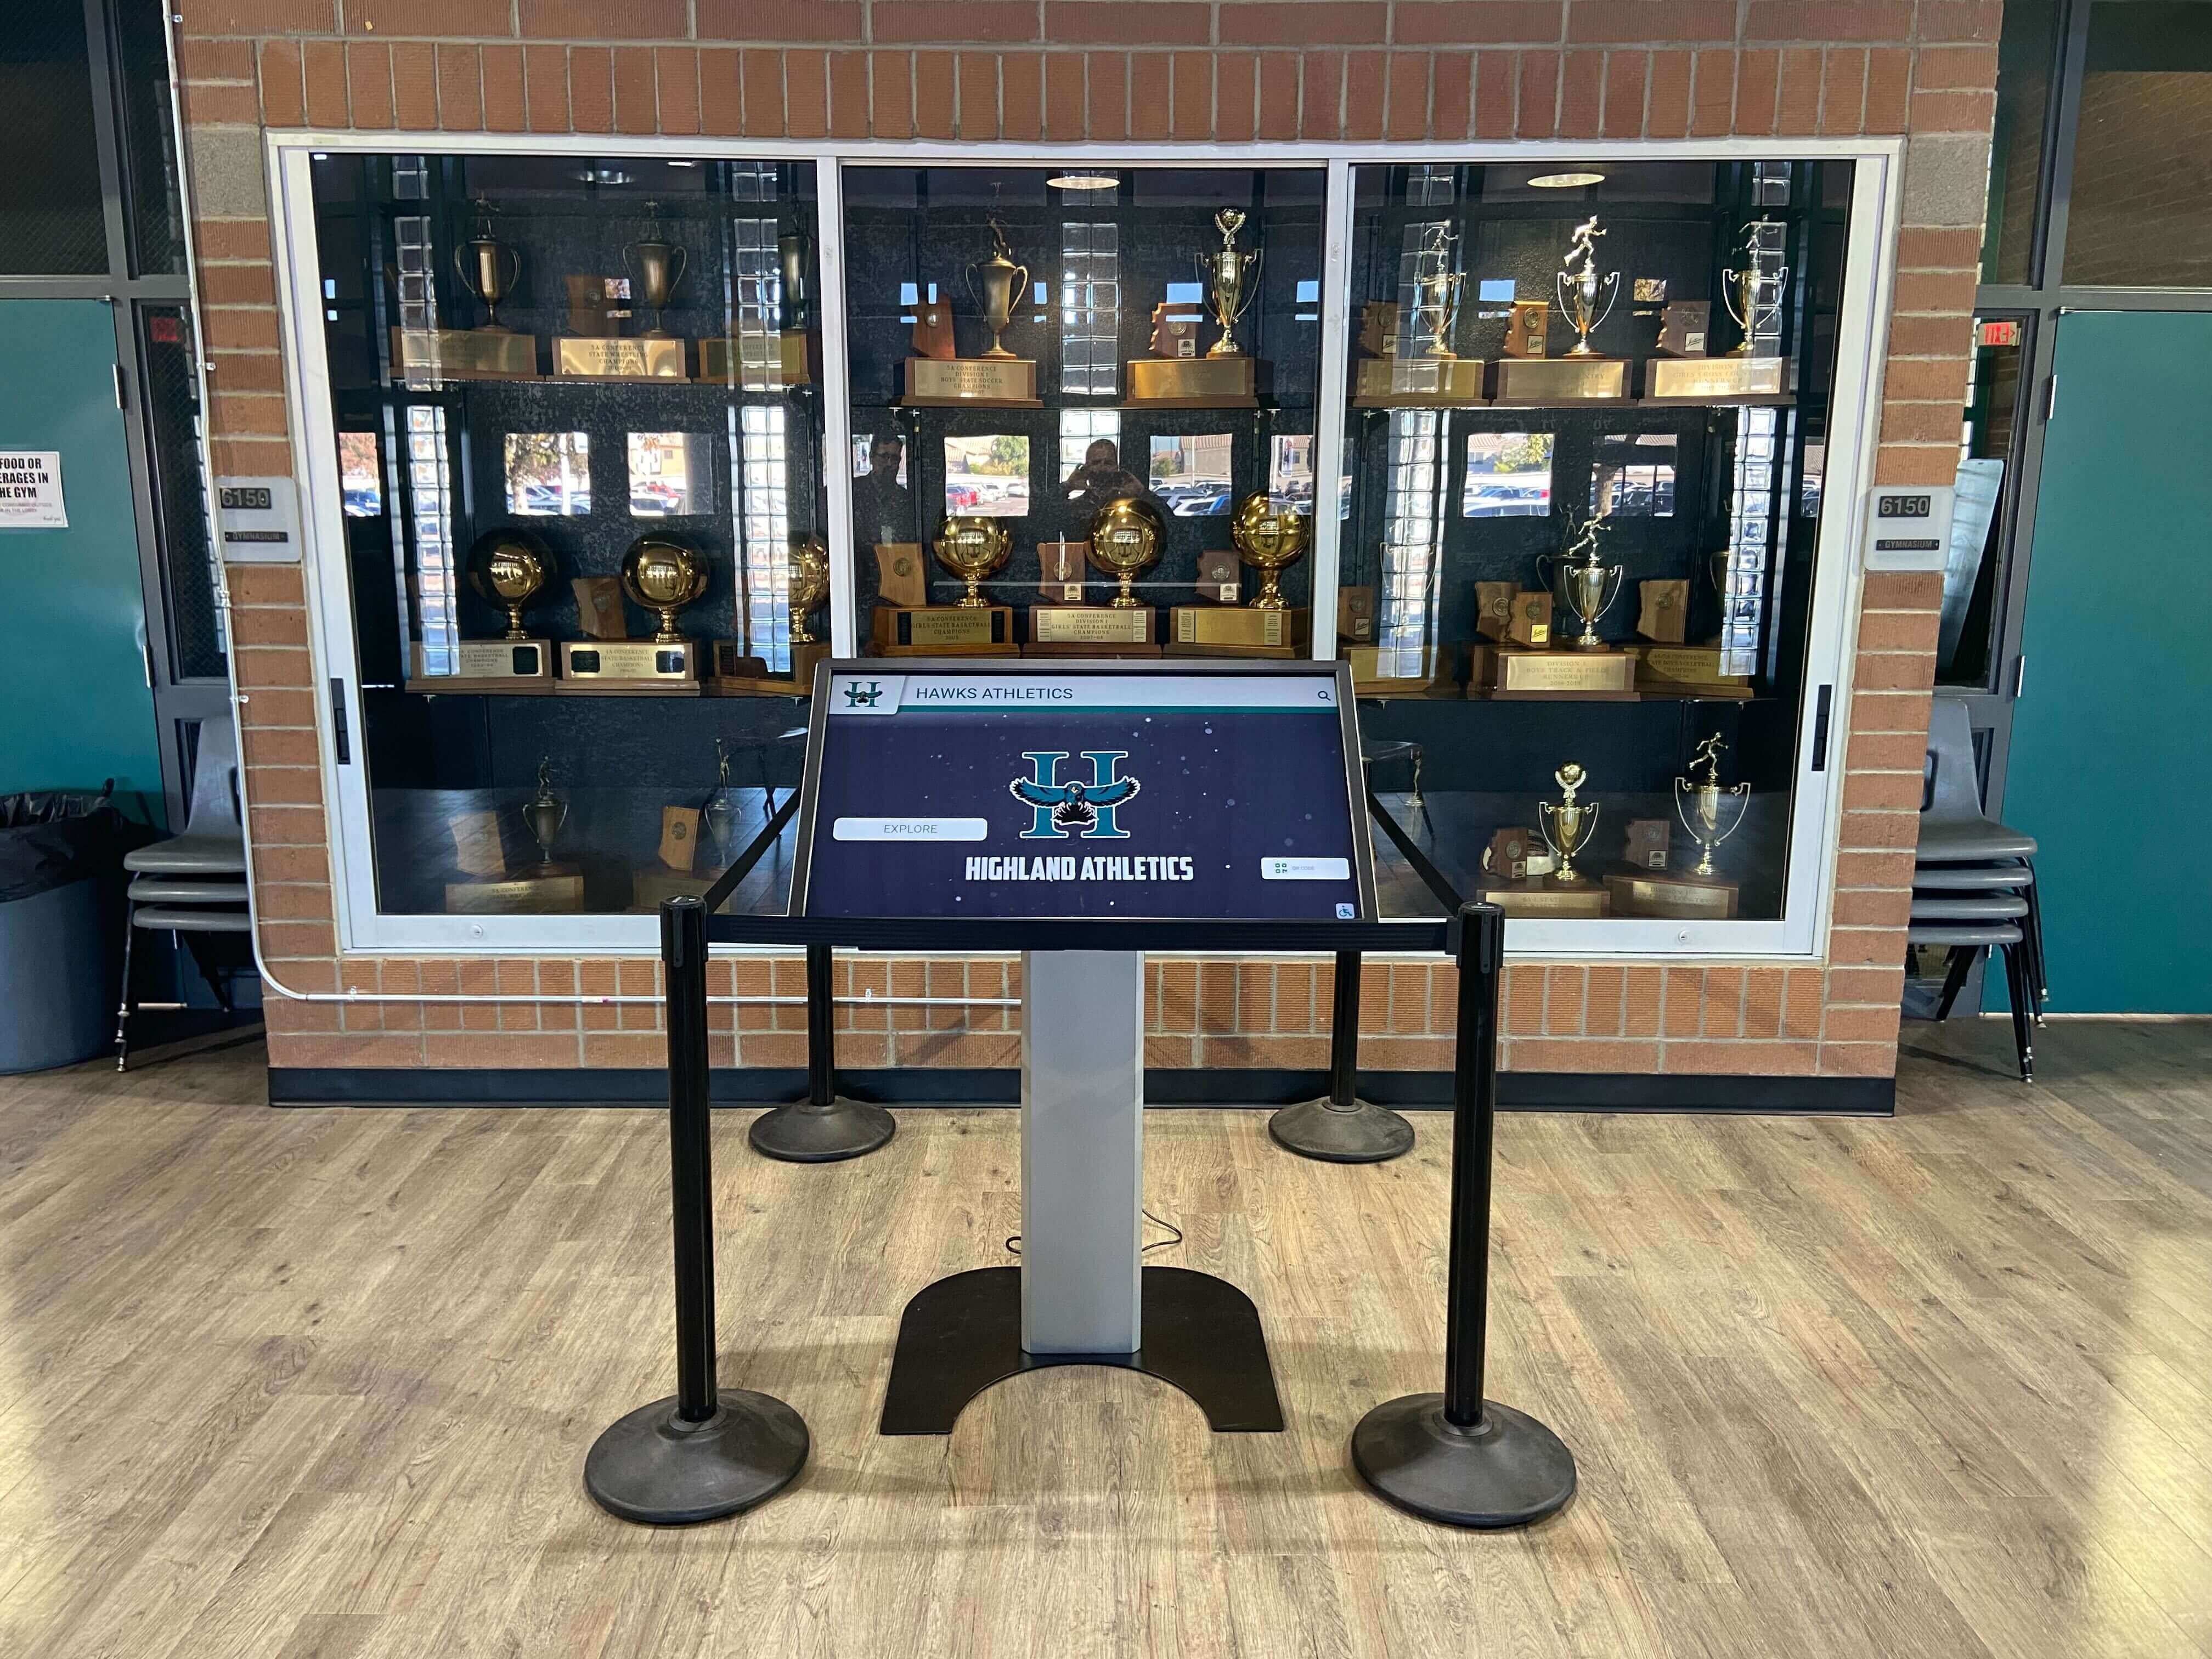
The athletic archive tape squeal diagnosis workflow is the pre-digitization inspection process that identifies why a legacy game tape produces an audible squeal during playback, determines whether that squeal signals an immediately destructive condition, and routes each affected tape to the correct stabilization method before any capture attempt is made. Squeal in magnetic tape playback is not a single problem — it is a symptom that can arise from at least four distinct conditions: binder hydrolysis (sticky-shed syndrome) causing the softened tape surface to drag against playback guides and heads; lubricant depletion (dry-pack syndrome) where the factory-applied lubricant that reduces friction between tape and head has dissipated over decades of storage; severe oxide shedding where the magnetic particle layer is physically separating from the tape base; or a mechanical mismatch between the tape’s stiffness and the playback deck’s guide geometry after years of deformation in storage. Each cause requires a different stabilization response, and attempting playback without diagnosis risks destroying the only copy of a championship season, a record-setting performance, or a decades-old coach interview that no other institution holds.
This guide gives school athletic directors, AV coordinators, IT staff, and archivists a systematic five-step workflow for diagnosing tape squeal before digitization begins — covering the indicators that distinguish each cause, the risk-tiering process that determines whether a tape can be played immediately, and the stabilization approaches that prepare affected tapes for safe capture.

Recognition kiosks, lobby displays, and athletic hall-of-fame installations that present historic footage depend entirely on the archive's digitized source material — tapes that squeal during playback are warning the operator that a destructive condition may be present, and proceeding without diagnosis can destroy the content the display system is intended to present
What Tape Squeal Signals in a School Athletic Archive
An audible squeal during tape playback is the tape’s mechanical response to abnormal friction between the tape surface and the stationary or rotating elements of the playback deck’s transport path — the guides, the capstan, the pinch roller, and the head drum assembly. Under normal conditions, a properly stored tape slides across these surfaces with minimal resistance because the tape’s factory-applied lubricant reduces the coefficient of friction to a level the transport mechanism was designed to handle. When that friction threshold is exceeded, the tape surface vibrates against the contact point and produces an audible tone — the squeal.
The critical diagnostic question is not “does this tape squeal?” but “why does this tape squeal?” — because the cause determines both the risk to the recording and the correct response before playback.
Sticky-shed syndrome (binder hydrolysis): The most widely discussed cause of tape squeal in institutional archives, sticky-shed syndrome results from the absorption of ambient moisture into the polyester-urethane binder that holds the magnetic oxide particles against the tape base. As the binder undergoes hydrolysis, it softens and becomes tacky. A tape in sticky-shed condition produces a characteristic high-pitched squeal immediately on playback as the softened binder drags against the playback head and guides. It also sheds brownish residue onto the head surface, causes the transport mechanism to slow or stall, and — if playback is continued — deposits enough oxide on the head gap to cause complete dropouts and eventual recording loss. Magnetic tape manufactured between approximately 1970 and the mid-1990s is susceptible to this condition. School athletic archives are heavily populated with VHS, Betacam, and U-matic recordings from precisely this era.
Dry-pack syndrome (lubricant depletion): Magnetic tape is manufactured with a layer of lubricant applied to the oxide surface to reduce head wear and transport friction. Over extended storage periods — particularly in warm, low-humidity environments — this lubricant migrates away from the tape surface or evaporates entirely. A dry tape produces a squeal caused by elevated friction between the desiccated oxide surface and the playback head, but it does not shed oxide or sticky residue the way a sticky-shed tape does. A dry-pack tape may still be playable after lubricant reapplication, whereas a sticky-shed tape requires binder stabilization through a controlled heating process before safe playback is possible.
Oxide shedding: When the adhesion between the oxide layer and the tape base has degraded sufficiently — due to binder failure, physical abrasion from previous playbacks, or environmental exposure — the oxide can physically separate and deposit on the playback head during transport. A tape in active oxide shedding produces a squeal from the accumulating debris on the head surface and causes increasingly severe dropouts as the head gap is obstructed. Unlike sticky-shed syndrome, severe oxide shedding may not be reversible through baking.
Mechanical deformation and pack problems: A tape wound under uneven tension over many years, stored in a high-temperature environment, or subjected to mechanical stress from previous playbacks may develop edge damage, cupping (a curvature of the tape across its width), or cinching. A deformed tape entering a playback deck encounters resistance from the guide geometry — producing squeal from point-contact friction rather than surface chemistry. This cause requires mechanical correction — winding and rewinding under controlled conditions — rather than chemical stabilization.
Understanding which of these four causes is producing the squeal determines every subsequent decision in the diagnosis workflow.
Step 1: Assess Without Playback
The first step in the athletic archive tape squeal diagnosis workflow is gathering as much diagnostic information as possible before any tape is threaded into a playback deck. Visual and olfactory inspection at this stage can identify the most likely cause and rule out conditions that make immediate playback unsafe.

The quality of content displayed in school recognition hallways is determined upstream, at the point of tape inspection and digitization — systematic pre-playback assessment prevents the irreversible loss of the footage these displays are built to present
Visual inspection of the tape shell and pack:
Hold the cassette with the tape window facing a bright diffuse light source and observe the tape pack (the wound tape visible through the window). Note the following:
- Pack evenness: A well-stored tape has a smooth, even pack with consistent layering across its full width. An uneven pack — with visible ridges, stepped layers, or one edge wound tighter than the other — indicates tension inconsistency that may have caused deformation.
- Edge condition: Look along the tape edges visible through the window. A healthy tape has clean, straight edges. Frilled edges (small folds or tears along the edge) indicate prior mishandling or moisture exposure and suggest the tape may not track cleanly through a playback deck.
- Debris in the shell: Brownish or reddish powder visible inside the cassette shell, especially at the tape window or near the hub flanges, is a strong indicator of oxide shedding or sticky-shed residue from a previous playback.
- Tape surface appearance: Through the window, a healthy oxide surface has a consistent matte appearance. A tacky or unusually shiny surface suggests binder failure consistent with sticky-shed syndrome.
Manual pack feel:
With clean, dry hands, insert a pencil or tape-winding tool into the supply hub and apply gentle manual tension. A healthy tape offers smooth, consistent resistance. A tape with sticky-shed syndrome often feels sluggish or resistant to movement even under gentle manual tension, because the tacky binder creates adhesion between wound layers. A dry tape moves freely but may feel gritty or rough. A tape with pack distortion may show uneven resistance as the tighter and looser sections alternate around the hub.
Olfactory assessment:
Open the cassette shell carefully or hold it near the tape window and note any odors. A vinegar-like or acetic acid smell indicates cellulose acetate base degradation (vinegar syndrome), most common in older open-reel recordings but occasionally present in early cassette formats. A sweet or slightly chemical odor that is difficult to characterize is sometimes associated with polyurethane binder hydrolysis in sticky-shed tapes. A musty or biological smell suggests mold contamination, which requires quarantine before any further handling.
Environmental history review:
If storage records exist, note whether the tape was stored in a climate-controlled environment. Tapes stored in gym equipment rooms, maintenance closets, or unconditioned storage spaces in climates with high ambient humidity are substantially more likely to exhibit sticky-shed syndrome than tapes stored under archival conditions. Tapes stored in hot, dry environments are more likely to show dry-pack syndrome.
Step 2: Diagnose the Squeal Cause
After the no-playback inspection, enough information is typically available to assign each squealing or suspect tape to one of the four cause categories. This diagnosis determines the route each tape takes through the stabilization workflow.
| Squeal Pattern | Visual Indicator | Pack Feel | Likely Cause | Immediate Action |
|---|---|---|---|---|
| High-pitched squeal from first second of playback; deck slows | Brownish residue in shell; shiny or tacky tape surface | Sluggish manual movement; layers stick | Sticky-shed syndrome | Stop playback immediately; queue for baking |
| Intermittent squeal; audio dropout at squeal points | Brownish powder or debris at window | Gritty; slight resistance | Active oxide shedding | Stop playback; assess for baking; consider sole-copy recovery protocol |
| Steady squeal throughout playback; no shedding residue | Clean shell; consistent surface appearance | Moves freely but feels dry | Dry-pack syndrome | Stop playback; assess lubricant reapplication or controlled-humidity conditioning |
| Squeal only during fast forward or rewind; normal playback | Uneven pack visible through window; edge damage | Uneven resistance around hub | Mechanical deformation / pack distortion | Slow rewind under controlled tension; inspect before playback |
| Intermittent squeal tied to specific sections of tape | Variable pack quality; possible cinching marks | Resistance at specific points | Localized deformation or splice area | Locate and assess the problem section before full playback |
| Squeal only on initial threading; clears after 30 seconds | Clean shell; no debris | Moves smoothly | Temporary friction at guide contact points | Monitor carefully; light lubrication of guide posts may be appropriate if condition recurs |
Distinguishing sticky-shed from dry-pack at triage:
The single most important distinction in the squeal diagnosis workflow is between sticky-shed syndrome and dry-pack syndrome, because they require opposite stabilization approaches. A sticky-shed tape must not receive lubricant reapplication before baking — the softened binder needs thermal stabilization, not additional chemistry. A dry-pack tape does not benefit from baking — the binder is intact; only the surface lubricant needs restoration.
The fastest field distinction is the residue test. Thread two to three feet of the tape manually through a clean white lint-free cloth, applying light pressure. A sticky-shed tape leaves a brownish transfer on the cloth — the softened binder and oxide are releasing under even minimal friction. A dry tape leaves no visible transfer or leaves only a faint gray smear consistent with fine oxide particles. If the residue test produces a brownish smudge and the cloth shows significant coloring after only a short run, treat the tape as sticky-shed and stop immediately.
Schools building comprehensive recognition programs — including the kind of athlete-history displays that align well with themed yearbook content connecting past classes to present athletic programs — need their historic tape libraries diagnosed before any playback attempt, because the recordings most likely to be pulled for recognition events are also the highest-priority items in the collection.
Step 3: Risk-Tier the Tape Before Committing to Playback
With the cause diagnosed, assign each tape to one of three risk tiers that determine whether playback can proceed, whether stabilization is required first, or whether the tape requires specialist intervention.
Tier 1 — Play-safe (proceed with monitored playback):
Tapes that showed no squeal symptoms during pre-playback inspection, passed the manual pack-feel and visual checks, and carry no environmental history of extreme moisture or heat exposure fall into this tier. These tapes are candidates for immediate playback on a clean, calibrated deck, with the operator monitoring audio and video output for the first minute of playback before committing to a full-length capture session. Even Tier 1 tapes should be played on a dedicated capture deck with a clean head and guides — not on a shared department player used for general playback.
Tier 2 — Stabilize before playback:
Tapes that exhibit any of the following: brownish residue in the shell, positive residue transfer on the lint-free cloth test, tacky surface feel, or a prior squeal episode on playback. Sticky-shed tapes require baking in a calibrated laboratory oven or food dehydrator at a low temperature — typically in the range of 52°C to 55°C for a period of several hours — to temporarily reverse the binder hydrolysis and allow safe playback for a limited window following treatment. Dry-pack tapes require surface lubricant restoration — either through controlled-humidity conditioning or through application of an appropriate tape lubricant at the guide contact points — before playback. Both stabilization approaches require documentation of the treatment conditions and the resulting playback window.
Tier 3 — Specialist referral:
Tapes with active oxide shedding severe enough to produce visible debris on the first few feet of tape, tapes with biological contamination (mold), tapes with severe edge damage that would prevent tracking in a standard playback deck, and tapes where the content is known to be a sole copy of high-priority material. Specialist recovery labs maintain equipment — ultrasonic cleaning systems, professional tape baking ovens with calibrated temperature control, and frame-rate-accurate capture systems — that go beyond what a school AV department can safely attempt in-house.
Schools that have connected historic wrestling programs and similar legacy athletic documentation to structured recognition frameworks for individual athlete honors understand that the recordings behind those recognition programs cannot be recovered once destroyed. The risk-tiering step is the checkpoint that protects sole-copy recordings from an irreversible digitization attempt on a tape that was not ready to be played.
Step 4: Apply Stabilization Before Digitizing
Stabilization is not digitization — it is the preparatory treatment that makes safe digitization possible. The specific approach depends on the cause identified in Step 2 and the tier assigned in Step 3.
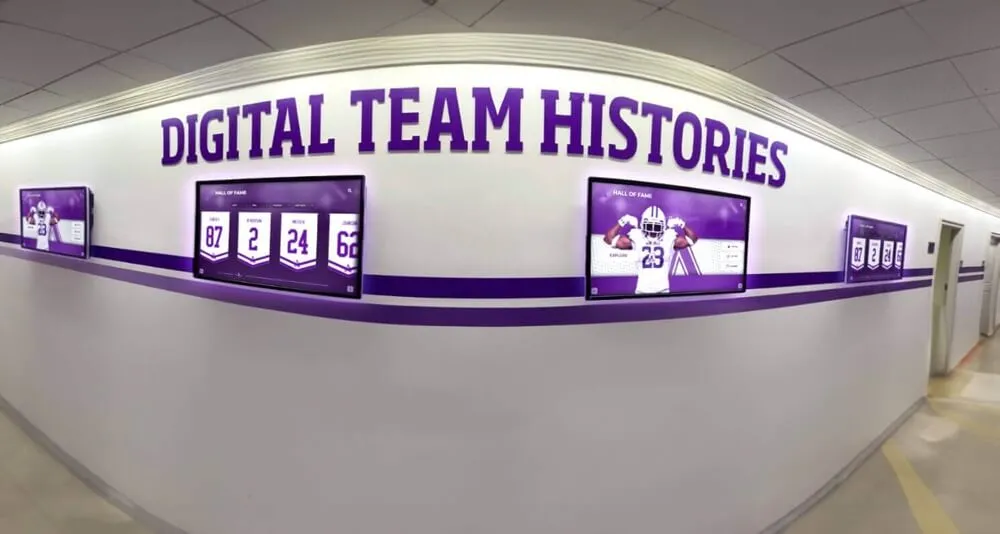
Team history corridor displays integrate decades of athletic footage sourced from magnetic tape — the stabilization step in the squeal diagnosis workflow is what allows that footage to be captured cleanly enough to be worth presenting
Baking for sticky-shed syndrome:
Tape baking is a thermal treatment that temporarily re-crosslinks the degraded binder by driving off the absorbed moisture that triggered hydrolysis. The treatment requires a controlled-temperature oven — a laboratory drying oven or a calibrated food dehydrator with an accurate thermostat. Set the oven to the target temperature range (commonly cited as 52°C to 55°C for most polyester-backed formats) and place the tape reels or cassettes in a single layer with adequate airspace. The treatment duration varies by format and severity but typically ranges from two to eight hours. After baking, allow the tape to return to room temperature for at least as long as the baking duration before playback. A baked sticky-shed tape has a limited playback window — typically one to several playback passes — before the hydrolysis condition reasserts. Digitize within that window.
Lubricant restoration for dry-pack syndrome:
Dry-pack stabilization involves restoring a functional lubricant layer to the tape surface. In controlled institutional settings, this is sometimes addressed by conditioning the tape in a slightly elevated-humidity environment for a controlled period to allow any remaining lubricant within the tape structure to redistribute. In field settings, light application of an archival-grade tape lubricant at the guide contact points — not directly to the tape surface — reduces friction enough to allow a clean playback pass. Document the approach and the specific product used in the processing record.
Slow-wind treatment for pack deformation:
A tape with uneven pack, cinching, or edge damage from storage deformation benefits from a controlled slow-wind cycle before playback. Using a playback deck in slow-wind mode (or a dedicated tape winding device with adjustable tension) rather than fast forward, wind the tape from hub to hub at the lowest available transport speed with the tension set slightly above the tape’s own weight. This process allows the tape to settle into a more even pack under consistent tension before the playback head encounters it. One complete wind cycle from supply to take-up, followed by one return cycle, is typically sufficient for minor deformation. Do not attempt this on a tape that showed brownish residue during inspection — pack deformation and sticky-shed syndrome can coexist, and winding a sticky-shed tape without prior baking will accelerate shedding.
Step 5: Document Each Tape and Update the Intake Standard
Every tape processed through the squeal diagnosis workflow — whether it passed the triage check or required stabilization — should receive a processing record that travels with it through the digitization step and into the archive.
| Record Field | Content to Capture |
|---|---|
| Tape identifier | Accession number, cassette label, or shelf position |
| Format | VHS, S-VHS, Betacam SP, U-matic, open-reel, etc. |
| Estimated era | Recording decade or specific date if legible |
| Pre-playback inspection findings | Residue, pack condition, edge damage, odor |
| Squeal pattern observed | Present / absent; onset point; associated symptoms |
| Diagnosed cause | SSS / dry-pack / oxide shedding / mechanical / unknown |
| Risk tier | Tier 1 (play-safe) / Tier 2 (stabilize first) / Tier 3 (specialist) |
| Stabilization applied | Method, temperature, duration, product used |
| Playback window | Date stabilization completed; estimated safe-playback period |
| Digitization outcome | Clean capture / partial capture / capture not attempted |
| Notes | Any anomalies during capture, head-cleaning intervals, dropout frequency |
The processing record serves two purposes: it provides the person performing the digitization with the safety information they need to monitor the capture session correctly, and it gives the archive a permanent account of each tape’s condition at the time of digitization. When a digitized file is later reviewed and shows dropouts or audio anomalies, the processing record explains whether those anomalies were present in the source or introduced during transfer — information that determines whether re-digitization from the original tape is warranted.
Updating intake standards:
Convert the squeal diagnosis workflow from a reactive measure into a standing intake protocol. Every tape entering the archive for digitization — regardless of whether it shows obvious symptoms — should receive a written triage assessment before playback. A one-page intake form that mirrors the processing record fields, completed before the tape is threaded into any playback deck, creates a consistent audit trail for the full collection. Schools that integrate this intake standard alongside digital yearbook workflows for making historic content accessible online establish the archive’s credibility as a source that downstream recognition systems can trust.
Connecting Squeal-Diagnosed Archives to Recognition Programs
The squeal diagnosis workflow produces a direct benefit to the recognition programs and display systems that use digitized athletic content. A tape that was played without diagnosis — destroyed mid-capture or producing a degraded recording filled with dropout artifacts — cannot be recovered. A tape that was diagnosed, stabilized, and cleanly captured is now a usable asset that can serve a recognition display, a hall-of-fame installation, a graduation ceremony highlight reel, or a program-history touchscreen for the next several decades.
Schools that recognize the value of historic athletic content in sustaining program culture — including the importance of recognizing youth athletes across programs and levels as part of broader community engagement — are building the same case for archive preservation that the squeal diagnosis workflow supports: the recordings already exist, the programs they document are already significant, and the only thing standing between that history and permanent loss is a systematic process applied before the playback attempt that matters.
A championship game broadcast from 1988, cleanly captured after a successful baking treatment on a sticky-shed tape, gives a school’s recognition system content that current students were not alive to witness — footage that makes the program’s history tangible and the recognition it receives meaningful. A tape destroyed during an uninspected playback attempt is a permanent gap in that program’s record.
Frequently Asked Questions
Q: Is it safe to attempt a quick playback test on a tape we suspect might squeal, just to confirm whether a problem exists?
No. A “quick test” playback on a tape with sticky-shed syndrome or active oxide shedding can destroy content in the first few seconds of contact. The tape squeal diagnosis workflow is designed specifically to replace the test-playback approach with a no-playback inspection that produces enough diagnostic information to determine the correct route without any risk to the recording. If the pre-playback inspection is ambiguous and the tape contains uniquely valuable content, refer it to a specialist before any playback is attempted.
Q: Our tape squealed briefly during a playback last month, but the content recorded fine. Does it still need to go through the squeal diagnosis workflow?
Yes. A squeal that resolved on its own during a previous playback does not mean the condition causing it has been corrected — it means the friction was temporarily overcome by the transport mechanism’s force. A sticky-shed tape that squealed and then continued playing may have deposited oxide residue on the playback head that was partially clearing itself during the run. The next playback attempt may produce the same result, or it may be more severe. Put the tape through the pre-playback inspection, perform the lint-cloth residue test, and make a documented decision about whether baking is warranted before the next capture attempt.
Q: We have a very large collection. How do we prioritize which tapes go through the squeal diagnosis workflow first?
Prioritize by content value and format risk. Apply the workflow first to any tape identified as a sole copy of high-value content — championship games, all-time record performances, final-season footage for coaches who have since retired or passed away. Within that group, prioritize formats with the highest known SSS risk: VHS, Betacam SP, and U-matic recordings from the 1970s through mid-1990s. Tapes stored in visibly poor conditions — damp storage areas, molded boxes, or high-temperature spaces — move up the priority list regardless of format. Tapes that were stored in climate-controlled conditions in original sealed cases from the same era represent a lower immediate risk and can be scheduled behind the higher-priority items.
Q: We had a professional digitization company handle some tapes last year. Can we assume those were diagnosed before playback?
Not without confirming it with the vendor. Some digitization services include a tape-condition assessment as a standard part of the intake process; others do not. Ask the vendor specifically whether each tape was assessed for sticky-shed syndrome and other squeal-producing conditions before playback, and whether a processing record was generated for each item. If the vendor cannot provide documentation of a pre-playback assessment, treat any returned tapes that were not cleanly digitized as candidates for the full diagnosis workflow before any additional playback is attempted.
Q: After baking, how long is the safe playback window before the sticky-shed condition returns?
The safe playback window after baking varies based on the severity of the binder degradation, the baking conditions, and the ambient humidity to which the tape is returned after treatment. In practice, it is common to complete digitization within two to seven days of baking and to treat a second baking session as necessary if the first capture session was incomplete. Store the baked tape in a low-humidity environment between treatment and digitization to slow the reabsorption of moisture. The baking treatment does not cure sticky-shed syndrome — it creates a temporary window for safe playback, and the condition will reassert over time in any normal storage environment.
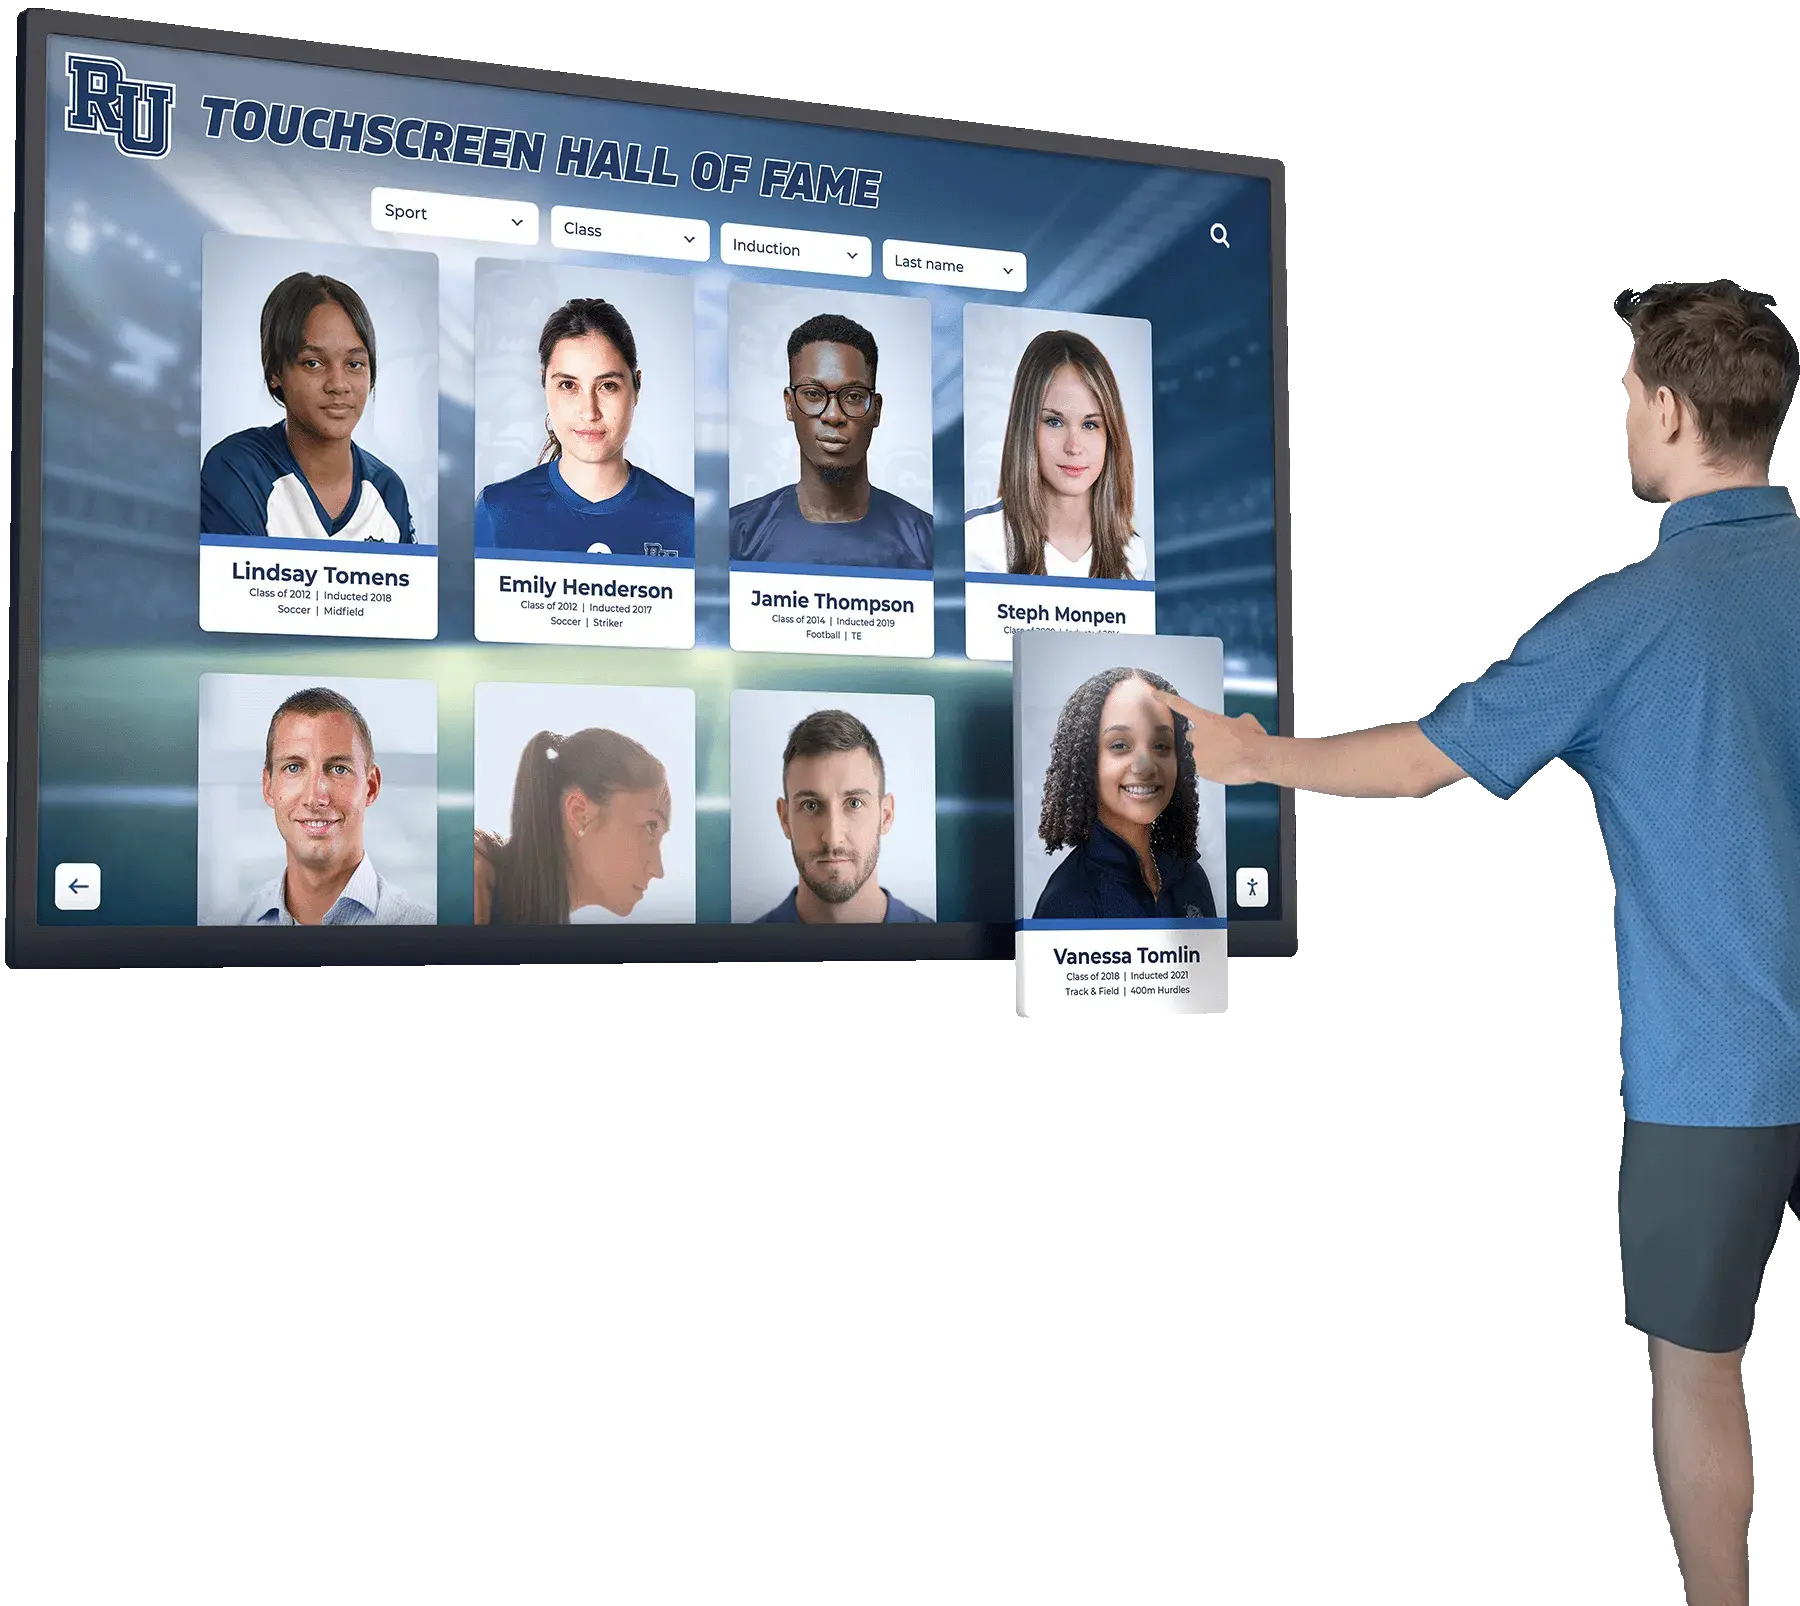
Interactive athletic recognition systems present game footage and program history to current students, families, and alumni — the content in those systems originates in the archive, where the tape squeal diagnosis workflow determines whether a 1985 championship tape survives its digitization session or is lost in the attempt
Building the Squeal Diagnosis Workflow Into Your Archive Culture
The athletic archive tape squeal diagnosis workflow delivers its greatest value when it becomes part of the culture of the archive rather than a procedure invoked only after a squeal is heard. A tape that has been assessed before playback and assigned to the correct stabilization path — even if that path is simply “no treatment needed, proceed to capture” — has been handled with the deliberateness that historic recordings deserve. A tape that is threaded into a playback deck without any prior assessment is being handled with the same care that would be applied to a tape recorded last week, regardless of the fact that the deck, the operator, and the conditions of the current playback have no relationship to the conditions under which the recording was made.
The school athletic programs whose recordings are most at risk — programs that recorded championship seasons on the consumer and prosumer formats of the 1970s through the 1990s — are often the same programs whose histories are most actively sought for recognition display installations. The recordings that matter most to the community are precisely the recordings that are most likely to have degraded in storage. A systematic squeal diagnosis workflow, applied before every digitization attempt, is what makes it possible to bring those recordings safely into the archive and from there into the recognition systems that give them a new audience.
Ready to connect your safely digitized athletic archive to a recognition display that presents your program’s history to current students, families, and alumni?
Rocket Alumni Solutions designs digital hall-of-fame systems, lobby touchscreen kiosks, and athletic recognition walls for schools — built to present decades of program history from archives that were preserved with care.
Request a recognition display demo from Rocket Alumni Solutions →































