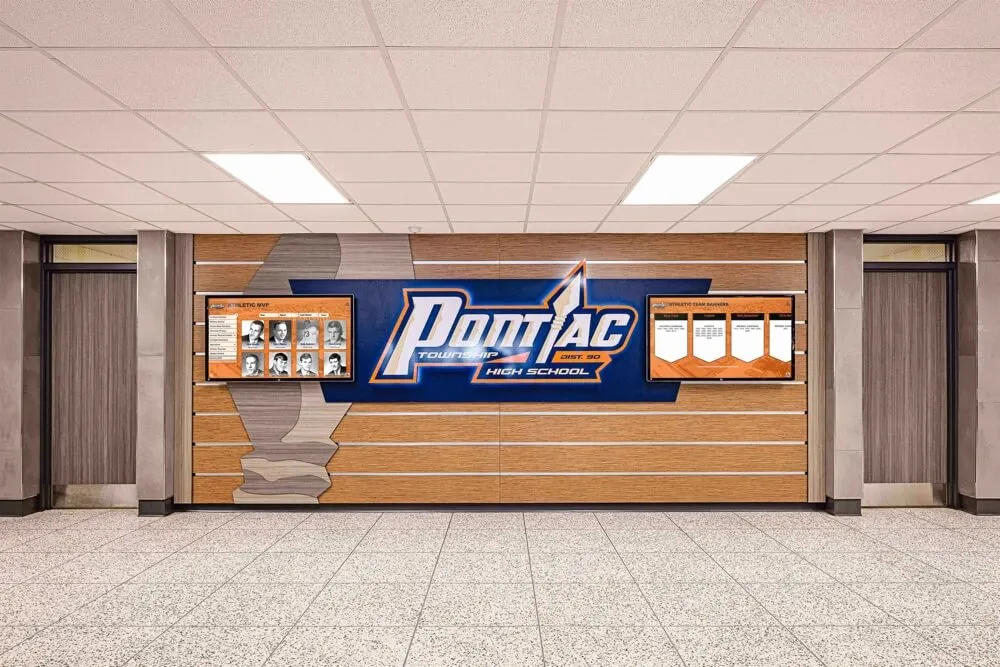
Athletic archive tape-pack winding inspection is the pre-digitization assessment that examines how tape is wound onto the supply and takeup hubs of a legacy cassette — checking for cinching, loose layers, popped strands, and uneven wind distribution — before any tape is threaded into a playback deck. Pack winding quality determines how the tape strand feeds through the transport path during capture. A tape wound tightly and evenly delivers consistent tension across the playback heads; a tape wound with loose sections, edge displacement, or embedded damage creates friction points that can cinch, fold, or tear the strand precisely at the moment of the only digitization session the program budget allows.
For school athletic directors, AV coordinators, IT staff, and volunteer archivists handling collections that span the 1970s through the early 2000s, pack winding defects are one of the most common mechanical hazards in any unassessed tape box. Unlike chemical problems such as binder hydrolysis — which require specific equipment to treat — many pack winding problems can be identified through a careful visual examination lasting three to five minutes per cassette, and the majority can be addressed through a controlled rewind before capture. This guide provides a systematic inspection procedure, a format-by-format risk table, a defect identification reference, and a checklist that becomes part of each tape’s intake record.

Athletic honor walls and recognition displays present decades of program history to current students and alumni — the completeness of that history depends on whether the source tapes behind each digitized file were inspected for pack winding problems before the capture attempt was made
What Tape-Pack Winding Is and Why Inspection Matters
The “pack” of a magnetic tape cassette is the wound cylinder of tape that sits on each hub inside the cassette shell. On a fully rewound VHS cassette, the entire tape is wound onto the supply hub in a cylinder several centimeters thick. As the cassette plays, tape transfers from the supply hub through the transport path and accumulates on the takeup hub. When playback ends, the tape is rewound to restore the supply hub to its fully wound state.
A healthy tape pack is a precise mechanical structure. Each layer of tape lies flat against the previous layer with consistent radial pressure across the full width of the tape strand. The edge of the wound cylinder is smooth and planar — no individual tape strands project above or below the level of adjacent strands. The hub flanges (the rigid side walls of the hub) apply no asymmetric force; the tape pack sits centered between them.
When a cassette spends years in a gym closet, an equipment room, or an unconditioned storage space, the pack can deform in multiple ways:
- Thermal cycling causes the tape base film and the binder layer to expand and contract at slightly different rates. Over dozens of heating and cooling cycles, these differential expansions shift individual layers relative to their neighbors, loosening or tightening specific regions of the wound pack.
- Improper storage orientation (laying cassettes flat rather than on their edge) allows the pack to sag under gravity toward the lower hub flange, displacing the wound layers and creating asymmetric pressure along the tape edge.
- Hub lock failure allows the pack to spin freely inside the cassette shell during handling, loosening the wound layers unevenly.
- Partial-play storage — tapes that were left threaded mid-reel when playback stopped — develops a tension differential at the midpoint, where the deck’s transport held the tape at one tension while the wound section settled into a different resting tension on the hub.
When a tape with a deformed pack enters a playback deck, the transport mechanism encounters conditions it was not designed to compensate for. The capstan and pinch roller apply forces calibrated to a pack wound within a narrow tolerance range. A pack that falls outside that range creates tension spikes, tracking instability, and — in the worst case — a cinch or fold that permanently destroys content in the affected section of the tape.
The pack winding inspection is the step that identifies these conditions before the tape enters the deck.
Format-by-Format Pack Winding Risk
| Format | School Archive Era | Pack Winding Risk | Primary Winding Failure Mode | Inspection Priority |
|---|---|---|---|---|
| VHS (standard play) | 1977–2005 | Moderate to High | Hub lock failure; loose pack from thermal cycling | High — inspect every cassette regardless of shell condition |
| VHS (EP/LP long-play) | 1980–2005 | Very High | Thin tape amplifies loose-pack effects; edge damage from windowing | Very high — thin tape cinches more easily under transport stress |
| S-VHS | 1988–2005 | Moderate | Better cassette components, but consumer-stored examples still deform in poor conditions | Moderate — assess storage history before assuming lower risk |
| Betacam SP | 1986–2005 | Low to Moderate | More robust cassette construction; edge displacement from flat storage | Moderate — verify shell and pack edge condition |
| 3/4" U-matic | 1972–1995 | Moderate to High | Large cassette prone to pack loosening under flat storage; age compounds risk | High — oldest commonly held format; longest potential storage time |
| Hi8 / Video8 | 1989–2005 | High | Small cassette hub; hub failure produces rapid uneven loosening | High — hub damage is common and often invisible from outside |
| 1/2" open reel | 1965–1985 | Very High | Open packs loosen significantly over decades; flanges may warp | Very high — do not attempt playback without professional assessment |
| MiniDV | 1995–2010 | Low | Cassette construction more stable; pack deformation less common | Low — spot-check shell and pack edge; full inspection for suspect storage conditions |
The formats most common in school athletic collections — consumer VHS and Hi8, predominantly from the 1980s through the late 1990s — sit at the high end of winding risk. Schools beginning a digitization project that includes these formats should treat pack winding inspection as a mandatory triage step for every cassette in the collection.
Schools that have invested in building comprehensive digital archives for their athletic programs know that the quality of the resulting archive is determined in part at the pre-digitization inspection stage — not after the capture session reveals a problem.
Equipment for a Pack Winding Inspection Station
A pack winding inspection station does not require expensive equipment, but it does require a dedicated workspace separate from the capture workstation. Inspecting and capturing on the same desk, threading and unthreading cassettes on the capture deck itself for each inspection, risks introducing an uninspected tape directly to the transport before problems have been identified.
Minimum equipment for a basic inspection station:
- A portable LED work light or a bright desk lamp — pack defects are most visible under direct overhead or side lighting
- A jeweler’s loupe (5x to 10x magnification) or a handheld magnifying glass for examining pack edges and the exposed tape span through the cassette window
- Clean cotton or nitrile gloves — all cassette handling should be done with gloves to prevent skin oils from contaminating the oxide surface
- A JIS cross-point screwdriver set for cassette shell access when internal inspection is necessary (most VHS cassettes use JIS #0 or #1 screws)
- Inspection log sheets or a digital intake spreadsheet for recording each tape’s observations and condition classification
Recommended additions:
- A dedicated cassette rewinder with adjustable tension — not a consumer VCR’s fast rewind, which applies variable-speed rewinding that can worsen pack deformation
- A reference cassette of known-good condition, inspected and documented, to calibrate visual expectations at the start of each inspection session
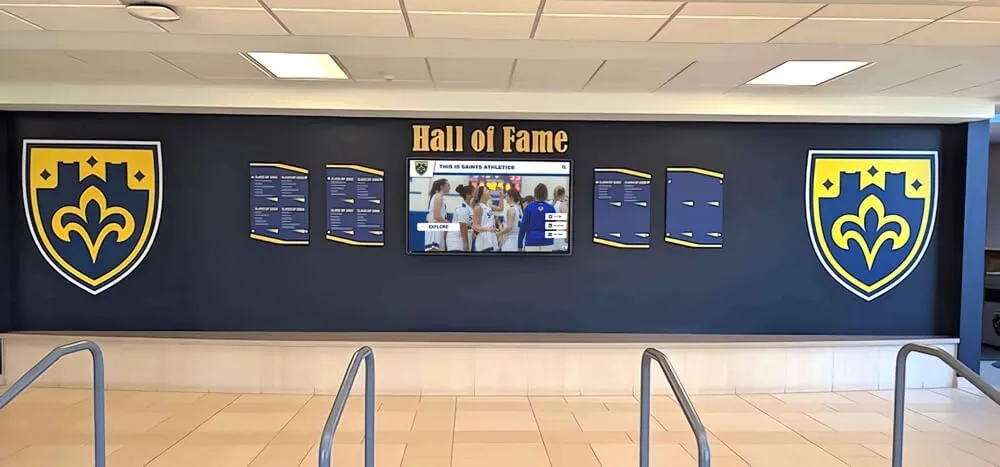
Hall of fame installations that represent decades of athletic achievement need source content that survived digitization intact — pack winding inspection is the step that routes each tape to the correct preparation path before any playback is attempted
Step 1: Cassette Shell and Hub Pre-Inspection
The pack winding inspection begins before the wound tape is examined at all. The cassette shell and its internal mechanical components provide information about what may have happened to the pack inside.
Shell exterior assessment:
Hold the cassette in good light and examine all four sides of the cassette body:
- Check for cracks, warps, or visible deformation — a cassette shell that has been dropped, crushed, or exposed to sustained heat may have deformed the internal hub geometry even if the exterior damage appears minor
- Open and close the cassette door (the hinged flap that covers the tape window on VHS cassettes) — a stiff, sticky, or broken door indicates rough handling or adhesive contamination
- Gently shake the cassette and listen for rattling — loose components (broken hub locks, displaced pressure pads, or shell debris) indicate internal mechanical issues that must be assessed before any playback
Hub inspection through the cassette window:
Every VHS and Betacam cassette has a clear window or opening through which the hubs can be observed:
- Insert a finger, pencil, or tape-winding tool into each hub opening in turn and rotate the hub slowly — each hub should turn freely without binding or requiring force
- Watch for the hub lock releasing when the cassette is held level — on a cassette with a functioning hub lock, the hub should resist free rotation when no external force is applied; a hub that spins without resistance has a failed lock and the pack may have shifted in storage
- Note whether both hubs are centered within the cassette shell — a visibly off-center hub indicates physical deformation that affects how the tape feeds during playback
A cassette with a cracked shell, broken hub locks, or visibly deformed hubs should be classified as a high-risk tape regardless of its pack appearance and routed to a professional service before any in-house playback is attempted.
Step 2: Visual Pack Assessment Through the Cassette Window
With the cassette shell and hub mechanics assessed, move to the pack itself. This examination requires good lighting and takes approximately two to three minutes per cassette.
Viewing the pack edge-on:
Hold the cassette at eye level with the tape window facing you. Tilt the cassette approximately 30 degrees so you are looking at the wound pack from a slight angle — this view reveals the side profile of the pack cylinder most clearly.
What a healthy pack looks like:
- The pack presents a smooth, uniform cylinder at both the supply and takeup hubs
- The wound layers are not individually distinguishable — the pack edge is a continuous, flat surface rather than a stack of visible individual strands
- The pack sits centered between the hub flanges, with equal clearance at the top and bottom edge of the wound cylinder
Identifying pack winding defects:
Examine both hubs for each of the following defects:
Loose pack: Individual tape layers appear separated from adjacent layers, visible as gaps or a lack of compactness in the wound cylinder. A loose pack feeds unevenly into the deck transport, causing tension surges and potential cinching at the loose sections.
Cinched pack: One or more tape layers are visibly forced inward or outward relative to the smooth cylinder of the surrounding pack — appearing as a radial crinkle or a compressed deformation running from the inner winds toward the outer edge. A cinched tape will almost certainly jam or fold at the cinched section during playback.
Popped strands: Individual tape strands project above or below the level of adjacent strands along the top or bottom edge of the wound pack. Popped strands indicate tension imbalance across the tape width and signal a risk of edge damage during playback transport.
Windowing (pack displacement): The wound pack appears offset toward one hub flange — one side of the cassette has tape layers pressed tightly against the flange, while the other side has visible clearance. Windowing is a consequence of flat storage orientation or hub lock failure and causes the tape to track off-center through the deck’s guide posts.
Exposed tape condition:
The small span of tape visible between the two hubs through the cassette window can be examined directly. Note any of the following:
- Kinks or fold marks in the tape strand
- Splices (visible as a slightly thicker or shinier section of tape)
- Dust accumulation, particulate debris, or visible powdery residue on the exposed tape surface
- Any discoloration or patches that suggest mold or chemical contamination
Want to connect your inspected, digitized athletic archive to a recognition display your community will actually see?
Rocket Alumni Solutions helps schools build hall-of-fame systems, lobby touchscreen kiosks, and recognition walls — designed to present archive-quality footage from programs that preserved their history correctly.
Pack Winding Defect Reference Table
| Defect | Visual Appearance | Transport Risk | Recommended Action |
|---|---|---|---|
| Loose pack — minor | Slight lack of compactness at outer winds; layers loosely spaced | Low to moderate — may cause minor tension variation | Controlled rewind at slow speed; re-inspect before capture |
| Loose pack — severe | Clearly separated layers across a significant portion of the pack; visible gaps | High — likely tension surges and cinching during playback | Two controlled rewinds; if pack does not improve, route to professional service |
| Cinch | Radial crinkle or deformation running from inner to outer winds | Very high — near-certain jam or fold at the cinched section | Do not rewind or play; open cassette shell for manual inspection; professional service recommended |
| Popped strands | Individual strands project above or below pack edge level | Moderate to high — edge tracking failure; potential edge damage during playback | Controlled rewind; re-inspect; if persistent, route to professional service |
| Windowing | Pack offset toward one flange; one edge pressed against flange | Moderate — off-center tracking; uneven head contact | Controlled rewind at slow speed; re-inspect for improvement; monitor tracking during capture |
| Fold or kink in exposed tape | Visible crease or fold in the tape span visible through the window | High at that location — fold will jam at guide posts | Do not thread past fold; open shell and assess fold extent; professional service if fold is extensive |
| Debris in shell | Brownish powder, particles, or residue visible inside shell | Variable — debris can contaminate head surfaces and cause additional damage | Quarantine; do not play without cleaning or professional assessment |
| Mold on tape surface | White, gray, or green fuzzy patches on exposed tape | Very high — mold transfers to heads and adjacent tapes | Quarantine; professional cleaning required before any handling or playback |
Step 3: Pack Tension Assessment by Controlled Hand Movement
For cassettes that pass the visual inspection without obvious defects, a brief manual tension check provides additional information about pack consistency before the tape is committed to the capture deck.
Procedure:
- Put on clean gloves before this step — any contact with the tape surface without gloves contaminates the oxide
- With the cassette held level, insert a clean finger or tape-winding tool into the supply hub opening
- Apply gentle, consistent resistance with one hand while turning the supply hub slowly in the forward direction (the direction of play) with the other
- The tape should advance onto the takeup hub smoothly, with consistent resistance throughout the movement
- Perform this test slowly — one or two full rotations of the hub, not a fast spin
What to note:
- Consistent resistance throughout: Indicates even pack tension — a positive finding
- Alternating sticky and slack sections: Confirms uneven pack tension — the signature of a deformed pack that requires controlled rewinding before capture
- A hard stop or binding point: Indicates a cinch, fold, or debris obstruction — do not force the hub; reclassify and route accordingly
- Gritty or rough feel under gloved hands: May indicate active oxide shedding or particulate contamination on the tape surface
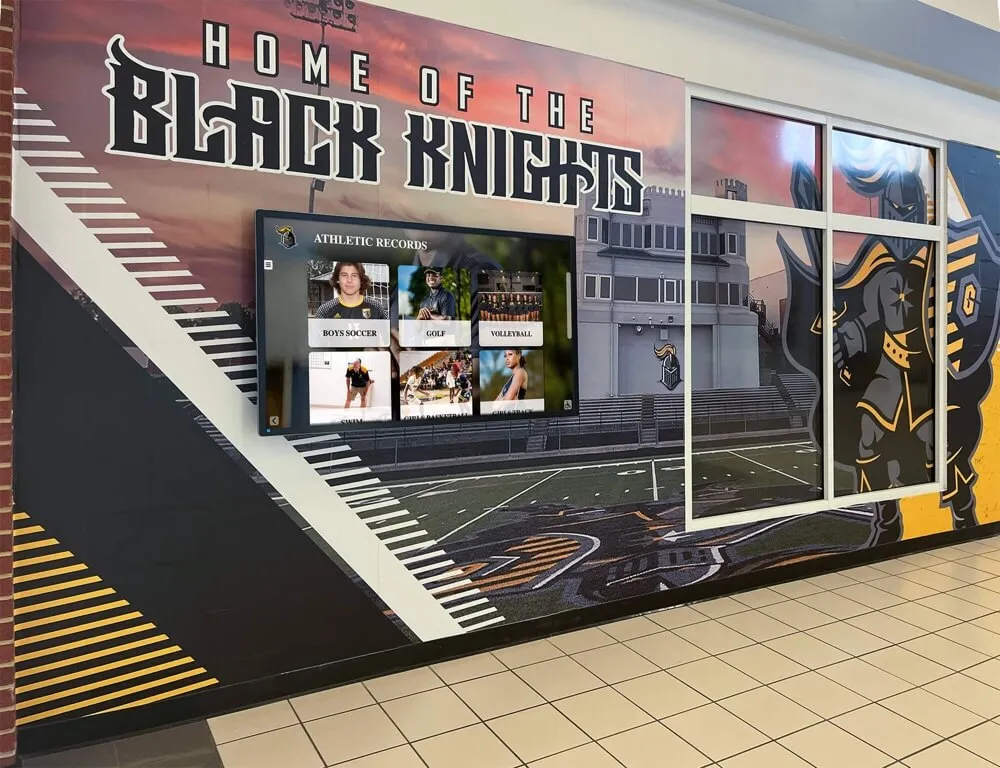
Athletic recognition displays in school hallways connect current students to program history — the footage depth behind those displays is bounded by what survived the digitization process, making pre-digitization pack winding inspection a direct investment in the recognition program's long-term content library
Step 4: Classify Each Tape Using a Condition Tier
After completing the shell, visual pack, and hand tension assessments, assign each cassette a condition tier. This classification gives the capture team clear disposition instructions without requiring re-inspection at the workstation.
| Tier | Criteria | Disposition |
|---|---|---|
| Tier 1 — Ready for capture | Shell intact; no hub lock failure; pack smooth and uniform; no popped strands or windowing; hand tension consistent | Cleared for standard capture workflow; proceed without additional preparation |
| Tier 2 — Rewind before capture | Minor loose pack at outer winds; slight windowing; minor tension inconsistency on hand test; no cinching or mold | Controlled rewind at slow speed; re-inspect after rewind; clear for capture if improved |
| Tier 3 — Conditioning required | Significant loose pack; popped strands; windowing causing flange contact; moderate tension variation; minor hub damage | Two controlled rewinds; if unresolved, route to professional service before capture |
| Tier 4 — Professional assessment | Cinching; visible folds or kinks; shell damage; debris or mold; hub lock failure with pack displacement | Do not attempt playback; quarantine and document; send to professional service with condition notes |
This tier system allows the capture operator to work from a pre-cleared queue of Tier 1 and Tier 2 tapes while Tier 3 and Tier 4 items are being routed to conditioning or professional services. The triage step prevents high-risk tapes from reaching the deck before they have been properly assessed — the most common cause of transport damage and content loss in school digitization projects.
For recognition programs that use archived athletic footage alongside awards and display programs for current athletes and staff, the integrity of the archive directly supports the program’s ability to contextualize current recognition within the school’s athletic history.
Step 5: Controlled Rewinding for Tier 2 and Tier 3 Tapes
Controlled rewinding re-seats the pack into a more uniform winding state by moving the tape from hub to hub at a consistent, low speed under gentle tension. It is the most effective non-invasive intervention for tapes whose packs have loosened from long-term storage without playback.
Controlled rewind procedure:
- Use a dedicated cassette rewinder with a speed control — not a consumer VCR’s internal rewind, which applies high-speed, variable-tension rewinding that can worsen pack deformation
- Set the rewinder to its slowest available speed — archive-quality rewinders typically offer speeds as slow as 1x or 2x play speed
- Rewind the tape fully to the leader end (the supply hub)
- Allow the cassette to rest for five to ten minutes — this settling period lets the newly wound pack stabilize under its own resting tension before re-inspection
- Re-inspect the pack visually and by hand tension check after each rewind cycle
- If the pack shows clear improvement after the first rewind, advance to re-inspection and reclassify if warranted
- If no improvement after two complete rewinds, reclassify to Tier 3 or Tier 4 and route accordingly
What controlled rewinding corrects:
Controlled rewinding is most effective for tapes with loose pack caused by extended storage in the wound state (“pack set”) or minor windowing from improper storage orientation. It is not effective for cinched tapes — the cinched section compresses further against the rewinder guide during winding. Do not apply controlled rewinding to any tape with a visible cinch.
Schools coordinating tape inspection alongside digital hall-of-fame accessibility improvements benefit from treating both as structured workflows with clear success criteria — the controlled rewind protocol produces a measurable outcome (pack improvement or no improvement) that informs the next decision, just as an accessibility audit produces a defined list of findings to address.
The Pack Winding Inspection Checklist
Use this checklist for every tape before it is cleared for digitization. A completed checklist becomes part of the tape’s archival intake record and should accompany any tape routed to professional service.
Cassette Shell and Hub Assessment
- Shell exterior inspected — no cracks, warps, or visible deformation
- Cassette door opens and closes smoothly
- Supply hub turns freely by hand without binding or requiring force
- Takeup hub turns freely by hand without binding or requiring force
- Hub locks functional — hubs resist free rotation when no external force is applied
- No rattling when cassette is gently shaken — no loose internal components
- Format confirmed and recorded (VHS SP/LP/EP, S-VHS, Hi8, U-matic, Betacam SP, etc.)
Visual Pack Assessment
- Pack inspected edge-on under good light — no cinching or radial deformation visible
- Pack edge profile examined — no popped strands projecting above or below the wound cylinder
- Pack windowing assessed — tape sits centered between hub flanges, not displaced toward either flange
- Exposed tape span inspected — no visible kinks, folds, splices, or debris
- Hub flanges examined — tape edge is flush or within 1–2mm of each flange, not pressing hard against either one
- No visible mold, brownish residue, or powdery substance on the exposed tape area
Pack Tension Assessment
- Hand tension test performed — resistance is consistent throughout, with no sticky or slack sections
- No hard stop or binding point encountered during hand tension test
- Tape surface feel under gloved hands is smooth, not gritty or rough
Condition Tier Assignment
- Tier assigned: Tier 1 (ready for capture) / Tier 2 (rewind before capture) / Tier 3 (conditioning required) / Tier 4 (professional assessment)
- Specific observations recorded alongside tier (cinch location, windowing severity, debris type)
Disposition Actions
- Tier 2 tapes rewound at slow speed and re-inspected before capture
- Tier 3 tapes routed to conditioning or professional service — not scheduled for standard capture queue
- Tier 4 tapes quarantined, documented, and not handled further without professional guidance
- Content priority level noted (high / medium / low) for professional service routing decisions
Documentation
- Tape identifier (accession number, original label text, or shelf location) recorded
- Condition tier and specific observations entered in the intake log
- Storage orientation at intake noted (vertical/horizontal)
- Date of last known playback recorded if available
- Disposition decision recorded: cleared for capture / pending rewind / pending professional service
Integrating Pack Winding Inspection Into the Digitization Schedule
Pack winding inspection is most effective as a structured workflow phase that precedes the capture schedule rather than a quick check performed one tape at a time at the workstation. Separating inspection from capture allows the capture station to work from a pre-cleared queue while problem tapes are being conditioned or routed to professional service — reducing idle time and preventing a high-risk tape from reaching the deck without assessment.
Recommended phasing:
Phase 1 — Collection triage. Inspect every tape in the collection using the shell, visual pack, and hand tension checklist before scheduling any captures. This phase produces a tiered inventory: Tier 1 and Tier 2 tapes for the in-house queue, Tier 3 and Tier 4 tapes for professional routing. Expected duration: three to five minutes per tape.
Phase 2 — Tier 2 conditioning. Process Tier 2 tapes through the controlled rewind protocol and re-inspect. Tapes that improve to Tier 1 move into the capture queue; tapes that remain at Tier 2 after two rewinds are reclassified to Tier 3 and routed to professional service.
Phase 3 — Priority scheduling. Within the Tier 1 capture queue, schedule by content priority. High-priority content — championship game footage, farewell-season recordings for retired coaches, sole-copy records of specific events — should be captured first, before deck head wear accumulates from processing the full collection. Schools that have documented the importance of honoring retiring coaches and faculty with recognition events understand that the recordings connected to those recognitions are often the highest-priority items in the archive.
Phase 4 — Professional service routing. Tier 3 and Tier 4 tapes are packaged and forwarded with their intake records. Supply the service provider with condition tier, specific observations, and content priority for each tape — this information allows the technician to approach each item with appropriate preparation rather than discovering problems during playback.
How Pack Winding Defects Affect Downstream Recognition Programs
The quality of a school’s athletic archive is visible in its recognition programs. A championship game destroyed by a cinch during capture is a permanent gap in the display library that feeds hall-of-fame installations, lobby touchscreen kiosks, and athletic recognition walls.
Hall-of-fame installations that present video profiles of inducted athletes draw on the archive for footage of the seasons, games, and performances being honored. A tape winding failure that destroyed footage from a specific era produces a visual gap in the induction display — the inductee’s achievements are documented, but the footage that made those achievements visible to the community is gone.
Athletic banquets and retirement ceremonies often use archival video as a central element — clips from a coach’s tenure, footage of a player’s record-breaking season, or highlights from a program’s founding decade. Schools that incorporate archived game footage into retirement ceremonies and program-milestone celebrations need those clips to have survived the digitization process intact. Tape winding problems that were not addressed before capture can leave those clips partially playable, full of tracking dropout, or unrecoverable entirely.
Alumni reunion events that present archival video — homecoming programs, milestone-anniversary celebrations, booster events — rely on the archive to surface footage that connects returning alumni to the seasons they attended or played. Reunion events that draw on deep archival content create the strongest connections between the institution and its alumni community; a gap in the archive from uninspected tapes narrows the range of content available for those moments.
Digital yearbook programs that incorporate historical video segments need a deep archive to draw from. The breadth of historical content available for those segments is bounded by what was successfully digitized — and what was successfully digitized is bounded by the mechanical condition of each tape before the capture session began.
The economic case for inspection is clear: a three-to-five-minute pack winding inspection per tape is a small upfront cost compared to the permanent, irreversible loss of irreplaceable content during a transport failure. For high-priority recordings — state championship games, sole-copy interview footage, founding-decade program records — the inspection step is not optional regardless of the apparent external condition of the cassette.
Game footage from sport-specific program histories, including baseball, football, track, and wrestling, carries historical value that scales with the rarity and completeness of the surviving footage. The more complete the archive, the more effectively recognition programs can connect current students and alumni to the programs that preceded them.

Visitors interacting with athletic hall of fame displays encounter content that was preserved at the moment of digitization — a pack winding inspection before capture is what separates a complete archive from one with permanent gaps where uninspected tapes failed
Frequently Asked Questions
Q: How is pack winding inspection different from tape tension inspection?
Pack winding inspection and tape tension inspection address related but distinct aspects of the same mechanical system. Pack winding inspection focuses on the wound structure of the tape on the hub — whether the layers are evenly wound, whether popped strands or cinching are present, whether the pack is displaced toward a hub flange. Tape tension inspection focuses on the force that the transport mechanism applies to the tape strand during playback and whether that force is consistent as the tape feeds from supply to takeup. A tape can pass a visual pack winding inspection and still develop tension problems during playback due to deck calibration issues. Conversely, a tape with visible pack deformation may still play acceptably on a well-maintained deck with tolerance for tension variation. Both assessments contribute to a complete pre-digitization evaluation, and a thorough intake workflow includes both.
Q: Can we just rewind all tapes as standard practice before digitizing, without doing a full inspection first?
Rewinding all tapes before digitization is a reasonable precaution but is not a substitute for inspection. A cassette with a visible cinch will have that cinch compressed further against the rewinder guide during rewinding, potentially folding or tearing the tape at the cinched point before it ever reaches the capture deck. A cassette with a visible mold spot should not be rewound at all — the rewinding motion spreads contamination across additional tape surfaces and potentially onto the rewinder itself. The inspection identifies conditions that make rewinding unsafe, which is why inspection precedes rewinding in the workflow rather than following it.
Q: Our tapes show no visible pack defects, but playback produced dropout and picture instability on two of them. What went wrong?
Visual pack inspection identifies defects that produce visible indicators — cinching, popped strands, windowing. Some conditions that cause playback problems are not visible through the cassette window: internal debris that only becomes an issue during the friction of playback, lubricant depletion that does not change the pack’s appearance, or minor head-surface contamination from a previous tape in the sequence. A visual inspection cannot guarantee a clean playback — it identifies the highest-risk conditions and routes the most dangerous tapes away from the capture deck. Tapes that pass visual inspection but produce dropout should be logged as Tier 2 items and subjected to controlled rewinding and, if playback problems persist, referred to a professional service.
Q: We have a large collection with very limited time for inspection. Should we skip inspection on tapes that look externally fine?
The cassette shell and label condition are not reliable indicators of the pack condition inside. Tapes that look fine externally can have severe pack deformation from flat storage, hub lock failure, or thermal cycling — none of which produce visible external indicators on the cassette shell. If time constraints require prioritization, apply the full inspection to tapes whose content is high-priority (championship games, sole-copy recordings, founding-era footage) and whose formats carry the highest winding risk (VHS EP, Hi8, open reel). Lower-priority tapes in known-good storage conditions can be prioritized behind the highest-risk items. But every tape that enters the capture queue should receive at minimum the shell and hub checks — the three-minute assessment that identifies the most dangerous conditions.
Q: What should we document in the inspection record for a tape we send to professional service?
The inspection record that accompanies a Tier 3 or Tier 4 tape to professional service should include: the tape identifier (accession number or original label), the format, the storage environment at intake, the inspection date, every specific observation that informed the condition tier (the location and extent of any cinching, the severity of pack displacement, any mold spots or debris), and the content priority level. A professional technician who receives a tape with a documented condition record can approach the item with appropriate preparation — setting up the correct stabilization step and knowing where in the tape to monitor most carefully during capture. A tape that arrives without documentation requires the technician to perform their own initial assessment, adding time and cost to the service engagement.
Connecting Inspection to a Permanent Archive Culture
The athletic archive tape pack winding inspection is most valuable as a permanent intake standard — a protocol applied to every tape that enters the digitization pipeline, not a one-time effort before a specific project. Schools that build this standard into their archive culture ensure that every future addition to the collection receives the same scrutiny as the current batch, and that future recognition programs have access to the most complete possible archive.
For programs whose legacy tape collections date to the 1970s or 1980s, the window for digitizing that content is narrowing on two fronts simultaneously: the physical tapes continue to degrade regardless of storage conditions, and the playback equipment capable of reading them is becoming increasingly scarce. The recordings that represent a school’s athletic history — its championship eras, its record-setting athletes, its founding coaches — are not replaceable once lost. A pack winding inspection workflow that routes each tape to the appropriate care level before playback is the institutional commitment to recovering that history before the tapes reach the point where recovery is no longer possible.
Schools that connect their recovered archive to recognition display systems designed to present that history to current students and community members gain a resource that serves the school community for decades. The game footage, interview recordings, and program history that those displays present were preserved — or permanently lost — at the moment of digitization. The pack winding inspection is the step that determines which outcome each tape receives.
Ready to bring your inspected, digitized athletic archive to a recognition display your entire community can experience?
Rocket Alumni Solutions designs digital hall-of-fame systems, lobby touchscreen kiosks, and athletic recognition walls for schools — built to present decades of program history from archives that were preserved with care before the footage was needed.
Schedule a recognition display demo with Rocket Alumni Solutions →































