
If your school’s storage closets hold VHS cassettes, U-matic tapes, or open-reel reels recorded between the 1970s and the 1990s, some of those game films are actively deteriorating—even while untouched. Sticky-shed syndrome (SSS) is a chemical failure of the magnetic tape binder that causes recordings to squeal on playback, shed brown residue onto heads and guides, and eventually jam or destroy footage irretrievably.
The good news: a structured triage-and-handoff workflow lets athletic directors, IT/AV staff, and school archivists identify at-risk tapes before they fail completely, buy time through controlled stabilization, and coordinate professional digitization. Once recovered, historic game footage and athlete imagery can anchor modern interactive recognition displays rather than continuing to degrade in cardboard boxes.
This guide delivers a practical six-phase workflow—from initial inventory through vendor handoff and post-digitization integration—written for school environments without in-house preservation labs.
Historic athletic footage is a unique institutional record: state championship runs, rivalry games, record-setting performances, and the athletes who defined entire eras for your program. When those recordings exist only on aging magnetic media, the window for safe recovery narrows with every passing year.

Schools that complete athletic tape recovery can integrate digitized footage and athlete profiles into permanent recognition displays accessible to current students and alumni alike
What Sticky-Shed Syndrome Is—and Why Your Game Tapes Are at Risk
Magnetic tape manufactured from roughly 1970 through the mid-1990s uses a polyester-urethane binder to hold magnetic oxide particles against the tape backing. Over time, that binder absorbs ambient moisture through a chemical reaction called hydrolysis. As the binder softens and breaks down, it reverts to its component parts—leaving sticky residues that coat playback heads and guides the moment tape runs across them.
The Association of Moving Image Archivists (AMIA) and the Library of Congress both document sticky-shed syndrome as one of the leading causes of magnetic media failure in institutional archives. School athletic departments are especially exposed because:
- Game tapes were routinely recorded on consumer and prosumer formats (VHS, Betacam, U-matic) across the 1970s through the early 2000s
- Storage in gyms, equipment rooms, and maintenance closets is rarely climate-controlled
- Tapes are frequently re-boxed without inspection for decades
- Championship seasons motivate staff to pull tapes for playback—sometimes discovering SSS only when a playback head clogs mid-screening
Sticky-shed syndrome is not a storage failure your staff caused. It is a material failure inherent to binder formulations used by tape manufacturers during that era. What you can control is whether you catch it before recordings become unplayable.
Phase 1 — Inventory Your Athletic Tape Library
Before any tape is touched for inspection, create a complete written inventory. This step prevents duplicate handling, identifies formats requiring specialist equipment, and gives vendors the information they need to scope and quote a project accurately.
Recommended inventory columns:
| Field | What to Record |
|---|---|
| Tape ID | Sequential number tied to physical label on box or shelf position |
| Format | VHS, S-VHS, Beta, Betacam SP, U-matic, 1/2" open reel, 8mm, Hi8 |
| Label / Annotation | Game, date, opponent exactly as written on cassette or box |
| Estimated Year | Decade or specific year if legible |
| Visual Condition | Good, suspect, obviously damaged |
| Storage Location | Room, shelf, and box for retrieval tracking |
| Priority | High (sole copy of championship), Medium, Low |
Wear nitrile gloves throughout inventory work. Do not attempt playback at this stage—that determination comes only after format triage and symptom identification.
Phase 2 — Format Triage: Which Tapes Are Highest Risk?
Not all formats are equally vulnerable to sticky-shed syndrome. Triage prioritizes formats with documented high SSS prevalence and tapes recording irreplaceable events.
SSS Risk by Format
| Format | Typical Era | SSS Risk Level |
|---|---|---|
| 1/2" open-reel video | 1965–1985 | Very high |
| 3/4" U-matic cassette | 1971–1995 | High |
| Betacam / Betacam SP | 1982–2000s | High (certain manufacturing lots) |
| VHS / S-VHS | 1976–2000s | Moderate to high |
| Hi8 / Video8 | 1985–2000s | Moderate |
| MiniDV | 1995–2010s | Lower (different binder chemistry) |
| DVD-R / optical disc | 2000s–present | Not SSS-susceptible; different failure modes |
Within high-risk formats, prioritize in this order:
- Sole copies of championship seasons, school records, or milestone games
- Tapes from the 1970s and early 1980s (longest cumulative moisture exposure)
- Tapes stored in unconditioned spaces—attics, basements, gym storage
- Any cassette with visible mold, warping, or label separation
Phase 3 — Symptom Identification Without Playback
At this phase, inspection is visual and tactile only. Attempting playback on an SSS-affected tape can coat a playback head with binder residue in seconds, requiring professional cleaning—and potentially damaging the tape beyond recovery.
Visual and Physical Inspection Checklist
- Sticky feel on exposed tape edges: Run a cotton-gloved finger lightly along the tape edge visible through the cassette opening. Stickiness is a strong SSS indicator.
- Brown or reddish-brown powder: Look through the cassette window. Powder accumulation on reels or internal guides indicates active shedding.
- Tape pack deformation: Uneven winding, “cinching” (transverse wrinkles visible through the window), or layers appearing fused together.
- Chemical or musty odor: A vinegar-like smell from polyester-based tape indicates “vinegar syndrome,” a related but separate acid-degradation problem common in reel-to-reel audio and older film stock.
- Mold colonies: White, gray, or colored spots on any visible tape surface.
- Label deterioration: Adhesive labels peeling or bubbling can indicate moisture exposure history.
Segregate all tapes showing any of these signs into a quarantine group immediately. Store them separately from clean tapes in sealed polyethylene zip bags to limit potential mold spore spread to adjacent media.

Once fragile game tapes are stabilized and digitized, their content can populate permanent recognition displays that celebrate athletic history without further risk to the originals
Phase 4 — Stabilization Planning: Understanding Tape Baking
“Tape baking” is the widely used informal term for controlled low-temperature drying—a technique that temporarily reverses hydrolysis by driving absorbed moisture out of the binder. When performed correctly by a qualified lab, baking can restore a tape’s playability long enough for a single-pass capture session. It is not a permanent fix; the binder may re-absorb moisture within days to weeks.
Schools should not attempt tape baking in consumer ovens, food dehydrators, or any equipment not designed for this application.
What your team needs to understand before approaching a vendor:
| Consideration | Key Information |
|---|---|
| Temperature range | Typically 130–150°F (54–65°C) in a controlled low-humidity environment |
| Duration | Usually 4–12 hours depending on format, binder thickness, and SSS severity |
| Equipment required | Forced-air laboratory oven with temperature and humidity control |
| Post-bake window | Capture must occur within hours to a few days of baking |
| Repeatability | Each baking cycle introduces minor additional stress; minimize bake-store-bake cycles |
| Who performs it | Certified media preservation laboratories only |
The practical implication for schools: baking and digitization happen as a single coordinated operation at the vendor’s facility. A reputable lab bakes immediately before capture—not weeks in advance and certainly not as a separate step shipped back to your school in between.
Understanding this sequencing helps you evaluate vendor proposals critically. Any workflow that treats baking and capture as independent, separable phases should raise questions.
Phase 5 — Vendor Selection and Handoff
Choosing a qualified preservation vendor protects irreplaceable footage and keeps the project within budget.
Vendor Qualification Questions
Before signing any agreement, ask prospective labs:
- What hands-on experience do you have with sticky-shed syndrome on [list your specific formats]? Ask for a format list they routinely handle.
- What equipment do you use for baking, and how do you verify temperature and humidity control throughout the cycle?
- How do you handle tapes that shed heavily mid-capture? A competent lab stops, cleans heads, and re-bakes as needed rather than continuing a degraded capture pass.
- What are your quality-control checkpoints? Look for frame-accurate logging and QC playback review, not just file delivery.
- What output formats do you deliver? For archival purposes, ask for uncompressed or lossless-compressed files (FFV1 in MKV container is a common archival standard) alongside any access copies in MP4.
- Do you return original tapes after capture? Reputable labs always return originals.
- Are you insured for media in transit and in your facility?
- What triggers additional charges beyond your base per-tape rate?
Shipping and Chain of Custody
When preparing tapes for shipment to a vendor:
- Photograph all tapes, labels, and boxes before packing
- Use individual padded anti-static sleeves or bags for each cassette
- Pack in rigid corrugated boxes with foam padding; never stack cassettes loose
- Use a trackable, insured carrier with signature-required delivery
- Include a printed copy of your inventory spreadsheet inside the shipment
- Establish a written chain-of-custody acknowledgment with the vendor before anything ships
For collections containing sole copies of championship seasons or other irreplaceable content, consider hand-delivery or a specialized media transport courier rather than standard shipping.
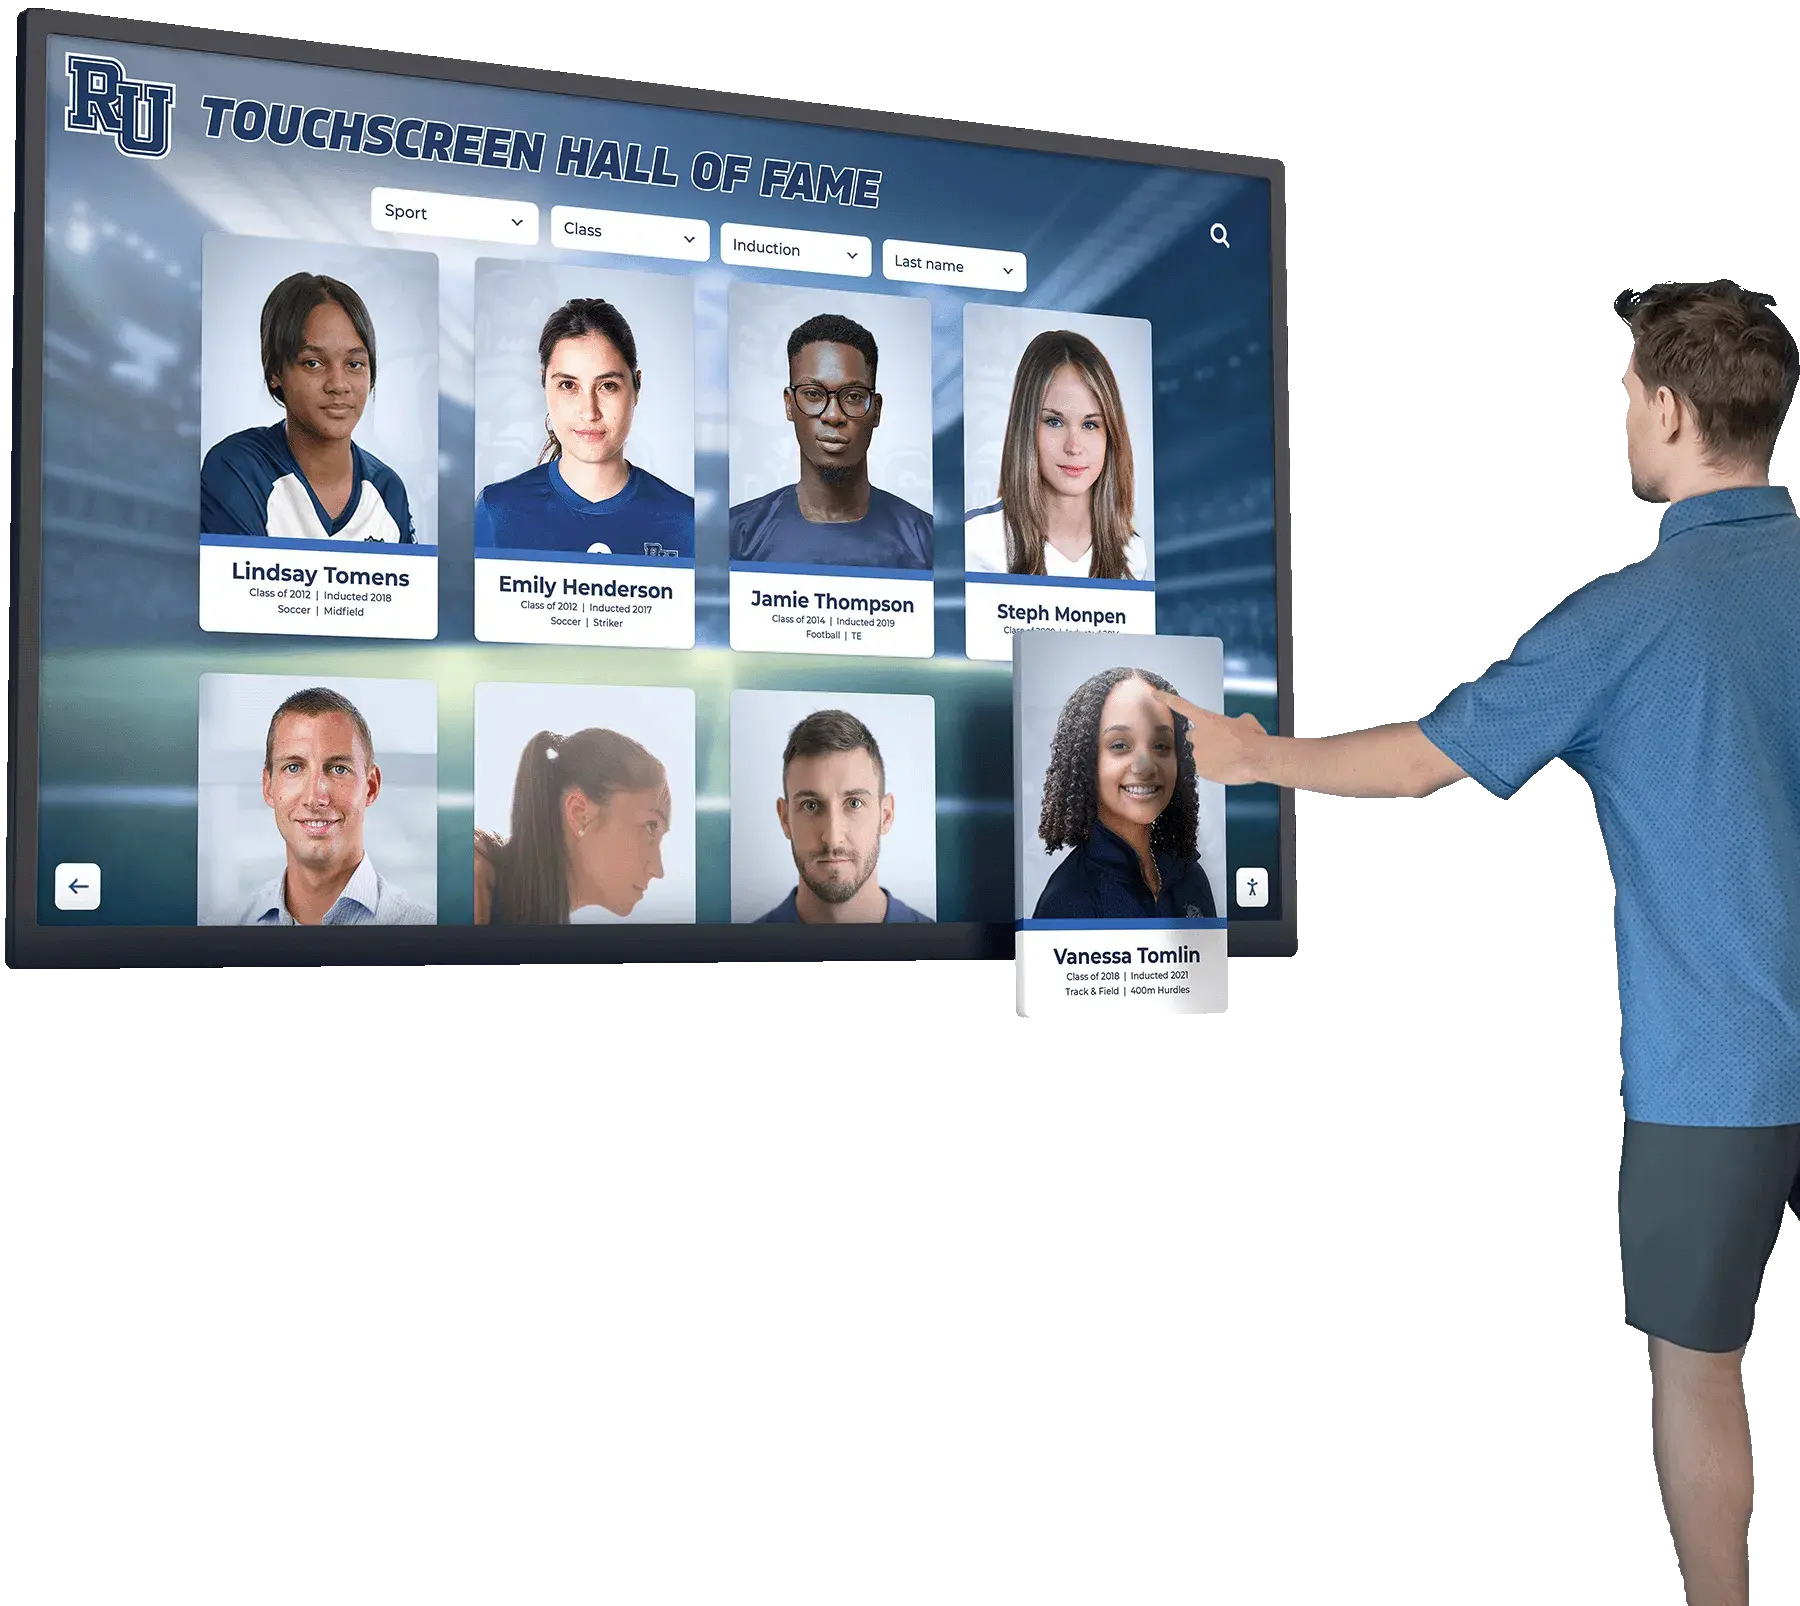
Digitized footage and athlete images recovered from game tapes can be integrated into touchscreen recognition systems, making decades of athletic history accessible to the whole school community
Phase 6 — Post-Digitization: Connecting Recovered Footage to Recognition Programs
Tape recovery is the beginning of the athletic archive project, not the end. Once files exist in a stable digital format, your school gains new options for honoring the athletes and moments those recordings document.
From Raw Files to Usable Athletic Records
After digitization, the typical next steps are:
- Organize files by season, sport, and game — rename files systematically using your inventory spreadsheet as the reference
- Extract highlight clips — identify moments worth displaying or sharing: championship moments, senior nights, record-setting performances
- Pull still frames — capture athlete action images or portraits from footage where no photograph exists in existing records
- Cross-reference with existing databases — match recovered footage to roster records, award histories, and hall of fame nominations
- Back up in at least three locations — on-site drive, cloud backup service, and a second physical copy stored offsite
Integration with Athletic Recognition Displays
Recovered footage and still frames from digitized tapes give recognition programs richer assets for celebrating program history. Schools with digital recognition infrastructure can use recovered media to:
- Populate athlete profiles for eras when yearbook-quality photos are scarce or nonexistent
- Create video loops for trophy corridors and lobby kiosks
- Document complete team histories with actual game footage rather than statistics alone
- Support alumni engagement with verifiable visual records from participants’ playing years
For schools planning or updating their recognition infrastructure, thinking through display options before digitization is complete means both projects can run in parallel. This complete guide to awards touchscreen displays and a comparison of web-based versus native touchscreen software are practical starting points for evaluating display technology against your archive’s content.

Athlete images recovered from deteriorating game tapes can be formatted for touchscreen recognition systems, connecting current students and visiting alumni to program history spanning multiple generations
Frequently Asked Questions
How do I know if my tapes have sticky-shed syndrome without playing them?
The most reliable non-playback indicators are tactile and visual. A sticky feel along the tape edge exposed at the cassette opening, brown or reddish powder visible on internal reels through the cassette window, and a chemical or waxy surface residue are all strong indicators. Any of these warrants quarantine. None require playing the tape.
Can we bake tapes in a school kitchen oven or food dehydrator?
No. Consumer ovens and dehydrators lack the temperature precision and humidity control required for safe tape baking. A modest temperature overshoot can warp the tape base irreversibly, destroying the recording permanently. This step must be performed by a qualified laboratory with appropriate equipment.
What does professional sticky-shed syndrome recovery typically cost?
Pricing varies by vendor, format, and tape condition. Per-tape charges for baking and capture from common formats like VHS or U-matic typically range from around $20 to $80 per tape; heavily damaged formats and open-reel video can run higher. Most labs offer volume discounts for larger collections. Obtain itemized quotes from at least two vendors before committing.
What happens to the original tapes after digitization?
Reputable labs return all original tapes after capture. Even after digitization, storing originals in a stable environment—roughly 60–70°F, 30–40% relative humidity, away from magnetic fields and direct light—remains advisable. The originals are the highest-quality source material and retain value if capture technology or formats improve.
How long do digitized files last compared to tape?
Digital files stored on well-maintained drives, with regular backups and periodic format migration, substantially outlast degrading magnetic tape in most school environments. The critical factor is active management: drives that sit untouched for a decade can fail silently. A managed backup strategy with regular verification checks is essential.
Our collection is only a few dozen tapes. Is this workflow still necessary?
Yes—the workflow scales down easily to smaller collections. The triage and inspection steps are identical regardless of volume, and the risk of permanently losing content from a small collection is just as real as from a large one. A small collection often means a shorter vendor conversation and lower overall project cost.
Once footage is digitized, how do we make it available to alumni?
Options include managed cloud sharing platforms, integration with an existing alumni portal, or in-person interactive displays at the school. For programs planning broader recognition initiatives, guides on structuring alumni recognition programs and integrating all-state and plaque-based digital displays can help frame what “accessible” means for your specific community.
Workflow Summary
| Phase | Key Actions | Who Leads |
|---|---|---|
| 1 — Inventory | Catalog all tapes: format, label, condition, priority | AV coordinator or archivist |
| 2 — Format Triage | Sort by risk level; flag irreplaceable sole copies | Athletic director + archivist |
| 3 — Symptom ID | Visual/tactile inspection; quarantine affected tapes | AV tech with gloves |
| 4 — Stabilization Plan | Research vendors; understand bake-then-capture sequencing | IT/AV + administration |
| 5 — Vendor Handoff | Qualify vendors; document chain of custody; ship safely | Administration |
| 6 — Post-Digitization | Organize files; extract highlights; integrate with displays | AV + communications team |
Schools without dedicated archival staff may find it helpful to involve a district-level IT coordinator or consult with a regional AMIA member during phases 3 through 5. Some state archives and historical societies also offer free or low-cost consultation for institutional media preservation projects.
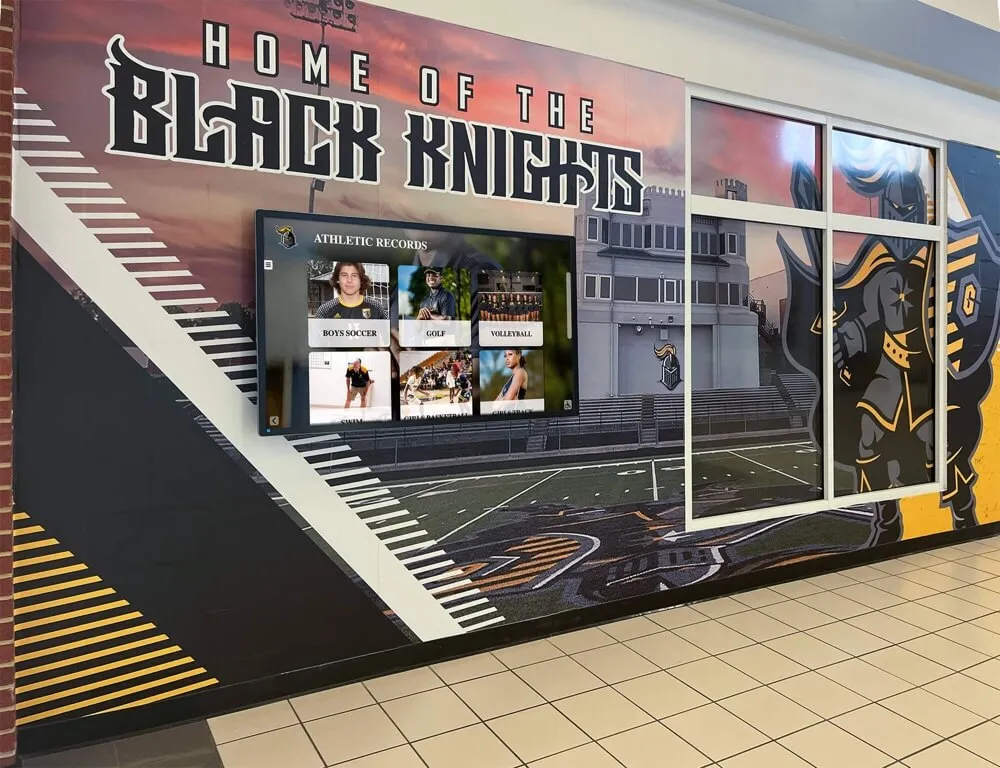
Athletic records preserved through tape recovery and digitization can anchor long-term recognition installations that connect current students with the school's competitive legacy
Connecting Tape Recovery to Broader Recognition Programs
Sticky-shed syndrome recovery projects frequently surface content that has been effectively invisible for years—footage of athletes who are now alumni, coaches, or community members with no other visual record of their playing careers. That context gives tape recovery significance beyond media preservation alone.
Schools building out digital recognition infrastructure report that recovered footage and photography substantially enriches historical archives. Whether your school uses hallway displays, interactive kiosks, or a digital hall of fame installation, content recovered from old game tapes can populate athlete profiles, team history timelines, and reunion materials for decades to come.
For schools thinking about where recovered content ultimately lives, a grounded look at digital signage planning for school environments can help your team frame the infrastructure side before digitization is complete. Recognition systems with strong user access controls and administrative audit workflows ensure that recovered footage and athlete images are managed responsibly as the archive grows over time. And for programs that recognize student leaders alongside athletes, understanding how schools honor student government leadership across generations shows how a single recognition platform can serve multiple programs from a unified content base.

Recovered athletic archives reach the widest audience when integrated into recognition platforms accessible across devices, giving alumni and community members ongoing access to the school's athletic history wherever they are
Your First Two Weeks: A Practical Starting Point
If your school has not yet begun an athletic tape inventory, here is a realistic entry point that does not require budget approval or vendor selection upfront:
Week 1
- Locate all known tape storage areas: equipment rooms, media closets, coach’s offices, district warehouses
- Gather nitrile gloves, a flashlight, a notepad, and printed inventory sheets before touching any tapes
- Conduct a rough count by format without opening cassettes unnecessarily
- Flag any tapes with obvious external damage—warping, mold, visible damage—for immediate quarantine
Week 2
- Conduct visual and tactile inspection on remaining tapes using the Phase 3 checklist
- Sort tapes into three groups: Clean (no symptoms), Suspect (one or more indicators present), Damaged (obvious failure visible)
- Contact two or three preservation vendors for a preliminary consultation call and rough quote
- Brief your athletic director and administration on what the project entails and what is at stake if deterioration continues unchecked
Most schools require several weeks to several months to complete this workflow fully, depending on collection size and vendor scheduling. Starting the inventory today protects options that narrow as each year passes.
Ready to turn recovered footage into a lasting recognition program?
Rocket Alumni Solutions works with schools to transform digitized athletic archives into interactive recognition displays that celebrate program history and engage students, alumni, and families year-round. See how a custom display could work for your school.
If your school already has a digitization project underway or completed, the next question is how to make recovered content meaningful and accessible long-term. Whether that means a trophy-corridor kiosk, an alumni portal, or a campus-wide interactive system, the right recognition platform is built around what your archive actually contains—not a generic template. That conversation starts with seeing what is possible.
Explore recognition display options for your athletic archive































