
When an athletic director hands you a box of team photos from 1987, championship certificates from the early 1990s, and game programs spanning four decades, the first practical question is always the same: what settings do you actually use on the scanner?
Choosing the wrong resolution costs you twice. Scan too low and you lose the detail needed for a lobby display or donor wall—faces in group photos become indistinct, jersey numbers blur, and text on certificates becomes unreadable when enlarged. Scan too high and you create files so large they slow down your content management system and strain the storage budget before you have processed half the collection.
These athletic archive scanning resolution guidelines give school administrators, athletic directors, booster leaders, and archivists a direct, practical framework—organized by material type—for producing scans that serve recognition displays, digital yearbooks, searchable online archives, and donor stewardship programs without requiring a second pass through every box.

A well-scanned athletic archive becomes a searchable digital collection—portrait cards, championship records, and program history available on lobby displays and alumni platforms
Quick Reference: Recommended Scanning Settings by Material Type
Before the detailed guidance below, here is the direct answer for teams already mid-project. These settings are appropriate for athletic archives destined for digital display systems, searchable online recognition platforms, and long-term institutional storage.
| Material Type | Minimum Useful DPI | Recommended Archival DPI | Color Mode | File Format |
|---|---|---|---|---|
| Individual athlete portraits (4×6 to 8×10) | 300 | 600 | 24-bit color | TIFF or JPEG (quality 90+) |
| Team photos (8×10 or larger) | 300 | 400–600 | 24-bit color | TIFF or JPEG (quality 90+) |
| Action shots on glossy paper | 400 | 600 | 24-bit color | TIFF |
| Game programs and schedules | 300 | 400 | 24-bit color or grayscale | PDF/A or TIFF |
| Championship certificates and awards | 300 | 400 | 24-bit color | TIFF or PDF/A |
| Yearbook pages (full spread) | 300 | 400 | 24-bit color | TIFF |
| Newspaper clippings | 300 | 400 | Grayscale or color | TIFF or PDF/A |
| 35mm film negatives | 1,200 | 2,400–4,000 | 24-bit color | TIFF |
| 35mm slides | 1,200 | 2,400 | 24-bit color | TIFF |
| Polaroid and instant prints | 400 | 600 | 24-bit color | TIFF |
Why Scanning Resolution Determines Your Recognition Workflow Options
“DPI” (dots per inch) or “PPI” (pixels per inch) describes how much detail the scanner captures per linear inch of the original. A 4×6 photograph scanned at 300 DPI produces an image of 1,200×1,800 pixels. The same photo scanned at 600 DPI produces 2,400×3,600 pixels—four times more data, four times larger file.
The resolution question is not purely technical; it determines what you can do with the image downstream.
Recognition displays and digital yearbooks typically render profile images at 800–1,600 pixels on the long edge. A team photo scanned at 200 DPI from an 8×10 original produces only 1,600×2,000 pixels—barely adequate at native size, and noticeably degraded if the display crops or zooms. The same photo at 400 DPI gives you 3,200×4,000 pixels—room to crop, resize, and present at high quality on any screen in your building.
Print reproduction for athletic programs, reunion publications, or donor stewardship brochures requires higher input resolution than screen display. If a scanned photo will appear in a printed piece, 600 DPI at original size is the practical minimum for acceptable print quality.
Search indexing and optical character recognition (OCR) on text-heavy documents—game programs, schedules, certificate text—performs reliably at 300 DPI and improves at 400 DPI. Schools building searchable academic recognition archives from printed records benefit from the higher setting across all document types.
Step-by-Step Scanning Workflow for Athletic Archives
This workflow applies whether you are processing a single box or a decades-long collection. Following it in order prevents the most common problems: skipping assessment creates format inconsistencies; rushing past naming conventions makes files unsearchable; skipping quality checks forces rescans.
Sort and assess the collection before scanning anything. Separate materials into categories matching the table above. Identify fragile items that need a flatbed scanner rather than a document feeder. Flag anything requiring conservation attention—brittle paper, water damage, adhesive residue—before it touches a scanner.
Set up scanner profiles for each material category. Create and save a named preset for each type—“photos-600dpi-tiff,” “programs-400dpi-pdfa,” “certificates-400dpi-tiff.” Using saved presets eliminates setting drift across sessions that span multiple days or involve multiple volunteers.
Calibrate with a test scan. Before processing a batch, scan a representative sample at your target setting and verify that text is readable, photo detail is preserved, and colors look accurate. Adjust brightness, contrast, and color balance before scanning the full batch—not after, when recalibrating means rescanning everything.
Use a consistent file naming convention from the start. A structure like
[sport]-[year]-[material-type]-[sequence](for example,football-1994-team-photo-001.tif) keeps collections searchable as they grow. Avoid spaces and special characters in file names. This structure also makes bulk ingestion into a recognition platform straightforward.Scan to a lossless format first, then produce derivatives. Scan all originals to TIFF at archival resolution. TIFF is uncompressed and lossless—it serves as your permanent master copy. From each TIFF, produce JPEG derivatives at web-appropriate sizes (typically 1,200–2,000 pixels on the long edge, quality 85–90) for upload to digital display platforms, yearbook systems, and online archives.
Log each batch as you complete it. Record what was scanned, the date, the settings used, and the file location. A spreadsheet works. This log becomes essential when a recognition platform asks for metadata to power search and filtering.
Verify files before storage. Open a sample from each batch to confirm no scanning errors, color shifts, or truncated files. Verify that file sizes fall within the expected range for the format and resolution.
Back up to at least two separate locations before retiring the originals. An on-site network drive and a cloud backup or off-site drive provide the redundancy appropriate for irreplaceable institutional records.
Material-Specific Scanning Guidance
Team Photos and Individual Athlete Portraits
Team photos are the most frequently requested archive material for recognition projects—hall-of-fame profiles, reunion displays, donor walls, and digital yearbooks all draw on them. The resolution requirements depend on the original size and how the image will be presented.
Wallet-to-5×7 prints: Scan at 600 DPI. A 3.5×5 wallet photo at 600 DPI yields 2,100×3,000 pixels—sufficient for a recognition display profile but tight for print reproduction. If the original is the only surviving copy of a significant athlete portrait, scan at 1,200 DPI and store the high-resolution master separately.
Standard 4×6 prints: Scan at 600 DPI as the default. At 300 DPI, a 4×6 produces 1,200×1,800 pixels—adequate for web thumbnails but insufficient for hall-of-fame profile display at full width.
8×10 and larger prints: 400 DPI is the practical working resolution for most projects. At 400 DPI an 8×10 produces 3,200×4,000 pixels—sufficient for large-format digital displays and acceptable for most print reproduction. For archival masters of particularly significant images (state championship team photos, hall-of-fame inductee portraits), use 600 DPI.
Glossy action shots: Glossy paper captures finer grain than matte, so the scanner can extract more detail at higher DPI. Use 600 DPI for action shots going to a display where individual athletes must be identifiable.
Game Programs and Athletic Publications
Game programs are valuable archival documents—they capture rosters, schedules, sponsor information, and historical context that photographs alone cannot. They also contain searchable text that powers full-text search in digital archives and recognition systems.
Newsprint programs: Scan at 300 DPI for readability and basic archival quality. Newsprint often shows halftone dot patterns at higher DPI that can degrade image quality through moiré interference. If your scanner has a descreen or halftone filter, apply it when scanning newsprint.
Coated or glossy programs: Scan at 400 DPI. The higher print quality of coated paper supports higher DPI without moiré problems, and the additional detail is useful when programs include team photos or sponsor imagery.
Color mode: Scan programs in 24-bit color even when the original is largely black and white. Color scans preserve paper aging artifacts—yellowing, foxing, staining—that are part of the historical record. Grayscale is acceptable for programs with no color elements, but storage savings are modest and color scans are more flexible for later use.
Championship Certificates, Awards, and Recognition Documents
Certificates anchor the relationship between athletic history and searchable recognition. When a school uploads nomination materials or populates a comprehensive digital hall-of-fame platform, certificate scans serve as the source documents confirming the achievement behind each profile.
Standard certificate sizes (8.5×11 or 11×14): Scan at 400 DPI. This produces a scan with enough resolution to read typed or printed text clearly and reproduce any embossed or foil-stamped design elements.
Oversized certificates or banners: If the document does not fit on your flatbed, use a wide-format scanner, or scan in sections and stitch the images together. Reduce DPI to 300 if stitch artifacts become a problem with larger panels.
Special finishes: Foil stamping, embossing, and textured paper may scan with visible glare or texture artifacts. Adjust your scanner light angle where possible, or make two passes at slightly different settings and select the cleaner result.
Yearbook Pages
Yearbook pages combine all the challenges of other material types: halftone photos, text columns, designed layouts, and small individual portraits at high density. For schools building digital yearbooks that incorporate historical editions, scanning quality directly determines whether historical pages can be navigated and searched meaningfully.
Standard yearbook pages (8.5×11 to 9×12): Scan at 400 DPI. At this resolution, standard portrait-grid pages produce individual face crops sufficient for identification, text columns are fully readable, and files remain manageable at roughly 25–50 MB per TIFF page.
Oversized format yearbooks: Many pre-1990 yearbooks used larger formats. Scan at 300 DPI if the larger size already provides sufficient output pixels—a 12×18 page at 300 DPI produces 3,600×5,400 pixels. Increase to 400 DPI if you need usable individual portrait crops.
Bound yearbooks: Bound volumes create a scanning challenge at the gutter where pages meet the spine. A book scanner with adjustable platen pressure or a V-cradle scanner reduces the distortion and shadow that flatbed scanning creates near the binding. If neither is available, scan individual pages after careful handling, and flag any pages where gutter shadow affects readability for a second pass.
Schools planning to make historical yearbooks searchable—a foundation for any strong academic recognition program—should flag yearbook OCR as a separate processing step after scanning is complete.
Newspaper Clippings
Press clippings document championship moments, All-State selections, and program milestones that yearbooks may not fully capture. They also tend to be the most fragile items in athletic archives.
Standard newsprint clippings: 300 DPI with a descreen filter where available. Moiré patterns are more pronounced on newsprint than any other material. For severely yellowed or brittle clippings, handle with cotton gloves and use a flatbed scanner with a soft foam backing that will not crack the paper.
Magazine or glossy press coverage: 400 DPI without descreen.
Film Negatives and Slides
Many school athletic archives from the 1960s through the early 1990s include 35mm negatives or slides taken by school photographers or parents. These originals often contain higher-resolution detail than any print made from them and represent the highest-quality source in the collection.
Film scanning requires a dedicated film scanner or a flatbed scanner with a transparency adapter. Standard document scanner glass does not work for film.
35mm color negatives: Scan at 2,400 DPI as the working standard; 4,000 DPI for particularly significant negatives. A 35mm frame is approximately 1×1.4 inches, so 2,400 DPI produces an image of roughly 2,400×3,360 pixels—equivalent to an approximately 8-megapixel digital photograph.
35mm slides: Same settings as negatives. Slides typically have finer grain than negatives and reward scanning at 2,400 DPI or higher.
Medium-format negatives (120 film): 1,200 DPI is generally sufficient given the larger frame size.
File Format Selection
Choosing the right output format at scan time affects both storage costs and downstream usability.
| Format | Compression | Best Use | Cautions |
|---|---|---|---|
| TIFF | Lossless (uncompressed or LZW) | Archival master copies for all material types | Large files (5–80 MB each); requires a derivative export workflow for uploads |
| JPEG | Lossy | Web delivery, recognition platforms, digital yearbook uploads | Each re-save introduces additional quality loss; use quality setting 85–95 |
| PDF/A | Varies | Text-heavy documents (programs, certificates) requiring long-term archival with embedded text | Not ideal as the sole format for image-heavy material |
| PNG | Lossless | Web delivery requiring transparency; intermediate editing files | Larger than JPEG for photographs; no lossy artifacts |
| HEIC/HEIF | Lossy | Not recommended for archival scanning | Limited compatibility with older software and display platforms |
The practical workflow for athletic archives: scan to TIFF as the master, export JPEG derivatives for publishing. Keep both. TIFF files are the permanent record; JPEG files are what you upload to recognition systems, digital yearbook platforms, and online displays.
For game programs and certificates where text searchability matters, export a PDF/A version with embedded OCR text alongside the TIFF master.
Color Depth and Related Settings
Color depth (bit depth) determines how many distinct values the scanner records per pixel channel.
- 24-bit color (8 bits per channel, RGB): The standard for all photographic and designed materials. Use this as the default for any material with color or visual detail.
- 48-bit color: Captures finer gradients and is useful for high-end film scanning. Files are twice as large; worthwhile for valuable negatives and slides, not necessary for everyday print materials.
- 8-bit grayscale: Appropriate for purely black-and-white text documents where color accuracy adds no value. Not recommended for photographic materials or any document where yellowing, aging, or color are part of the historical record.
JPEG quality settings: When scanning to JPEG directly, use quality settings of 90 or higher. Settings below 85 introduce visible compression artifacts that degrade fine detail in photographs—precisely the details most important for recognition displays and donor materials.
Resolution Choices and Their Trade-Offs
| DPI Setting | Typical File Size (4×6 photo, TIFF) | Suitable For | Not Suitable For |
|---|---|---|---|
| 150 DPI | ~2 MB | Email thumbnails only | Displays, print, archival storage |
| 200 DPI | ~3.5 MB | Small web previews | Most recognition display contexts |
| 300 DPI | ~7.5 MB | Text documents and programs (display use) | Photo enlargement, print reproduction at original size |
| 400 DPI | ~13 MB | Most athletic archive photos (display and archival) | Film negatives (too low) |
| 600 DPI | ~29 MB | High-quality photo archiving, all team portraits | Routine program scanning (excess file size) |
| 1,200 DPI | ~115 MB | Film negatives and slides | Paper originals (diminishing returns) |
| 2,400 DPI | ~460 MB | Premium film archiving | All paper materials |
Connecting Scanned Archives to Digital Recognition Systems
Scanning produces raw files. The value of those files for your school community depends on what happens next: metadata tagging, upload to a searchable platform, and integration with the recognition workflows your staff and stakeholders actually use.
Metadata Tagging
Before uploading any scanned file to a recognition platform or digital yearbook system, attach basic metadata at the file level:
- Athlete name(s) pictured
- Sport and year
- Event or season context
- Original format (photograph, program, certificate)
- Scan date and settings used
Most platforms allow metadata import via spreadsheet, making it efficient to tag a batch of scans at once rather than file by file after upload.
Integration with Display Platforms
Schools using interactive hall-of-fame and recognition tools for lobby kiosks, touchscreen displays, and online alumni portals benefit directly from a well-organized scanned archive. A team photo at 600 DPI translates to a display-ready image without re-processing. A certificate scanned at 400 DPI can serve as verifiable documentation alongside an inductee profile. A game program page can surface in search results when a visitor queries a specific athlete name or season.
Schools already operating touchscreen hall-of-fame systems report that the most common friction in updating or expanding displays is not the software—it is having scan files at the wrong resolution or in formats the platform cannot use. Building the right scanning standards now prevents that friction for every future recognition project.
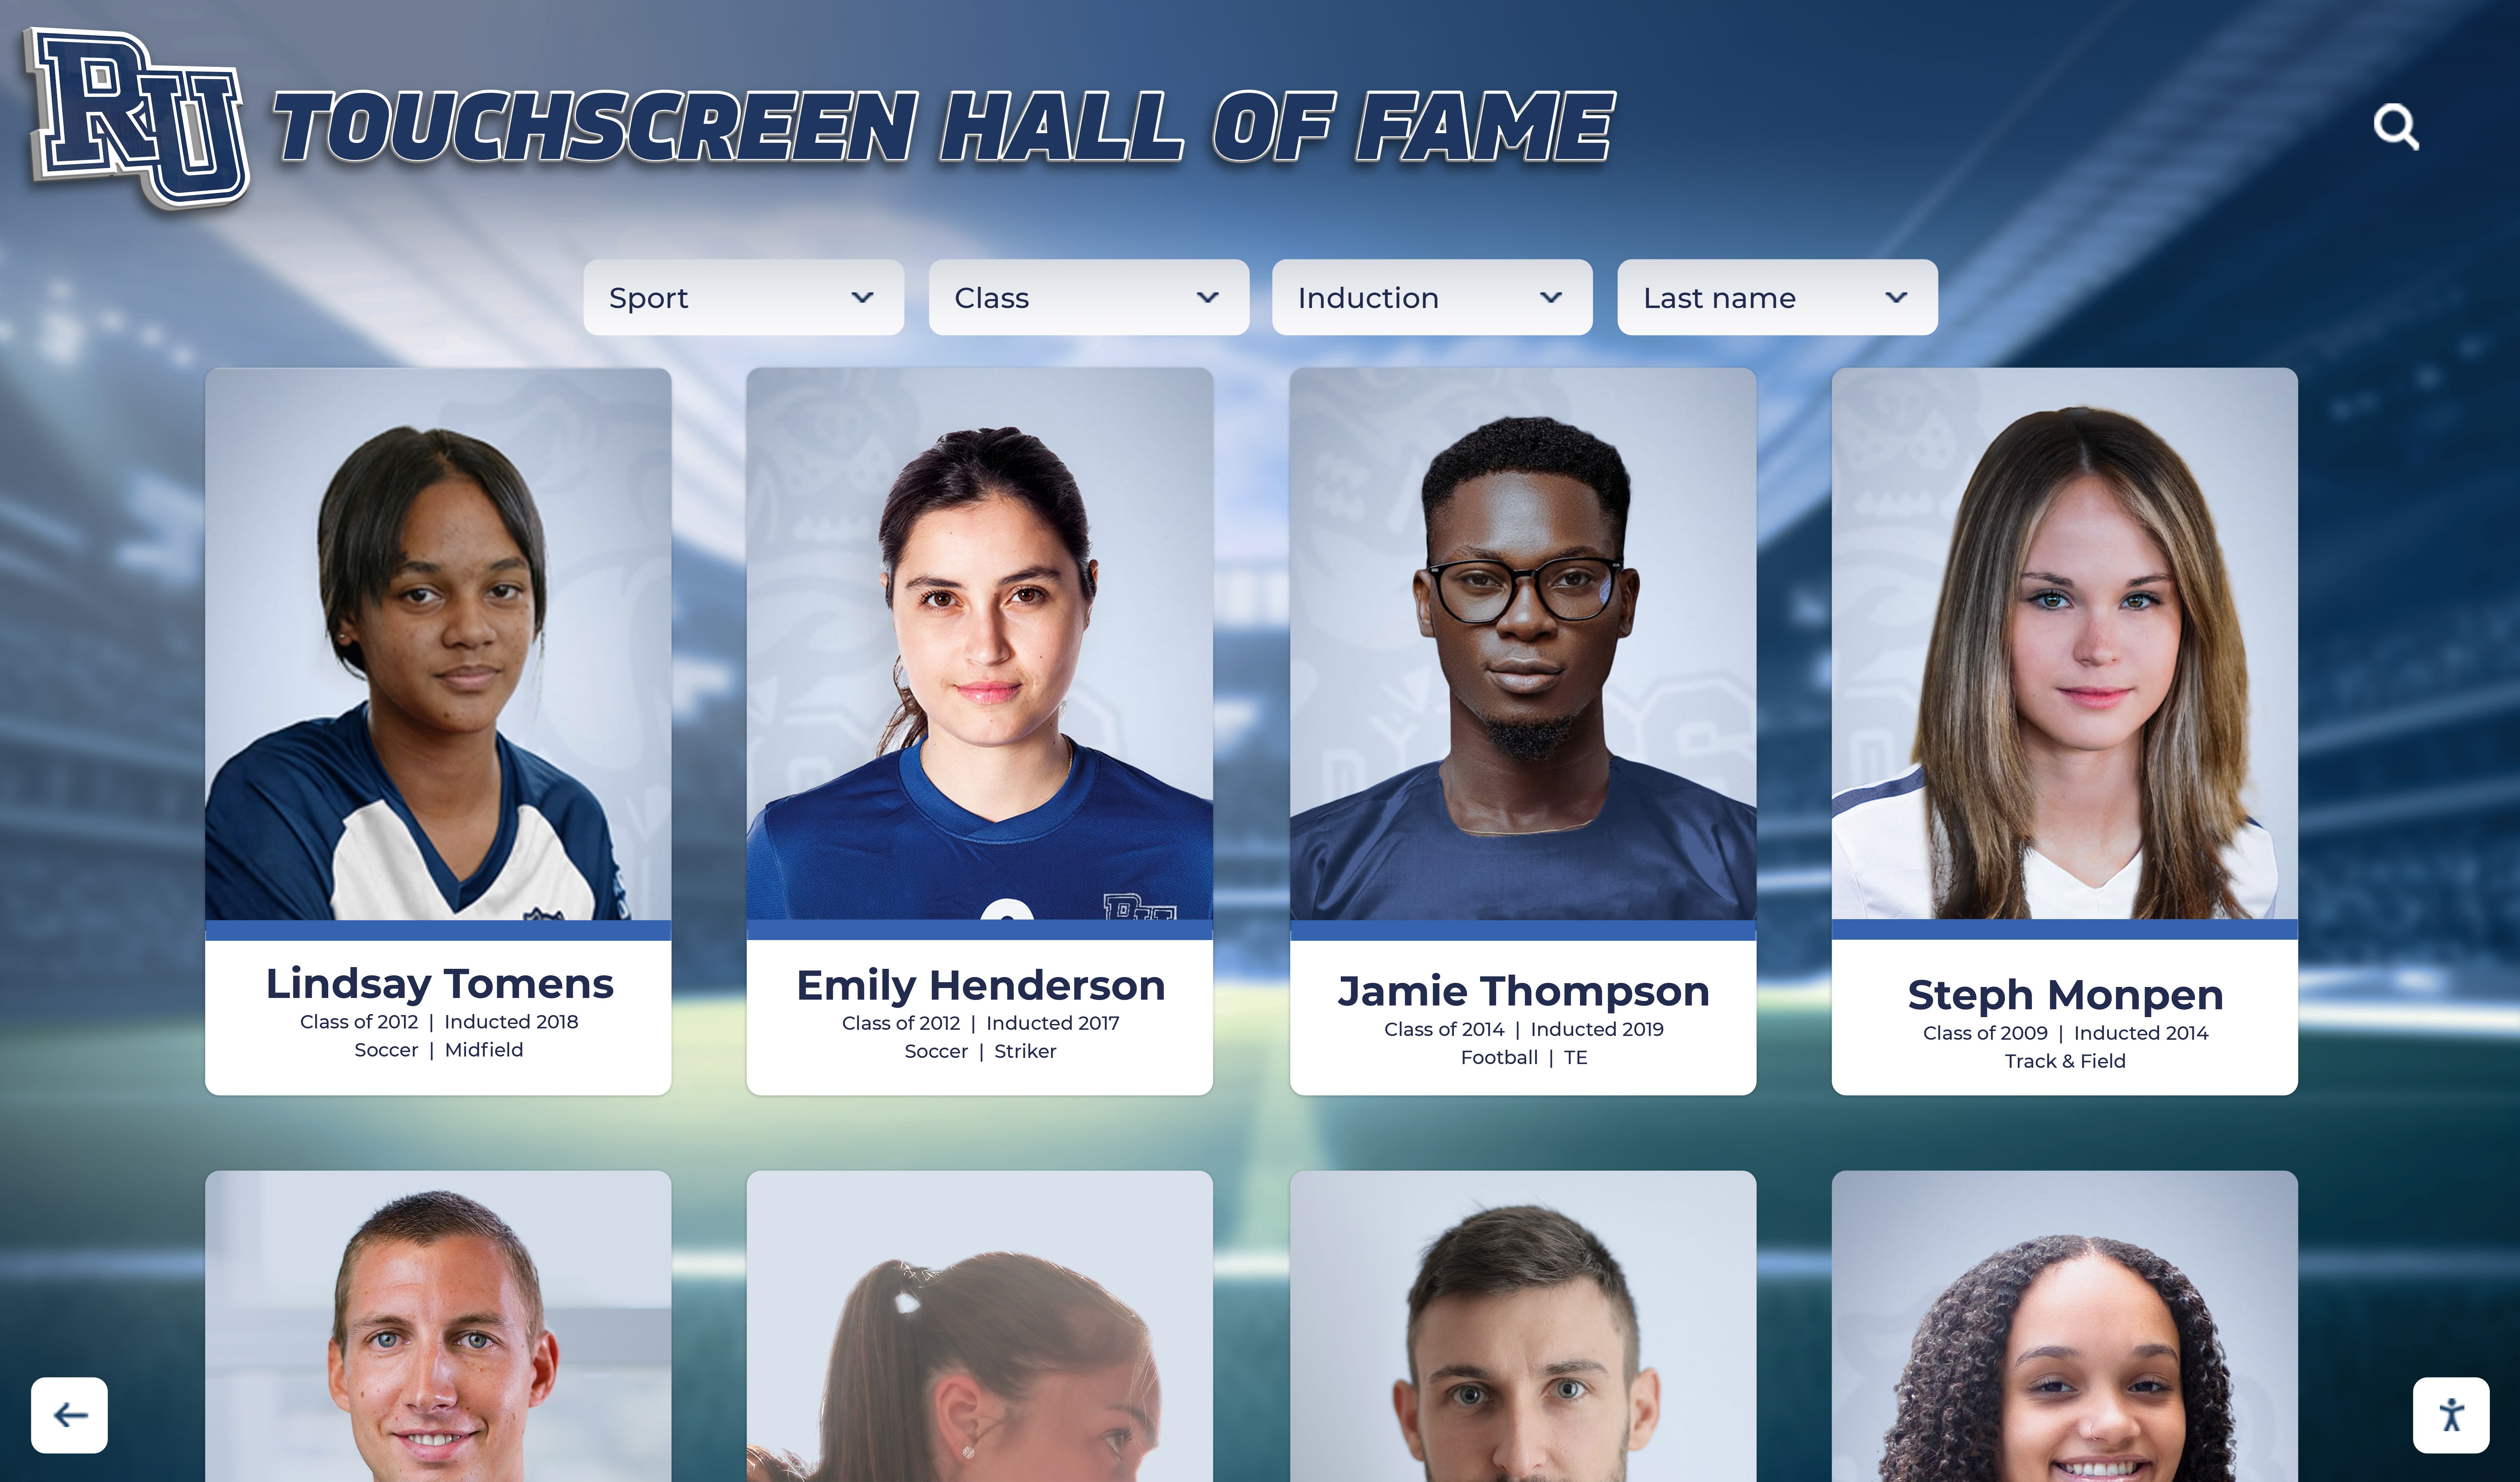
Properly scanned athletic archives feed directly into interactive hall-of-fame displays—no re-processing required when source files meet resolution standards
Donor Stewardship and Reunion Programs
Scanned athletic archives support more than active recognition displays. Alumni relations teams preparing 50th reunion materials and retrospective exhibits, development staff assembling donor stewardship packages, and booster leaders building capital campaign materials all draw on the same image library. A single archive scanned correctly at the outset serves every downstream project without additional processing costs.
Schools building out complete digital hall-of-fame recognition programs find that a well-documented, high-resolution archive is the asset that unlocks the most recognition options—from simple slideshow displays to fully searchable interactive kiosks with individual athlete profiles.
See How a Scanned Archive Powers a Live Recognition Platform
Building the archive is the first step. Connecting it to a recognition platform that your community actually uses—in the building, on the website, at alumni events—is where the archive becomes a living part of your athletic program’s story.
Schedule a demo with Rocket Alumni Solutions to see how properly scanned athletic records feed into interactive displays, digital yearbooks, and searchable online recognition systems.
Frequently Asked Questions
Q: Can we use a phone camera instead of a scanner for team photos?
A modern smartphone camera can capture sufficient resolution for many display uses—a 12-megapixel photo produces roughly 4,000×3,000 pixels, comparable to a 5×7 print scanned at 600 DPI. However, smartphone capture introduces uneven lighting, lens distortion, and alignment inconsistencies that are difficult to correct in bulk. For documents and certificates, a flatbed scanner produces consistently superior results. For individual framed photos or oversized prints that cannot fit a flatbed, a smartphone document-scanning app with consistent lighting is a practical alternative for non-archival copies.
Q: What DPI should we use for yearbooks if we want to OCR the text?
For reliable OCR on standard yearbook body text (10–12pt), scan at 400 DPI. OCR accuracy on text below 10pt improves at 600 DPI. Portrait captions in classic grid layouts—typically 7–9pt type—benefit from 600 DPI if you intend to search by athlete name in those captions.
Q: We have scans already completed at 200 DPI. Do we need to rescan everything?
Not necessarily. Audit what you have against intended use. A 200 DPI scan of an 8×10 team photo produces 1,600×2,000 pixels—sufficient for digital display thumbnails and smaller profile images but not for lobby-scale display or print. Prioritize rescanning the highest-value materials: hall-of-fame inductee portraits, state championship team photos, and certificates documenting significant achievements. Retain 200 DPI scans for lower-priority items until resources allow improvement.
Q: Should we scan the front and back of photographs?
Yes, for any photograph that has handwritten or printed annotations on the back. Athlete names, dates, team identifications, and event notes written on the back are often the only source of metadata for pre-digital photos and are frequently lost when the physical original deteriorates. Create a file naming convention that links front and back scans, for example football-1988-team-photo-001-front.tif and football-1988-team-photo-001-back.tif.
Q: What should we do with original materials after scanning?
Retain originals wherever possible. Even a high-quality scan cannot fully replace a physical original for archival purposes—future scanning technologies may extract additional information from originals that today’s equipment misses. Store originals in archival-quality acid-free sleeves or folders in a climate-controlled environment. For items in fragile condition, consult your school library or a local archives professional for storage recommendations.
Q: How long will TIFF files remain usable?
TIFF is an open, widely supported format that has been in continuous use since 1986. It is the archival standard recommended by the Library of Congress and most institutional archives. JPEG, PNG, and PDF/A are similarly long-lived. Proprietary formats from specific scanner software should be avoided for archival masters.
Q: What is PDF/A and when should we use it over TIFF?
PDF/A is a version of the PDF format designed for long-term archival. It embeds fonts, color profiles, and metadata within a single self-contained file. PDF/A is preferable for text-rich documents—programs, award citations, letters—where you want to preserve layout, searchable text, and document structure in a single file. TIFF remains preferable for photographic materials where lossless pixel data is the priority. Many well-managed archives maintain both: a TIFF for image fidelity and a PDF/A with OCR for document search.
Q: We want to make our athletic archive searchable online. What does that require beyond scanning?
A searchable online archive requires three things beyond scanned files: structured metadata (athlete name, sport, year, material type) attached to each file or record; a platform that indexes that metadata for search; and upload of the derivative JPEG or PDF files. Schools building this as part of a broader athletic hall-of-fame recognition program typically use a purpose-built recognition platform that handles search and display infrastructure, requiring only that your files and metadata meet the platform’s upload specifications.
Conclusion
The athletic archive scanning resolution guidelines in this guide come down to a straightforward framework: 400–600 DPI for photographic materials, 300–400 DPI for text-heavy documents, 2,400 DPI or higher for film, and TIFF as your archival master format with JPEG derivatives for platform upload. Following these standards on the first pass through a collection means every downstream project—hall-of-fame displays, digital yearbooks, reunion materials, donor stewardship packages—has the image quality it needs without a return trip to the scanner.
The investment in correct scanning settings is small relative to the cost of redoing the work. Plan your DPI and format choices before the first volunteer picks up a scanner, and your school’s athletic history will remain accessible and display-ready for every recognition project your program undertakes over the next several decades.































