Athletic archive reticulation inspection is the pre-scanning assessment process that examines historic school team photo negatives for pre-existing reticulation — a permanent, network-like wrinkling of the gelatin emulsion layer caused by temperature shock or chemical stress during original film processing — and distinguishes that physical emulsion condition from scanner-introduced artifacts before any digitization workflow begins. When team portrait negatives, championship documentation negatives, or decades of school athletic photography were processed under conditions of inconsistent temperature control — a warm developer followed by a cold wash, or vice versa — the gelatin binder that holds the image-forming silver can contract and expand at different rates across its depth, setting a permanent wrinkled or cratered texture into the emulsion. That texture is already in the physical negative. It will appear in every scan of that negative, and it will not be resolved by changing scanner settings, adjusting post-processing, or rescanning. Understanding whether a texture pattern visible on a scan of a team photo negative is pre-existing reticulation or a scanner-introduced artifact is the inspection question this guide answers.
This guide gives school athletic directors, recognition program owners, IT staff, librarians, and archive volunteers a practical reticulation inspection workflow for historic team photo negatives: a clear explanation of what reticulation is and how it forms, a numbered inspection procedure for identifying it before scanning, a decision table that separates reticulation from scanner artifacts and other emulsion conditions, documentation steps that create a condition record for each affected negative, and guidance on when to consult a photo conservator. Deliberately creating reticulation, rewetting negatives to alter emulsion texture, or attempting to repair a reticulated surface are outside the scope of this guide and outside the scope of appropriate in-house handling for historic school athletic archives.
Reticulation inspection for school team photo negatives addresses a condition distinct from the emulsion-to-surface adhesion and contact gloss marks assessed in ferrotyping inspection, the geometric deformation assessed in film curl inspection, and the optical interference pattern addressed in Newton’s rings assessment during flatbed scanning. Each of these pre-scan and at-scan evaluations targets a specific physical condition with a specific origin; applying the correct assessment to the right condition prevents both misidentification errors and handling mistakes that add damage where none previously existed.

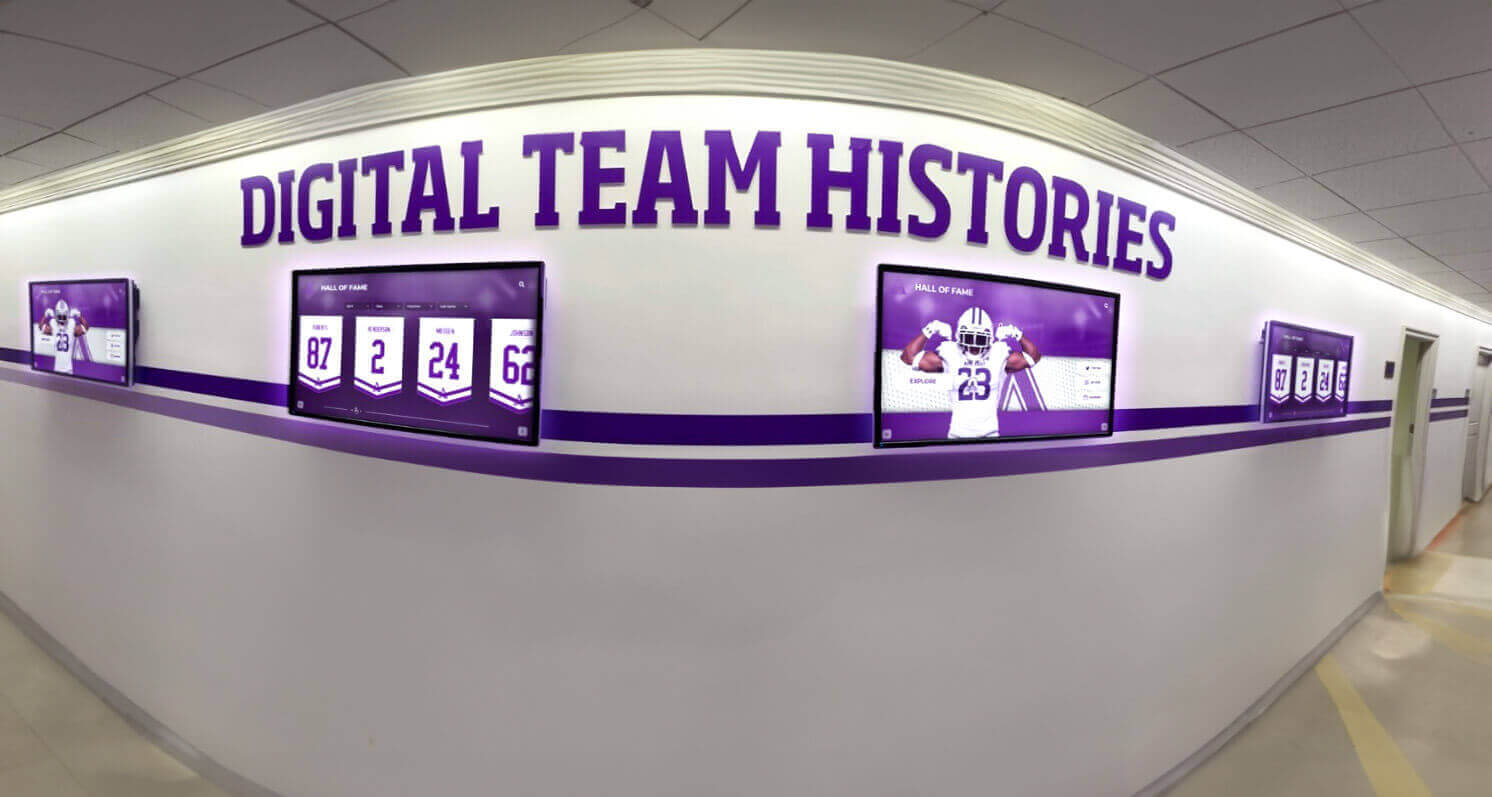
Digital team history displays in school hallways present athletic records to the community throughout the year — correctly identifying reticulation in source negatives before scanning ensures that a pre-existing emulsion condition is documented rather than misattributed to a scanner error after digitization is complete
What Reticulation Is and How It Forms in Gelatin Silver Negatives
Reticulation is a physical condition of the gelatin emulsion in which the emulsion layer develops a permanent, irregular, network-like surface texture — a wrinkling or cratering of the gelatin that sets permanently into the material. The condition is named for the Latin reticulum, meaning “little net,” and describes the pattern the wrinkled gelatin produces: a network of irregular cells, ridges, and depressions across the emulsion surface that, under magnification, resembles a tightly woven mesh or the scale pattern of a reptile. Ilford Photo, in their technical discussion of reticulated film, describes reticulation as the result of the gelatin emulsion being subjected to sudden temperature changes — conditions that cause the emulsion to swell and contract unevenly across its depth, setting the wrinkled pattern permanently into the material.
The physical mechanism begins with the gelatin binder’s response to temperature. Gelatin is hygroscopic and thermally responsive: it swells in warm, wet conditions and contracts as it cools and dries. When a gelatin silver negative passes through processing stages with significant temperature differences between them — a warm developer followed by a cold wash, a cold fixing bath followed by a warm wash, or any other abrupt thermal transition in the processing chain — different layers of the gelatin binder swell and contract at different rates. The outer layer of the emulsion, exposed directly to the temperature-shocked solution, changes dimension faster than the inner layer. The differential stress sets a permanent texture into the gelatin before it dries. Once reticulation has formed, it is a permanent characteristic of that negative. The emulsion has dried in its wrinkled state, and that state does not reverse with time or storage.
For historic school athletic archives, the processing conditions that produced reticulation are historical. The commercial portrait photographers who produced team portraits from the 1940s through the 1980s worked under a wide range of temperature-control conditions. Studio darkrooms with reliable temperature-controlled processing tanks rarely produced reticulation; photographers working in improvised conditions, or darkrooms where processing chemistry cooled significantly between successive batches of negatives, produced conditions consistent with reticulation risk. Large-format and medium-format portrait negatives from team photograph sessions are the formats most commonly encountered in school athletic archives, and they are the formats where pre-existing reticulation most often appears.
How Reticulation Appears on a Negative
Under direct transmitted light — a light table or scanning lamp viewed through the negative — reticulation appears as a uniform or near-uniform fine texture across a portion of the image or the entire frame: a cellular roughness that is visually heavier than the silver grain of the original emulsion and that has a networked quality rather than the random dot distribution of normal photographic grain.
Under raking light (a light source held at a very low angle to the emulsion surface), reticulation appears as a three-dimensional surface topography — ridges, valleys, and depressions that cast directional shadows in the raking illumination. This three-dimensional surface relief is the distinguishing characteristic of physical reticulation. The texture is in the emulsion, not merely on its surface. A scanner artifact such as Newton’s rings or moiré appears in a scan but produces no corresponding three-dimensional surface relief visible under raking light on the physical negative.
Reticulation vs. Related Conditions: Core Distinctions
| Condition | Physical Location | Visible Under Raking Light on Negative? | Appears in Scan? | Origin |
|---|---|---|---|---|
| Reticulation | In the gelatin emulsion layer | Yes — three-dimensional surface texture, cellular pattern | Yes — consistent texture matching the emulsion surface | Processing temperature shock during original development |
| Ferrotyping (contact gloss) | On the emulsion surface | Yes — localized high-gloss areas with different reflectance | Yes — variation in surface reflectance, not cellular texture | Humid storage with emulsion pressed against a smooth surface |
| Silver mirroring | On the emulsion surface | Yes — metallic sheen at image shadow areas | Yes — silver or bronze reflective layer in low-density areas | Oxidation of image silver, associated with atmospheric pollutants and inadequate enclosures |
| Newton’s rings | Not in the negative | No — no surface condition on the physical negative | Yes — circular or elliptical interference rings | Optical interference between negative base and scanner glass, introduced at scanning |
| Moiré | Not in the negative | No | Yes — regular, repeating interference pattern | Digital sampling frequency interacting with emulsion grain, introduced at scanning |
| Dust / scratches | On the negative surface | Yes — discrete particles or linear marks | Yes — spots or linear artifacts | Handling, storage, or scanning environment contamination |
Why Historic School Team Photo Negatives May Show Pre-Existing Reticulation
School athletic photo negative collections from the mid-twentieth century carry a specific processing history context that determines where reticulation risk concentrates.
Commercial portrait session photography (1940s–1970s): Team portrait sessions commissioned from commercial photographers produced medium-format and large-format negatives developed in the photographer’s studio or traveling darkroom. Temperature control in processing chemistry was manual in this era — maintaining consistent developer and wash temperatures required attentive management that not all workflows achieved consistently. A developer that cooled below its target temperature during a long portrait session, followed by a wash at a different temperature, created the conditions for reticulation. Medium-format negatives (120 format, producing 6 × 6 cm or 6 × 7 cm negatives) and large-format sheet negatives (4 × 5 inch) are the formats most commonly found in school athletic portrait archives and the formats where processing-era reticulation appears most often.
School darkroom processing (1960s–1980s): School photography programs and yearbook production programs processed by school staff or student photographers introduced additional processing variability. School darkrooms, particularly in buildings with seasonal heating and cooling variations, did not always maintain consistent chemistry temperatures. Film processed by student photographers during the school year may show reticulation from processing temperature differentials entirely consistent with the period’s darkroom conditions.
Older emulsion chemistry (pre-1960s): Gelatin silver emulsions manufactured before the widespread adoption of chemical hardeners in film processing were more susceptible to reticulation than later emulsions. Earlier manufacturing processes produced emulsions with less-hardened gelatin binders that swelled more readily in warm or wet conditions and were more vulnerable to temperature-shock deformation. Negatives from the 1940s and earlier carry higher inherent reticulation risk from the emulsion chemistry alone.
For school archive staff, these processing history factors predict where reticulation is most likely to appear in a team photo negative collection: in the oldest negatives, in medium-format and large-format portrait session negatives from commercial photographers, and in negatives from school darkroom programs with limited temperature control. Reticulation may be uniform across an entire processing batch — if temperature shock occurred during processing, all negatives developed in that batch are likely to show the condition — or it may appear on isolated negatives from sessions where processing conditions varied within a batch.
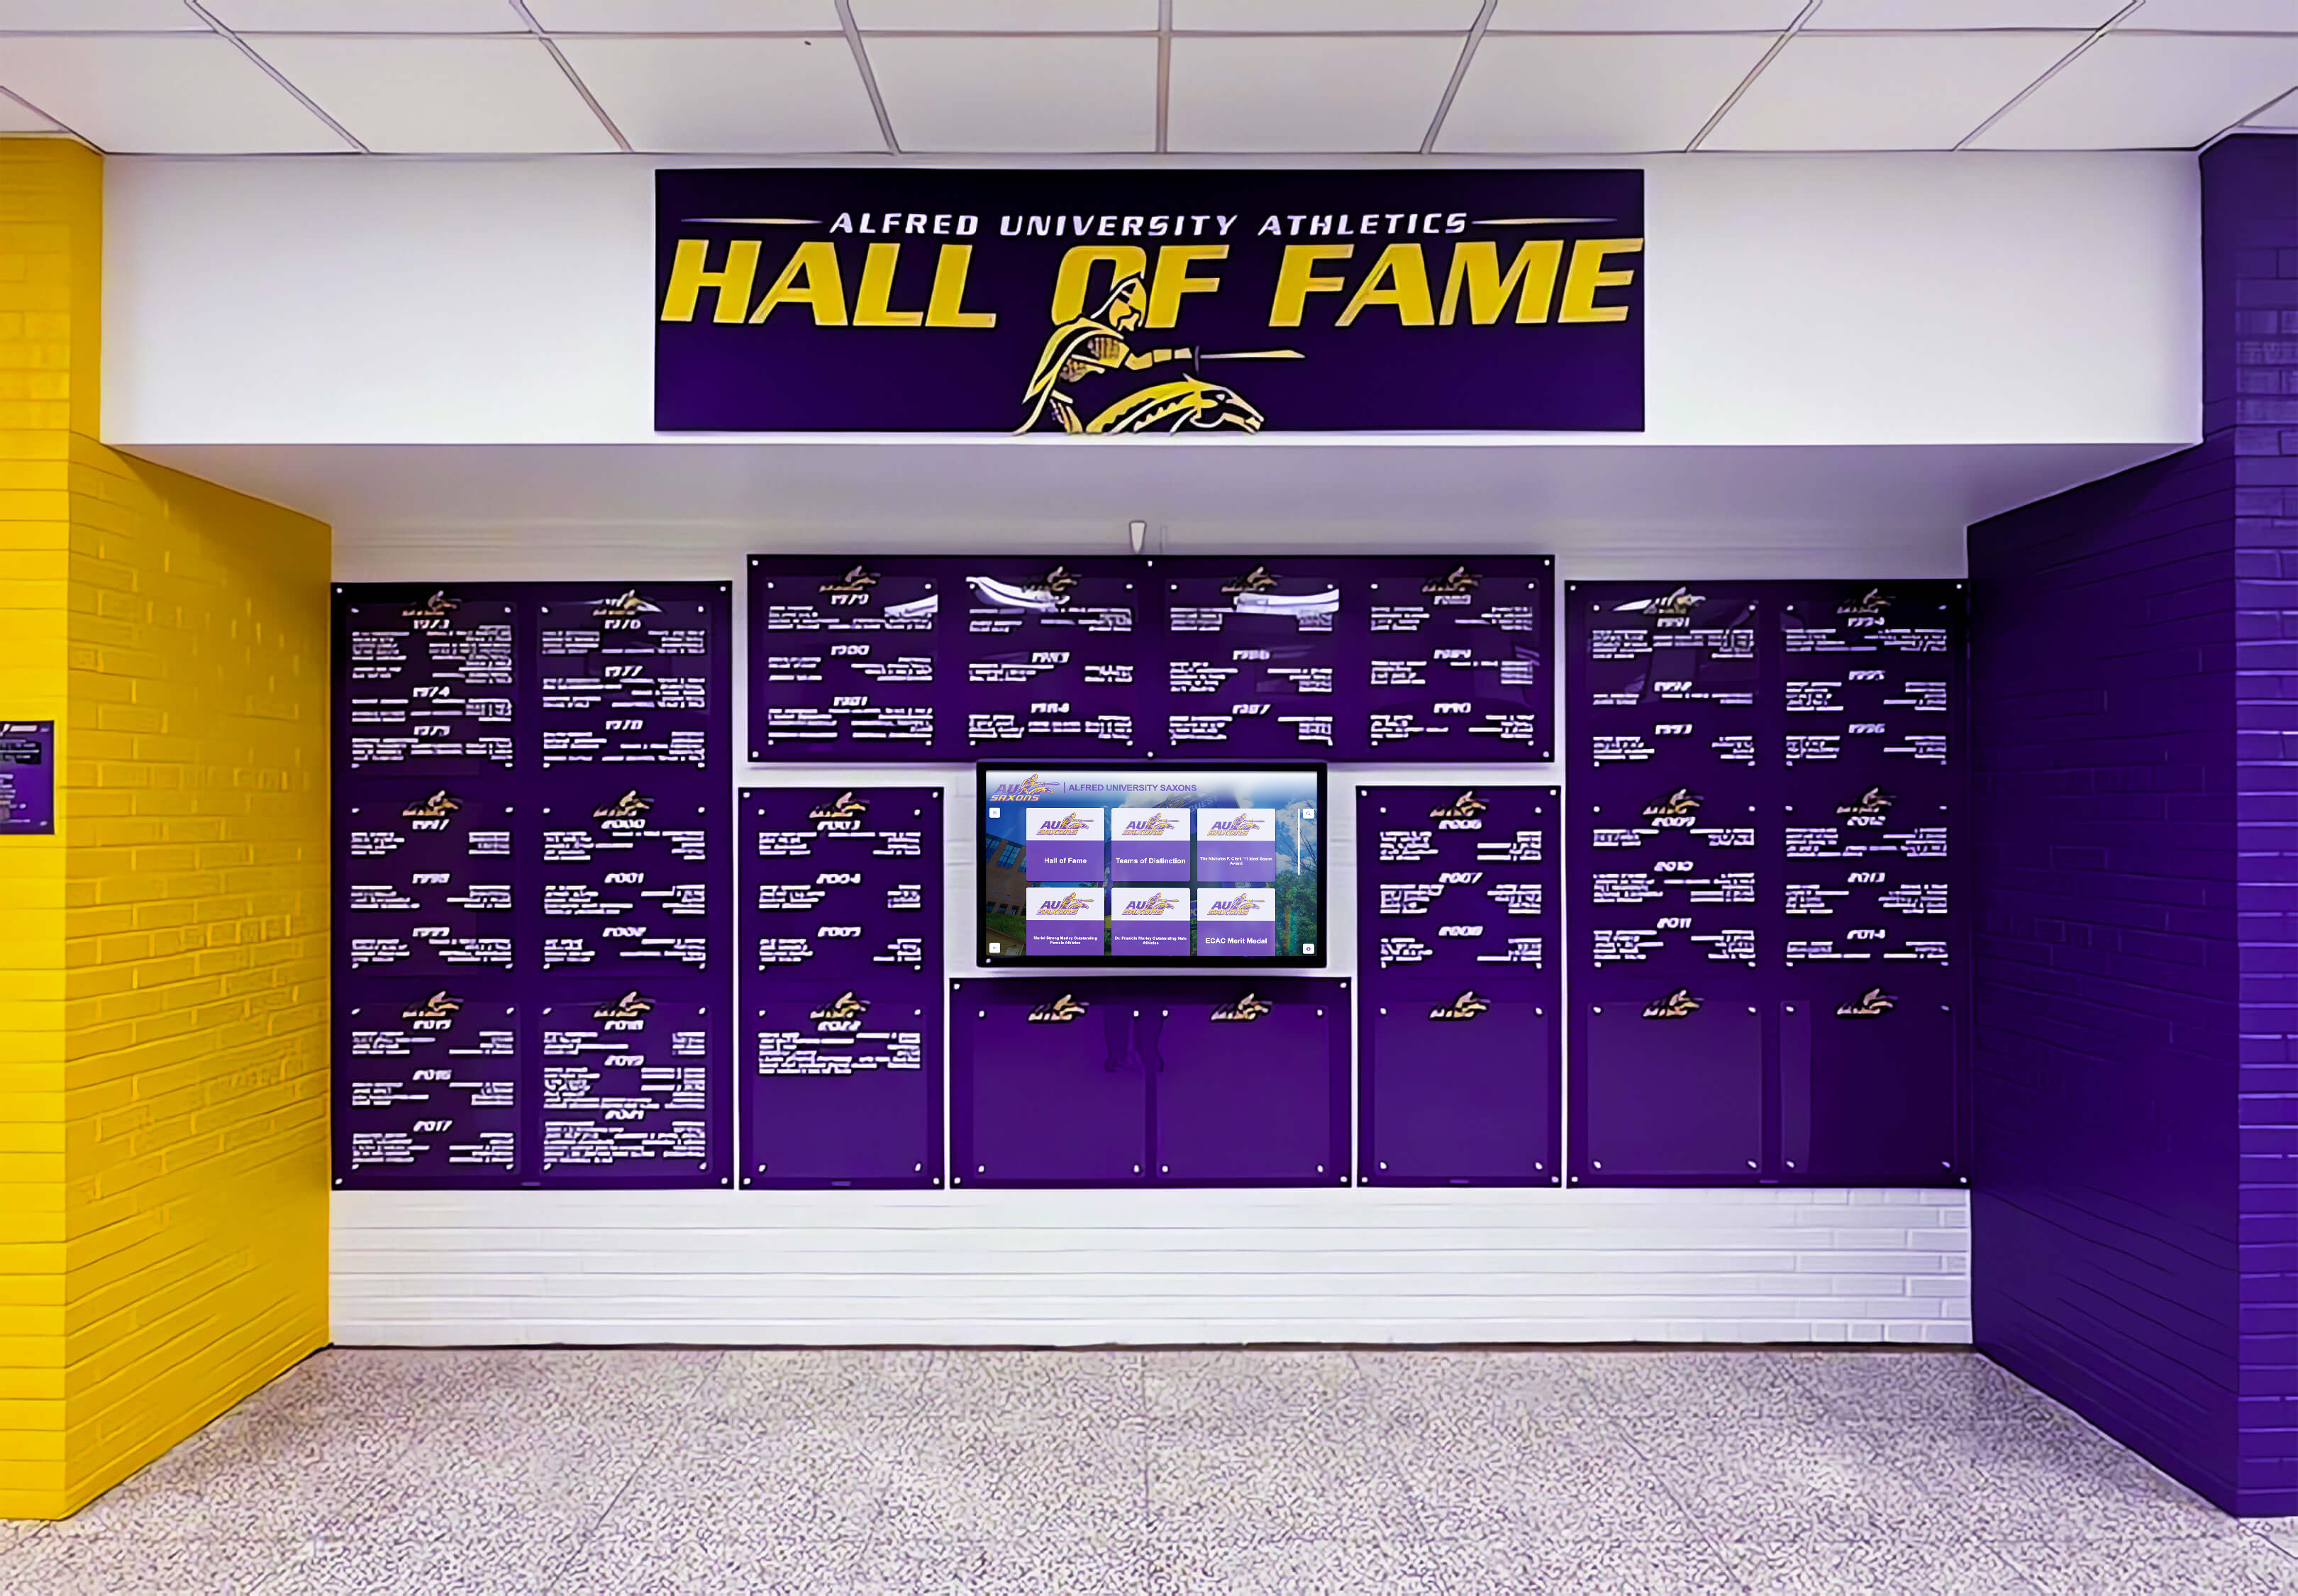
Athletics hall-of-fame displays presenting championship history depend on portrait photography recovered from source negatives — reticulation inspection before scanning ensures a pre-existing emulsion texture is identified and documented rather than attributed to a scanning error after digitization is complete
Athletic Archive Reticulation Inspection: A 5-Step Workflow
Step 1: Prepare the Inspection Area
Establish a controlled, consistent inspection environment before handling any negative material. Consistency in illumination is especially important for reticulation inspection because the condition is reliably visible only under raking light — an illumination condition not standard in most general work areas.
Required at the inspection station:
- Clean cotton or nitrile gloves (worn throughout all handling)
- A light table or film scanning lamp for transmitted light assessment
- A small directional light source — a focused LED flashlight or adjustable desk lamp — for raking light examination of the emulsion surface
- A jeweler’s loupe or magnifying glass (7× to 10× magnification) for close-up emulsion surface assessment
- A camera or smartphone capable of close-up photography for condition documentation
- A scale reference (ruler or archival label) visible in documentation photographs
- Archival-quality individual enclosures and interleaving tissue for re-housing after inspection
Exclude from the inspection station:
- Any liquid, chemical, or cleaning solution
- Heat sources of any kind
- Any implement that might be used to attempt surface cleaning or texture removal
- Adhesive tape of any type
Reticulation is a condition already in the negative and cannot be made worse by correct inspection handling. It also cannot be improved by any material or tool available in a school archive setting. The inspection goal is observation and documentation, not treatment.
Step 2: Initial Assessment Under Transmitted Light
Place the negative on the light table with the emulsion side up (typically the dull, slightly less reflective side). Observe the image content at normal working distance, then at close range, for the following indicators:
Transmitted-light indicators of possible reticulation:
Uniform fine texture heavier than expected photographic grain: Reticulation appears as an overall cellular roughness across the image or a significant portion of it. Unlike photographic grain — which has a random dot distribution — reticulation has a networked, interconnected cellular quality. The texture elements are adjacent and connected rather than randomly distributed.
Texture consistent across the frame regardless of exposure density: Photographic grain is more visible in mid-tones and shadow areas. Reticulation, as a physical surface deformation rather than a grain distribution pattern, appears with similar prominence across the entire emulsion surface — in highlights and shadows alike.
Texture uniformity within a batch: If you are inspecting multiple negatives from the same processing session, reticulation typically appears at consistent severity across the batch. If one negative shows the texture and adjacent negatives from the same session also show it, that batch-level consistency is strong evidence for processing-origin reticulation.
Transmitted light does not reliably distinguish between reticulation and a heavily grained emulsion, or between reticulation and other emulsion surface conditions. Raking light examination in Step 3 is required to confirm the finding.
Step 3: Emulsion Surface Examination Under Raking Light
Raking light examination is the definitive technique for distinguishing reticulation from other conditions and from scanner artifacts. Hold the directional light source at a very low angle — approximately 10 to 15 degrees from the emulsion surface — and observe the surface through the loupe.
What reticulation looks like under raking light:
Reticulation appears as a three-dimensional surface topography: a network of small ridges and depressions covering the emulsion surface, casting directional shadows in the raking illumination. Individual cells of the reticulation pattern are visible as discrete elements with raised edges and depressed centers, or as a uniform wrinkled texture with a consistent spatial frequency across the affected area. The pattern resembles a small-scale terrain viewed from a low angle — peaks and valleys of gelatin that have set permanently in their deformed position.
Key confirmation principle: The three-dimensional surface relief of reticulation is visible on the physical negative independent of any scanning. A condition visible as three-dimensional surface topography on the physical negative is a physical emulsion condition, not a scanner artifact. Scanner artifacts — Newton’s rings, moiré, dust deposits, digital noise — do not produce corresponding three-dimensional surface topography on the physical negative.
Distinguishing from other conditions under raking light:
| Raking Light Observation | Most Likely Condition | Confirmation Step |
|---|---|---|
| Uniform network of small ridges and depressions; cellular pattern across the emulsion | Reticulation | Confirm texture also visible under transmitted light; check whether adjacent negatives from the same batch show similar texture |
| Localized high-gloss areas where emulsion surface takes on a mirror-like reflectance | Ferrotyping (contact gloss marking) | Assess adhesion status per ferrotyping inspection workflow before any scanning |
| Metallic or silvery sheen visible at image shadow areas or near edges | Silver mirroring | Assess per silver mirroring inspection guidance for historic team photographs |
| No three-dimensional surface topography; surface appears smooth under raking light | No physical emulsion surface condition present | Any texture visible in a scan is a scanner artifact; investigate scanner glass, resolution settings, or positioning |
Step 4: Photograph and Document the Condition
Photography is the primary documentation tool for reticulation findings. A reticulation assessment that produces only a written description gives a scanner operator insufficient information for making informed scan parameter decisions, and provides a photo conservator with too little detail to evaluate remotely.
Photographs to capture for each negative showing reticulation:
Transmitted light frame image: Photograph the entire negative on the light table, showing the full frame. Reticulation visible under transmitted light appears in this photograph as an overall cellular texture across the image content.
Raking light detail: Photograph a representative area of the emulsion surface under raking light with the directional light source at approximately 10–15 degrees from the surface. Include the loupe visible in frame or photograph through the loupe with a scale reference. This documents the three-dimensional surface topography that distinguishes physical reticulation from scanner artifacts.
Context photograph: The storage unit with accession identifier visible in frame, showing the negative’s position within the collection at the time of inspection.
Comparison negative (when applicable): If adjacent negatives from the same batch do not show reticulation, photograph a reticulation-free negative alongside the affected one under identical lighting. Batch-level variation in reticulation severity may be informative for a conservator assessing the collection.
Condition record fields for each affected negative:
- Accession number and identifying information
- Film format and approximate date of the photography session
- Extent of reticulation (partial — one area of the frame — or full-frame coverage)
- Estimated severity under raking light: subtle (visible only under magnification with raking light), moderate (visible under raking light at normal loupe distance), or pronounced (visible under transmitted light without magnification)
- Whether adjacent negatives from the same batch show the same condition
- Date of inspection and inspector name
Recording these findings consistently within the archive’s established photographic records controlled vocabulary ensures that reticulation condition notes are retrievable and sortable when planning scanning priorities or conservator referral batches.

Hall-of-fame touchscreen displays presenting athlete portraits depend on photography recovered cleanly from historic negatives — pre-scan reticulation inspection ensures that any emulsion texture visible in the scanned image is correctly identified as a pre-existing condition rather than treated as a scanning error requiring an unnecessary rescan
Step 5: Classify and Route Each Negative
After completing Steps 1–4, assign a classification to each inspected negative and route it to the appropriate handling path.
| Classification | Finding | Scanning Path |
|---|---|---|
| Clear | No reticulation detected under transmitted or raking light; emulsion surface smooth and even | Proceed to standard scanning intake |
| Mild reticulation — note and proceed | Fine cellular texture visible under raking light with magnification; not visible under transmitted light at normal viewing distance; image content unaffected | Proceed to scanning; note condition in scan record so scanner operator knows the texture is pre-existing; no rescan required for texture |
| Moderate reticulation — document and assess | Texture visible under transmitted light; three-dimensional surface relief confirmed under raking light; affects some or all of the image area | Proceed to scanning with condition noted; consult photo conservator before making final decisions about image quality for the recognition collection |
| Pronounced reticulation — conservator referral | Heavy cellular texture visible under transmitted light without magnification; pronounced three-dimensional surface topography under raking light; image detail obscured by texture in affected areas | Conservator evaluation before scanning to assess whether any approach can improve image recovery |
| Uncertain — reticulation vs. other condition | Texture or surface anomaly visible but characteristics do not clearly match the reticulation pattern | Conservator evaluation to confirm identification before scanning |
Identifying Reticulation vs. Scanner Artifacts: Decision Table
The most common error in working with reticulated historic team photo negatives is attributing a pre-existing physical emulsion condition to a scanner malfunction — and investing time rescanning, recalibrating, or cleaning equipment that has no role in producing the texture visible in the scan.
| Observation in Scan | Pre-Existing Reticulation | Newton’s Rings | Moiré | Dust / Debris |
|---|---|---|---|---|
| Texture visible in scan | Yes | Yes | Yes | Yes |
| Three-dimensional surface relief on physical negative under raking light | Yes | No | No | Discrete surface particles only |
| Consistent across all scans of same negative | Yes | Variable — shifts with negative position | Variable — shifts with scan resolution | Variable — changes after cleaning |
| Resolves with cleaning the scanner glass | No | Partially — reduced by anti-reflection surfaces or glass separators | No | Yes — if dust source is scanner glass |
| Resolves with rescanning | No | Sometimes — if negative position changes | Sometimes — if scan resolution changes | Yes — if source is removable surface contamination |
| Pattern type | Irregular cellular or network pattern | Concentric circular or elliptical rings | Regular repeating grid or wave pattern | Irregular discrete spots or linear marks |
| Batch consistency | Yes — all negatives from same processing session likely affected | No — varies per negative | No — varies per negative | No — random per scan session |
The practical test is direct: if texture appears in a scan and you cannot confirm three-dimensional surface topography on the physical negative under raking light, the texture is a scanner artifact and should be investigated as such. If you confirm corresponding surface topography on the physical negative, the condition is pre-existing in the emulsion and will not be resolved by any scanner adjustment, cleaning, or rescanning. For removing scanner-introduced interference patterns from team photo negative scans, the Newton’s rings removal workflow addresses that specific flatbed scanning artifact with the appropriate techniques.
Connecting Reticulation Assessment to the Broader Archive Workflow
Reticulation inspection fits within the pre-scan assessment sequence for school athletic photo negative collections. A single negative may require multiple condition checks before it enters a scanning queue:
- Ferrotyping and adhesion inspection: Confirms whether the negative is adhered to an enclosure or adjacent surface before any removal is attempted
- Reticulation inspection: Confirms whether the emulsion shows pre-existing texture that will appear in scans
- Silver mirroring inspection: Confirms whether oxidized silver on the emulsion surface will affect image tonality in scans (see silver mirroring inspection for historic team photographs)
- Scanning: Physical condition assessments complete; negative enters the workflow with condition notes that inform operator settings
For schools building comprehensive photographic archives that feed into digital recognition programs, the connection between physical negative condition documentation and what ultimately displays on screen is direct. A reticulation condition identified and noted before scanning enters the condition record as a known characteristic of that negative. When a scan shows texture and the operator finds a documented reticulation note in the intake record, no rescanning time is wasted on a condition that scanning cannot resolve. That documented clarity — knowing before the scanner what to expect in the scan — supports the larger goal of digitizing and presenting a complete athletic photo archive in a systematic, resource-efficient workflow.
Schools building long-term athletic recognition programs — including the digital touchscreen team record installations that make athletic history visible in lobbies and hallways — benefit from a complete pre-scan condition record for each negative because that record determines which images can be used at display quality and which require conservator evaluation before their image content can be cleanly recovered.
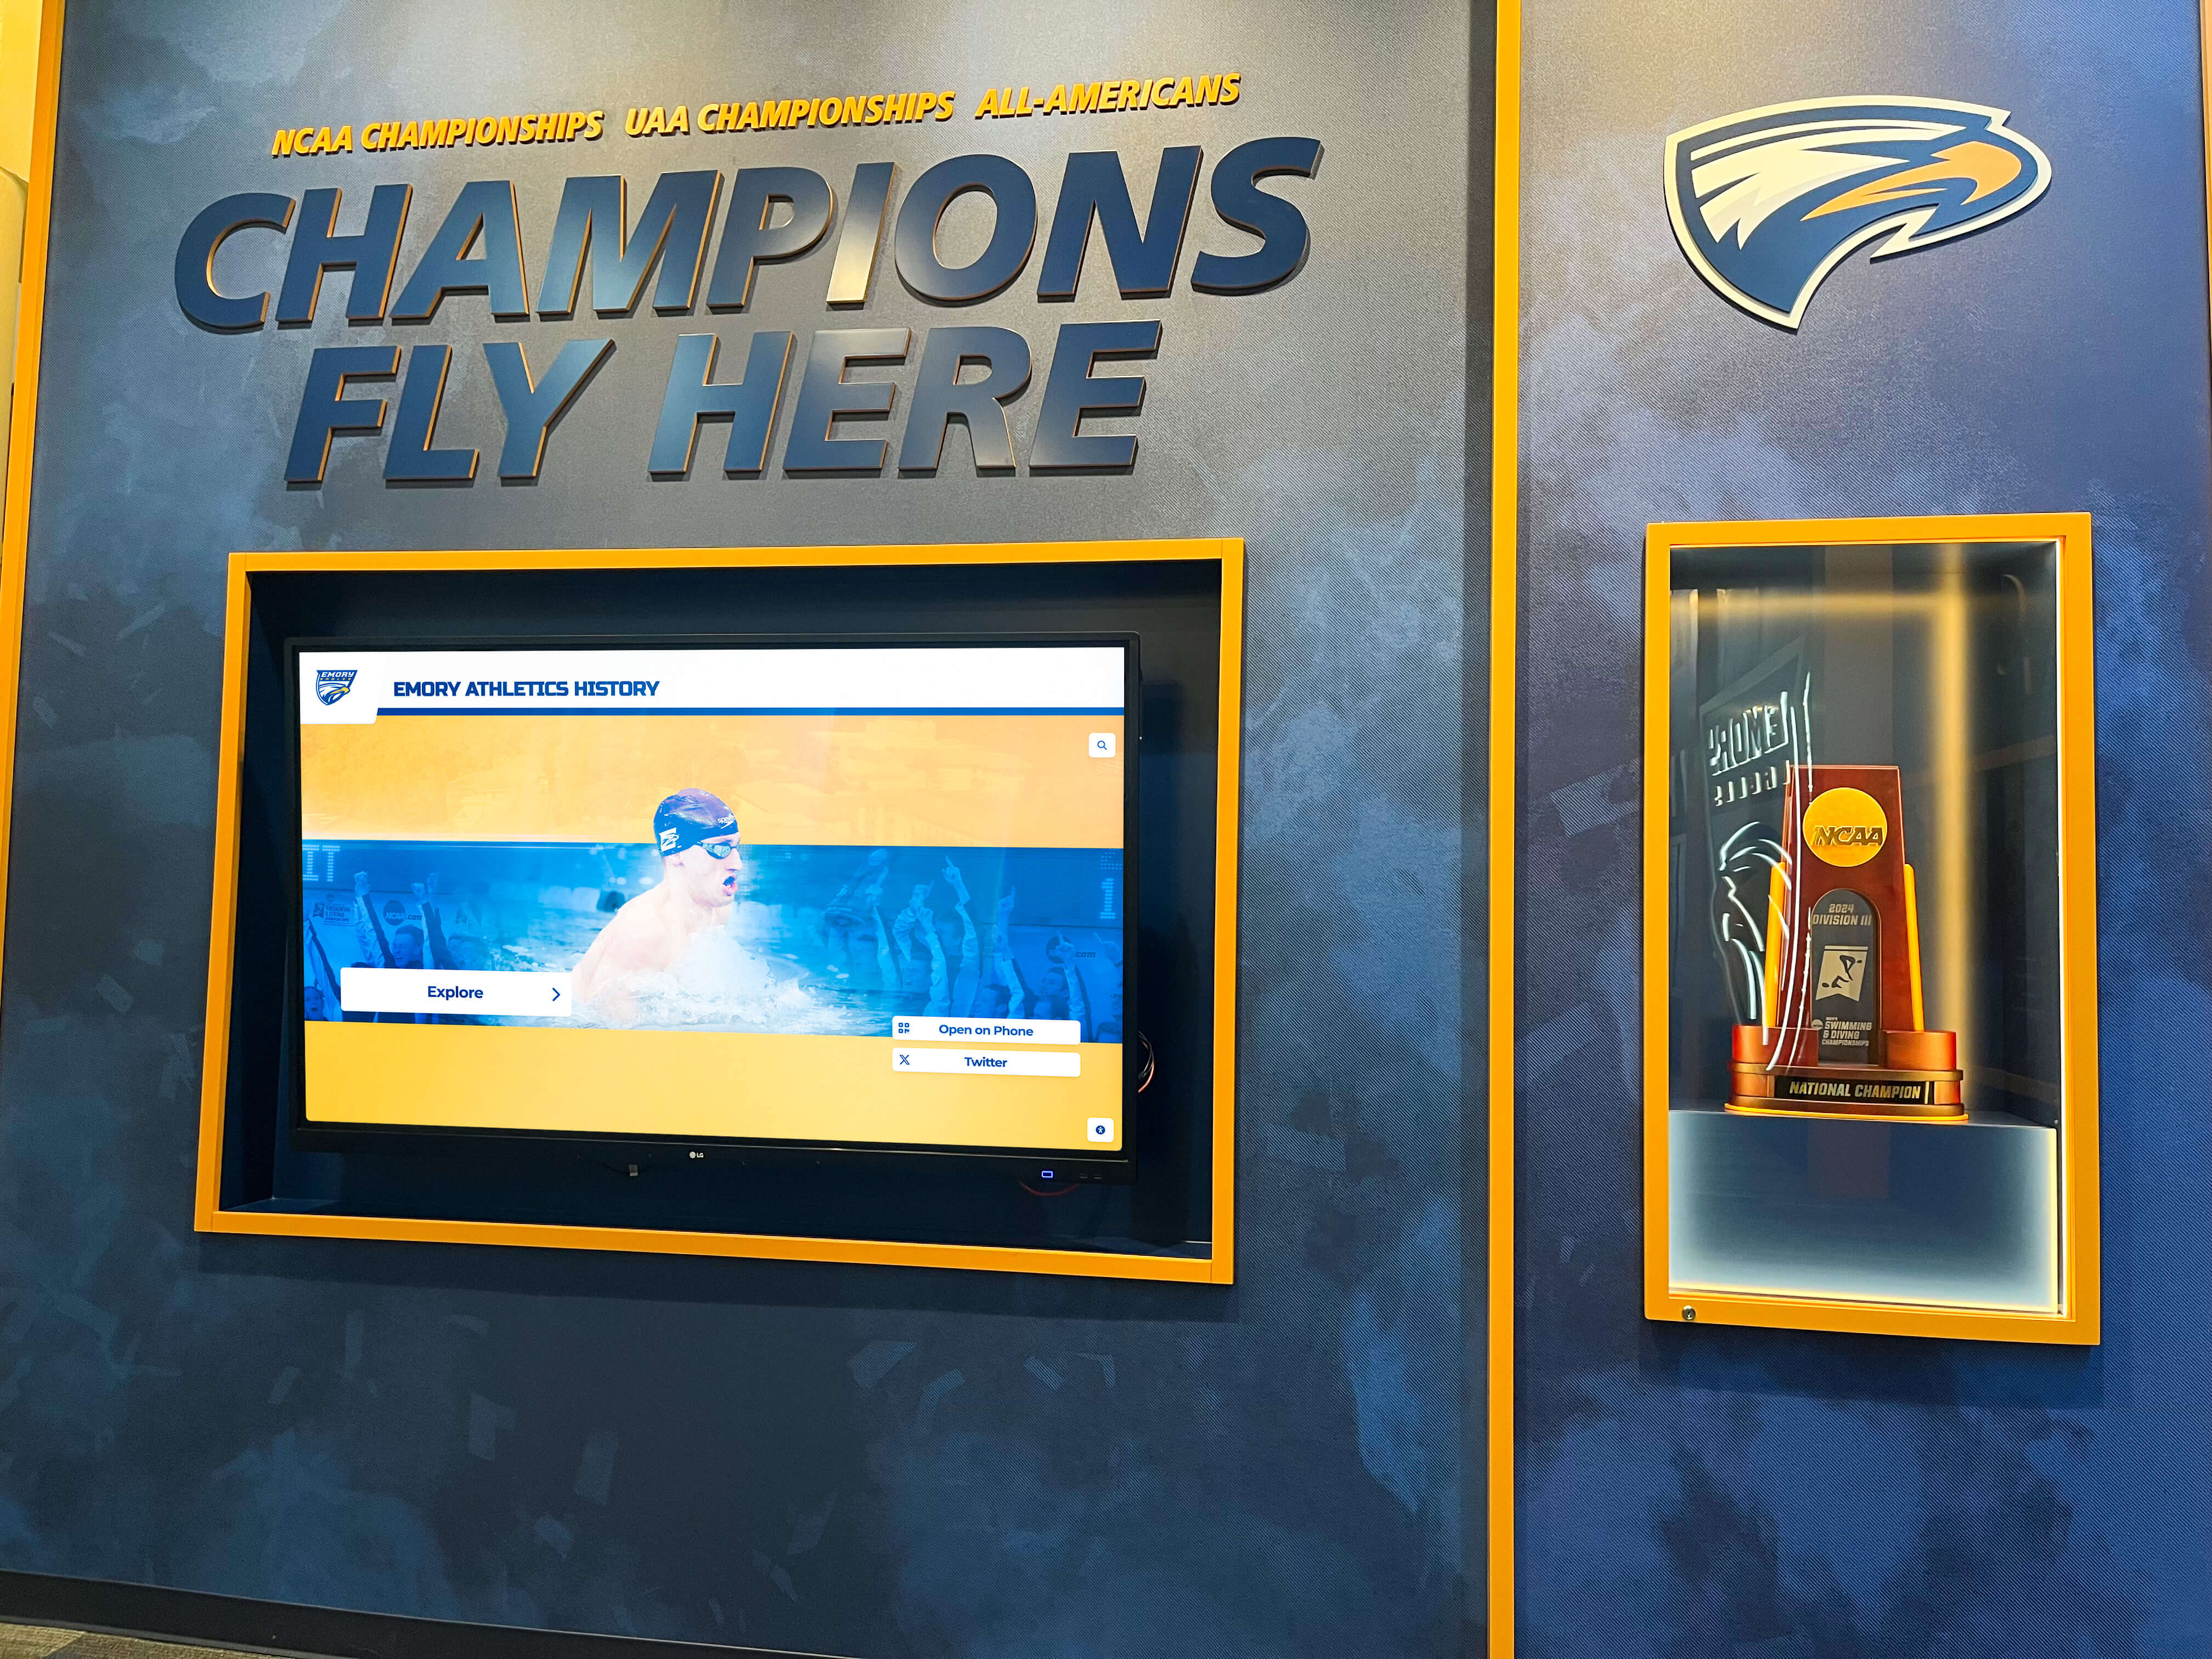
Athletics champions walls displaying team achievements depend on source photography assessed before scanning — a reticulation condition noted in the pre-scan intake record informs the scanner operator and prevents wasted rescanning time on a pre-existing emulsion condition that no scanner adjustment can resolve
Who This Inspection Workflow Serves
| Role | Primary Concern | How Reticulation Inspection Helps |
|---|---|---|
| Athletic Director | Team portrait quality for hall-of-fame displays and recognition programs | Identifies which negatives will produce scans with inherent texture before investing digitization resources |
| Recognition Program Owner | Display-ready imagery for athlete portraits and championship documentation | Sets accurate expectations for scanned image quality when source negatives have known emulsion conditions |
| IT / Data Staff | Efficient scanning workflows without unnecessary rescanning | Eliminates rescanning loops caused by misidentifying pre-existing reticulation as a scanner malfunction |
| Librarian / Archivist | Complete condition documentation for each negative | Produces a documented emulsion condition record that travels with each negative through the archive workflow |
| Scanner Operator | Accurate information about each negative before scanning begins | Receives condition notes distinguishing pre-existing texture from scanner artifacts before the first scan |
| Administrator | Institutional record completeness | Establishes that collection condition was assessed systematically and documented before digitization |

Touchscreen recognition displays in school hallways connect current students to decades of athletic history — portrait photography reaches these displays cleanly when source negatives were assessed for physical conditions at intake and scanning operators received condition notes that set accurate expectations for each scan
Frequently Asked Questions
What exactly is reticulation, and how is it different from normal photographic grain?
Reticulation is a physical wrinkling or cratering of the gelatin emulsion layer, produced by temperature shock during the original film processing. It is a permanent deformation of the gelatin binder — the material that holds the silver image. Normal photographic grain is the distribution of silver halide crystals, or silver metal clumps after development, within the gelatin binder; it is a natural characteristic of the film’s emulsion sensitivity. Reticulation overlays a larger-scale, cellular, network-like texture on top of the grain structure and is visible as a rougher, heavier pattern that does not match the random dot distribution of grain. Under raking light, reticulation shows three-dimensional surface relief that normal grain does not produce at the scale visible to the naked eye or through a standard loupe. The two conditions can coexist in the same negative — a coarse-grain emulsion that has also reticulated shows both the grain distribution and the superimposed cellular deformation — but reticulation is visually distinguishable by its networked, non-random cellular character.
Will reticulation in a historic negative affect the image content visible in a scan?
The effect depends on the severity. Mild reticulation — fine cellular texture visible only under magnification with raking light — produces minimal effect in a flatbed scan at standard archival resolutions; the texture may be indistinguishable from the negative’s normal grain structure at printing or display sizes. Moderate to pronounced reticulation produces a texture overlay visible in a scan at normal display sizes and that competes with fine image detail in the affected areas. Portrait detail such as facial features, jersey lettering, or individual player identification within a team group composition may be affected where the reticulation is pronounced. The inspection documentation from Step 4 allows a scanner operator to consider scan parameters that minimize the optical emphasis on surface texture rather than discovering the condition mid-scan and making uninformed parameter adjustments.
Can a photo conservator treat reticulation in a historic negative to improve image recovery?
In some cases, yes — but the answer depends on the specific negative, the emulsion type, the severity of reticulation, and the conservator’s assessment of appropriate approaches. Reticulation is a permanent physical change to the gelatin structure; the deformation cannot simply be reversed by rewetting or flattening. A conservator with photographic materials expertise may advise on scanning approaches — such as specific illumination geometry that reduces the optical emphasis on surface topography — that improve apparent image quality in the scanned result without physically treating the negative. For negatives where image content is obscured by pronounced reticulation, conservator consultation before scanning is appropriate: not to attempt in-house treatment, but to obtain specialist guidance on whether any treatment-assisted recovery approach is feasible for the specific material.
If reticulation is present in one negative from a batch, should I expect it in the others?
Processing-origin reticulation is most commonly a batch-level condition. If temperature shock occurred in the developer, wash, or fixer during a specific processing session, all negatives processed in that session are likely to show the condition at similar severity. Inspecting a representative sample of negatives from each identified processing batch — three to five negatives documented as having been processed together — will give a reliable indication of whether the condition is present throughout the batch. Batch-level findings can be recorded once at the batch level in the intake log and referenced for each individual negative, rather than requiring a full separate documentation pass for every negative in the batch. Isolated single-negative reticulation is less common and may indicate a localized temperature irregularity during drying or a handling event specific to that negative.
How is reticulation inspection different from ferrotyping inspection?
Ferrotyping inspection addresses emulsion adhesion and contact-induced surface gloss — conditions caused by storage factors: humidity, direct contact pressure between photographic surfaces or enclosure walls, and insufficient interleaving. Reticulation inspection addresses a processing-origin condition: the wrinkling of the gelatin emulsion caused by temperature shock during the original film development, fixing, or washing steps. The physical appearance is different (reticulation is a cellular wrinkled texture; ferrotyping is a localized high-gloss surface marking), the cause is different (processing temperature shock vs. humid storage contact), and the conservation implications differ as well (reticulation is a stable historic condition requiring documentation; ferrotyping may accompany active adhesion requiring stop-work and specialist referral before any further handling). Both conditions affect the gelatin emulsion, but they arise from different events in the negative’s history and require separate assessment approaches. A single negative may show both conditions if it was processed under poor temperature control and subsequently stored under conditions that produced contact-induced gloss marking.
Pre-scan reticulation inspection for school team photo negative collections converts a potential scanning-workflow disruption — discovering unexplained texture in a scanned image without knowing whether to rescan, recalibrate the scanner, or consult a conservator — into a documented finding with a clear routing path. For school athletic programs whose team portrait negatives span decades of variable processing conditions, identifying pre-existing reticulation before scanning ensures that scanner operators receive accurate condition information, that scanning resources are directed efficiently, and that the images which ultimately appear in recognition programs and digital archives reflect an accurate record of what each negative’s emulsion contains.
Ready to connect your assessed and digitized athletic photo archive to a recognition program that brings it to life for athletes, alumni, and the school community?
Request a Rocket Alumni Solutions demo and see how schools are turning decades of safely scanned team portrait photography into touchscreen hall-of-fame displays, lobby recognition kiosks, and digital yearbook archives that celebrate athletic history throughout the year.































