School history, shared
Athletic Archive Removable Media Intake Checklist: Safely Preserve Drives, Discs, and Cards
Every athletic department eventually inherits a box of removable media. USB drives from a retired coach, a stack of CD-Rs from the early 2000s, SD cards from a former team photographer, a handful of external hard drives from a booster who stored championship footage. Each piece of media potentially holds irreplaceable photos, game video, yearbook files, records, and athlete histories that exist nowhere else. The challenge is getting to that content without damaging the originals, importing malware, corrupting files, or losing track of what came from where.
An athletic archive removable media intake checklist gives your staff a consistent, repeatable process for receiving, inspecting, scanning, extracting, cataloging, and storing content from any removable media source. Working through these steps before plugging an unfamiliar drive into a school computer — or before shelving a disc that may never be opened again — is the difference between a growing, searchable archive and a closet full of media whose contents nobody can account for.
This guide is written for school athletic directors, administrators, archives staff, hall-of-fame committees, and recognition-program owners who receive donated or transferred media as part of an ongoing or new preservation effort. It covers both legacy physical formats (CDs, DVDs, floppy disks, VHS tapes) and contemporary digital media (USB drives, SD cards, external hard drives, CompactFlash cards) with format-appropriate intake steps for each.

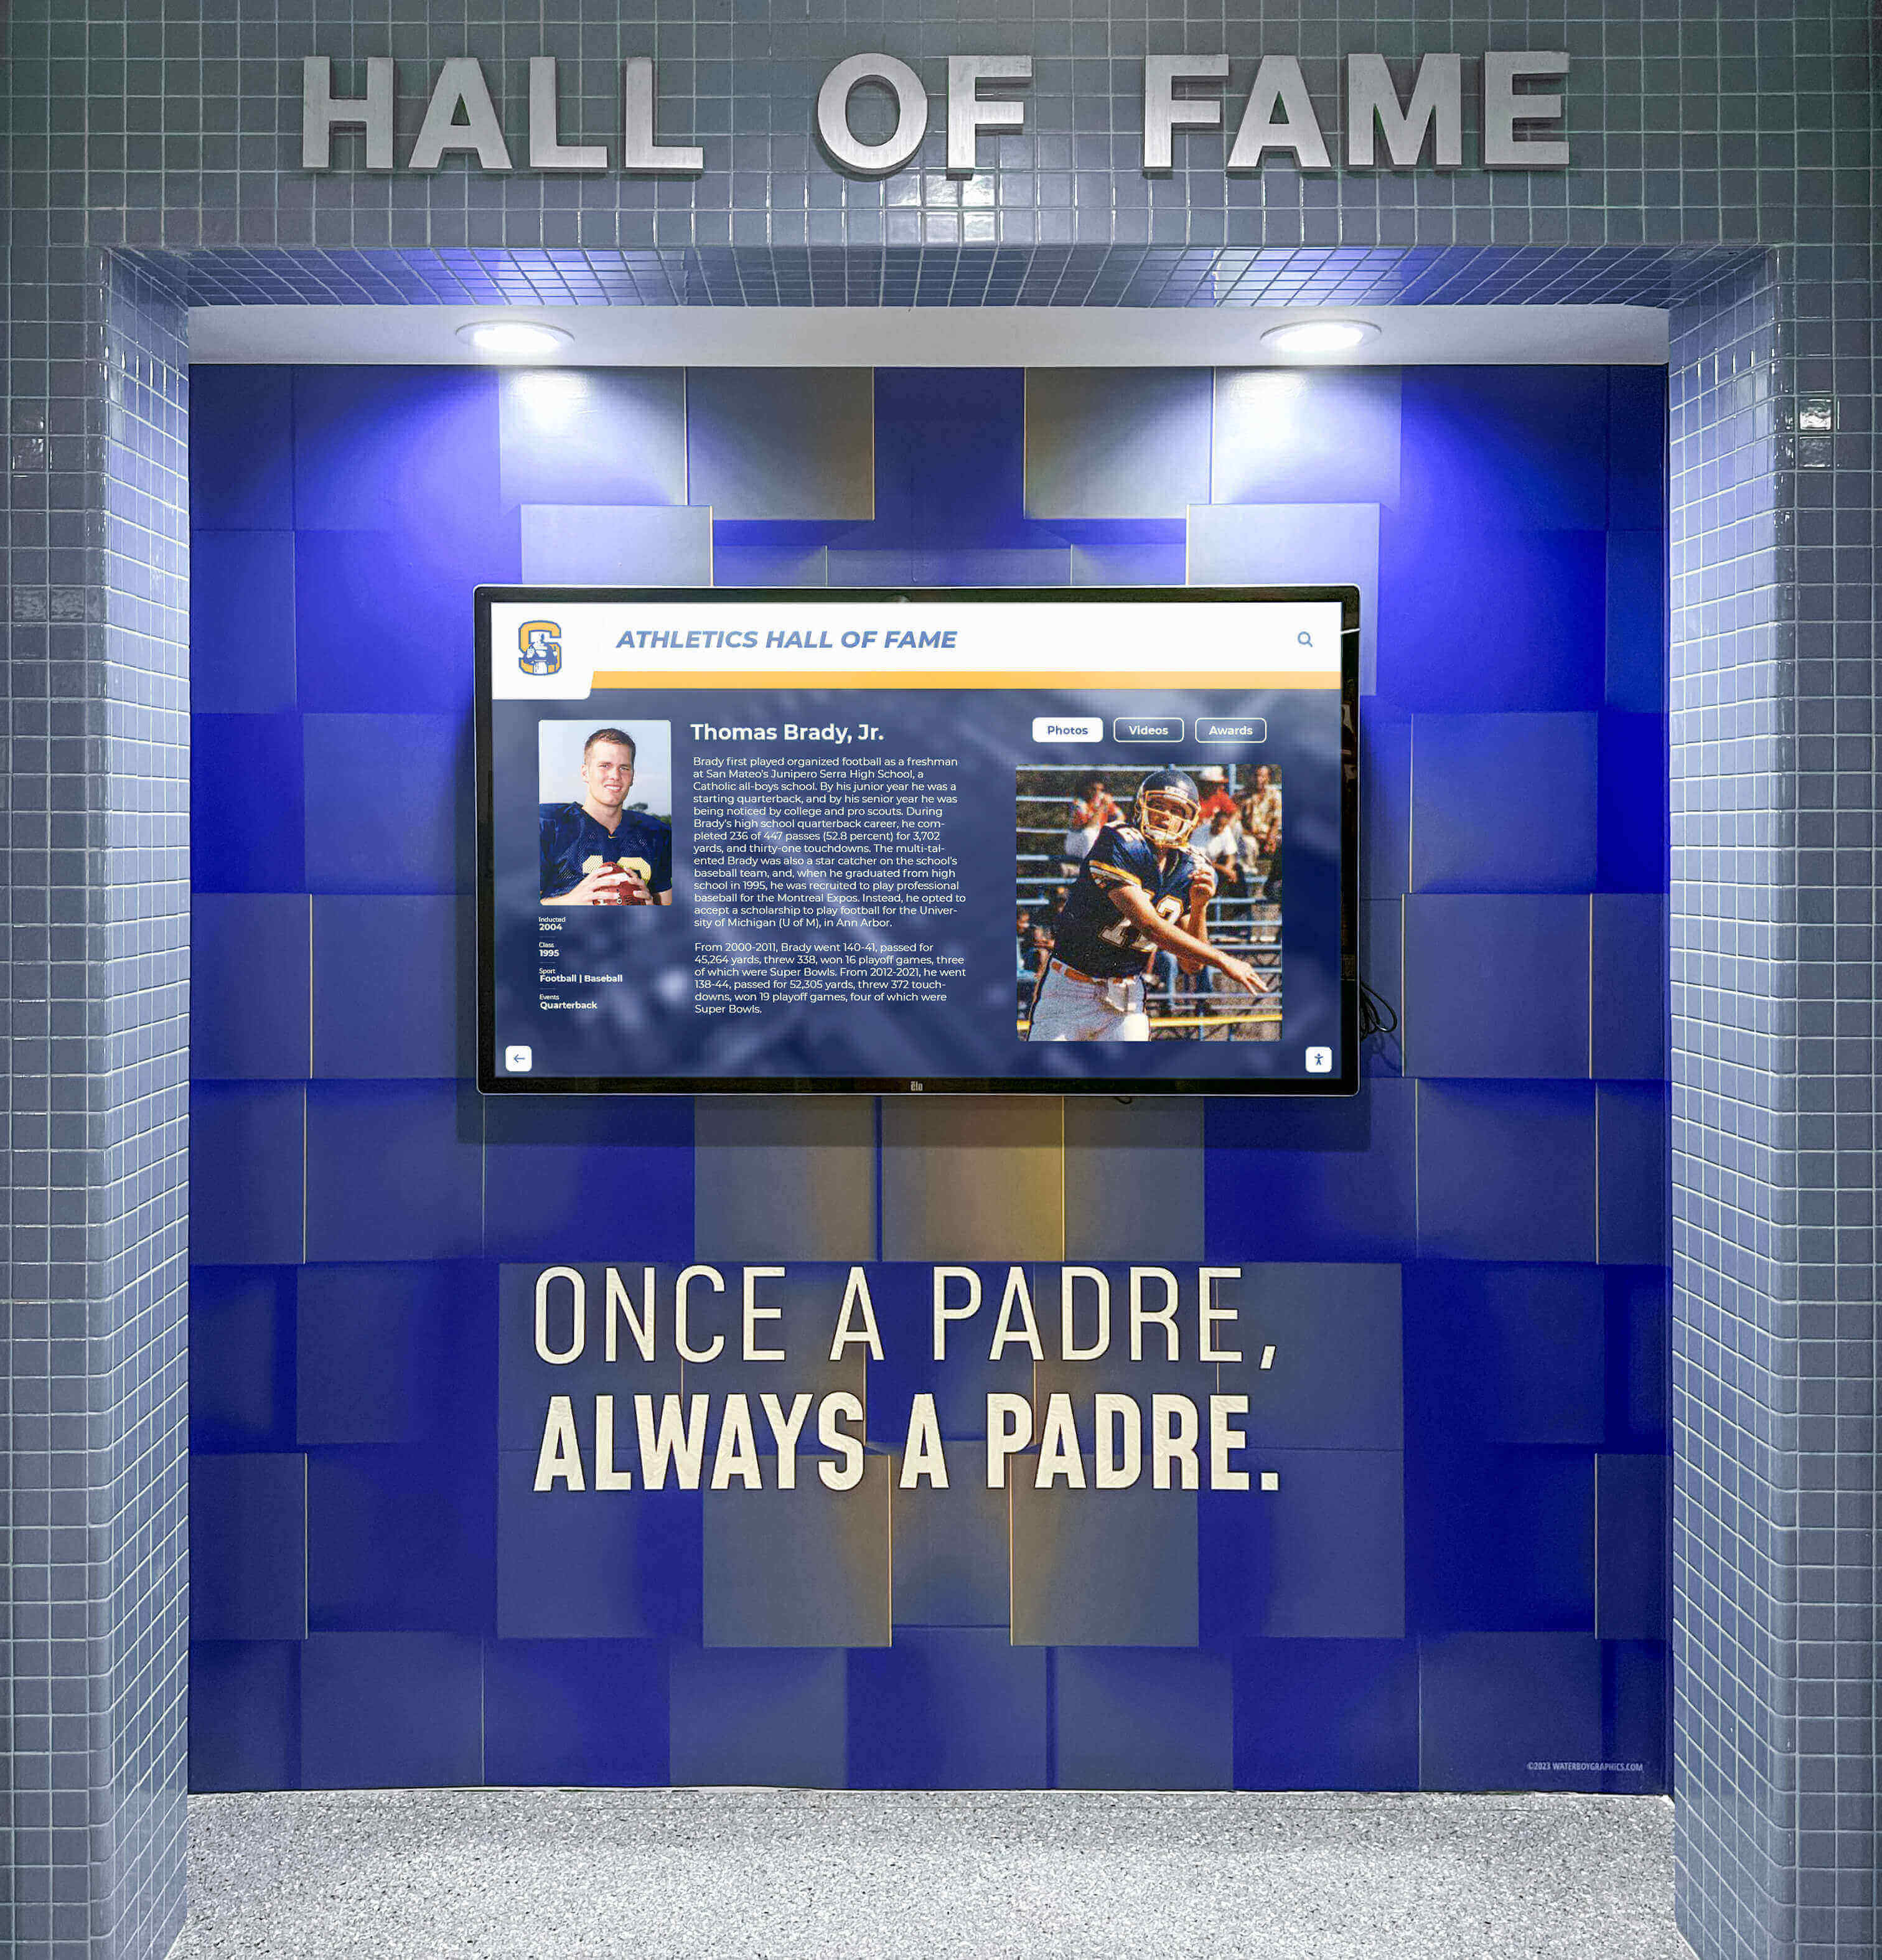
Content recovered from removable media — photos, video, yearbook files, and athlete records — feeds the recognition displays and searchable archives that keep athletic history visible across generations
Why Removable Media Requires Its Own Intake Process
Removable media presents preservation risks that network-transferred files and cloud donations do not. Physical condition affects readability: a scratched disc, a drive with a failing read head, or an SD card with corrupted sectors may be partially or fully unreadable. Security risk is real: drives and cards donated from outside the school network can carry malware that executes when plugged into an unprotected machine. Provenance gets lost without documentation: a drive labeled “football 2008” tells you almost nothing about whether the content is complete, who shot the photos, or what happened to the originals.
These risks are manageable with a structured intake process. The checklist below works through six phases — receiving, physical inspection, security scanning, content extraction, cataloging, and preservation storage — in an order designed to protect your equipment and your archive while recovering as much usable content as possible.
Note on professional advice: This checklist provides general operational guidance for school athletic archiving programs. For questions about student privacy, FERPA compliance, data security policy, or copyright in donated materials, consult qualified legal and IT professionals. Media conservation recommendations are general best practices drawn from published archival guidance, not a substitute for a professional conservator’s assessment of fragile or degraded originals.
The Athletic Archive Removable Media Intake Checklist
The checklist covers six phases. Phases 1 and 2 happen before any media is connected to school equipment. Phases 3 and 4 cover safe extraction. Phases 5 and 6 build the archive that makes recovered content useful for recognition, research, and display.
| Phase | Focus | When to Complete |
|---|---|---|
| Phase 1 | Receive, log, and label incoming media | At the moment of receipt |
| Phase 2 | Physical inspection and condition assessment | Before connecting to any device |
| Phase 3 | Security scanning and write-blocking | Before extracting any files |
| Phase 4 | File extraction and format assessment | On a designated intake workstation |
| Phase 5 | Content inventory and cataloging | Immediately after extraction |
| Phase 6 | Preservation copies and storage | Before returning or retiring originals |
Phase 1 — Receive, Log, and Label Incoming Media
The first step happens before the media leaves the person handing it over. Intake documentation that begins at receipt is far easier to maintain than documentation assembled after the fact.
Step 1: Assign a unique intake identifier to every piece of media received.
Use a simple sequential scheme — RM-001, RM-002, and so on — or a format that encodes the year: 2026-RM-001. Write the identifier on a label affixed to the physical media (use a label, not a permanent marker directly on optical discs, which can damage the data layer). Log the identifier, the date of receipt, the media type, and the donor or source in your intake register before anything else happens.
Step 2: Capture donor information and known provenance.
For each item received, record the donor’s name and contact information, their relationship to the athletic program (former coach, booster member, team photographer, retiring administrator), the approximate date range they believe the content covers, how the media was stored before donation, and any known content description they can provide. Donor memory is imperfect, but it is often the only provenance information available. A form you hand donors at the point of handoff is more reliable than trying to reconstruct this by email three weeks later.
Step 3: Record the media type and quantity.
Identify the format precisely: USB flash drive, external hard drive (note the connector type — USB-A, USB-C, micro-USB, or proprietary), CD-R, CD-RW, DVD-R, DVD-RW, Blu-ray, SD card, microSD card, CompactFlash card, Memory Stick, Zip disk, or other. Note any visible labeling on the media itself — handwritten labels, printed adhesive labels, and manufacturer capacity markings all provide useful context. For drives and cards, note the stated capacity if visible.
Phase 1 Checklist
- Assign a unique intake identifier and affix a label to the physical media
- Record date of receipt and source in the intake register
- Capture donor name, contact information, and relationship to the program
- Document the donor’s description of content and approximate date range
- Note how and where the media was stored before donation
- Record media type, connector or format specifications, and stated capacity
- Photograph the media with its intake label before any further handling
Phase 2 — Physical Inspection and Condition Assessment
Physical condition determines what extraction approach is safe and realistic. An inspection before connecting anything prevents damage to both the media and the intake workstation.
Step 4: Inspect each piece of media for visible damage.
For optical discs (CDs, DVDs, Blu-ray), examine both surfaces in good light. Surface scratches on the data side (the shiny side) can cause read errors. Delamination — visible separation of the disc layers, often appearing as bubbles or cloudiness — may make a disc unreadable and should be flagged for professional assessment before any read attempt. Disc rot, a brownish discoloration in the data area of some older CD-Rs, indicates chemical degradation and requires immediate prioritization for recovery attempts.
For USB drives and external hard drives, look for visible physical damage to the connector, casing, or cable. A bent USB connector or cracked drive casing warrants careful handling and should be noted before connection. For SD cards and CompactFlash cards, check for cracked or broken contacts. Do not attempt to use bent or broken cards in standard card readers — broken contacts can damage the reader.
For legacy formats (Zip disks, floppy disks, VHS tapes), note any mold, water damage, or physical deformation. Moldy media requires isolation — store it separately from other archive materials and consult a professional conservator before attempting playback. The Library of Congress digital preservation resources provide guidance on format-specific obsolescence and recovery considerations.
Step 5: Assess readability risk and set handling priority.
After inspection, assign each item a condition rating and a handling priority:
| Condition | Description | Priority |
|---|---|---|
| Good | No visible damage; likely readable with standard equipment | Standard intake |
| Fair | Minor scratches or wear; may have some read errors | Intake with verification pass |
| Poor | Significant scratches, disc rot, or physical damage | Priority recovery attempt; document before attempting reads |
| Critical | Delamination, mold, broken connectors, or severe damage | Professional conservator referral before intake |
| Legacy format | Requires equipment not in current inventory | Schedule specialized equipment access |
Items in poor or critical condition should be documented photographically and flagged for recovery prioritization before any read attempt. A read attempt on severely damaged media that fails to retrieve data may still be the only option — but approaching it with appropriate documentation means the attempt is recorded even if it is unsuccessful.
Phase 3 — Security Scanning and Write-Blocking
Before any file is extracted from donated or transferred media, two protective steps must happen: the media must be scanned for malicious software, and it must be connected in a way that prevents your workstation from writing to it.
Step 6: Use a hardware write blocker when connecting drives and cards.
A hardware write blocker is a physical device that sits between the media and the intake workstation, allowing read operations while blocking any write operation from the computer back to the media. This serves two purposes: it prevents the workstation’s operating system from altering timestamps, writing hidden files, or modifying the media in any way during read operations, and it preserves the original state of the media as received — which matters if the content has evidentiary or chain-of-custody significance.
Hardware write blockers are available for USB, SATA, and common card formats. They are standard equipment in digital forensics and are appropriate for archival intake as well. If your program does not have a hardware write blocker, work with your district IT department to establish a procedure — many districts have forensics-capable equipment available through the IT team. As a software alternative, some operating systems can be configured to mount media in read-only mode, but hardware solutions are more reliable.
Step 7: Scan the media for malware before extracting any files.
Before opening or transferring any files, run a full malware scan on the connected media using updated antivirus software. Donated drives from outside the school network may carry malware accumulated from home computers, and older drives from retired staff may carry malware from systems that were never properly protected. Do not rely on the absence of obvious symptoms — some malware is designed to remain dormant and activate only after files are transferred to a new host.
Run the scan before extraction, review the results, and document the scan outcome (clean, threats found and quarantined, or threats found requiring IT response) in the intake log for that media item.
Phase 3 Checklist
- Connect media through a hardware write blocker or verified read-only mount
- Confirm the intake workstation’s antivirus definitions are current before scanning
- Run a full scan of the connected media before opening or extracting any files
- Document the scan result (clean or threat found) in the intake log
- If threats are found, quarantine the media and involve district IT before proceeding
- Confirm no files have been written to the original media during the connection
Phase 4 — File Extraction and Format Assessment
With the media verified as clean and connected through a write blocker, the extraction phase transfers content to the intake workstation and documents what formats are present.
Step 8: Create a complete image or full file copy of the media before selectively extracting content.
For drives and cards, creating a bit-for-bit image of the entire media — including deleted files, empty sectors, and hidden partitions — preserves everything the original contained, including content the donor may not have known was present. Disk imaging tools widely used in archival contexts include open-source options such as dd (available on Linux and macOS) and FTK Imager (Windows, available from Exterro at no cost for the Imager component). The resulting image file can be mounted and read without ever connecting the original media again.
For optical discs, image the disc first using disc imaging software before reading individual files. This creates a .iso or .img file that can be re-read without the original disc and may recover content that isn’t accessible through a standard file browser.
For programs that lack disk imaging capability, a complete file copy — extracting all files including hidden files and subdirectories — is an acceptable substitute. Document which method was used in the intake log.
Step 9: Inventory the file formats present and assess playback and conversion needs.
After extraction or imaging, generate a list of every file type present. Most operating systems can produce a file type summary; dedicated tools such as DROID (available from The National Archives) provide more detailed format identification including format versions and risk assessments. Common athletic archive formats and their preservation status:
| Format | Common Content | Preservation Status | Action |
|---|---|---|---|
| JPEG / JPG | Photos | Widely supported | Verify resolution; keep originals |
| TIFF | Scanned photos, documents | Archival standard | Keep as-is |
| PNG | Graphics, composite images | Widely supported | Keep as-is |
| MP4 (H.264) | Video | Widely supported | Keep as-is |
| AVI | Legacy video | Declining support | Convert to MP4 for access; preserve original |
| MOV | Video (Apple) | Supported with QuickTime | Keep; consider MP4 conversion |
| WMV | Legacy video (Windows) | Declining support | Convert to MP4; preserve original |
| Documents, programs | Archival-grade with PDF/A | Keep; convert to PDF/A if possible | |
| DOC / DOCX | Documents | Software-dependent | Export to PDF-A alongside original |
| XLS / XLSX | Statistics, rosters | Software-dependent | Export to CSV alongside original |
| PSD / AI / InDesign | Yearbook and design files | Software-dependent | Export flat image versions; preserve originals |
| FLV / SWF | Legacy web video | Largely obsolete | Priority conversion; originals may be unplayable |
For any format flagged as declining support or obsolete, create a converted access copy immediately — before the original is stored — using current, widely supported formats. The original file stays in the archive; the conversion becomes the working access copy.
Phase 5 — Content Inventory and Cataloging
Extraction without cataloging produces a folder of files that nobody can navigate. The cataloging step transforms a raw extraction into a searchable, usable archive.
Step 10: Build a content inventory for each media item.
For each intake item, create a content inventory document that lists every folder and subfolder recovered, the approximate date range of content by folder, the total file count and file size by type, and a summary description of what the content covers. This inventory lives alongside the extracted files and in the intake register, connecting the physical media record to the digital content it produced.
Step 11: Apply consistent file naming to every extracted file.
Rename files at intake to a consistent, descriptive scheme that encodes enough context for the file to be identifiable without opening it. A practical scheme for athletic archive photo files:
[SCHOOL]-[SPORT]-[SEASON_YEAR]-[EVENT_OR_TYPE]-[SEQUENCE].[EXT]
Example: LINCOLN-FOOTBALL-2009-STATE-CHAMPIONSHIP-0042.jpg
Apply the same principle to video, document, and spreadsheet files. Renaming at intake — rather than keeping platform-generated or camera-generated filenames like DSC_00842.jpg or VID_20090912.mp4 — pays compounding dividends as the archive grows and content is searched, shared, or loaded into recognition displays.
Step 12: Document athlete and event identifications when the donor can provide them.
For photos and video, capture any identifications the donor can provide before the handoff is complete. Athlete names, jersey numbers, events, opponents, and dates are far easier to capture from someone who was present than from someone trying to interpret images years later. A simple spreadsheet or form capturing filename, identified subjects, and event context provides the metadata that transforms a folder of photos into a searchable portrait and event archive.
This kind of structured identification work directly supports recognition programs. When photos are tagged with athlete names, they can be connected to athlete profiles, added to hall-of-fame displays, and used in athletic banquet programs and recognition events without requiring staff to identify subjects from memory under deadline pressure.
Phase 5 Checklist
- Generate a complete file listing of all extracted content by folder
- Create a content inventory document for the intake item and add it to the intake register
- Rename files to a consistent, descriptive naming scheme
- Capture donor identifications for photos and video before the handoff is final
- Flag any content that may require privacy review (individual student records, minors in non-public contexts)
- Note any files that could not be opened or converted and document the failure reason
- Record total extracted file count, file size, and date range in the intake log
Phase 6 — Preservation Copies and Storage
The final phase establishes the storage structure that keeps extracted content safe, accessible, and protected against future loss.
Step 13: Store extracted content in a canonical athletic archive location within school-controlled infrastructure.
The canonical storage location should be within your school’s or district’s managed cloud storage — Google Workspace for Education or Microsoft OneDrive under the district license are appropriate choices — organized so that archived media content integrates with other athletic archive materials. A structure that separates intake items by media source while integrating content into the archive by sport and year avoids creating isolated silos:
/athletic-archive/
  /intake-by-source/
    /RM-001-coach-smith-football-drives/
    /RM-002-booster-photos-cds-2004-2010/
  /photos-by-sport/
    /football/
    /basketball/
    /track/
  /video/
  /documents/
  /yearbooks/
Step 14: Create at least one additional copy in a separate location.
A single cloud storage copy, even in a reputable service, is a single point of failure. An additional copy on an external drive stored securely at the school, or in a second cloud storage account controlled by the school, adds resilience against accidental deletion, account access loss, or cloud service disruption. The principle is the same one that applies to athletic archive database exports: two geographically separate copies are the baseline, not the aspiration.
Step 15: Document the return or disposition of the original media.
After extraction and preservation storage are confirmed, decide what happens to the physical media. Options include returning the originals to the donor, retaining originals in a school archive with labeled storage, or retiring and destroying originals that have been fully extracted and verified. Whatever the decision, document it in the intake log with the date, outcome, and any donor communication. A donor who expected their drive to be returned and finds it has been discarded has a legitimate grievance. Documentation prevents ambiguity.
Phase 6 Checklist
- Transfer extracted content to canonical archive storage within school-controlled infrastructure
- Verify that file counts and sizes in the archive match the extraction totals
- Create a second copy in a separate location (second cloud account or external drive)
- Confirm both copies are accessible and that access credentials are documented
- Update the intake register to reflect successful preservation storage
- Document the return, retention, or disposition of the original physical media
- Communicate outcome to the donor and thank them for the contribution
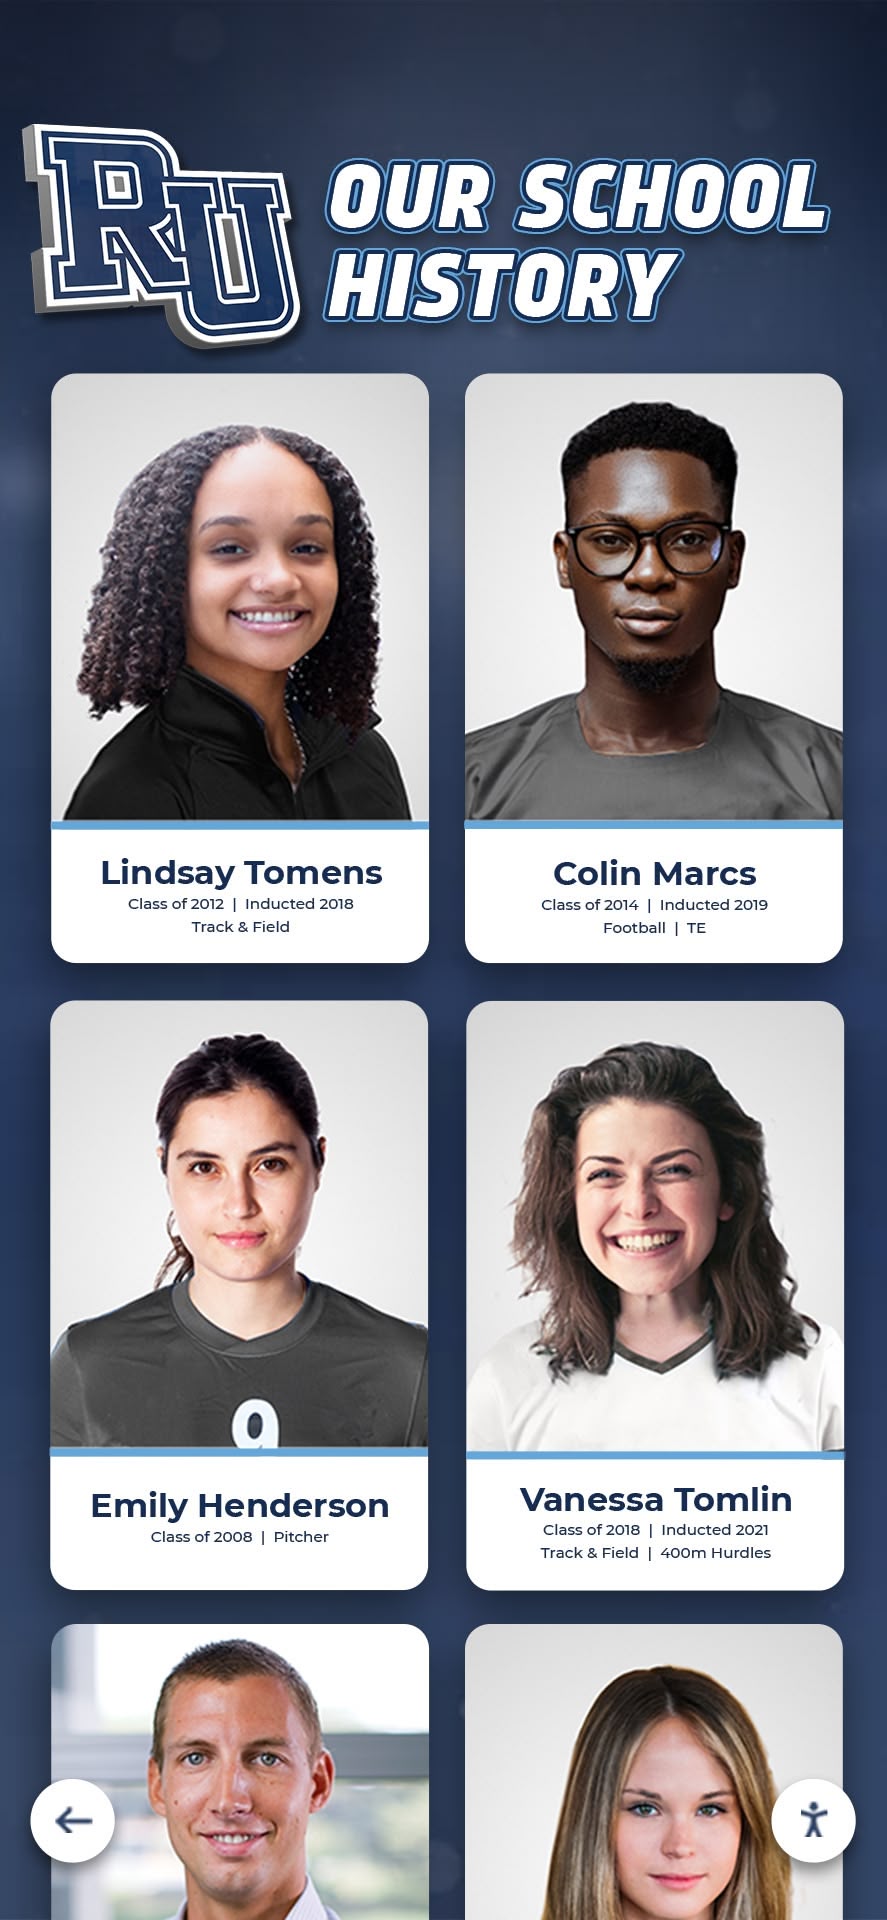
Content recovered from donated drives, discs, and cards — when properly cataloged and stored — becomes a searchable portrait archive that recognition programs can draw on indefinitely
Handling Legacy and Obsolete Formats
Some media types require equipment that most athletic departments no longer have in inventory. Knowing when to escalate — and where to turn — prevents valuable content from sitting untouched because no one has the right hardware.
Optical Disc Formats
CD-R and CD-RW discs from the 1990s and 2000s are still readable with most optical drives, but many current computers ship without an optical drive. USB external optical drives are inexpensive and handle the majority of CD and DVD formats. For Blu-ray discs, a Blu-ray-capable drive is required — standard DVD drives cannot read Blu-ray.
Damaged optical discs may be partially recoverable using disc repair kits (gentle polishing to address surface scratches on the non-label side) or commercial disc repair services that mechanically resurface the data layer. Do not attempt to repair delaminated discs — the separation of layers is not a surface problem.
Obsolete Magnetic and Flash Formats
Zip disks (100 MB and 250 MB, common in late 1990s and early 2000s school environments) require a Zip drive to read. These are no longer manufactured but are available through secondary markets. District IT departments, school libraries, or local colleges with archiving programs sometimes have Zip drive equipment available for loan. Floppy disks similarly require dedicated drive hardware that is widely absent from current equipment inventories.
CompactFlash cards from early digital camera equipment remain readable with CompactFlash card readers, which are still available. Memory Stick, xD-Picture Card, and other proprietary formats from the mid-2000s require the specific reader for each format — universal card readers that handle these formats are available and are worth having in an intake toolkit if your program regularly receives older donated media.
Tape-Based Video Formats
VHS tapes, Hi8, MiniDV, Betacam, and other tape formats require working playback decks. These formats typically cannot be handled in-house without the appropriate deck, and most schools no longer have functional decks in inventory. Options include:
- District AV departments: Some districts retained tape playback equipment through the transition era
- Public library media labs: Many larger public library systems maintain tape conversion equipment for patron use
- Commercial video transfer services: Services specializing in tape-to-digital conversion are widely available and appropriate for valuable content — championships, banquets, and archive footage worth the investment
For tape-based content, document what tapes exist and their approximate content before commissioning conversion, and specify the output format (MP4 in H.264 at full original resolution, not a compressed web version) when requesting quotes.
Quick Reference: Format-Specific Intake Notes
| Media Type | Write Blocker | Disk Image | Common Content | Key Risk |
|---|---|---|---|---|
| USB flash drive | Yes | Recommended | Photos, documents, display content | Malware; deleted files not visible without imaging |
| External hard drive | Yes | Recommended | Large photo/video libraries | Drive failure during extraction; malware |
| SD / microSD card | Yes (card reader model) | Recommended | Photos, video from cameras | Fragile contacts; cards formatted by camera, not PC |
| CompactFlash card | Adapter + write blocker | Recommended | Early digital camera photos | Requires CF reader; older file systems |
| CD-R / CD-RW | Not applicable | Yes | Photos, yearbook files, documents | Disc rot on CD-Rs; surface scratches |
| DVD-R / DVD-RW | Not applicable | Yes | Video, photo archives | Surface damage; CSS on commercial DVDs |
| Blu-ray | Not applicable | Yes | HD video | Requires Blu-ray drive; format complexity |
| Zip disk | Not applicable | Requires Zip drive | Documents, early digital photos | Requires legacy equipment; “click of death” failure mode |
| Floppy disk | Not applicable | Requires floppy drive | Administrative documents | Highly failure-prone; very limited capacity |
| VHS / tape | Not applicable | Requires playback deck | Game video, banquets | Physical deterioration; requires professional transfer |
Privacy, Copyright, and Consent Considerations
Removable media donated to an athletic archive can raise questions that are worth addressing before content is published or displayed, even if the original content is decades old.
Student privacy in photographs and video. Content depicting students — particularly minors — may carry obligations that vary by jurisdiction and institutional policy. Photos and video from school athletic events taken by staff or official team photographers in public contexts are generally treated differently from content taken in private settings. Review your district’s media consent policies and, for any uncertainty about specific content, consult qualified legal counsel familiar with FERPA and applicable state student privacy law.
Copyright in donated photographs. The person who donates a drive does not necessarily own the copyright to the photos it contains. Team photographers, parents, and yearbook staff who took photos retain copyright unless they transferred it in writing. For photos that will be republished in recognition displays, yearbooks, or public-facing digital archives, consider what rights the donor actually holds and whether a simple license or release is appropriate. The general principle in archival practice — retaining a copy for preservation while seeking permission before publication — is a reasonable starting point for most school programs.
Historical content and individual removal requests. Athletic archives sometimes receive requests from individuals asking that photos or records be removed from display or publication. Developing a clear, consistent policy before requests arrive — rather than making case-by-case decisions under pressure — protects both the individual and the program. A policy framework for athletic record handling and correction requests addresses this kind of situation before it becomes a dispute.
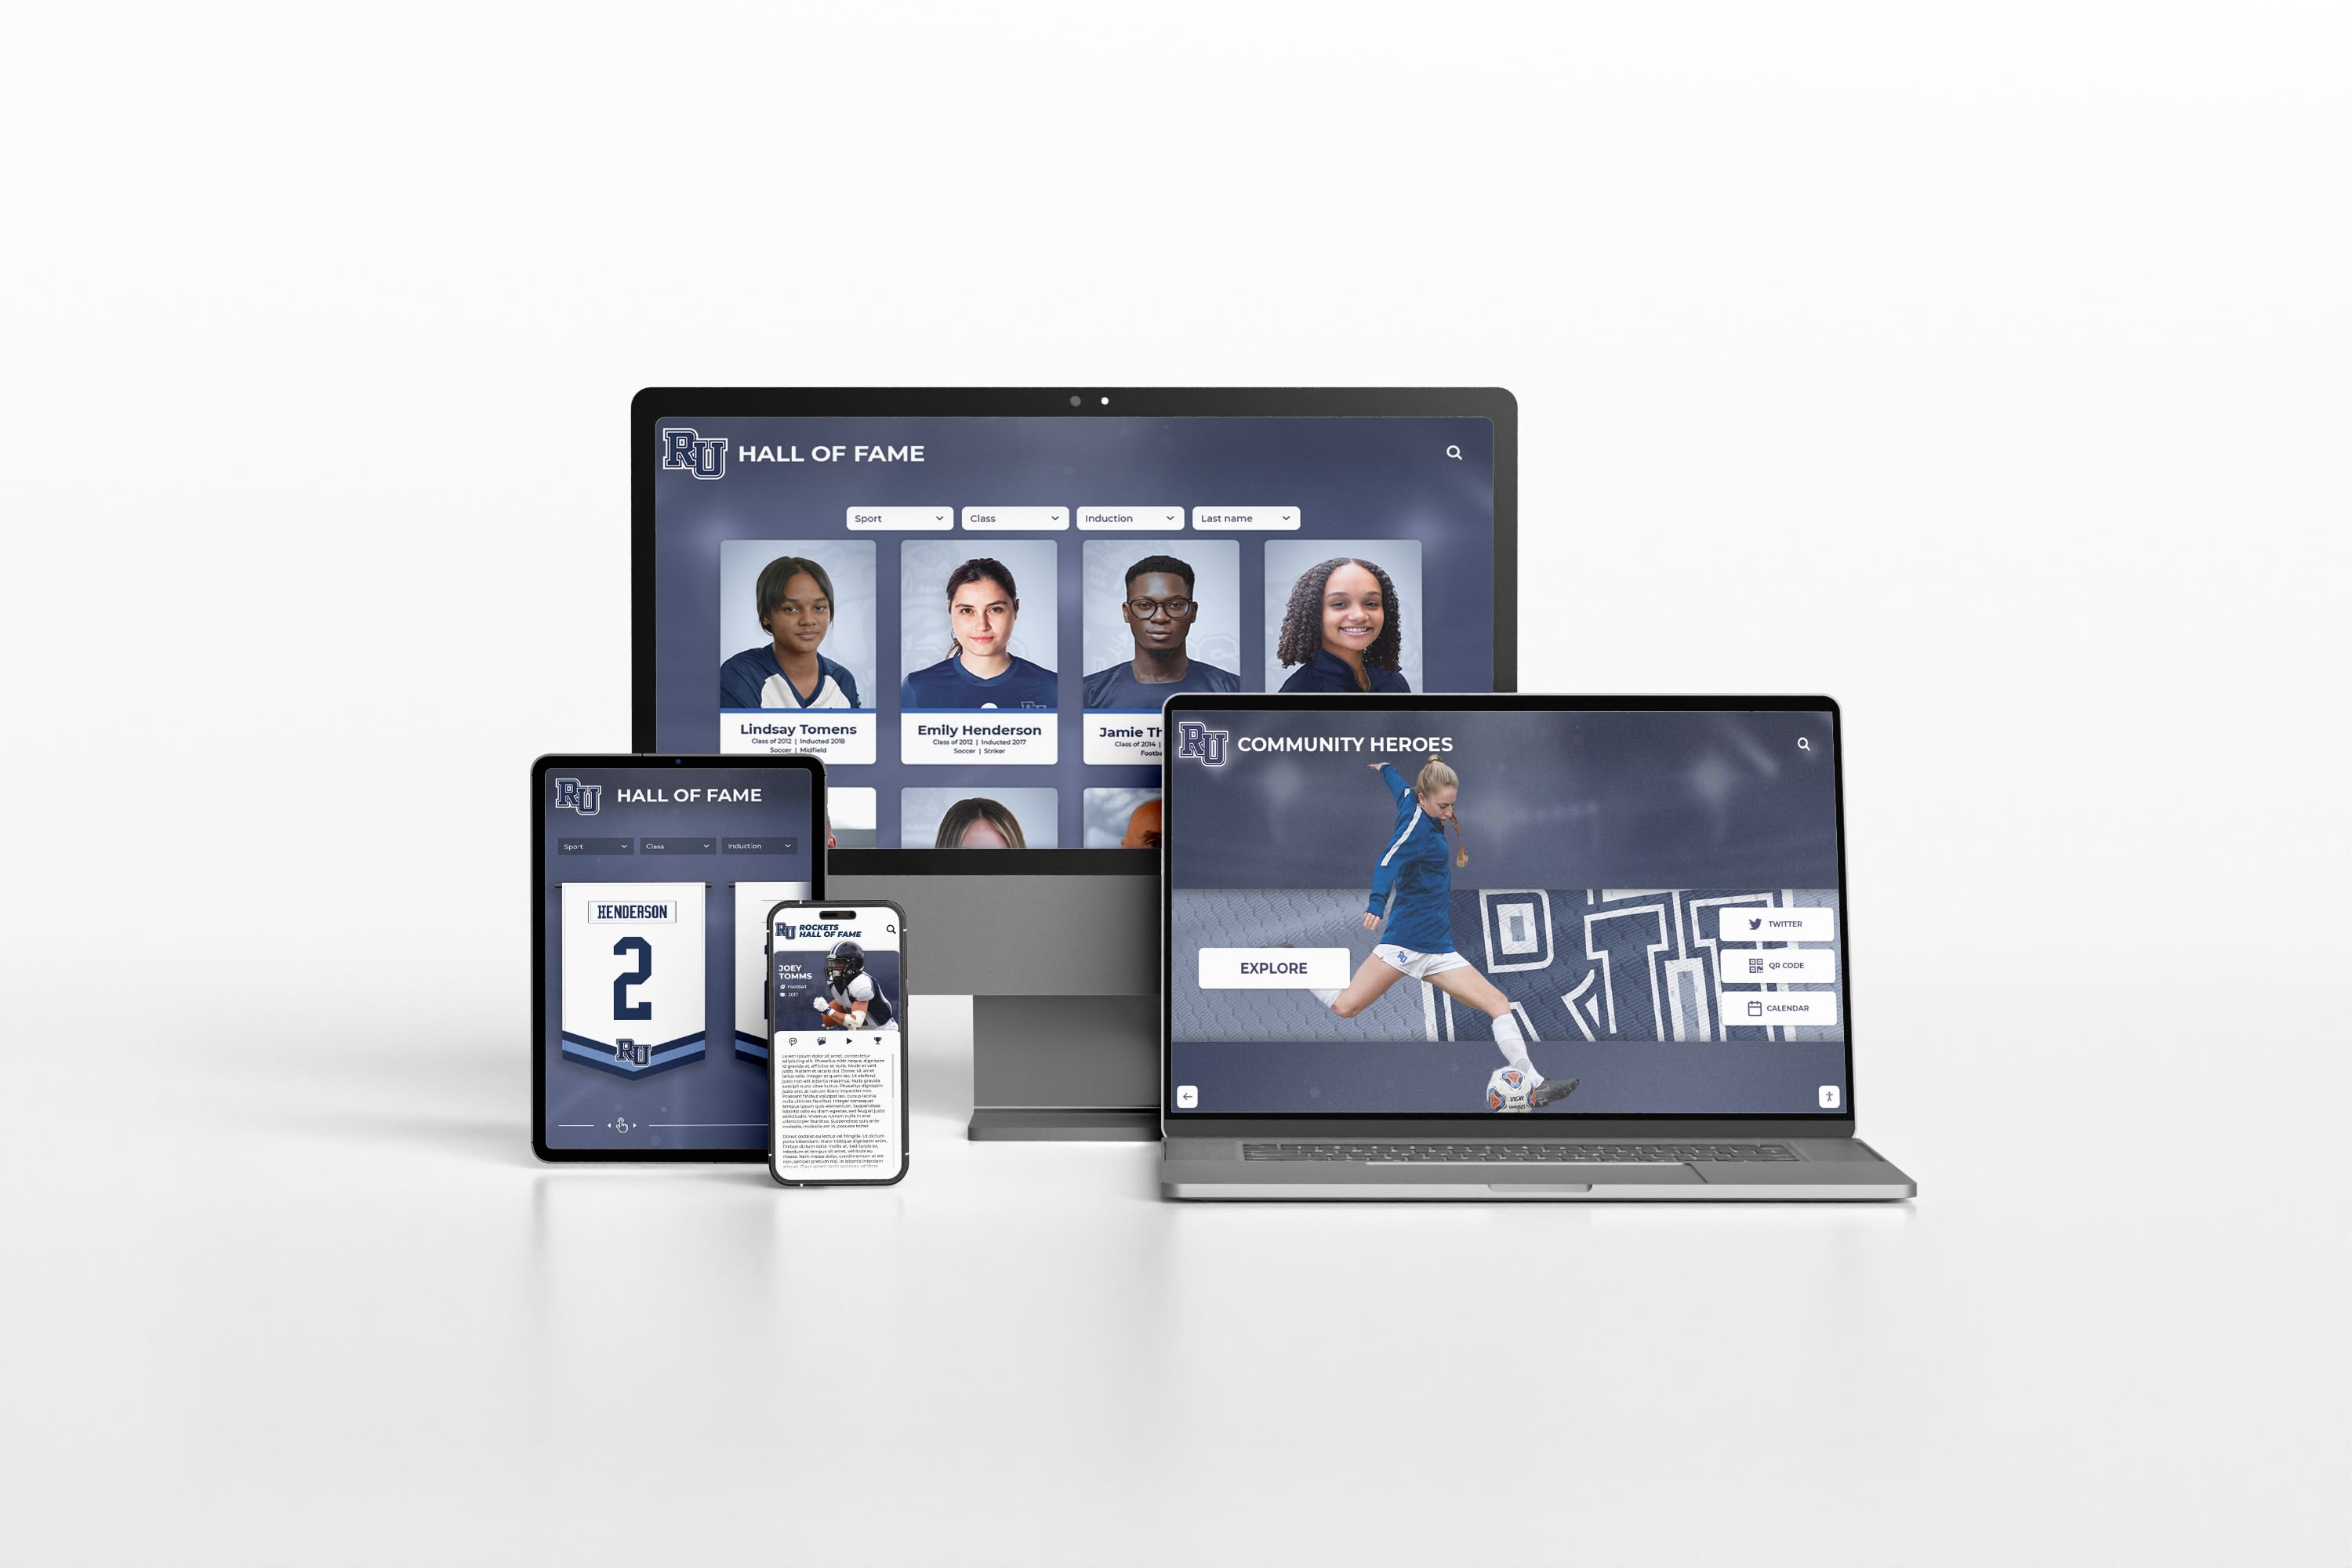
When removable media content is extracted, cataloged, and stored in platform-independent formats, it can power digital recognition displays accessible from any device — preserving athletic history far beyond the original media's lifespan
How Removable Media Archives Connect to Recognition Programs
A completed media intake doesn’t end with a folder of files on a school drive. The value of the content recovered depends on what it connects to. Athletic recognition programs — hall-of-fame displays, digital leaderboards, alumni engagement platforms, and annual banquet presentations — all draw on the same underlying archive that a well-run intake process builds.
Photos recovered from old drives populate recognition displays. A box of CDs from a 2001 state championship, properly imaged and cataloged, can supply portrait photos, action shots, team composites, and celebration imagery for a digital hall-of-fame display honoring that year’s athletes. Without intake documentation connecting each photo to a person and event, the photos exist but remain inaccessible for recognition purposes. With documentation, they become program assets.
Video content supports alumni engagement and events. Game film, banquet recordings, and highlight reels recovered from aging tapes and drives are exactly the kind of content that draws alumni back to recognition events and school spirit programs. A converted, cataloged video library from the program’s history provides material for anniversary events, reunion displays, and digital archives that alumni can explore online.
Donor trust is built through stewardship. When a retiring coach or former booster donates a hard drive of athletic content, they’re expressing trust in the program to care for it. Acknowledging receipt, completing the intake process, and communicating the outcome of the intake — what was recovered, how it was preserved, and where it will be used — closes the loop and reinforces the relationship. That kind of stewardship supports the donor recognition programs and long-term sponsorship relationships that athletic departments depend on.
Recognition programs gain credibility when records are complete. A hall-of-fame display that includes athletes from 1998 alongside athletes from 2023 tells a richer story than one that starts wherever the first digital records happened to begin. Recovering pre-digital content from removable media — the photos and records that predated cloud storage — extends recognition programs backward in time, giving the full arc of a program’s history the visibility it deserves. Donor walls and recognition programs that connect historical giving and athletic achievement to current displays benefit particularly from deep archive coverage.
Letterman recognition and tradition programs depend on complete records. Content recovered from legacy media often contains documentation of letterman awards, record-setting performances, and program milestones that would otherwise be absent from digital records. Connecting recovered content to letterman recognition and tradition programs gives those traditions the historical depth that makes them compelling to current athletes and alumni alike.
Frequently Asked Questions
Q: How long does a full media intake take for a single drive or disc?
A single USB flash drive containing a moderate photo library — a few thousand files organized into folders — typically requires two to four hours to complete through all six phases, including imaging, scanning, extraction, and cataloging. Larger external hard drives with video content can take a full day or more depending on transfer speed and file volume. Optical discs vary widely: a single CD might take twenty minutes, while a batch of fifty discs could take a full day of unattended reads with manual oversight. Build the schedule around the volume of media in the intake queue, not the number of individual items.
Q: We don’t have a hardware write blocker. Is it safe to connect donated drives without one?
Without a hardware write blocker, there is meaningful risk that the operating system will write to the connected media — updating access timestamps, creating hidden system files, or triggering auto-run scripts. For drives with significant historical content or any question of chain-of-custody integrity, a hardware write blocker is the appropriate tool. As a stopgap, consult with your district IT team about read-only mounting procedures for your operating system, and document whatever protective measure was used in the intake log. Hardware write blockers for common drive and card types are available for under $100 and are a worthwhile addition to any archive program’s equipment inventory.
Q: The donor says the drive has important content but we can’t read it — the drive makes clicking or grinding sounds. What do we do?
Clicking or grinding sounds from a hard drive indicate potential physical failure of the read head or platter mechanism. Do not continue attempting to read a drive that makes these sounds — additional read attempts can cause further damage and reduce the likelihood of successful professional recovery. Label the drive clearly, document the sounds observed in the intake log, and treat it as a critical condition item requiring professional data recovery services. Professional hard drive recovery can retrieve content from mechanically failed drives but increases in cost and success rate decreases with additional damage from failed reads.
Q: We received a box of CDs labeled “athletics” but they don’t all have individual labels. How do we handle them?
Treat each disc as a separate intake item with its own identifier. Attempt to read each disc, document what content it contains or whether it is unreadable, and build the catalog from what you can retrieve rather than what the box label suggests. Donors who label containers rather than individual items often don’t know exactly what each disc holds — the content inventory you build during intake may be more accurate than the donor’s own recollection. Photograph the contents of the box alongside the intake identifier before separating individual items.
Q: Can student athletes request access to archive content that includes them?
Schools should have clear policies about archive access before requests arrive. Graduates and their families may have legitimate interests in accessing their own records and photos. Current students’ records carry different considerations. The appropriate response to access requests depends on your district’s records policies and the nature of the content — whether it’s a team photo (generally public), a statistics record (generally public), or something from a more sensitive context. Consult your district records manager and legal counsel when developing access policies, and document whatever policy is adopted so staff can apply it consistently.
Q: How do we handle media that contains content from both athletic records and general student records?
Media that combines athletic content with content that falls under student records protections — individual academic records, health information, or disciplinary materials — requires care at the extraction stage. Separate athletic content from non-athletic content in the cataloging phase, and apply the district’s student records retention and access policies to the non-athletic portion. If there is any uncertainty about whether specific content carries student records protections, consult your district’s records manager before including it in the athletic archive or making it accessible.
Building the Intake Toolkit
A repeatable intake process is easier to run when the necessary tools are already assembled. A basic athletic archive removable media intake kit includes:
| Tool | Purpose | Notes |
|---|---|---|
| Hardware write blocker | Protect media from writes during inspection and extraction | USB, SATA, and card variants available |
| USB external optical drive | Read CDs and DVDs on devices without built-in drives | Blu-ray-capable models handle all optical formats |
| Universal card reader | Read SD, microSD, CompactFlash, and older flash formats | Multi-slot readers cover most formats in a single device |
| USB hub with power delivery | Connect multiple devices simultaneously | Useful for processing multiple discs in sequence |
| Disk imaging software | Create bit-for-bit images of drives and cards | FTK Imager (Windows) or dd (Linux/macOS) |
| Malware scanner | Scan media before extraction | Use the district’s managed endpoint protection |
| File identification tool | Identify file formats and assess obsolescence risk | DROID (National Archives) or Siegfried |
| Intake log spreadsheet | Track every media item through all six phases | Template with fields for each checklist item |
| Adhesive labels | Label physical media with intake identifiers | Avoid writing directly on optical discs |
| Camera or phone | Document physical condition and labels | Photographs belong in the intake record |
The NARA (National Archives and Records Administration) guidance on managing removable media provides additional context for institutional records programs transferring content from removable media to controlled storage environments.
Conclusion: Every Piece of Media Is a Decision Point
The box of drives and discs sitting in the athletic department closet represents a decision that hasn’t been made yet. Left alone, those drives will continue to age — hard drives have estimated lifespans measured in years, not decades; optical discs degrade through chemical processes that don’t pause because no one has scheduled the intake. Eventually, some of those drives will fail completely, and the content on them will be gone.
An athletic archive removable media intake checklist makes the decision systematic rather than accidental. It ensures that content is recovered safely, that the equipment and the archive are protected, that what was recovered is documented clearly enough to be useful for recognition and research, and that the physical originals are handled in a way the donor understands and supports.
The athletic records, photos, and video that live on removable media are the raw material of recognition programs that stretch backward in time — the championships, the record-setting performances, and the athletes whose contributions deserve to be visible in hall-of-fame displays, digital leaderboards, and alumni programs long after the original media that held them has been retired. Processing those materials through a consistent intake process is what turns a box of aging drives into an archive that programs can build on.
If your school is ready to connect a well-organized athletic archive — including content recovered from legacy media — to a recognition platform designed to make every athlete’s story visible and every record accessible, Rocket Alumni Solutions can show you what that looks like for your program.
See how a complete athletic archive powers recognition displays that last.
Ready to see this for your school?
Picture your collection in a custom mockup
Start with your yearbook collection and digitization goals, then request a custom digital mockup for your school.