
Film negatives locked in archive drawers, manila envelopes, and plastic sleeves represent some of the most irreplaceable documentation a school athletic program possesses — championship rosters, hall-of-fame inductees, record-setting moments, and coaches whose names appear on today’s gym floors. Converting them through a repeatable athletic archive photo negative scanning workflow turns fragile silver-halide film into searchable digital assets that can power a touchscreen recognition display, a digital yearbook spread, or a sports banquet presentation without endangering the originals.
The short answer: scan athletic film negatives at 2400–4800 DPI depending on format, save archival masters as uncompressed TIFF in sRGB, create 300-DPI access copies for display use, and log every frame in a metadata spreadsheet before the originals return to cold storage. The expanded workflow below covers equipment selection, format-specific handling, file-naming, quality control, and how scanned images connect to modern recognition systems used by schools across the country.
Who This Workflow Serves
Converting a school’s film negative collection from passive storage to active digital assets requires input from several departments. This guide directly benefits:
- Athletic directors digitizing decade-spanning photo collections for hall-of-fame walls, lobby installations, and championship displays
- Archivists and library media specialists cataloging donated or inherited negative collections from former coaches and program photographers
- IT and facilities teams establishing the hardware, storage, and backup infrastructure that keeps scanned files safe and accessible
- Alumni relations staff building interactive recognition displays that surface historical team images alongside current athlete profiles
- Booster-club leaders assembling historical photo content for fundraising campaigns and sports banquet recognition programs
- Yearbook advisers pulling archival sports images into anniversary issues and alumni sections
If your school has a file drawer full of film negatives and no reliable process for converting them — or an inconsistent process that produces images no one can find six months later — this workflow gives you a repeatable system from intake to display.
Resolution and File-Format Decision Table
The most common question when starting an athletic archive photo negative scanning workflow is which resolution and format to use. The answer depends on the film format and the intended use.
| Film Format | Negative Size | Archival Scan DPI | Access Copy DPI | Archival Format | Access Format | Typical Use |
|---|---|---|---|---|---|---|
| 35mm (standard) | 24 × 36 mm | 4000–4800 DPI | 1200–1800 DPI | TIFF (uncompressed) | JPEG 90% | Most common school sports photography, 1960s–2000s |
| 120 / Medium Format | 60 × 60 mm or 60 × 70 mm | 2400–3200 DPI | 1200 DPI | TIFF (uncompressed) | JPEG 90% | Portrait sittings, team composites, formal athletic photos |
| 4×5 Large Format | 102 × 127 mm | 1200–2400 DPI | 600 DPI | TIFF (uncompressed) | JPEG 85% | Studio-style team portraits, rarely found before 1980 |
| 110 / Pocket Film | 13 × 17 mm | 4800–6400 DPI | 2400 DPI | TIFF (uncompressed) | JPEG 85% | Candid sideline shots, parent-photographer collections |
| APS (Advanced Photo System) | 17 × 30 mm | 3600–4800 DPI | 1800 DPI | TIFF (uncompressed) | JPEG 90% | Mid-1990s to early 2000s, some school photography |
According to the Image Permanence Institute at RIT, archival-quality scans of 35mm negatives require a minimum of 4000 DPI to produce a master file suitable for any downstream use, including large-format printing. Access copies at 1200–1800 DPI serve screens, digital yearbooks, and standard print recognition programs without the storage overhead of the uncompressed master.
For color space: scan all negatives in sRGB for archival masters unless your display output chain requires Adobe RGB. Converting from sRGB to Adobe RGB at a later stage is possible; converting the other way loses gamut information permanently.
Step-by-Step Athletic Archive Photo Negative Scanning Workflow
Step 1 — Intake and Condition Assessment
Before any negative touches a scanner, document what you have. Create an intake record for each physical container — sleeve, binder, box, or envelope — that enters the workflow.
Intake record fields:
- Container label or identifier (exactly as found, even if incomplete)
- Estimated negative count
- Film format (35mm, 120, 4×5, other)
- Approximate date range (check envelope labels, negative edge markings, or context clues)
- Physical condition: Clean, Minor Dust, Fungal Growth, Scratch Damage, Base Deterioration
- Priority for scanning: Urgent (actively deteriorating), High (significant historical content), Standard (routine archival)
Film negatives showing base deterioration — a vinegar smell indicating cellulose acetate breakdown — should be flagged as Urgent and scanned before any other handling. According to the Library of Congress Preservation Directorate, acetate film with advanced deterioration requires climate-controlled handling and prioritized digitization because the decomposition process is irreversible.
Write-protect all physical containers during intake. No negative should be removed from its sleeve for any reason other than scanning.

Intake assessment documents every container before scanning begins, creating a chain of custody that protects the archive and the individuals whose images it preserves
Step 2 — Equipment Selection and Scanner Setup
Consumer flatbed scanners with a transparency adapter handle most school negative collections adequately. Dedicated film scanners produce superior results for 35mm and 110 formats but require larger budgets and more operator training.
| Scanner Type | Film Format Support | Typical DPI Range | Cost Range | Best For |
|---|---|---|---|---|
| Flatbed with transparency adapter | 35mm, 120, 4×5 | Up to 6400 DPI optical | $200–$800 | Schools scanning multiple formats on a limited budget |
| Dedicated 35mm film scanner | 35mm, APS | Up to 4800 DPI optical | $500–$2,500 | High-volume 35mm collections; sharpest results for that format |
| Drum scanner (service bureau) | All formats | 8000+ DPI | Per-scan service fee | Priority preservation of rare or damaged negatives |
| DSLR/mirrorless with macro lens | All formats | Resolution-dependent | Existing equipment | Rapid batch capture when film scanner throughput is too slow |
For most school athletic archives, a flatbed scanner in the $300–$600 range with a dedicated film carrier handles 35mm strips and 120 roll film reliably. Scan in multi-pass mode (where available) to reduce noise at high DPI settings. Clean the scanner glass with an anti-static cloth before each session; dust on the glass appears as artifacts on every scan.
Set the scanner software to:
- Output: TIFF
- Color depth: 16-bit per channel (48-bit color total) for archival masters
- Color space: sRGB
- No auto-correction, sharpening, or dust-removal applied at scan time (apply corrections only to access copies, never to masters)
Step 3 — Negative Cleaning and Handling
Film negatives accumulate dust, fingerprints, and in older collections, mold spores. Clean each negative immediately before scanning using a lint-free microfiber cloth or compressed air (held 12 inches from the surface). For negatives with fungal contamination, wear nitrile gloves and work in a space separate from the main archive.
Handle all negatives by the edges only. The photographic emulsion on the image side of a negative is permanently damaged by fingerprint oils. If the emulsion side is uncertain, hold the negative up to a light source — the emulsion side appears matte, the base side appears slightly glossy.
Step 4 — Scanning and File Naming
Place negatives in the scanner’s film carrier according to the manufacturer’s orientation guide. Most 35mm strips load emulsion-side down on flatbed scanners. For 120 format, check the carrier documentation — emulsion orientation varies by scanner model.
Apply a consistent file-naming convention before the scan saves:
SCHOOLCODE_Sport_Year_EventOrContext_FrameNumber.tif
Example: WHS_Football_1978_StateChampionship_014.tif
Consistent naming at scan time eliminates the need for batch renaming later and ensures every file is independently interpretable without opening it. Include the school code or abbreviation to prevent collisions if files are ever merged with district-level archives.
Scan archival masters to a folder marked MASTERS — never mix masters and access copies in the same directory. After scanning, immediately write-protect the MASTERS folder at the OS level.
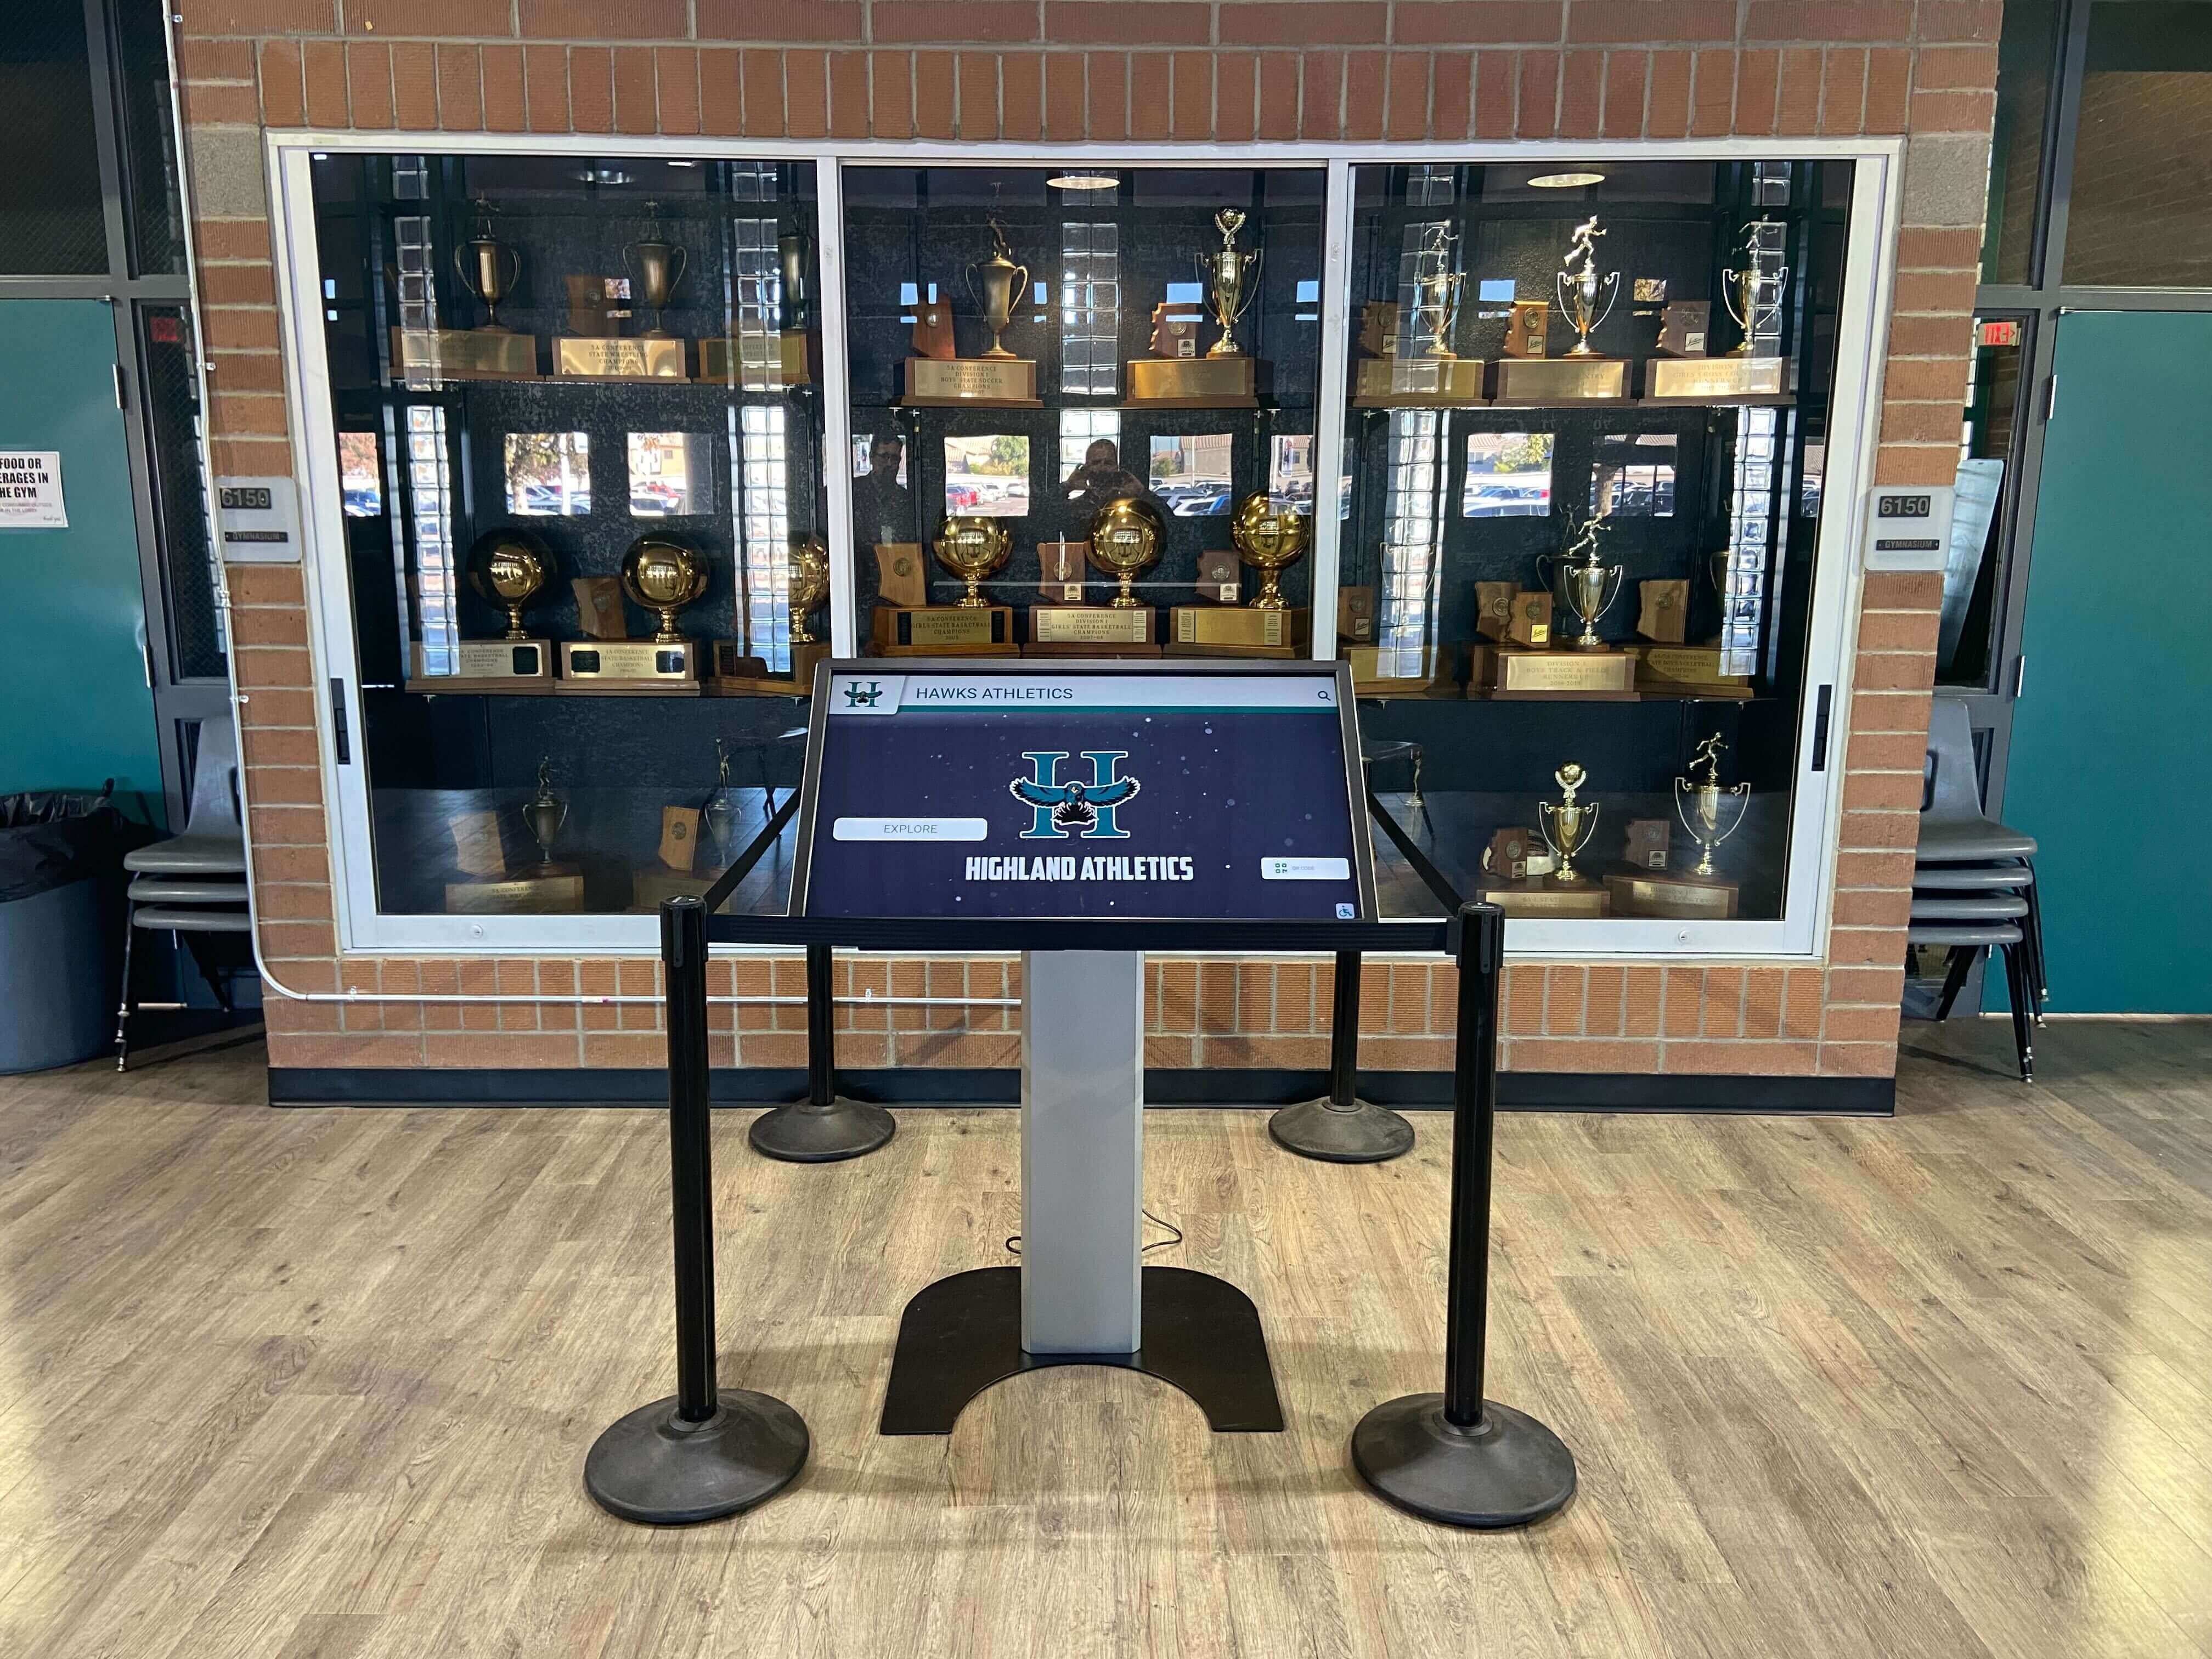
Properly scanned and named negative files integrate seamlessly into digital recognition platforms, turning archive drawers into interactive displays that students and alumni can explore in real time
Step 5 — Quality Control Pass
After scanning each batch, run a visual QC pass before the negatives are returned to storage. Open every master file and verify:
Technical checks:
- File opens without error
- Resolution matches the target DPI (verify in file properties or EXIF)
- No scanner artifacts: banding, dust spots larger than a dust particle, or color fringing from transparency adapter edge bleed
- Image covers the expected frame area — no clipping of the negative’s image boundary
Content checks:
- Frame number in the file name matches the sequence visible in the negative strip
- Sport, year, and event label appear plausible for the content shown
- Obvious misidentification (a basketball photo labeled as football) caught and corrected before cataloging
A QC checklist with one line per scanned frame, signed by the operator, becomes part of the batch record. This provides accountability and protects the program if questions arise later about scan quality or identification accuracy.
Step 6 — Create Access Copies
From each approved master, create a JPEG access copy sized for the primary intended use. For schools building digital recognition displays and touchscreen hall-of-fame systems, the standard access copy specification is:
- Format: JPEG at 85–90% quality
- Longest edge: 3000 pixels (scales to most kiosk screen resolutions)
- Color space: sRGB
- Applied adjustments: levels correction to remove the orange film base cast from color negatives; sharpening only if clearly needed
Save access copies to a parallel DERIVATIVES folder using the same file name as the master, with a _display suffix:
MASTERS/WHS_Football_1978_StateChampionship_014.tif
DERIVATIVES/WHS_Football_1978_StateChampionship_014_display.jpg
Never apply edits to masters. All corrections, crops, and exports happen to access copies only. The master is the permanent record; access copies are expendable and can be regenerated from the master at any time.
Metadata and Cataloging for Scanned Athletic Negatives
A scanned file without metadata is nearly impossible to find in three years. Metadata is what makes your athletic archive photo negative scanning workflow produce a searchable, usable collection rather than a hard drive full of images only the original archivist can navigate.
Minimum Metadata Fields Per File
Embed these fields into each master file using a tool such as Adobe Bridge, ExifTool, or your institution’s digital asset management platform:
- Title: Sport, year, event (e.g., “Football — State Championship 1978”)
- Creator: Photographer name if known, or “Unknown / School Archive”
- Date Created: Full date if known; year only is acceptable for historical negatives
- Description: One-sentence content description including visible subjects if identifiable
- Subject Tags: Sport, team name, event type, season
- Rights: “School Property — Contact [school name] Athletic Office for licensing”
- Source: Film negative, format, and original container ID
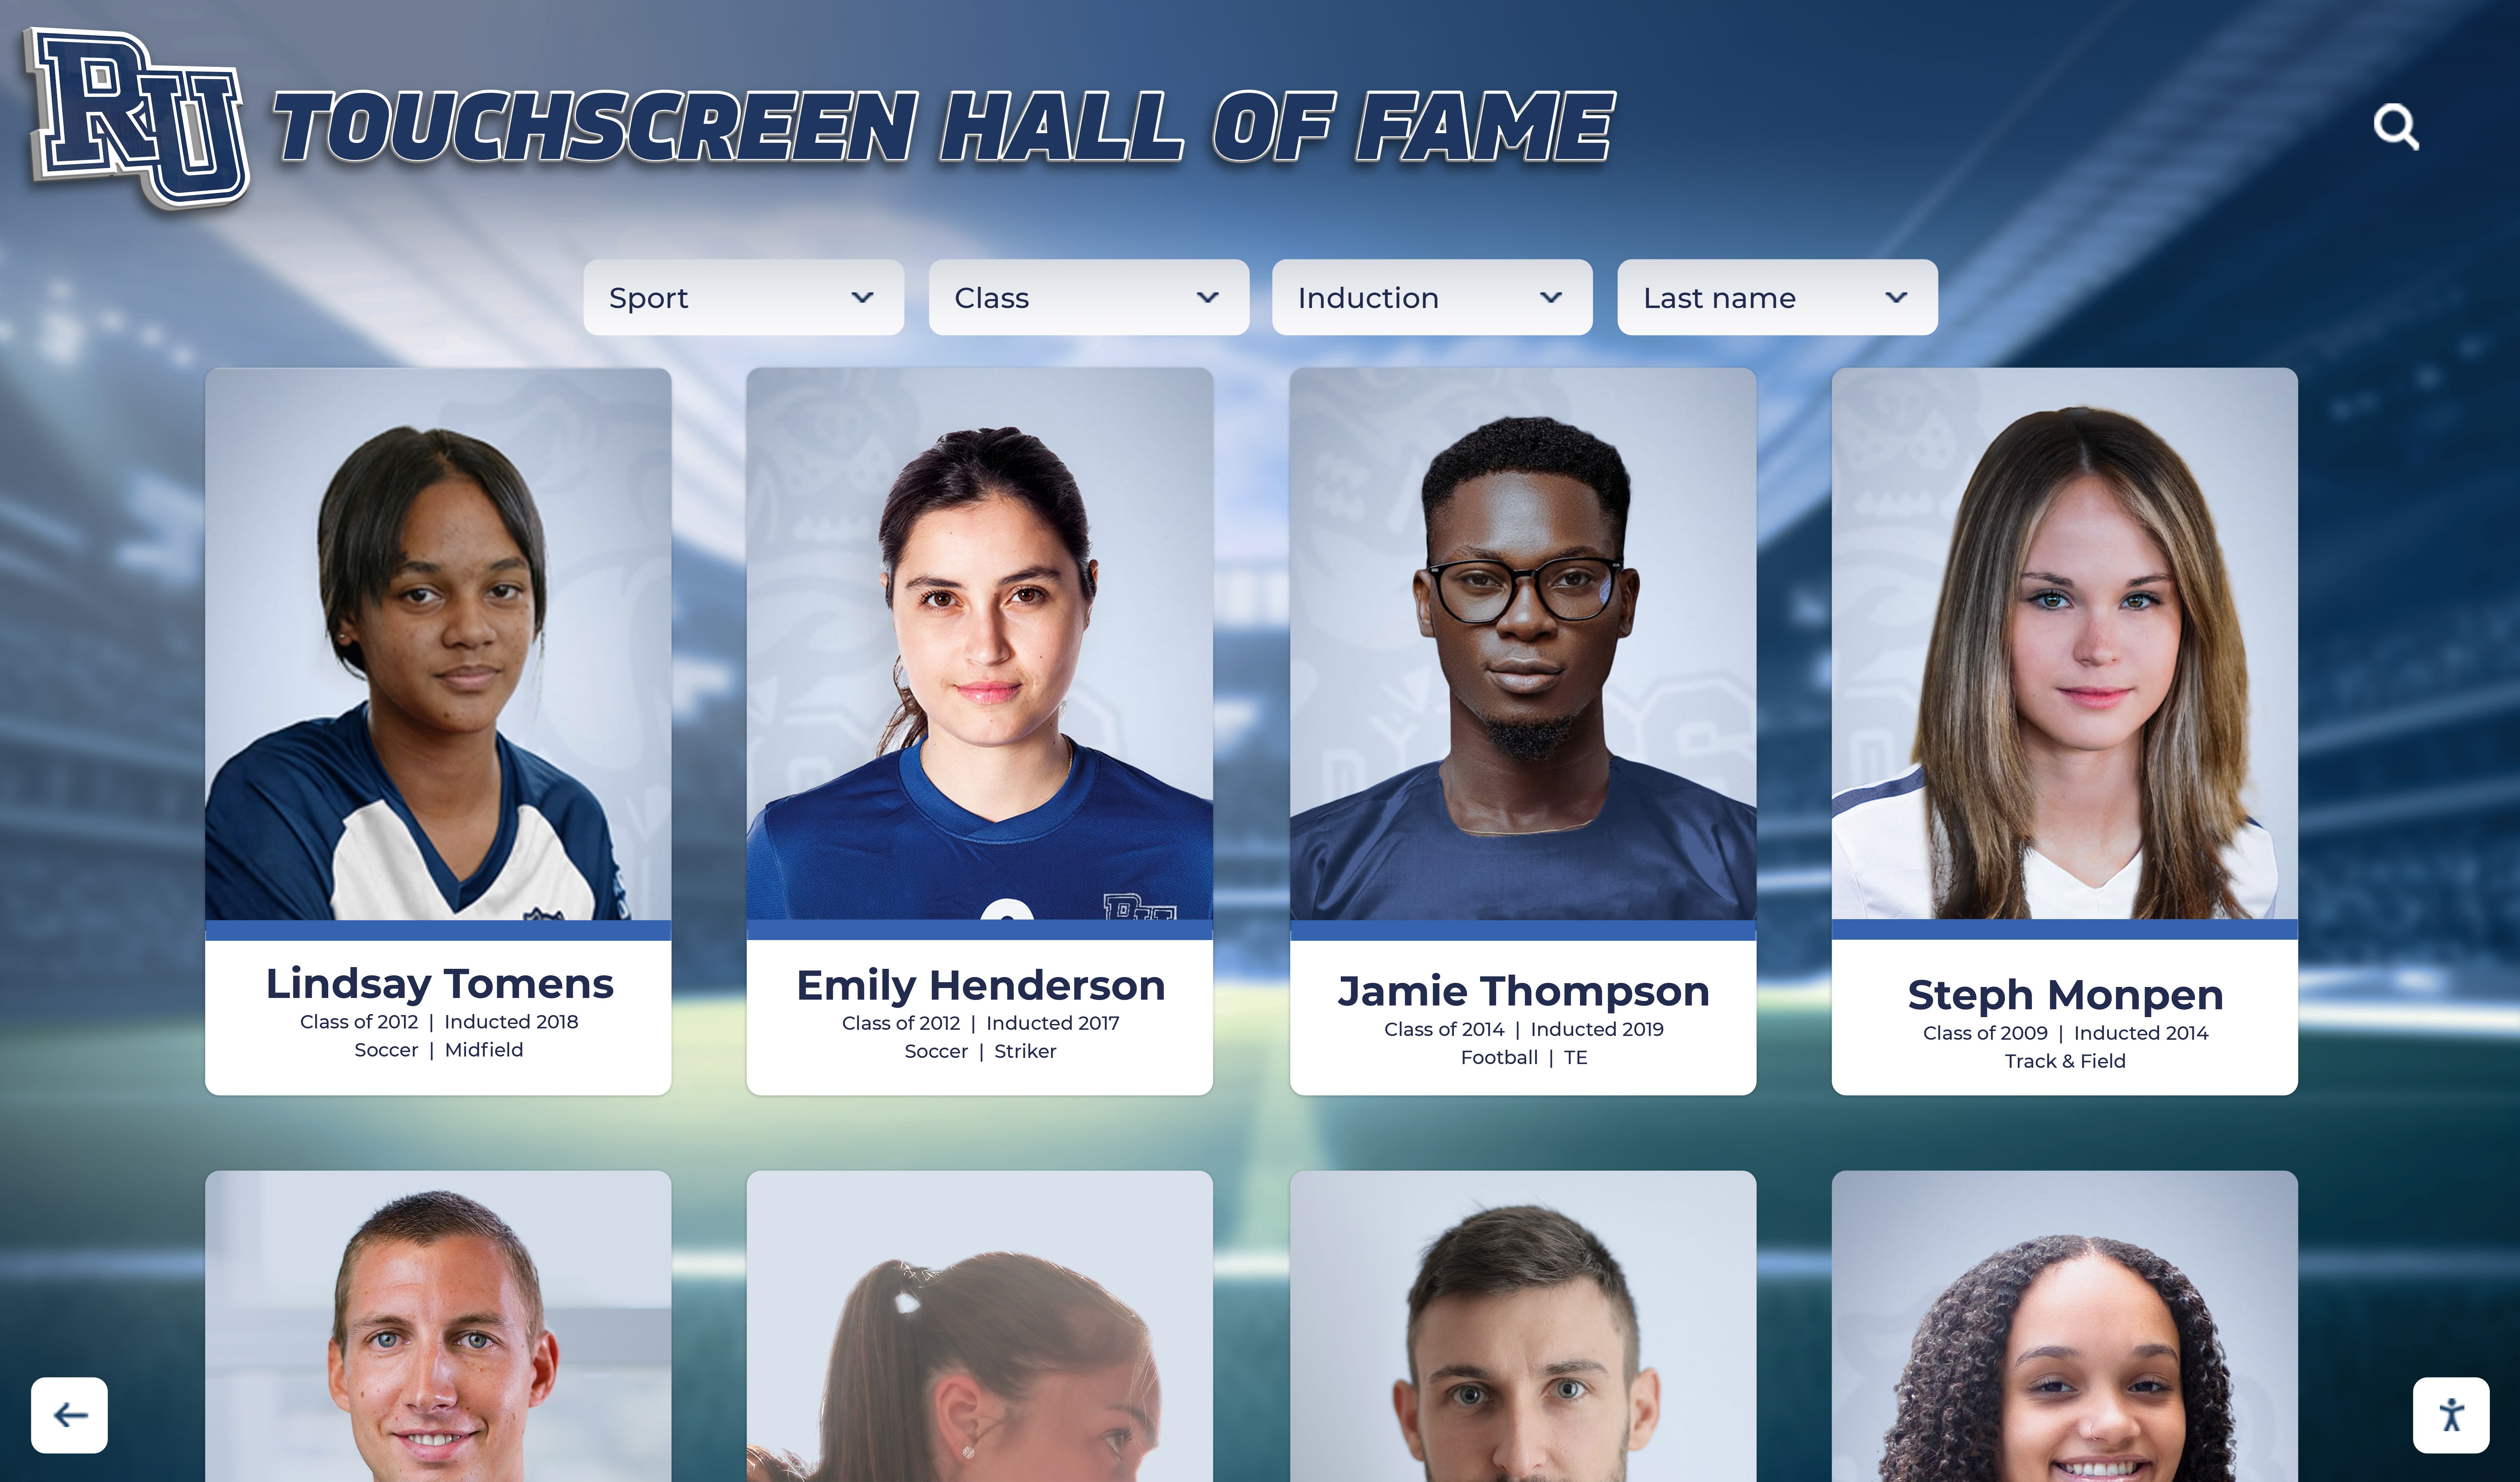
Metadata embedded at the scanning stage powers the search functions in digital recognition platforms, making historical negatives discoverable by name, sport, year, or event
Batch Metadata Log (Spreadsheet)
In addition to embedded metadata, maintain a master spreadsheet cataloging every scanned frame. Columns should include:
| Column | Example |
|---|---|
| File Name | WHS_Football_1978_StateChampionship_014.tif |
| Film Format | 35mm |
| Original Container ID | Box 3, Envelope F |
| Sport | Football |
| Year | 1978 |
| Event | State Championship |
| Subjects Identified | Coach R. Martinez, #22 |
| Scan DPI | 4800 |
| Color Space | sRGB |
| QC Status | Approved |
| Access Copy Created | Yes |
| Display Platform Upload | Pending |
The spreadsheet serves as the source of truth linking every physical negative to its digital representation, the container it came from, and its status in the downstream display workflow. Teams migrating images to a digital sports team archive display use this log to track upload progress and prevent duplicate submissions.
Connecting Scanned Negatives to Athletic Recognition Displays
Digitizing film negatives produces archival assets. The educational and community value of those assets is realized when they become visible — as hall-of-fame images, lobby display photos, sports banquet slides, or interactive touchscreen content that students and alumni can explore without a librarian’s assistance.
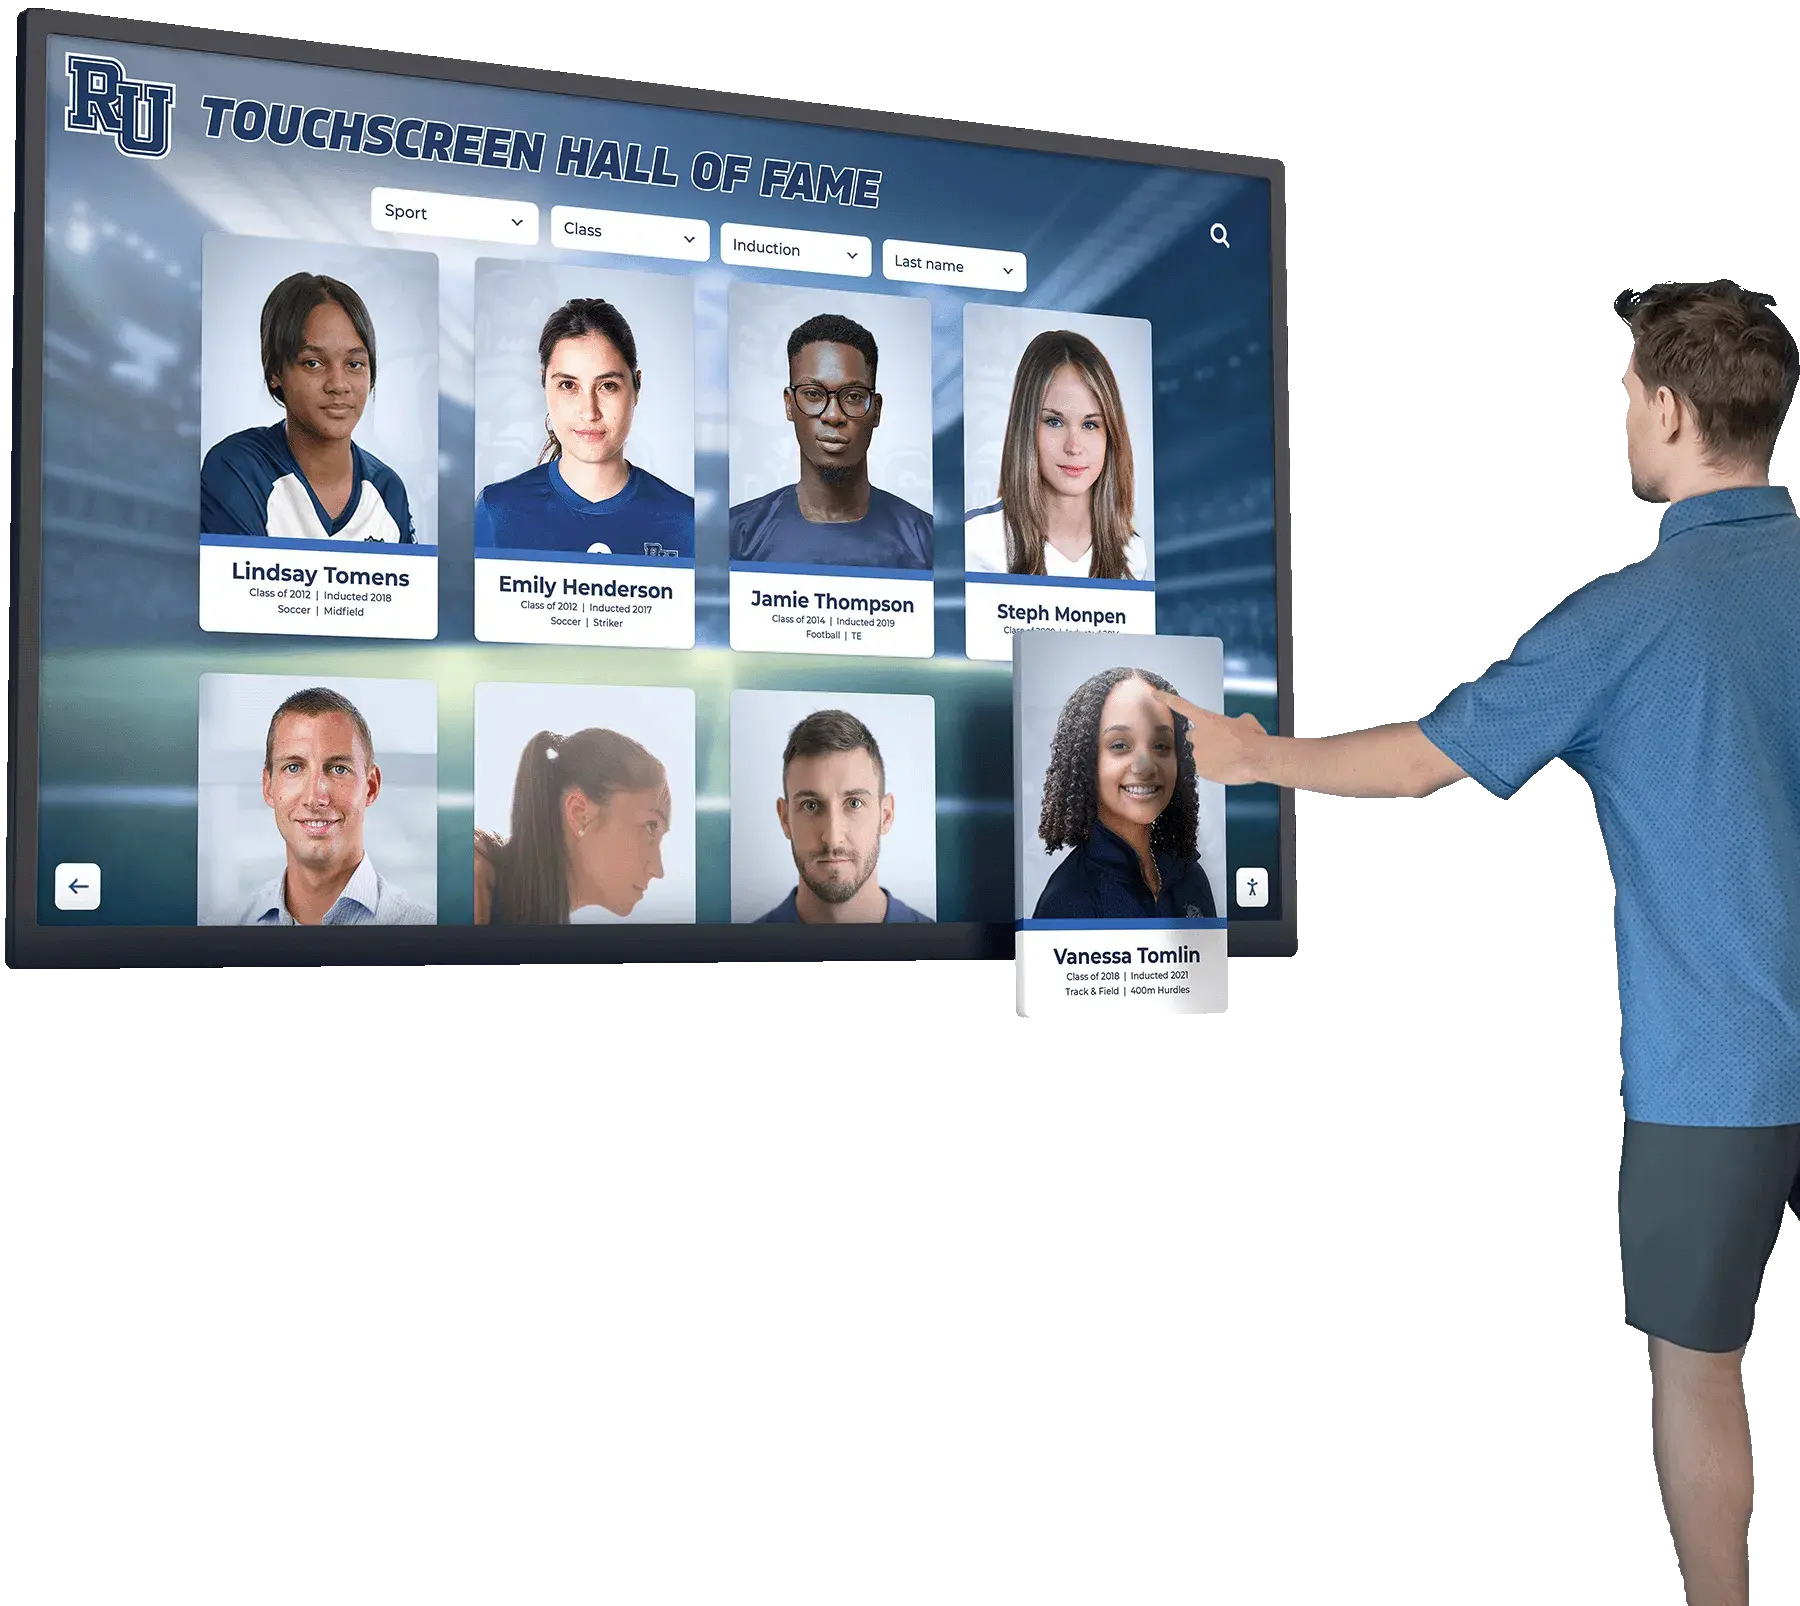
Hall-of-fame touchscreen systems surface scanned athletic negatives as interactive athlete profiles, historical timelines, and championship galleries — making decades of film history accessible to every visitor
From Negative to Display: The Connection Points
Once access copies are ready and metadata is embedded, scanned athletic images can feed several recognition use cases simultaneously:
Touchscreen hall-of-fame kiosks display historical team photos alongside modern athlete profiles, creating a continuous visual record of athletic excellence. The derivative files created in Step 6 of the scanning workflow load directly into most kiosk content management systems without additional resizing.
Digital yearbook spreads benefit from archival sports photography that print-era yearbooks couldn’t accommodate due to page limits. Schools using a digital yearbook platform can reference scanned negative collections when building anniversary issues and alumni spotlights.
Sports banquet presentations draw on scanned historical images to show program evolution — championship rosters from the 1970s alongside today’s letter winners — creating a narrative thread that connects generations of student athletes to a shared athletic tradition.
Explore how school athletic programs connect digitized photo archives to lobby recognition systems to understand how the scanning workflow feeds the display pipeline from intake to installation.
Schools with significant historical negative collections also use scanned images to build team photo recognition archives that appear prominently in athletic facilities and administration offices, reinforcing school identity and honoring the athletes who built program traditions.
Athletic Archive Photo Negative Scanning Checklist
Use this checklist at the start of each scanning session to verify that the workflow is operating correctly before a batch of irreplaceable negatives enters the process.
Pre-Scan Setup
- Scanner glass cleaned with anti-static cloth
- Film carrier installed correctly for target film format
- Scanner software set to TIFF, 16-bit, sRGB, no auto-corrections
-
MASTERSfolder created and write-protected after previous session’s files confirmed - File-naming convention template open and ready
Per-Negative Handling
- Negative handled by edges only, emulsion identified
- Surface cleaned with lint-free cloth or compressed air
- Negative placed in carrier with emulsion orientation confirmed
- File name applied before scan saves
- Frame number in file name matches negative strip position
Post-Scan QC
- File opens without error
- Resolution verified in file properties
- No scanner artifacts visible at 100% zoom
- Content matches file-name label
- QC log updated with file name, operator initials, and date
Access Copy Creation
- JPEG access copy created from approved master
- Access copy saved to
DERIVATIVESfolder with_displaysuffix - Metadata embedded in master file
- Spreadsheet row updated with QC status and access copy status
Frequently Asked Questions: Photo Negative Scanning for Athletic Archives
What resolution should I use to scan old sports negatives?
For 35mm negatives, 4000–4800 DPI produces an archival master sufficient for any downstream use including large-format printing at 16×20 inches or larger. For medium-format (120) negatives, 2400–3200 DPI achieves comparable quality because the larger original captures more detail per square millimeter than 35mm. The FADGI Technical Guidelines for Digitizing Cultural Heritage Materials recommend Tier 3 (3200+ DPI for 35mm) for archival master capture when originals will be returned to storage after scanning.
Should I scan negatives as positives or as negatives?
Scan color negatives as positives using your scanner software’s “negative film” setting, which inverts the orange mask and produces a standard color image in the output file. Scan black-and-white negatives as positives using the “B&W negative” setting. Save the result as a standard positive image. Storing master files as negative inversions is technically possible but creates unnecessary complexity for every downstream user who opens the file.
How do I handle film negatives with visible fungal damage?
Isolate affected strips immediately. Fungal spores transfer to scanner surfaces and to other negatives during handling. Scan affected strips last in a session, clean the scanner thoroughly afterward, and note the contamination in the intake record. Scanning before deterioration advances further is essential — according to the Northeast Document Conservation Center, fungal damage to photographic emulsion is irreversible once it has etched the image layer.
What file format should I use for the archival master?
Uncompressed TIFF (Tagged Image File Format) is the standard archival master format for scanned photographs. It applies no lossy compression, is supported by every major image application, and will remain readable without proprietary software for the foreseeable future. PDF/A is appropriate for multi-page documents; JPEG is appropriate only for access copies, not masters.
How long should the scanning project take?
A single operator scanning 35mm negatives at archival quality — including cleaning, file naming, and a basic QC pass — typically processes 80–120 frames per hour. A collection of 2,000 negatives represents approximately 17–25 hours of scanning time, not counting metadata entry or access copy creation. Breaking the project into focused two-to-three-hour sessions rather than marathon scanning days reduces error rates and scanner heat buildup that can affect scan quality.
Can scanned negatives be used in a touchscreen hall-of-fame display?
Yes. The JPEG access copies produced in Step 6 of this workflow are sized and formatted for direct upload to most kiosk content management systems. Schools pairing their athletic negative archives with a touchscreen recognition system create displays that surface historical team photos in the same interface students use to explore current athlete profiles. See how schools are connecting athletic photo archives to digital access systems for examples of scanning projects feeding directly into recognition display platforms.
Integrating Scanned Athletic History Into School Recognition Programs
The ultimate purpose of an athletic archive photo negative scanning workflow is not hard drive capacity — it is visibility. Schools that complete a digitization project and leave access copies sitting in a folder on a network share miss the community engagement value that motivated the project in the first place.
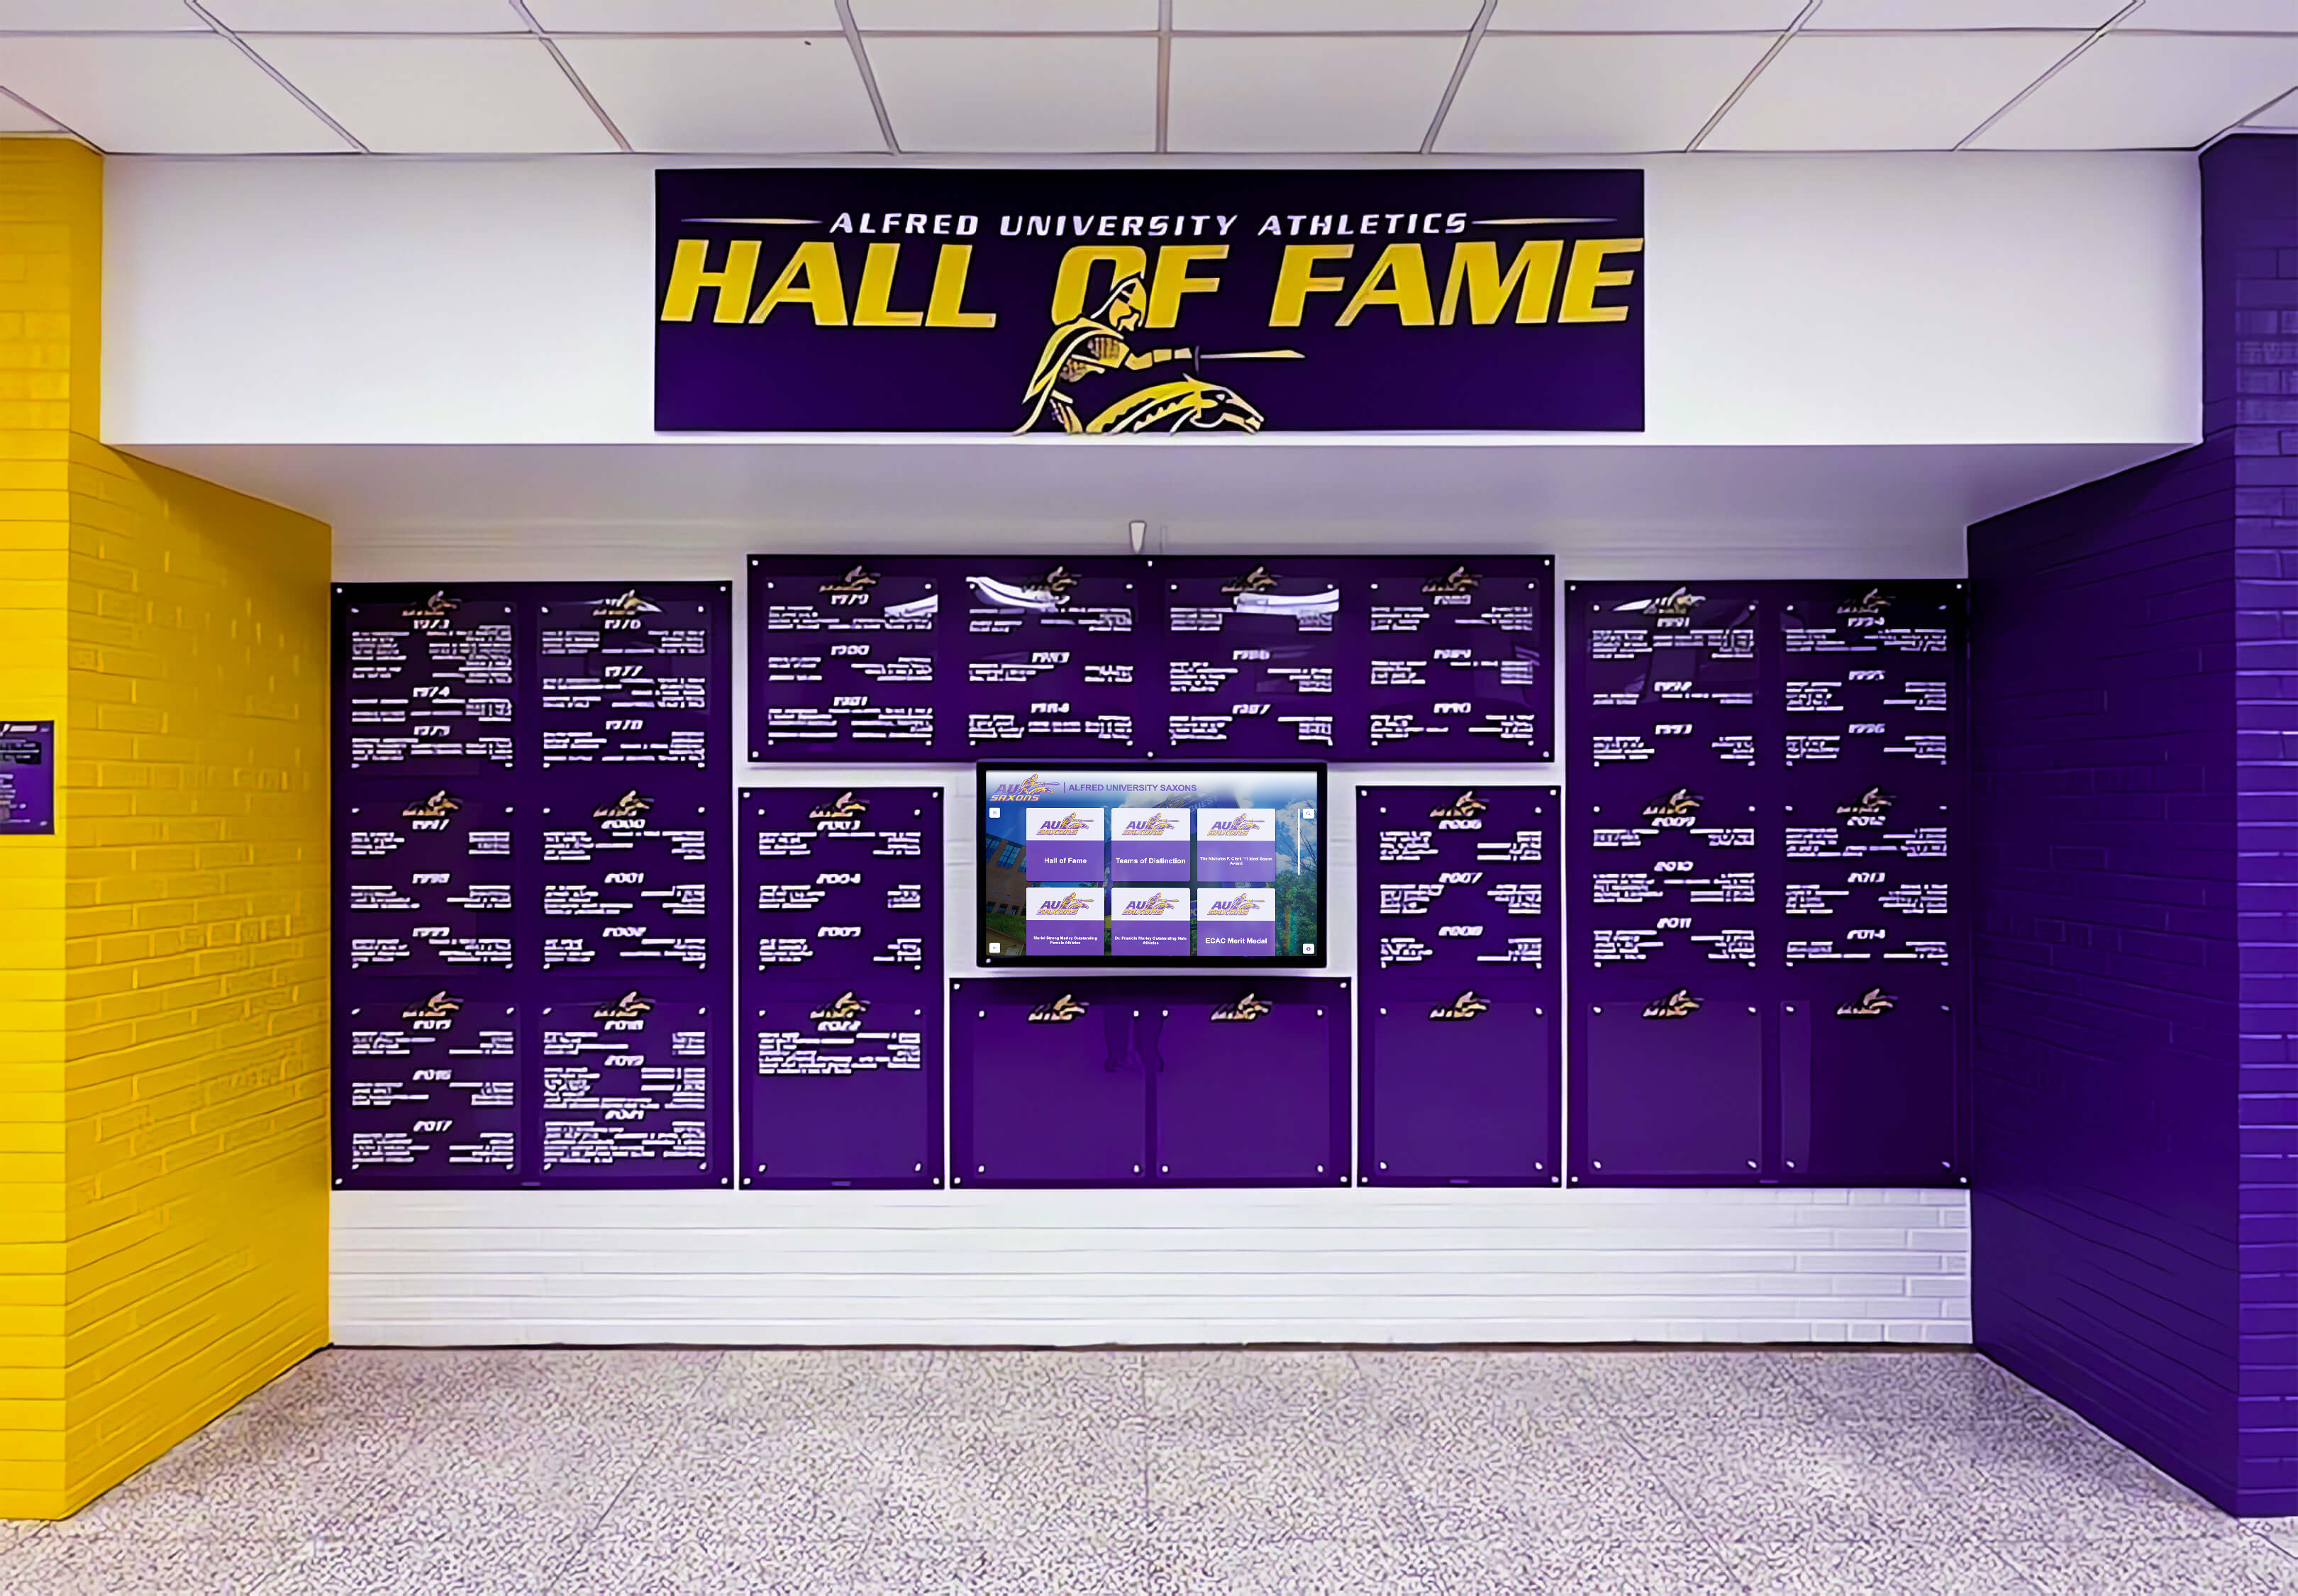
Professional hall-of-fame installations draw on decades of scanned athletic photography to build recognition walls that honor past champions while engaging current students — the quality of the scanning workflow determines the quality of the display
Scanned athletic negatives support a wide range of recognition formats that connect historical film collections to contemporary school audiences:
Hall-of-fame installations use archival sports photography to build visual histories of athletic programs. A lobby kiosk or wall-mounted display showing championship team photos from the 1960s through today creates a narrative that current athletes experience as part of their own school identity.
Sports banquet and awards presentations benefit from historical photo slideshows that place current honorees in the context of program tradition. A sports banquet archive presentation drawing on scanned negative collections creates moments of recognition that connect letter winners to the coaches and teammates who preceded them.
Alumni engagement programs leverage historical athletic photography to reconnect graduates with their school experience. Schools that use digitized sports photos in alumni communications and recognition programs report stronger engagement from graduates who played decades ago and rarely have other touchpoints connecting them to current school life.
Booster club fundraising materials draw on athletic heritage photography to create emotional context for capital campaigns and endowment drives. A donor wall or scholarship campaign anchored in archival imagery of the program’s history creates a more compelling case than statistics alone.
For schools considering how to present team photo collections in athletic recognition contexts, the scanning workflow described here provides the file quality and metadata structure that makes professional display integration straightforward.
Ready to Put Your Athletic Archive on Display?
Once your film negatives are scanned and cataloged, Rocket Alumni Solutions helps schools present that history through interactive touchscreen recognition systems, hall-of-fame installations, and digital yearbook platforms — designed specifically for educational institutions ready to bring athletic heritage out of the archive and into the building.
Request Your Free DemoConclusion: A Workflow That Protects the Past and Feeds the Future
Film negatives stored in athletic archive boxes contain irreplaceable documentation of school history — championship moments, coaching legacies, and student athletes whose contributions deserve to be seen, not stored. An athletic archive photo negative scanning workflow converts that documentation into durable, searchable digital assets while protecting the originals from further deterioration and handling risk.
The steps in this guide — intake and assessment, equipment setup, handling and cleaning, scanning at appropriate resolution, QC, access copy creation, and metadata logging — form a complete chain from physical negative to display-ready image. The resolution and format tables give teams clear specifications without requiring expertise in film photography or archival standards. The checklists and FAQ sections address the decisions that stall projects before they start.
Completed scanning projects gain their full value when scanned images connect to the recognition programs your athletic community can see and interact with. Explore how athletic archive digital access systems help schools present historical photo collections alongside current recognition content, and review how interactive athletic displays present decades of team history through formats built for modern audiences.
Your school’s film negatives document achievements that current students, parents, and alumni deserve to see in your lobby, on your recognition wall, and in your next sports banquet presentation. A documented scanning workflow is the bridge between the archive and the audience.
Sources
- Image Permanence Institute — Digital Capture Guidelines
- Library of Congress Preservation Directorate — Care and Handling of Film
- Federal Agencies Digital Guidelines Initiative — Technical Guidelines for Digitizing Cultural Heritage Materials
- Northeast Document Conservation Center — Preservation Leaflets: Reformatting































