An athletic archive optical media storage checklist gives school administrators, athletic directors, and facilities teams a structured process for inventorying, inspecting, labeling, and storing CDs and DVDs that contain game video, team photos, athletic programs, and recognition records — before disc failure, delamination, or dye degradation permanently destroys content that cannot be rescanned. Optical discs pressed or burned between the mid-1980s and mid-2000s hold decades of athletic history that exists nowhere else, and they are now at the age where failure rates accelerate sharply.
The direct answer: work through five sequential stages — inventory, condition inspection, labeling and cataloging, environmental storage, and digitization staging — in that order. Discs that pass inspection go to archival storage. Discs that show deterioration go immediately to a digitization queue before they become unreadable.
This checklist is designed for school administrators, athletic directors, IT and facilities teams, archives staff, and recognition-program owners. It delivers a complete pass-fail inspection process, a storage environment specification table, a condition grading scale, and guidance on connecting rescued optical media content to the recognition programs and digital displays that give athletic history ongoing public value.
Why CDs and DVDs in Athletic Archives Need Immediate Attention
Optical discs do not fail all at once. They degrade — slowly, then suddenly. A disc that played correctly last year may be unreadable today, and a disc that appears physically intact may already have lost data in sections that become apparent only when a file is opened or video is played.
Three failure mechanisms are responsible for most optical media loss in institutional collections:
Bronzing and oxidation. Early CD-R discs used cyanine or phthalocyanine dyes that react with oxygen over time. The reflective layer darkens, and the disc becomes partially or fully unreadable. This process is commonly called disc rot. Discs stored in warm, humid environments or exposed to light are most vulnerable.
Delamination. The bonded layers of a DVD can separate at the edges or across the surface, creating visible bubbles or clouding. Delamination accelerates with temperature fluctuations and physical stress from improper handling or stacking.
Dye degradation in burned discs (CD-R, DVD-R, DVD+R). Commercially pressed discs are more stable than burned recordable discs, but most athletic archives contain a mix of both. Burned discs were the standard for copying game video from digital cameras, burning graduation programs for distribution, and archiving digitized photos from event photographers. These discs have shorter reliable lifespans — the Library of Congress notes that storage conditions significantly affect how quickly recordable discs deteriorate, and many discs from the 1990s and early 2000s are already past their expected service life under typical office storage conditions.
Schools that digitized athletic photos and video in the 2000s and early 2010s often have those digital files stored exclusively on optical media — not on servers, not on current hard drives, and not in cloud storage. When those discs fail, the content is gone.

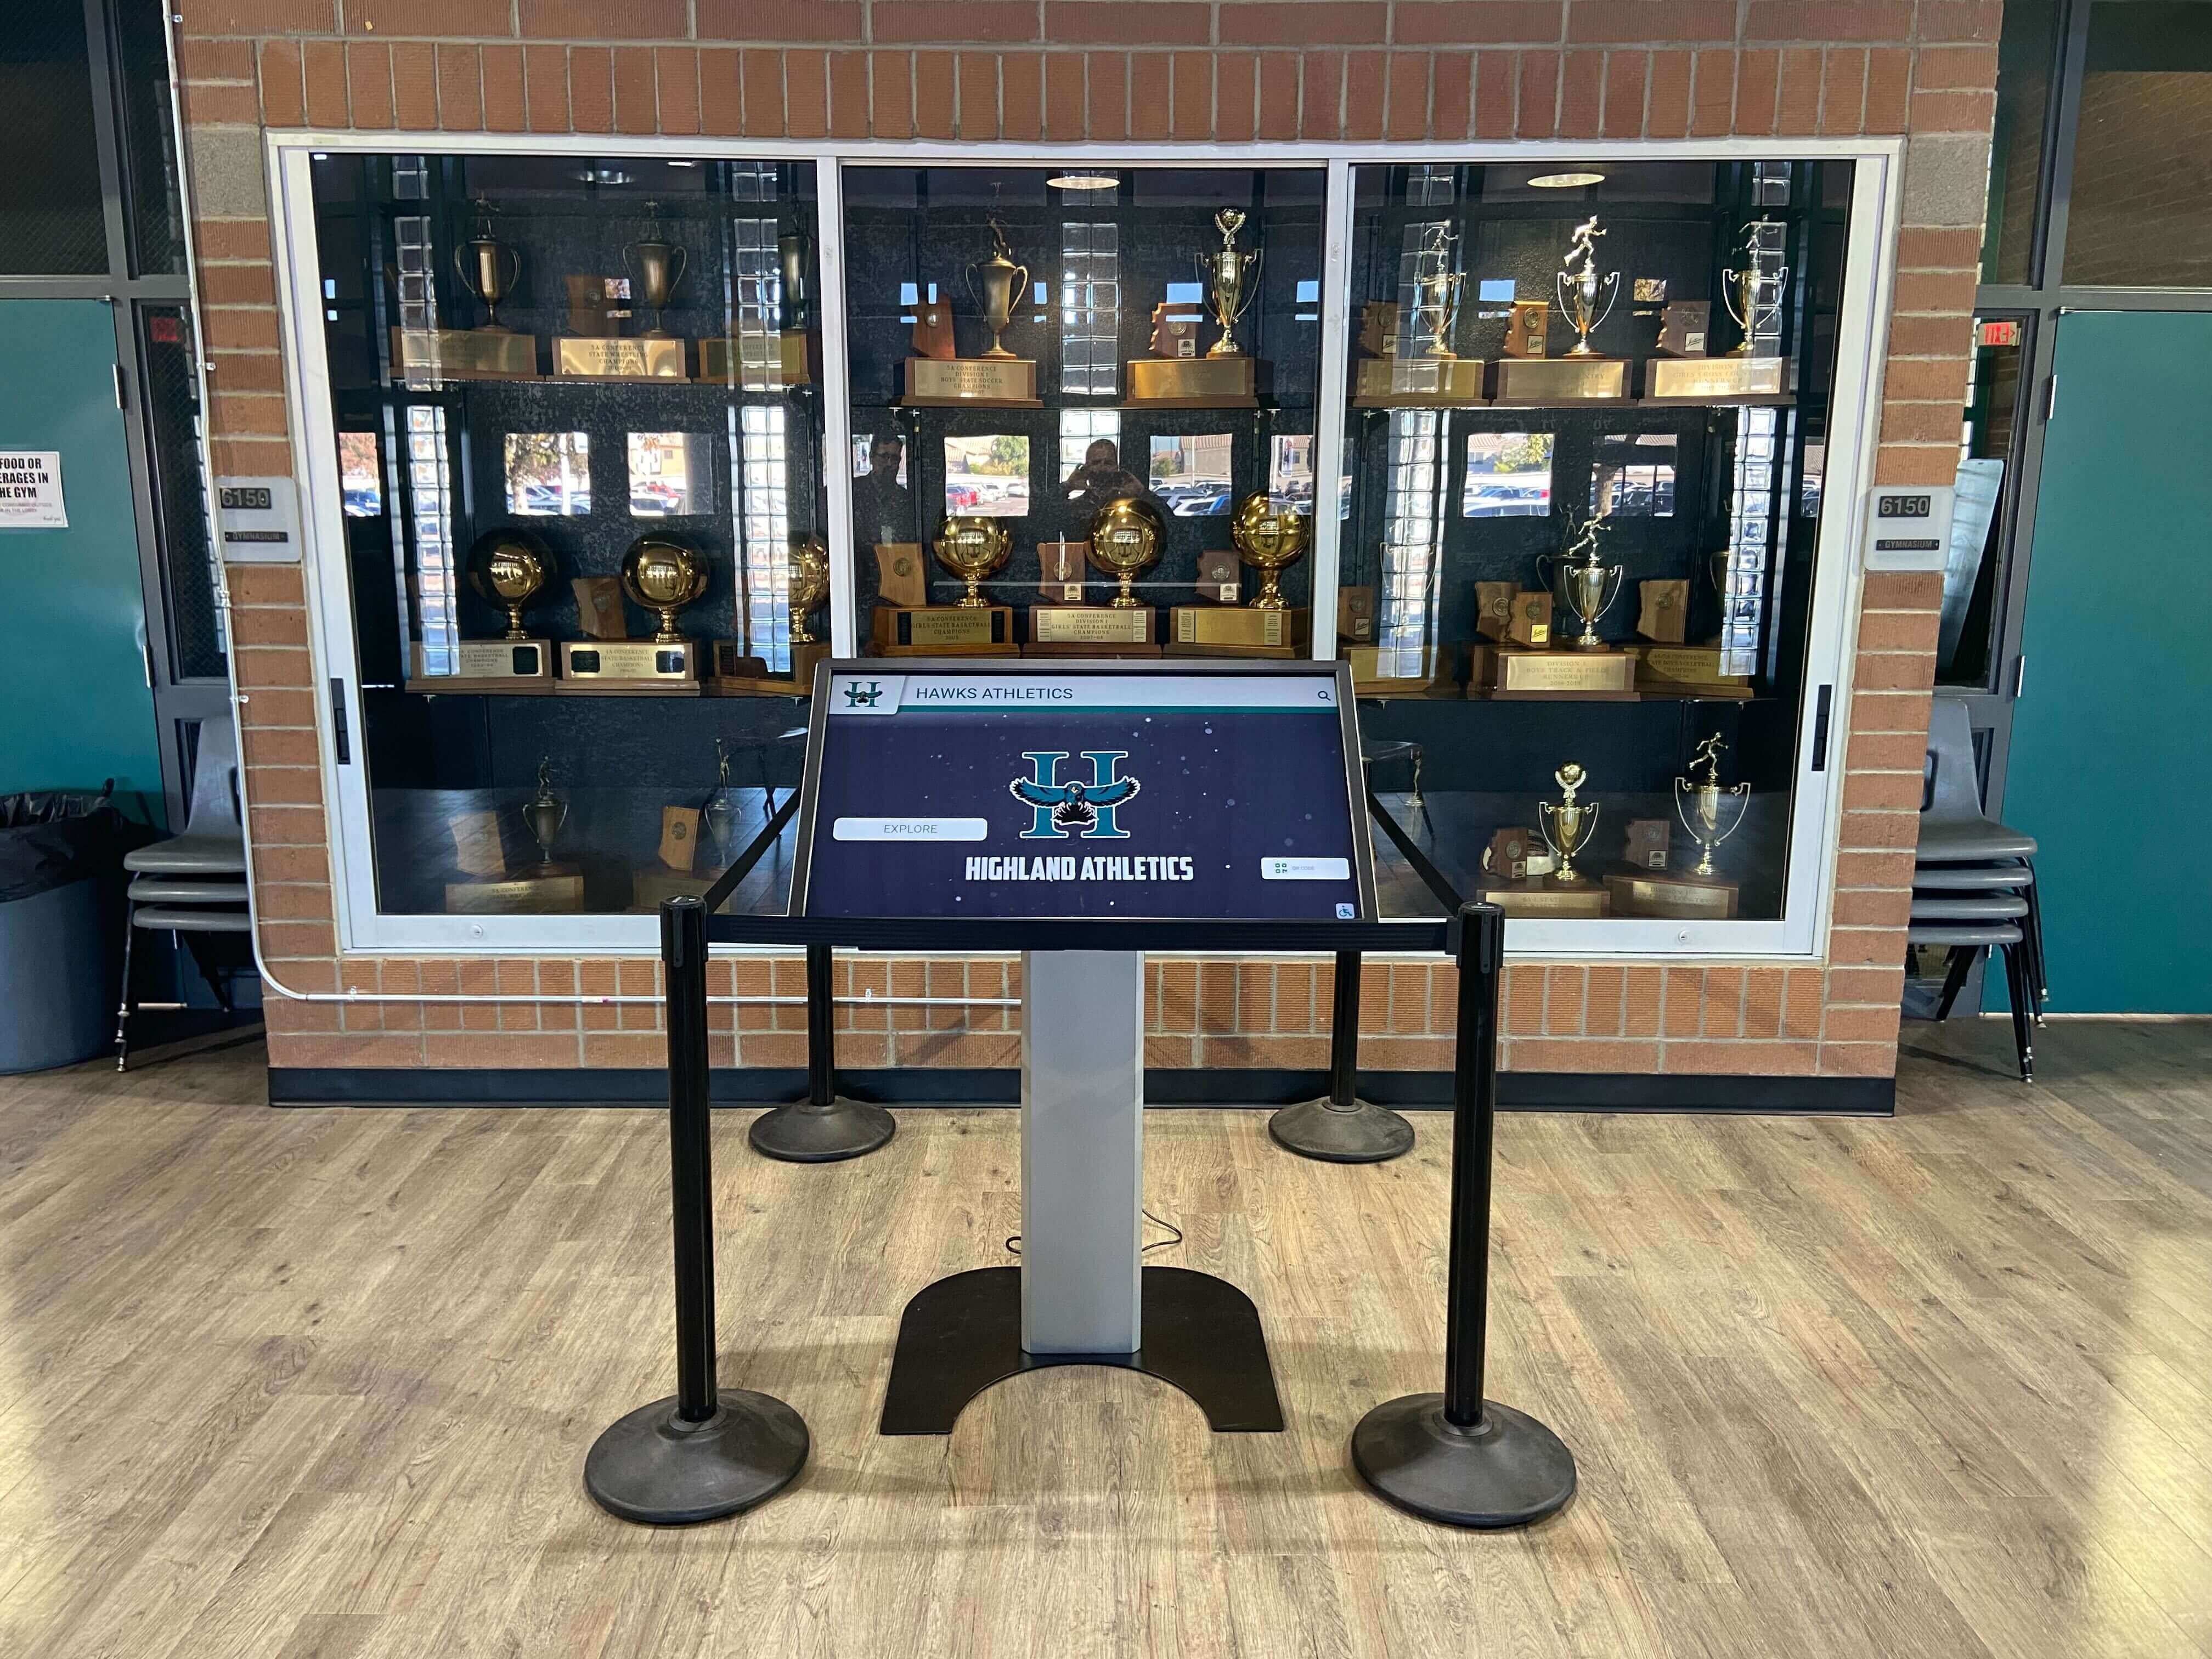
Recognition kiosks and hall-of-fame displays depend on source media that has survived intact — optical discs containing game video and athlete photos require a structured storage checklist to prevent unrecoverable loss
Who This Checklist Helps
This checklist is designed for the teams who actually encounter optical media in a school athletic archive:
- Athletic directors who receive donated discs from retiring coaches, booster organizations, or photographers and need a consistent intake process
- School administrators and IT staff who manage server rooms and storage environments and are responsible for media format decisions
- Facilities and records staff who maintain physical storage areas where boxes of discs may have accumulated over two decades
- Archives staff and library professionals responsible for the long-term preservation of institutional records
- Recognition-program owners and advancement staff who need athletic history content — team photos, game highlights, award ceremony footage — for hall-of-fame inductions, donor materials, and digital displays
The checklist applies equally to CDs (audio, data, CD-R, CD-RW) and DVDs (DVD-ROM, DVD-R, DVD+R, DVD-RW, DVD+RW) found in athletic collections.
The Five-Stage Optical Media Storage Checklist
Stage 1: Inventory
Before any disc is inspected or moved, create a complete inventory. This establishes the scope of the collection and prevents items from being lost or duplicated during the process.
Inventory — Pass-Fail Checklist
- Assign a dedicated staging area for optical media before beginning — a clean, flat, temperature-stable workspace separate from general storage
- Count all optical media in the athletic archive and record the total before handling begins
- Assign each disc a temporary inventory ID (a sequential number on a removable adhesive slip is sufficient at this stage)
- Record each disc’s physical format: CD, DVD, and whether it is commercially pressed or burned (burned discs have a distinctly colored recording surface — blue, green, gold, or purple — rather than silver)
- Note the storage condition of the container: jewel case, paper sleeve, spindle stack, loose in a box, or other
- Record any existing labeling: printed label, handwritten marker on disc surface, printed insert, or unlabeled
- Flag discs that are obviously damaged (cracked, shattered, severely scratched, visibly delaminating) and set them aside for priority handling
- Document who created or donated each disc, if that information is available from the container, label, or adjacent records
Inventory field minimum: For each disc, record at minimum: inventory ID, format type (CD/DVD/pressed/burned), container condition, existing label content or “unlabeled,” and any visible damage at intake.
A spreadsheet with one row per disc is sufficient for collections under 500 items. For larger collections, a simple database or records management platform scales better.
Stage 2: Condition Inspection
The condition inspection determines which discs go directly to the digitization queue and which are stable enough for long-term archival storage. A disc’s external appearance is an unreliable indicator of its data integrity — do not skip this stage.
Visual Inspection Protocol
Inspect each disc in a clean, well-lit environment. Hold the disc by its edges and tilt it under a single directional light source (a focused desk lamp, not diffuse overhead lighting).
Condition Grading Scale
| Grade | Description | Action |
|---|---|---|
| A — No visible deterioration | Surface is uniformly reflective; no bronzing, pitting, discoloration, or delamination; no scratches that penetrate the data layer | Route to archival storage after labeling; schedule for digitization within 5 years |
| B — Minor surface issues | Light scratches on the non-label side only; no delamination; no discoloration of the data layer | Route to archival storage after labeling; schedule for digitization within 2 years |
| C — Moderate deterioration | Visible discoloration (bronzing, darkening), minor delamination at edges, or scratches that may intersect the data layer | Route to digitization queue immediately; attempt read before further handling |
| D — Severe deterioration | Visible delamination across data surface, significant bronzing, cracking, or label layer peeling | Attempt emergency read with forensic disc imaging tools; treat as potentially unrecoverable |
| F — Physically destroyed | Cracked, shattered, or broken | Document and retain for record purposes; data is unrecoverable without professional services |
Visual Inspection Pass-Fail Checklist
- Inspect the data side (shiny side) for radial scratches that run from center to edge — these are more damaging than circular scratches that run along the tracks
- Inspect for bronzing or discoloration — hold the disc at an angle to the light and look for dark patches or matte areas not present at manufacture
- Inspect the label side for peeling, flaking, or physical damage — label-side damage can penetrate to the data layer on single-layer discs
- Inspect the clear inner hub and outer edge for delamination — visible air bubbles or separation between bonded layers indicates active delamination
- Check that the disc is round and flat — warped discs will not read reliably even if the data surface appears intact
- Record the condition grade (A through F) for each disc in the inventory
- Flag all Grade C and D discs for immediate digitization and set them aside in a container labeled “PRIORITY — DIGITIZE FIRST”
- Do not stack discs during inspection — return each disc to its container or place it on a disc rack after grading
Functional Read Verification
Visual inspection identifies visible deterioration, but some data loss is invisible. For high-priority discs — game video, championship season content, or sole-copy content with no known backup — perform a functional read test.
Functional Read Test — Protocol
- Insert the disc in an optical drive and allow it to spin up completely before attempting to access files
- Navigate to every folder and open at least one file of each type present (video, image, PDF, data file)
- For video discs: play from beginning, skip to the midpoint, and play to the end — check for freezing, pixelation, or audio dropout indicating read errors in those sectors
- For data discs: attempt to copy all files to a local drive; if any file fails to copy, flag the disc for forensic imaging
- Record the result: “Reads fully,” “Reads with errors — [describe],” or “Does not read”
- Do not clean discs with household materials — use only a purpose-designed optical disc cleaning solution and clean from center to edge in straight strokes, never in a circular motion
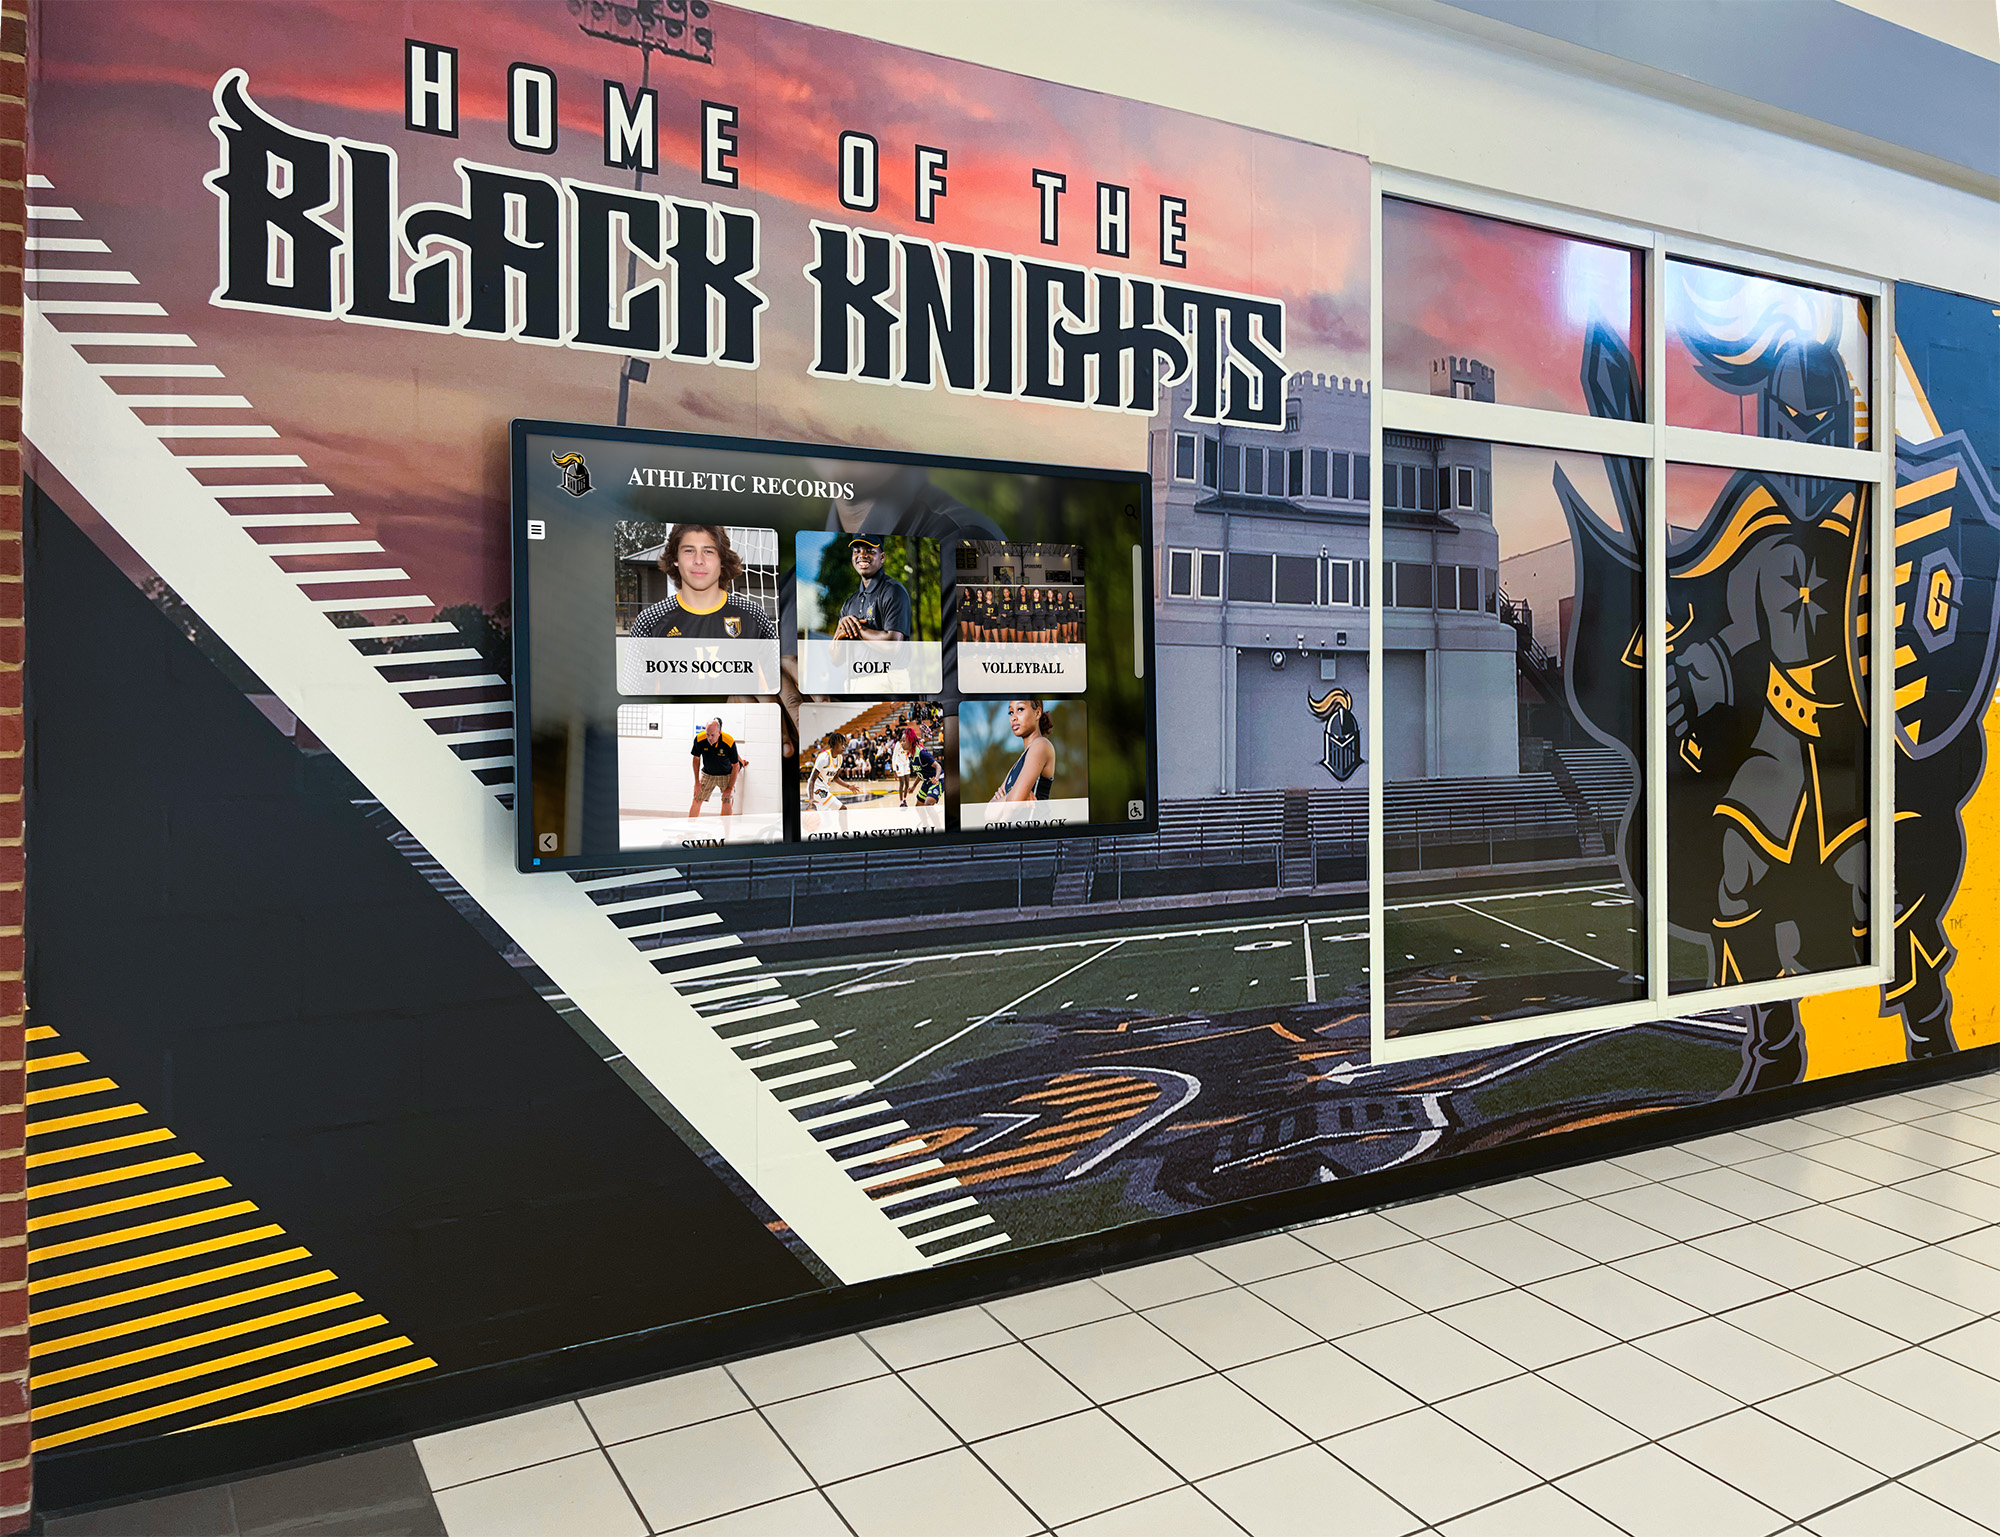
Athletic recognition displays draw from recovered content — condition inspection identifies which discs contain material at risk of permanent loss before it becomes unrecoverable
Stage 3: Labeling and Cataloging
Unlabeled or incorrectly labeled discs are among the most common problems in institutional optical media collections. A disc labeled only “VIDEO 1” in marker pen will eventually become unidentifiable — especially after the staff member who labeled it has left the school.
Labeling Standards
What must appear on every optical disc label:
| Field | Specification | Example |
|---|---|---|
| Disc ID | Unique identifier linking to the catalog record | RHS-FB-VID-2003-0001 |
| Content Summary | Brief description of primary content | “Varsity Football vs. Lincoln HS — State Semifinal, Nov 2003” |
| Format | Disc format and recording method if known | “DVD-R, Camcorder Export” |
| Date Created | Year of content; year disc was created if different | “Content: 2003; Disc burned: 2004” |
| Rights Status | Who holds rights to the content | “School-owned / Coach Thompson footage” |
Writing on discs: If writing directly on the disc surface is necessary, use only a soft-tipped, non-solvent marker in the clear hub area near the center. Never use a ballpoint pen or hard-tipped marker on the data surface — pressure can damage the reflective layer beneath the label coating.
Adhesive labels: Purpose-made optical disc adhesive labels are acceptable for archival storage when applied correctly and centered. Improperly centered labels create rotational imbalance that stresses optical drives. Do not apply adhesive labels to discs already showing label-side peeling — additional adhesive may accelerate delamination.
Catalog Record Requirements
Every disc in the inventory should have a catalog record that extends beyond what fits on the label.
Catalog Record — Minimum Fields
- Disc ID (same as label)
- Full content description (sport, event, date, participants if identifiable)
- Format and recording specifications (capacity, recording speed if known, recording application)
- Condition grade from Stage 2 inspection
- Functional read result
- Rights status and provenance (who created or donated the disc and under what circumstances)
- Storage location after cataloging (shelf, box, or bin number)
- Date cataloged and cataloging staff member’s name
- Digitization status: Not Started / Queued / In Progress / Complete / Failed
- If digitization is complete: location of the digital master file
Schools building recognition programs that pull from athletic history — including sports awards databases that track winners, criteria, photos, and display updates — need catalog records that link optical media content to the broader recognition record system. A disc-level catalog record is the bridge between a physical disc and the recognition platform that eventually displays its contents.
Stage 4: Environmental Storage
Cataloged discs not scheduled for immediate digitization need an environment that slows further deterioration. The primary enemies of optical media are temperature, humidity, light, and physical stress.
Storage Environment Specification
Optical Media — Storage Environment Standards
| Factor | Recommended Range | Critical Limit | Notes |
|---|---|---|---|
| Temperature | 59–77°F (15–25°C) | Never exceed 95°F (35°C); avoid sustained exposure above 77°F | Temperature fluctuation is more damaging than a stable high — prioritize stability |
| Relative Humidity | 30–50% RH | Never below 20% or above 65% RH | High humidity accelerates oxidation; very low humidity promotes static buildup and disc warping |
| Light | Store in opaque containers; no direct UV exposure | Avoid unfiltered fluorescent tubes within 3 feet | UV light accelerates dye degradation in burned discs |
| Air Quality | Low-particulate environment; away from cleaning chemicals and paint | Avoid storage near boiler rooms, locker rooms, or janitorial closets | Chemical off-gassing (ammonia, solvents) damages reflective layers |
| Physical orientation | Vertical — discs stand on edge | Never store horizontally in large stacks | Stacking horizontal discs creates pressure on lower discs; warps discs over years |
Storage Container Standards
Storage Containers — Pass-Fail Checklist
- Each disc is stored individually in a container that supports it at the hub without contacting the data surface — jewel cases, clamshell cases, or purpose-made optical media archival sleeves
- Paper sleeves are acceptable for short-term staging only — not for long-term archival storage, as they abrade the disc surface over time
- Spindle stacks without separators are not acceptable for archival storage — discs stored on spindles make contact across their data surfaces
- Containers are labeled with the Disc ID, matching the disc’s own label
- Containers are stored vertically (spine out, like books on a shelf) in rigid archival boxes or purpose-built disc binders
- No heavy objects are stored on top of disc containers
- Storage area is separate from active-use storage — not on the same shelf as office supplies, cleaning materials, or sports equipment
- Access is limited to staff members responsible for the archive; a check-out log exists for any disc removed from archival storage
- The storage environment is inspected for temperature, humidity, and physical condition at least quarterly
Finding school sports records that span decades — including records created during the optical media era — requires a storage system where discs can actually be located when needed. A storage environment that meets these standards preserves content long enough for a managed digitization timeline rather than an emergency response to disc failure. Locating and finding school sports records from this era often starts by first confirming that the discs those records live on are still readable.
Stage 5: Digitization Staging
Archival storage is a holding action — optical media is not a permanent preservation format. Every disc in the archive should eventually be digitized to a stable digital format stored in a redundant environment. Stage 5 is the process of prioritizing and preparing discs for that transition.
Digitization Priority Queue
Priority Tiers for Optical Media Digitization
| Priority | Criteria | Target Timeline |
|---|---|---|
| Tier 1 — Emergency | Grade C or D discs; sole-copy content with no known backup; discs with active delamination or bronzing | Digitize within 30 days |
| Tier 2 — High | Grade B discs with burned disc format; content from the 1990s; sole-copy content in stable condition | Digitize within 6 months |
| Tier 3 — Standard | Grade A burned discs; content from 2000–2010 in stable condition | Digitize within 2 years |
| Tier 4 — Low | Commercially pressed discs (DVD-ROM, CD-ROM) in Grade A condition; content already confirmed to exist in other formats | Digitize within 5 years or as resources allow |
Pre-Digitization Preparation Checklist
- Disc ID, content description, and rights status are confirmed in the catalog record before the disc enters the workflow
- Disc has passed functional read verification or is flagged for forensic imaging
- Target digital format is specified: MPEG-4/H.264 for video; TIFF or high-resolution JPEG for photos; PDF/A for documents and programs
- Storage destination for the digital master is designated and available (server path, cloud storage folder, or external drive location)
- Naming convention for the digital master file is established — the filename should reference the Disc ID so the digital file traces back to its source
- Rights status from the catalog record carries forward to the digital file’s metadata
- A checksum will be generated for the digital master immediately after digitization and stored alongside the file
Schools completing optical media digitization as part of a broader archiving project should document what was accomplished and what remains at each stage. A structured athletic archive digitization project closeout checklist gives recognition program owners the documentation trail they need to confirm content was preserved before the original media is retired.
What to Do With Discs After Digitization
Digitized discs should not be immediately destroyed. Keep them for a defined retention period — typically two to five years — in their archival storage conditions, with the catalog record updated to note “Digitization complete — digital master at [location].” This retention period provides a fallback if the digital master is found to be incomplete or corrupt during the first recognition program that relies on it.
After the retention period, and after the digital master has been verified through at least one actual use in a recognition program, the original disc can be deaccessioned following your school’s records disposition policy.

Every athlete portrait card displayed on a recognition screen represents source content that was once on a physical disc — digitization staging ensures that content survives the transition to a searchable, displayable digital format
Storage Inspection Schedule
Optical media does not require constant attention, but it does require periodic structured review. Use this schedule to integrate optical media maintenance into existing facilities and archive routines.
| Frequency | Inspection Task |
|---|---|
| Quarterly | Check storage environment temperature and humidity against specification; inspect storage containers for visible physical changes; confirm access log is current |
| Annually | Visually inspect a 10% random sample of archived discs for condition grade changes; update catalog records for any discs that have changed grade; route all newly graded C+ discs to immediate digitization |
| Every 2–3 years | Review the digitization queue for completeness; verify that digital masters from previous digitization cycles are intact and accessible; run checksum verification on digital masters |
| Before any recognition event | Confirm that any optical disc content needed for the event has been digitized and the digital master is accessible from the display platform; do not rely on a disc as a live playback source for a timed event |
Connecting Recovered Content to Athletic Recognition Programs
Optical media digitization is not an end in itself. The content rescued from aging discs — game video, team photos, award ceremony footage, digitized programs — becomes most valuable when it connects to the recognition programs that display it to athletes, alumni, and the school community.
Hall-of-fame and interactive displays. Game footage and team photos recovered from optical media power digital interactive museum displays — giving hall-of-fame inductees and athletic programs a visual record that extends beyond still photographs into the actual moments of competition. A digitized championship game disc becomes a viewable record in a lobby kiosk; a recovered team photo disc becomes a gallery on a touchscreen hall-of-fame wall.
Sports certificates and recognition materials. Recovered content from program discs — event photos, award ceremony footage — provides source material for sports certificate programs and formal recognition materials that acknowledge athletes accurately and completely, even for recognition events that occurred years or decades ago.
Varsity letterman and display programs. Recovered team photos and roster documentation from optical discs support accurate content for varsity letterman awards display programs that present athletic achievement organized by class year and sport — a format that depends on having complete photographic and roster records across decades.
Sportsmanship and special recognition. Award ceremony footage and event photography recovered from optical media provides authentic visual documentation for sportsmanship award programs that honor the full context of athletic achievement beyond statistical performance.
Finding and verifying sports records. Many school athletic records from the optical media era exist only on discs — score books, statistical exports, and historical documentation burned to CD or DVD before cloud storage was standard. Recovering these discs is part of the broader work of verifying and documenting athletic history that recognition programs depend on.
Frequently Overlooked Sources of Athletic Optical Media
Staff who have completed an initial inventory sometimes discover additional optical media collections when they look beyond obvious locations. Common overlooked sources include:
- Retired coaches’ personal donations — coaches frequently maintained personal game footage collections burned to disc, which they may donate upon retirement
- Booster organization archives — booster clubs often maintained their own video and photo archives on disc, separate from school-held records
- Former yearbook advisers’ files — yearbook production from the early 2000s frequently generated export discs containing high-resolution originals of yearbook photos, which may include athletic content not available elsewhere
- Athletic photographer deposits — photographers who covered school athletic events in the 2000s sometimes provided their season archive on DVD at the end of each year, which may be stored with the sports department rather than the main archive
- Library media collections — school libraries that catalogued athletic-related video (coaching materials, cable recordings, game footage compilations) may hold optical media that contains unique athletic content
Canvassing these sources before finalizing the inventory ensures the checklist covers the full collection rather than only what is visible in the primary storage location.
Frequently Asked Questions
Q: How long do CDs and DVDs actually last?
There is no single answer because lifespan depends on disc type, manufacturing quality, and storage conditions. Commercially pressed discs are generally estimated to last 50–100 years under good storage conditions. Burned recordable discs (CD-R, DVD-R, DVD+R) are estimated at 10–50 years, with significant variation by brand and storage history. Discs from the 1990s stored in typical office environments — desk drawers, storage closets — should be treated as Tier 1 or 2 digitization priorities regardless of visual condition.
Q: We have hundreds of discs with no labels at all. Where do we start?
Start with a functional read test on a representative sample — read ten discs from different storage areas and note what content is on them. This quickly establishes whether the unlabeled collection contains duplicates (the same game recorded by multiple coaches), unique content (sole-copy footage), or non-athletic material that can be deprioritized. Catalog by content type and digitize unique content first.
Q: Our IT team says we should dispose of the old discs because everything is on the server now. How do we verify that?
Before disposal, match the content of every disc against your server storage. This requires viewing or opening every disc and comparing file names, dates, and sizes against what exists on the server. A disc labeled “2004 Football vs. Jefferson” and a server file named “Video001.mp4” may or may not be the same recording — you need to play both to confirm. Disposal without verification creates permanent loss; the cost of verification is several hours of staff time.
Q: Can we use a consumer DVD player to test discs instead of a computer drive?
Consumer DVD players are useful for testing video DVD discs burned in DVD-Video format, but they cannot read data DVDs — discs containing files rather than formatted video. Most athletic archive discs are data discs containing video files, image files, or document files. A computer optical drive provides more reliable read verification and allows you to copy files to a local drive during testing.
Q: What about disc-and-booklet sets that came with printed athletic programs?
Discs packaged with athletic publications — game programs, booster publications, season media guides — should be inventoried and inspected exactly like other optical media. They frequently contain unique highlight clips or photo galleries not available in any other format. Transfer them to proper archival containers after cataloging and stage them for digitization based on condition grade.
Q: Should we keep discs that contain identifiable student footage?
Yes, with appropriate handling. Student records and student likeness in athletic content are subject to your school’s FERPA policies and applicable state privacy laws. The optical media storage checklist does not change your obligations under those policies. When digitized files containing identifiable student content are stored on servers or uploaded to recognition platforms, apply the same access controls and permissions your school applies to equivalent records in other formats.
Ready to Put Recovered Athletic Content to Work?
A completed optical media storage checklist moves decades of athletic history — game video, team photos, programs, and recognition materials — from deteriorating discs to stable digital files that can power hall-of-fame displays, athlete profiles, and recognition programs. Rocket Alumni Solutions works with schools to connect digitized athletic archives to interactive recognition platforms that display recovered content to athletes, alumni, and the community in a format they can actually explore.
Request a demo with Rocket Alumni Solutions to see how a structured archive — built from recovered optical media content — becomes a living recognition resource for your school’s athletic program.































