Athletic archive magnetic tape print-through correction is the process of identifying, measuring, and reducing the ghost signal that forms when magnetic patterns on one layer of a wound tape transfer to adjacent layers during storage — a defect that causes a faint echo of the primary audio signal to appear before or after the main content on every playback and digitization of the affected recording. Magnetic tape stores information as oriented magnetic particles on a coated backing. When a reel or cassette rests wound in storage for months or years, the magnetic field radiating from each recorded layer is strong enough to partially magnetize the adjacent layer in the same signal pattern. The result is a ghost copy of the signal — quieter than the original but audible — that appears as a pre-echo (heard fractionally before the loud event that caused it) or a post-echo (heard fractionally after), offset by the physical distance between layers on the wound reel.
Print-through is distinct from wow and flutter, sticky-shed syndrome, azimuth misalignment, and dropout. It does not cause tape to shed or jam. It does not require tape baking. It is not a head-alignment problem. It is an inherent property of magnetic storage media that accumulates over time, and it directly affects the audio tracks on the reel-to-reel recordings, cassette tapes, and VHS cassettes that make up the historic game broadcasts, coach interviews, and oral histories in many school athletic archives.
This guide gives school administrators, athletic directors, AV coordinators, and IT staff a practical workflow for identifying print-through in existing tape collections, evaluating severity, applying pre-digitization stabilization techniques, using software tools to reduce ghost echo in captured audio and video tracks, validating corrected files, and establishing intake standards that minimize the defect in future acquisitions.

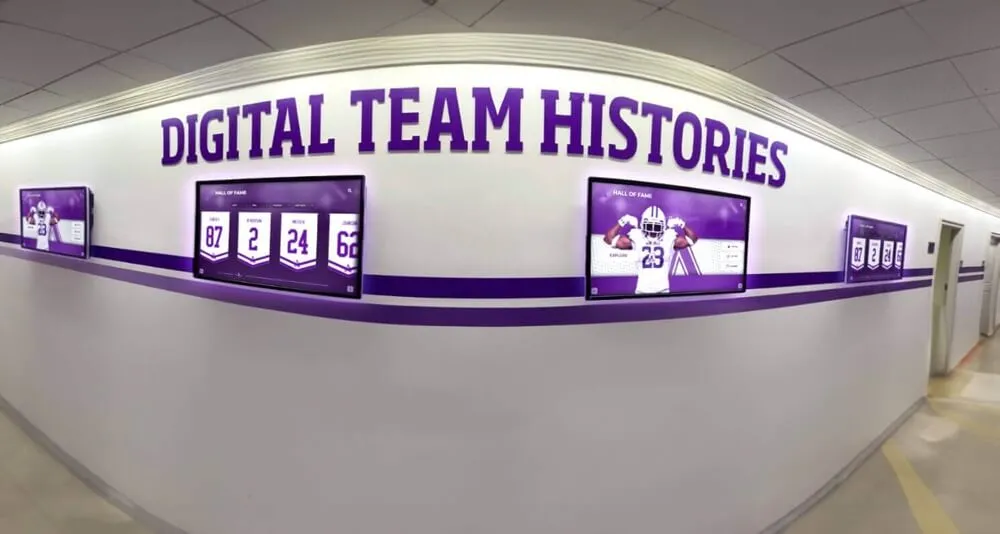
School hallway recognition displays and team history installations that draw from historic game broadcasts and interview recordings surface print-through echo most clearly in quiet lobby environments — correction performed before a file enters the archive determines the audio quality of every downstream display
What Magnetic Tape Print-Through Is and Why Athletic Archives Are Vulnerable
Print-through — also documented in archival literature as magnetic transfer or ghost recording — is a physical consequence of the way magnetic tape stores information. Every recorded track radiates a magnetic field perpendicular to the tape surface. When a tape is wound on a reel or cassette hub, each layer sits in direct contact with the layers above and below it. The field from the recorded layer is strong enough, over time, to partially re-magnetize the adjacent layer in the same signal pattern.
The resulting ghost signal is substantially quieter than the original — typically appearing 18 to 55 decibels below the primary signal level, depending on tape formulation, storage time, temperature, and tape thickness. At moderate levels this ghost remains below the threshold of normal noise floors in a freshly recorded tape. Over decades of storage in unconditioned school environments, accumulation reaches the point where the ghost becomes audible in quiet passages.
Why school athletic archives are particularly vulnerable:
- Open-reel audio recordings. Schools that recorded game broadcasts, coach commentary tracks, and oral history interviews on open-reel tape in the 1960s through the 1980s stored recordings in closely wound form for decades. Open-reel tape is the format most severely affected by print-through because layers are thin and tightly packed, and recordings were rarely stored in the tail-out orientation that minimizes the perceptual impact of the ghost.
- Cassette tape interviews and broadcasts. Athletic programs that captured coach interviews, recruitment recordings, and year-end reviews on compact cassettes throughout the 1970s and 1990s accumulated the same time-based effect. Thinner tape grades used in extended-play cassettes — C-90 and C-120 — are more susceptible than standard-play grades because thinner base stock places adjacent magnetic layers closer together.
- VHS linear audio tracks. VHS cassettes carry two separate recording systems: longitudinal (linear) audio tracks at the tape edge and hi-fi audio tracks recorded deep into the oxide layer using helical-scan heads. The linear audio tracks — which captured ambient sound on game footage, sideline audio, and interview recordings in early VHS workflows — are thin-track recordings equivalent in print-through susceptibility to standard cassette tape.
- Decades of sub-optimal storage. The Association of Moving Image Archivists (AMIA) and the Library of Congress document that print-through accumulates logarithmically with storage time and accelerates significantly with temperature. Tapes stored in unconditioned gym closets, equipment rooms, or attics experience the highest accumulation rates. Research on magnetic transfer published by the Audio Engineering Society (AES) demonstrates that each 10°C increase in storage temperature roughly doubles the rate of print-through accumulation.
The practical consequence: audio recordings from the era that covers most of the institutional memory of a school’s athletic program — the decades from the 1960s through the late 1990s — have had the longest storage time at the least controlled temperatures, making them the most likely to carry audible print-through in quiet passages.
Print-Through Susceptibility by Source Format
| Source Format | Era in School Archives | Print-Through Risk | Primary Symptom | Correction Approach |
|---|---|---|---|---|
| Open-reel audio (1/4" and 1/2") | 1950s–1990s | Very high | Pre-echo or post-echo in quiet passages before and after loud events | Software spectral repair; tail-out storage before digitization |
| Compact cassette (Type I ferric) | 1965–2000s | High | Faint echo beneath dialogue in quiet interview segments | Adaptive noise reduction; manual spectral editing |
| Compact cassette (Type II CrO₂, Type IV metal) | 1979–2000s | Moderate | Echo present but lower level due to higher coercivity | Same as Type I; correction often less aggressive |
| VHS linear audio | 1976–2000s | High | Echo on ambient game audio; faint background in sideline interviews | Software noise reduction; capture level optimization |
| VHS hi-fi audio | 1984–2000s | Low to moderate | Hi-fi’s deeper helical recording partially masks print-through | Focus on linear track first; hi-fi often below audible threshold |
| S-VHS / Hi8 linear audio | 1987–2005 | High | Same vulnerability as VHS linear | Same approach as VHS linear |
| Betacam SP audio | 1986–2000s | Low | Component recording reduces linear-track print-through rate | Verify at digitization; often below threshold |
| MiniDV / DVCAM audio | 1995–2010 | Very low | Digital audio recording eliminates analog print-through mechanism | No print-through correction needed |
| DAT / CD-R | 1990s–2000s | None | Digital storage; no magnetic transfer applies | Not applicable |
The format boundary that matters for print-through is the transition from analog magnetic recording to digital. Any format where audio was stored as an analog magnetic signal — whether on open reel, cassette, VHS linear track, or similar — carries the possibility of print-through accumulating over storage time. Once audio is recorded digitally, the mechanism does not apply.
For most school athletic archives, this means the print-through correction workflow applies to the reel-to-reel, cassette, and VHS linear audio recordings that document the decades when most programs built their athletic identity and oral history.
Step 1: Identify Print-Through Symptoms in Existing Recordings
The first step is determining which recordings in the archive actually carry print-through echo at a level that warrants correction. Not every tape will exhibit audible print-through — recordings made at high signal levels, stored at consistently cool temperatures, and digitized relatively soon after the recording era may show print-through below the noise floor.
What to listen for during playback review:
Open each candidate file in an audio editor that supports waveform visualization — Audacity (free, cross-platform) or Adobe Audition both work — and listen during:
- The one to three seconds of audio just before a loud, transient event: a referee’s whistle, a crowd surge, a coach’s voice suddenly rising, or the starting pistol of a track event
- Quiet passages between commentary or interview responses
- The first seconds of a recording where tape leader has ended and the recorded signal begins
In these locations, a pre-echo sounds like a quiet, slightly muffled version of a loud event that has not yet occurred — an eerie “preview” of the sound. A post-echo sounds like a trailing repetition of the main event, softer and sometimes muddier than the original. Neither has the spatial quality of room reverberation; print-through echo sounds like it originates from the same source location as the primary signal but is attenuated and sometimes slightly pitch-shifted from the tape speed variation at the adjacent layer.
Confirming the defect is print-through and not another artifact:
Several artifacts can produce faint echo-like sounds in historic recordings. Distinguish print-through before choosing a correction approach:
- Print-through: A single ghost echo at a fixed time offset (typically 100–300 milliseconds at standard tape speeds) before or after each transient. The ghost appears consistently in quiet passages throughout the entire recording.
- Room reverberation in the original recording: Reverb sounds like a natural spatial decay, not a single discrete echo. It is present in all loud sounds, not selectively before quiet passages.
- Head saturation or clipping distortion: Occurs at waveform peaks; produces harmonic distortion, not a separate echo event occurring at quiet moments.
- Dropout: A momentary signal loss — produces a hole in the audio, not an addition preceding or following a transient.
- Crosstalk from an adjacent recorded track: Present continuously throughout the recording (not selectively at transients); consistent level rather than event-triggered.
If a quiet, fixed-offset ghost event precedes or follows transients consistently throughout the recording, the defect is print-through. Identifying it correctly before applying correction matters because each defect requires a different remediation tool.
Schools planning to incorporate game broadcasts and coach interviews into academic recognition programs or lobby audio displays will find print-through echo is most noticeable in quiet lobby environments and high-fidelity playback contexts — the exact settings where archived content is most likely to be presented to alumni and students.
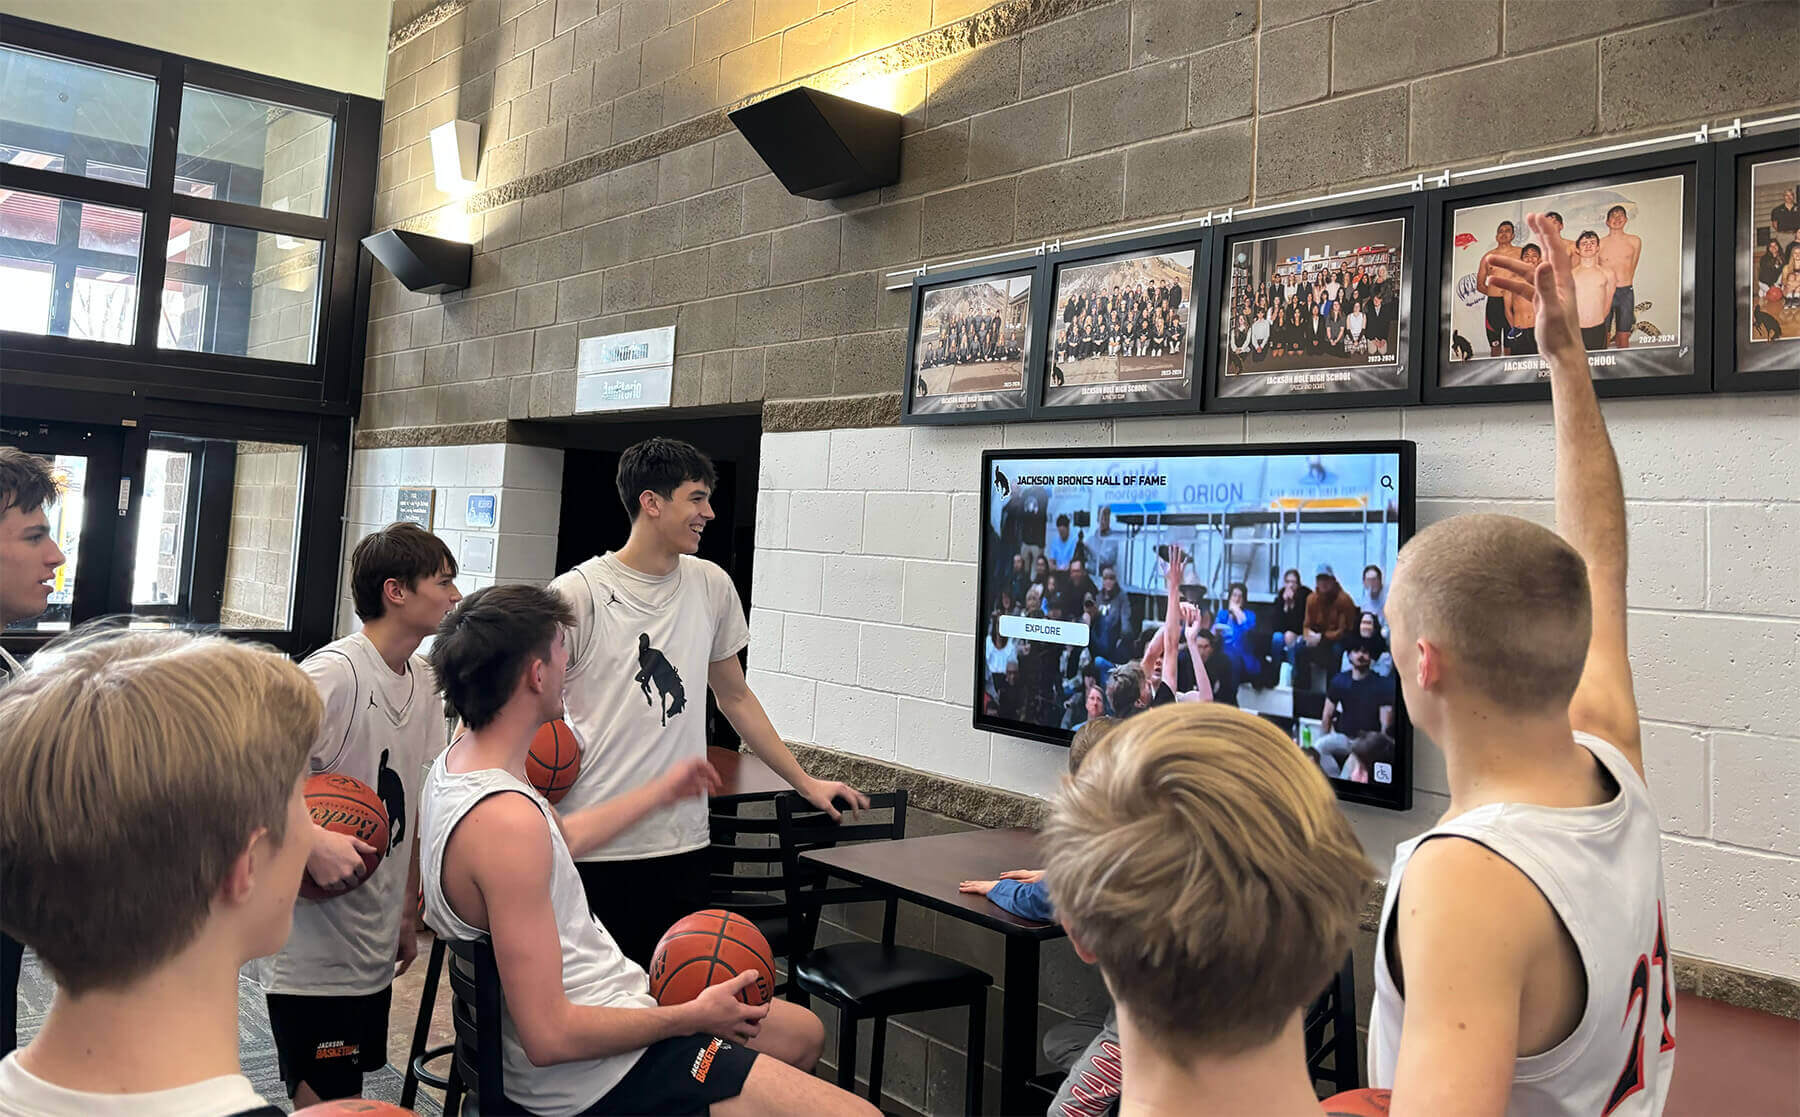
Lobby screens that play archived game highlights expose the audio quality of source recordings to students, visitors, and alumni in environments where print-through echo is clearly audible — correction before archive ingest eliminates the defect from every downstream use of the recording
Step 2: Assess Print-Through Severity
Once you have confirmed that a recording carries print-through echo, the next step is measuring its level relative to the primary signal. The measurement determines whether standard software correction is likely to produce a clean result or whether the print-through level is severe enough to warrant professional audio restoration.
Visual assessment using a waveform and spectrogram view:
Open the digitized audio file in Audacity and switch to the spectrogram view (View → Show Spectrogram below waveform):
- Locate a loud transient event — a referee’s whistle, a sharp crowd sound — in the waveform
- Zoom in to the two seconds immediately preceding the event in the spectrogram view
- Look for a faint frequency pattern in the spectrogram that mirrors the shape of the loud event, appearing before it — this is the pre-echo’s spectral signature
- Use Audacity’s playback cursor and level meters to estimate the dB difference between the pre-echo level and the primary signal level that follows
A level difference of 30 dB or more: the pre-echo is at a level typical of print-through from tapes stored for several decades under moderate conditions. Software correction using Audacity’s Noise Reduction or iZotope RX can address this reliably.
A level difference of 20–30 dB: more severe accumulation. Software tools can reduce the echo significantly but may not fully eliminate it. Professional audio restoration software (iZotope RX Advanced, CEDAR) is more effective at this range.
A level difference below 20 dB: severe print-through, likely from extended storage at elevated temperatures. Professional laboratory restoration or manual spectral editing by a trained audio engineer produces the best results.
Document the measurement:
Record the estimated dB offset and direction (pre-echo or post-echo) in the archive intake record for this tape. This measurement informs the choice of correction tools, sets realistic expectations for the corrected file, and establishes a baseline for validating the result.
Step 3: Pre-Digitization Stabilization
Before digitizing a tape affected by print-through, two low-effort handling steps can reduce the severity of the defect in the captured file — not eliminate it, but meaningfully lower the level of the ghost signal.
Fast-wind and rewind before capture:
Winding a tape at high speed from start to end and then rewinding it redistributes the tension on the tape pack and partially disrupts the most recently accumulated print-through layer at the current contact geometry. AES literature on magnetic transfer documents that print-through which has formed during storage can be partially reduced by changing the winding tension and layer-contact pattern.
The practical procedure:
- Fast-wind the tape from beginning to end at the deck’s highest rewind speed
- Fast-wind back to the beginning
- Allow the tape to rest for 30 minutes at room temperature before beginning capture
Do not repeat this cycle multiple times — excessive fast-winding adds mechanical stress to the tape pack and oxide layer. A single wind-and-rewind cycle before digitization is the standard stabilization practice.
Temperature equilibration:
Print-through accumulation rate is temperature-dependent, and playing a tape at a temperature meaningfully different from its storage temperature can temporarily increase print-through by altering the contact pressure between layers as the tape base expands or contracts. Allow tapes that have been stored at significantly different temperatures — a cold storage room or a warm attic — to equilibrate to the digitization room’s ambient temperature for at least 24 hours before playback.
Step 4: Optimize Playback Level During Capture
Print-through echo is a fixed-level signal embedded in the recording relative to the original signal level at the time of recording — it does not scale proportionally with playback gain. Maximizing the playback level of the primary signal during capture therefore improves the ratio of primary signal to print-through echo in the digitized file, which directly improves the effectiveness of software correction applied afterward.
Setting playback and capture levels:
- Cue the tape to a representative loud passage — crowd noise, commentary at normal speaking volume, or coach instruction at close microphone distance
- Set the playback deck’s output level and the capture interface’s input gain so that the loudest portions of the primary signal reach approximately -6 dBFS (six decibels below full scale) in the capture software’s level meters
- Avoid setting input gain so high that loud transients clip — a clipped passage in a digitized recording cannot be recovered, whereas print-through correction can bring the ghost to below audibility
Capturing at a -6 dBFS peak level leaves headroom for unexpected loud transients while keeping the primary signal 6 dB higher relative to the print-through level than a capture at -12 dBFS would produce. This additional separation meaningfully reduces the amount of correction work the software step must perform.
Step 5: Apply Software Correction to Audio Print-Through
Software audio restoration tools can identify and reduce print-through echo by analyzing the spectral and temporal pattern of the ghost signal relative to the primary event that caused it. The correction is not a simple noise gate or EQ — it is a time-aware spectral reduction that targets the specific frequency and level pattern of the print-through layer while leaving the primary signal unaffected.
Using Audacity’s Noise Reduction tool:
Audacity (free, open-source, available for Windows, macOS, and Linux) provides a Noise Reduction effect that can approximate print-through correction when the ghost signal is at a relatively consistent level in quiet passages:
- Open the digitized audio file in Audacity
- Select a two-to-three-second section of the recording that contains only the print-through echo and no primary signal — the quietest passage before the first recorded event works well
- Navigate to Effect → Noise Reduction → Get Noise Profile
- Select the entire file (Ctrl+A) and return to Effect → Noise Reduction
- Set Noise Reduction to 6–10 dB (start conservatively; excessive reduction creates metallic artifacts in the primary signal), Sensitivity to 6.0, and Frequency Smoothing to 3
- Apply and listen in a quiet section, checking that the pre-echo level has been reduced without introducing audible distortion in the primary signal
Using iZotope RX for spectral repair:
iZotope RX provides precise print-through correction through its Spectral Repair and De-Echo modules. The Spectral Repair tool allows selection of the exact frequency-time region where a pre-echo event appears in the spectrogram and applies a targeted interpolation that replaces the ghost with the surrounding noise floor:
- Open the audio file in iZotope RX and switch to the spectrogram view (Shift+S)
- Locate a pre-echo event — it appears as a faint colored smear in the spectrogram in the frequency band of the primary signal, occurring a fraction of a second before the primary event
- Use the Time-Frequency Selection tool to draw a selection box around the pre-echo region
- Apply Spectral Repair with Mode set to Replace or Attenuate — Replace interpolates from surrounding noise floor; Attenuate reduces the level while preserving residual signal
- Repeat for each significant pre-echo event, or use the De-Echo module (available in RX 8 and later) to automate detection of regularly spaced echo events across the entire file
Processing with FFmpeg audio filters:
FFmpeg does not include a dedicated print-through correction filter. For batch processing of audio files where print-through is at a relatively consistent level, the anlmdn (non-local means denoising) filter can reduce consistent low-level noise that includes print-through components:
ffmpeg -i source_audio.wav -af "anlmdn=s=7:p=0.002:r=0.002:m=15" corrected_audio.wav
This filter applies uniform denoising rather than event-targeted spectral repair. It is suitable as a first-pass reduction step before applying more targeted spectral editing in Audacity or iZotope RX, particularly for batch processing of large collections where individual manual editing of every file is not feasible.
Schools building digital hall-of-fame tools that incorporate audio from historic game broadcasts and coach interviews need recordings that sound clear in lobby and corridor environments — software print-through correction applied before archive ingest ensures that the audio asset delivered to every display and kiosk is the corrected version.

Recognition displays that incorporate archived audio content expose print-through echo in exactly the listening environment where it is most audible — quiet corridors and lobby spaces where ambient noise does not mask the ghost signal beneath the primary recording
Step 6: Apply Temporal Correction for Video-Track Print-Through
Print-through in the video track of VHS and similar formats produces a different symptom than audio print-through: rather than a discrete audible echo, video print-through manifests as luminance ghosting — a faint duplicate image visible at field boundaries in scenes with high-contrast stationary subjects. This is relatively uncommon compared to audio print-through because the video signal on helical-scan formats is recorded at field strengths that dominate the print-through layer, but in footage from decades of unconditioned storage, video print-through can reduce signal-to-noise ratio noticeably.
Identifying video print-through:
Pause the video at a high-contrast stationary subject — a scoreboard against a dark background, a jersey number on a still player — and look for a very faint duplicate image offset in the vertical direction from the primary image. Unlike chroma delay (which shifts color horizontally relative to luminance), video print-through ghost appears at approximately one video field’s distance from the primary subject and is luminance-dominant.
Temporal noise reduction:
The most effective video-domain approach is temporal noise reduction, which averages sequential frames to separate the primary signal (consistent across frames) from the ghost (which varies slightly as layer contact pressure changes during playback):
ffmpeg -i source_vhs_footage.mp4 -vf "hqdn3d=luma_spatial=4:chroma_spatial=3:luma_tmp=6:chroma_tmp=5" -c:v libx264 -crf 15 -c:a copy corrected_video.mp4
The hqdn3d filter applies both spatial and temporal denoising. The luma_tmp=6 parameter controls the temporal component that addresses frame-to-frame ghosting. For severe cases, Neat Video (available as a plugin for DaVinci Resolve and Adobe Premiere Pro) provides more sophisticated temporal noise reduction with per-frame preview capabilities. Always review motion sequences after applying temporal denoising — fast-moving athletes or camera pans can develop trailing artifacts if the temporal strength parameter is set too high.
Step 7: Validate Corrected Files
A corrected file must be validated before replacing the pre-correction version in the archive. Both the audio correction and the video correction must be checked independently.
Audio validation:
- Open the corrected audio file in Audacity alongside the pre-correction file (File → Import → Audio into a second track)
- Navigate to the same quiet passage that showed the clearest pre-echo before correction
- Listen at standard playback volume through headphones — the pre-echo should be significantly reduced or inaudible
- Check the spectrogram view: the corrected file should show a lower signal level in quiet passages without visible reduction in the waveform amplitude of the primary signal
- Listen to five minutes of continuous audio at multiple points in the recording — confirm that the correction has not introduced artifacts, pitch variation, or amplitude ducking in the primary signal
Video track validation (where applicable):
Export a still frame from the corrected file at the same timecode used for initial print-through identification using FFmpeg:
ffmpeg -i corrected_video.mp4 -ss 00:03:15 -vframes 1 corrected_frame.png
Compare at 100 percent zoom alongside the pre-correction still frame — the faint vertical ghost image should be reduced or absent. Play at least 30 seconds of game action to confirm that temporal denoising has not introduced smearing or trailing artifacts in motion sequences.
Audio format integrity:
Software audio correction requires re-encoding the audio track. Confirm that the corrected file’s audio parameters match the archive specification by running:
ffprobe -v quiet -show_streams -select_streams a corrected_audio.wav
Verify sample rate, bit depth, and channel count match the intended archive standard before updating the archive record.
Connecting Print-Through Correction to Recognition Programs
Print-through correction is a technical audio quality step, but its effect is audible in every recognition context where archived recordings appear. A hall-of-fame induction ceremony featuring an archived coach interview, a sports banquet video with historic game broadcast audio, or a touchscreen kiosk where alumni listen to recordings from their playing era — all of these reveal the audio quality of the archive the moment a quiet passage exposes a ghost echo in a room of people who remember the original recording.
Schools building hall-of-fame recognition tools and interactive recognition programs increasingly include audio-rich content alongside photographs and video highlights. Game broadcast clips with clean audio are among the most engaging archive assets for alumni — the crowd sounds, the announcer’s voice, and the ambient sideline noise evoke the experience of having been present. Print-through echo interrupts that connection by surfacing an artifact from storage rather than the original event.
A complete athletic hall-of-fame display that draws from multiple decades of the archive depends on consistent audio quality across eras — the same correction standards applied at every digitization session determine whether a 1978 championship broadcast sounds as clear as a 2002 one.
The same digitization and correction workflow that produces clean audio for a recognition display also produces the archival master that future staff will use for anniversary presentations, yearbook supplements, and alumni communications — correcting once at ingest protects every downstream use.
Print-Through Correction: Quick Reference
Identify the defect:
- Quiet pre-echo or post-echo at fixed time offset before or after transient events in audio
- Typically 100–300 ms offset at standard tape speeds
- Distinct from room reverb, dropout, and crosstalk
Assess severity:
- Export audio; use spectrogram view; estimate dB difference between ghost and primary
- 30+ dB difference: standard software tools effective
- Below 30 dB: professional audio restoration recommended
Pre-digitization stabilization:
- Fast-wind and rewind once before capture
- Equilibrate tape to room temperature for 24+ hours
- Maximize capture level to -6 dBFS peak
Software correction (audio):
- Audacity Noise Reduction for moderate cases
- iZotope RX Spectral Repair for precise event-targeted correction
- FFmpeg
anlmdnfilter for batch first-pass denoising
Software correction (video track):
- FFmpeg
hqdn3dtemporal denoising filter - Neat Video plugin for frame-accurate temporal noise reduction
Validate before archiving:
- Spectrogram comparison before and after correction
- Audio playback check in quiet passages
- Primary signal amplitude and quality confirmed unchanged
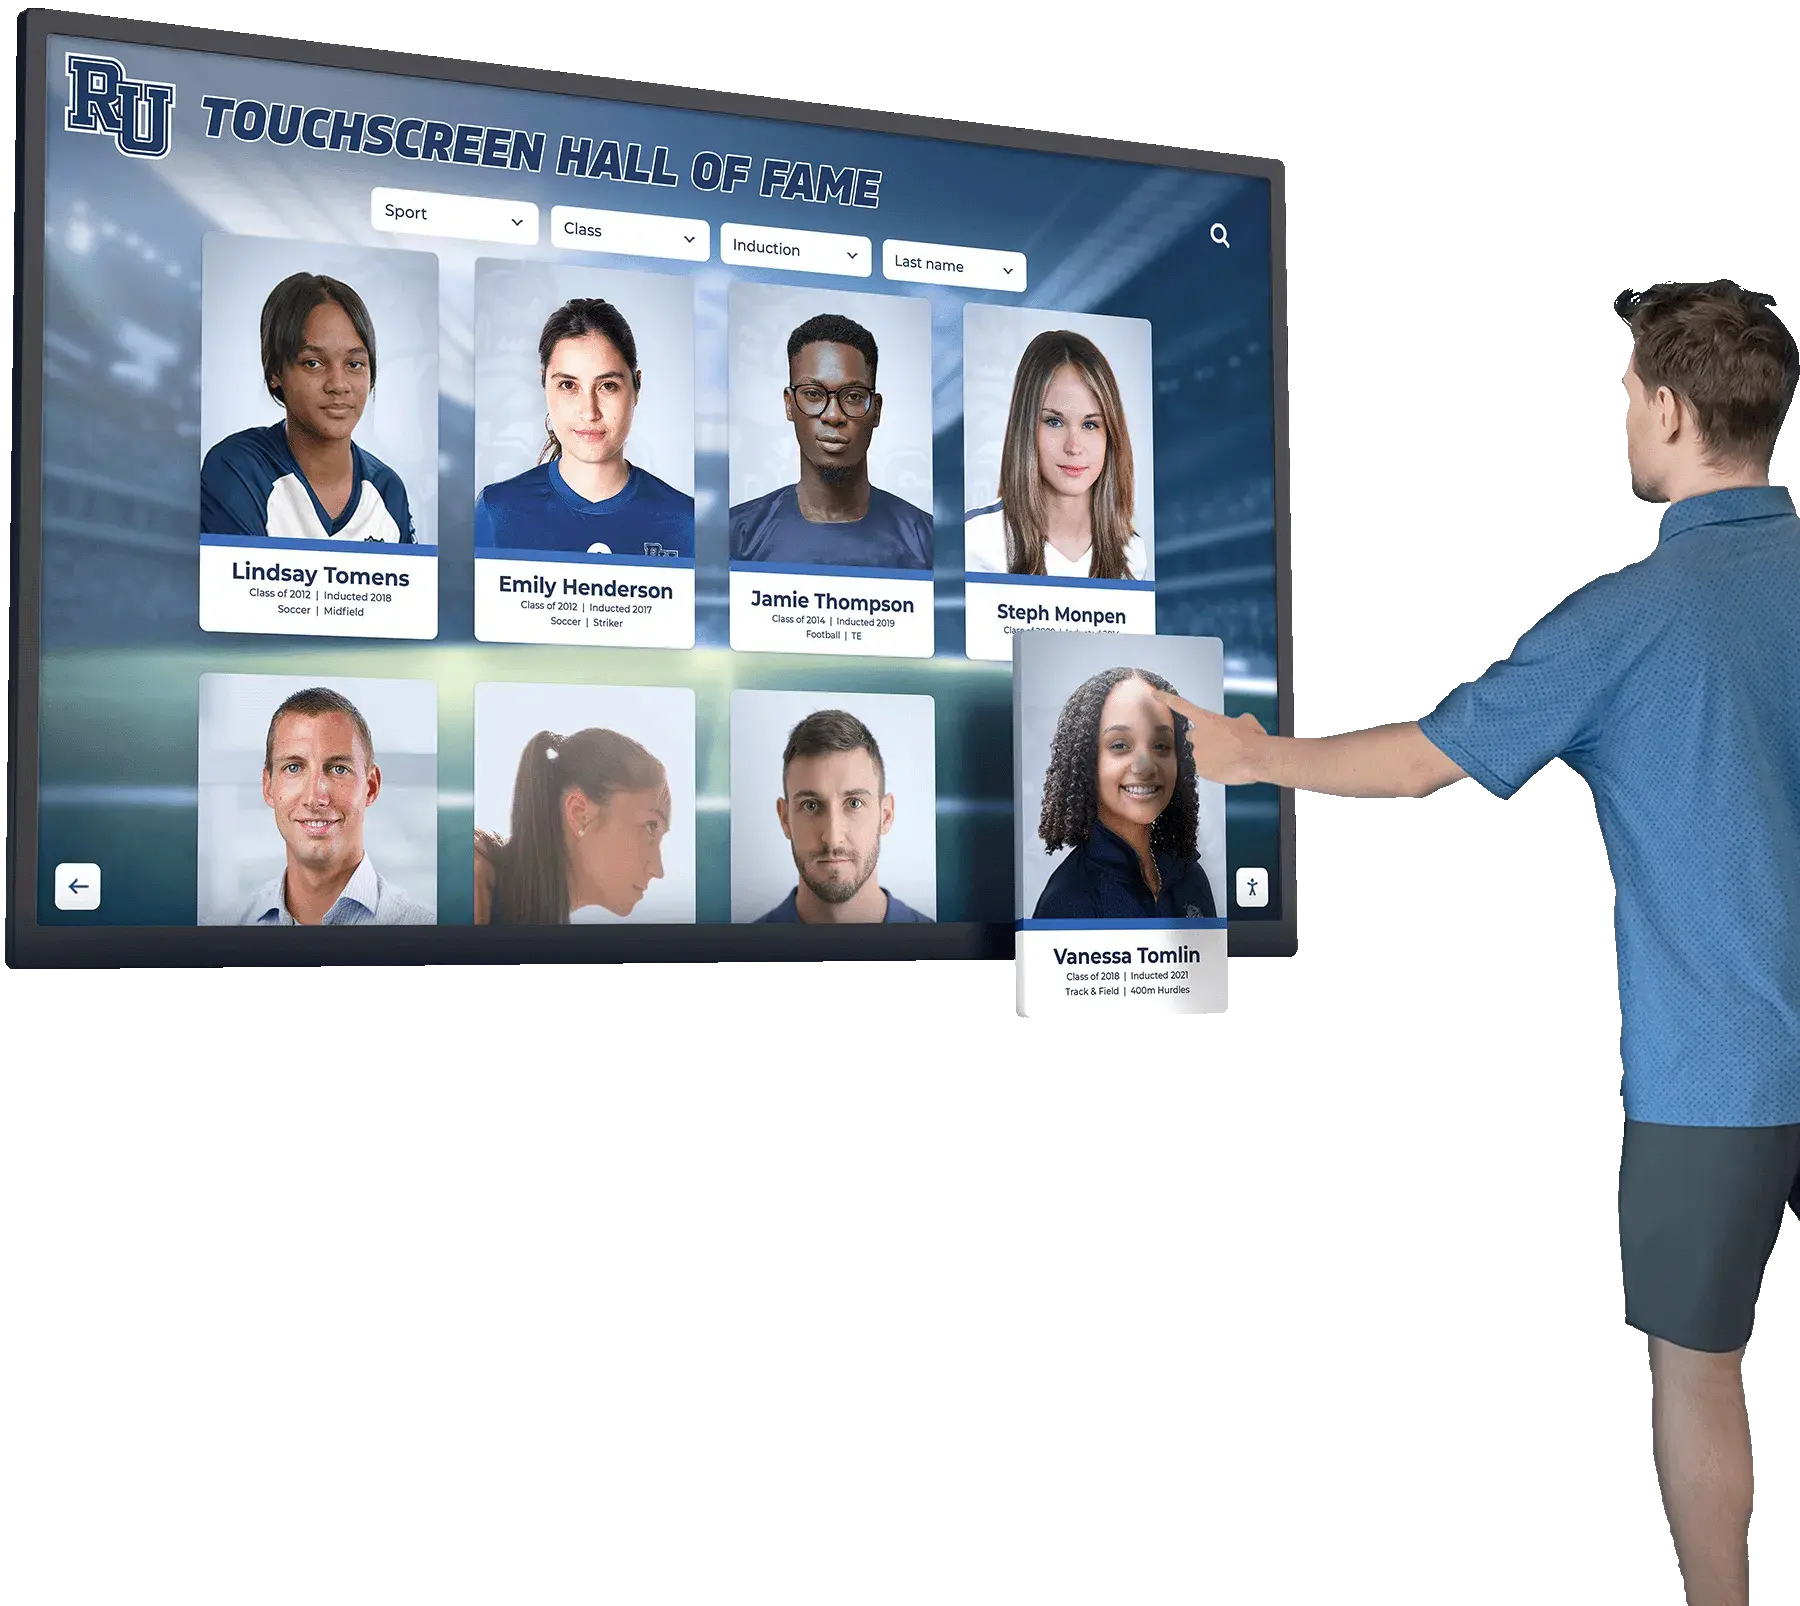
Interactive hall-of-fame displays that surface historic recordings depend on clean source audio — print-through correction applied before archive ingest ensures that game broadcast clips, coach interviews, and oral histories sound clear to every visitor who accesses them on a touchscreen or lobby screen
Print-Through Correction Workflow Checklist
Use this checklist for each tape digitization project involving audio-bearing reel-to-reel, cassette, or VHS source material.
Pre-Capture Assessment
- Source format identified (open-reel, cassette Type I/II/IV, VHS linear, other)
- Storage history reviewed (location, temperature, approximate years stored)
- Tape fast-wound to end and rewound to beginning once
- Tape allowed to equilibrate to room temperature for 24+ hours before playback
- Test capture of 60 seconds performed, including a quiet passage followed by a loud event
Print-Through Identification
- Test capture reviewed in Audacity or iZotope RX with spectrogram view enabled
- Quiet passages inspected for pre-echo or post-echo events at fixed time offsets
- Echo confirmed as print-through (consistent offset, not room reverb or dropout)
- dB level difference between ghost and primary estimated and recorded in capture log
Capture Optimization
- Playback level set to achieve -6 dBFS peak in capture software
- Input gain confirmed not causing clipping at loud transients
- Capture settings documented (sample rate, bit depth, channel count, codec)
Software Audio Correction
- Correction tool selected based on severity: Audacity (moderate), iZotope RX (severe)
- Noise profile or spectral selection taken from quietest pre-echo section (no primary signal)
- Correction applied at conservative starting level; artifacts checked before full encode
- Full recording reviewed at consistent volume for uniformity of correction and absence of artifacts
Video Track Correction (if applicable)
- VHS video track inspected for luminance ghosting in high-contrast still frames
- Temporal denoising applied (FFmpeg
hqdn3dor Neat Video) - Motion sequences reviewed for denoising smearing artifacts
Validation
- Pre-correction and corrected audio files compared in spectrogram view at same timecode
- Pre-echo level in corrected file confirmed reduced to below noise floor or near-inaudible
- Primary signal amplitude and quality confirmed unchanged
- Audio format (sample rate, bit depth, channels) confirmed matching archive specification
- Corrected file played for five minutes at standard volume without audible artifacts
Archive Documentation
- Capture log updated with tape ID, format, deck, capture level setting, date
- Print-through severity rating (mild / moderate / severe) recorded
- Correction tool and specific settings applied documented
- Corrected file labeled in archive metadata with correction date
- Pre-correction capture retained pending validation, then retained or discarded per policy
Step 8: Document Standards for New Acquisitions
Establishing technical intake standards before new tapes are digitized prevents print-through from entering the archive undetected and ensures that future staff members can reproduce the workflow without reconstructing it from scratch.
For in-house digitization:
Create a one-page capture log with fields for tape ID, format, storage history (location and approximate storage duration), fast-wind treatment date, capture level setting, print-through assessment result (none observed / mild / moderate / severe), correction tool applied, and corrected-file validation date. This log gives future staff the quality history of any file in the archive without requiring them to re-inspect each recording.
For external digitization vendors:
Include audio quality assessment in the scope of work. A clause requiring “playback review of each tape for print-through echo in quiet passages before encode; severity assessed and noted in capture log; software noise reduction applied for moderate print-through (pre-echo level 30 dB or more below primary); professional restoration recommended for severe cases” gives vendors a testable standard and your acceptance review a measurable criterion.
For incoming donations from alumni and community members:
Alumni who donate cassette or reel-to-reel recordings often provide the highest-quality source material for oral history and recognition programs. Request the original tape rather than a digital export — consumer playback equipment used for home digitization rarely applies any print-through remediation, and re-encoding from a consumer export introduces additional quality loss and eliminates the option for hardware-level optimization. Receiving the original tape preserves every correction option.
Schools coordinating high school reunion programming and alumni recognition events frequently incorporate archived audio from past championship moments and alumni interviews — having a complete intake record for each corrected recording makes it straightforward to locate and verify archive assets when event planning timelines are compressed.
For schools building ongoing academic and athletic recognition programs, a recognition program guide can help frame how corrected archive assets fit into a broader institutional recognition strategy that serves students, alumni, and families across multiple generations.
Frequently Asked Questions
Q: How do we tell whether print-through in a tape is getting worse during current storage?
Print-through accumulation is slow but ongoing as long as the tape remains wound in storage at ambient temperature. A tape stored at 60°F (15°C) at moderate humidity accumulates print-through significantly more slowly than one stored at 80°F (27°C). Digitizing the highest-priority recordings promptly is the most reliable protection — once a recording exists as a validated digital file, further magnetic transfer on the original tape does not affect the digital copy. For tapes that cannot be digitized immediately, moving them to a cooler, stable storage environment is the most effective way to slow ongoing accumulation.
Q: Can print-through be fully eliminated by software correction?
In most cases, software correction can reduce print-through to below the audible threshold — below the noise floor of the recording — but rarely to absolute zero. A well-calibrated Audacity Noise Reduction pass or targeted iZotope RX spectral edit on a recording with moderate print-through (pre-echo 30+ dB below primary) produces a result where the ghost is inaudible at normal playback levels. Severe print-through below 20 dB separation is harder to fully remediate with standard software tools; professional audio restoration labs with specialized algorithms offer the most effective approaches for those cases.
Q: Does our AV team need professional audio equipment to assess and correct print-through?
No. The identification, assessment, and moderate-correction workflow uses only free tools (Audacity, FFmpeg) available for standard workstations. iZotope RX Elements — the entry-level version — is priced for institutional use and provides spectral repair capabilities beyond what free tools can achieve for more challenging recordings. Professional broadcast-grade audio restoration equipment is needed only for the most severe cases, typically those where print-through severity falls below 20 dB separation from the primary signal and manual spectral editing of every pre-echo event would be required.
Q: Is print-through in VHS audio different from print-through in reel-to-reel audio?
The physical mechanism is identical — magnetic transfer between adjacent tape layers — but the recording context differs. Reel-to-reel audio was typically the primary content of those tapes: game broadcasts, interviews, and oral histories recorded specifically as audio artifacts. VHS linear audio is the ambient sound track synchronized to video, so print-through in the VHS audio track affects the viewing experience of game footage rather than a standalone audio recording. Correction approaches are the same in both cases; the decision of whether to correct depends on how prominently the audio is featured in downstream display and archive uses.
Q: What is the difference between print-through and crosstalk between stereo channels?
Crosstalk is lateral leakage between adjacent tracks recorded side by side on the tape — the left channel bleeding into the right channel, or Track 1 bleeding into Track 2. It appears continuously throughout the recording at a consistent level. Print-through is a time-displaced echo from the signal recorded on an adjacent wound layer — it appears at a fixed time offset before or after each transient, selectively at loud events rather than continuously. In the spectrogram view, crosstalk appears as a continuous lower-level copy of one channel in the other; print-through appears as discrete pre-echo events at the locations of transients.
Q: Should we correct print-through before or after applying other audio corrections like EQ or broadband noise reduction?
Apply print-through correction first, before EQ or other processing. Print-through correction relies on identifying the spectral pattern of the ghost relative to the primary signal. Applying EQ or broadband noise reduction first alters the spectral relationship between ghost and primary, potentially making the ghost harder to target precisely. The recommended restoration order for archived tapes is: (1) de-click and de-clip if needed; (2) print-through correction; (3) broadband noise reduction; (4) EQ and level correction. This sequence preserves the most information at each step and avoids compounding corrections that interact unpredictably.
Q: After digitizing and correcting, how do we decide whether to retain the original tape?
Retain the original tape. Digitization is a preservation measure, not a replacement for the original. Even a corrected digital file is a derived representation — if digitization technology improves, if a correction was applied incorrectly, or if a future format migration creates a quality loss, the original tape is the only recovery option. Store originals at approximately 60–70°F and 30–40 percent relative humidity in individual cases, away from magnetic fields and direct light. For a hall-of-fame digital wall that draws from the archive over many years, having access to original tapes as a fallback source remains valuable even after successful digitization.
Common Print-Through Correction Mistakes to Avoid
Applying maximum noise reduction without checking for artifacts. Audacity’s Noise Reduction and similar tools, set too aggressively, produce a characteristic metallic or “underwater” quality in the primary audio signal — a processing artifact called musical noise. Begin at the lowest effective setting (6 dB reduction), check for artifacts in primary-signal passages at normal listening level, and increase only if residual print-through remains clearly audible.
Using a noise profile from a section that contains primary signal. The noise profile step in Audacity requires a selection that contains only the background noise to be removed — not any portion of the primary recording. If the noise profile includes primary-signal energy, the tool will attempt to remove that energy from the entire file, degrading the primary content. Select the quietest available passage, typically the few seconds before the first recorded event or between speaker turns in an interview.
Confusing print-through with room reverberation. A recording made in a gymnasium or arena with audible room acoustics may have natural reverb that resembles post-echo. Room reverb decays smoothly and is present in all sounds at consistent relative levels. Print-through post-echo is a single, relatively discrete event at a fixed time offset, typically between 100 and 300 milliseconds, and appears more prominently before and after loud transients than in sustained sounds.
Re-encoding the archival master at delivery quality during correction. Software correction requires a re-encode of the audio or video track. If the corrected encode is saved as a low-bitrate file rather than at archival quality, the correction introduces additional compression loss on top of the original capture. Use a high-quality format for the corrected archival master — uncompressed PCM WAV for audio, ProRes 422 or high-bitrate H.264 at CRF 15 or lower for video — and derive delivery copies from the archival master.
Discarding the pre-correction capture before validating the corrected version. Keep the pre-correction capture file until the corrected version has passed full validation and been accepted into the archive. If the correction was set incorrectly or introduced artifacts, the pre-correction file is the starting point for a revised correction pass. Once the corrected file passes validation, archive retention policy determines whether the pre-correction capture is retained or deleted.
Skipping documentation after each correction session. A corrected file without documentation creates ambiguity for future staff: was this file corrected or is it the raw capture? Was the noise reduction conservative or aggressive? Archive metadata that records the correction tool applied, the severity rating, the specific settings used, and the validation date protects future staff from re-applying correction to an already-corrected file and from assuming the archive master is uncorrected when it is not.
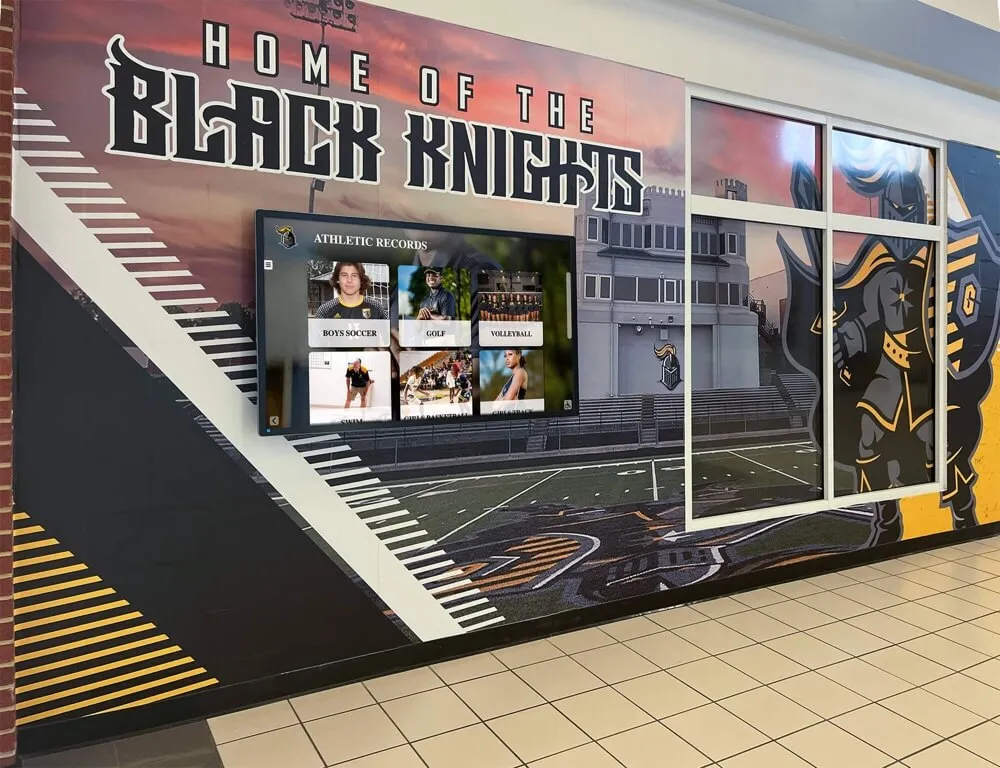
Athletic records walls and corridor displays that incorporate archived audio from game broadcasts and interviews depend on clean source recordings — print-through correction performed at archive ingest ensures that audio accompanying visual recognition assets sounds clear at every future display and presentation
Turn Restored Game Audio into a Living Athletic Recognition Program
Print-through correction is the workflow step that makes archived recordings — coach interviews, game broadcasts, sideline audio, and oral histories — clear enough to feature in a recognition display where alumni, students, and families hear the school’s athletic history as it sounded when it was lived.
Rocket Alumni Solutions helps schools connect verified, audio-accurate athletic archives to interactive recognition displays designed to surface every athlete, every championship, and every milestone your program has earned.
Schedule a demo with Rocket Alumni Solutions to see how your archive can power recognition infrastructure that honors your school’s history with the fidelity it deserves.
Sources
- Library of Congress — Sustainability of Digital Formats: Audio — Format guidance for long-term audio preservation in institutional and educational contexts, including documentation of print-through as a magnetic media degradation mechanism
- Association of Moving Image Archivists (AMIA) — Magnetic Media Preservation Resources — Professional standards and guidance for preservation of magnetic tape in institutional archives
- International Association of Sound and Audiovisual Archives (IASA) — TC-04 Guidelines on the Production and Preservation of Digital Audio Objects — International technical standards for audio digitization and preservation, including documentation of print-through and pre-echo phenomena
- Audacity Manual — Noise Reduction Effect — Documentation for the free, cross-platform audio editor’s noise reduction workflow applicable to print-through correction
- FFmpeg Documentation — Audio Filters — Reference for FFmpeg audio filter options including the
anlmdndenoising filter applicable to print-through reduction in batch workflows - iZotope — Repairing Audio with Spectral Repair — Reference for professional audio restoration tools applicable to targeted print-through event correction































