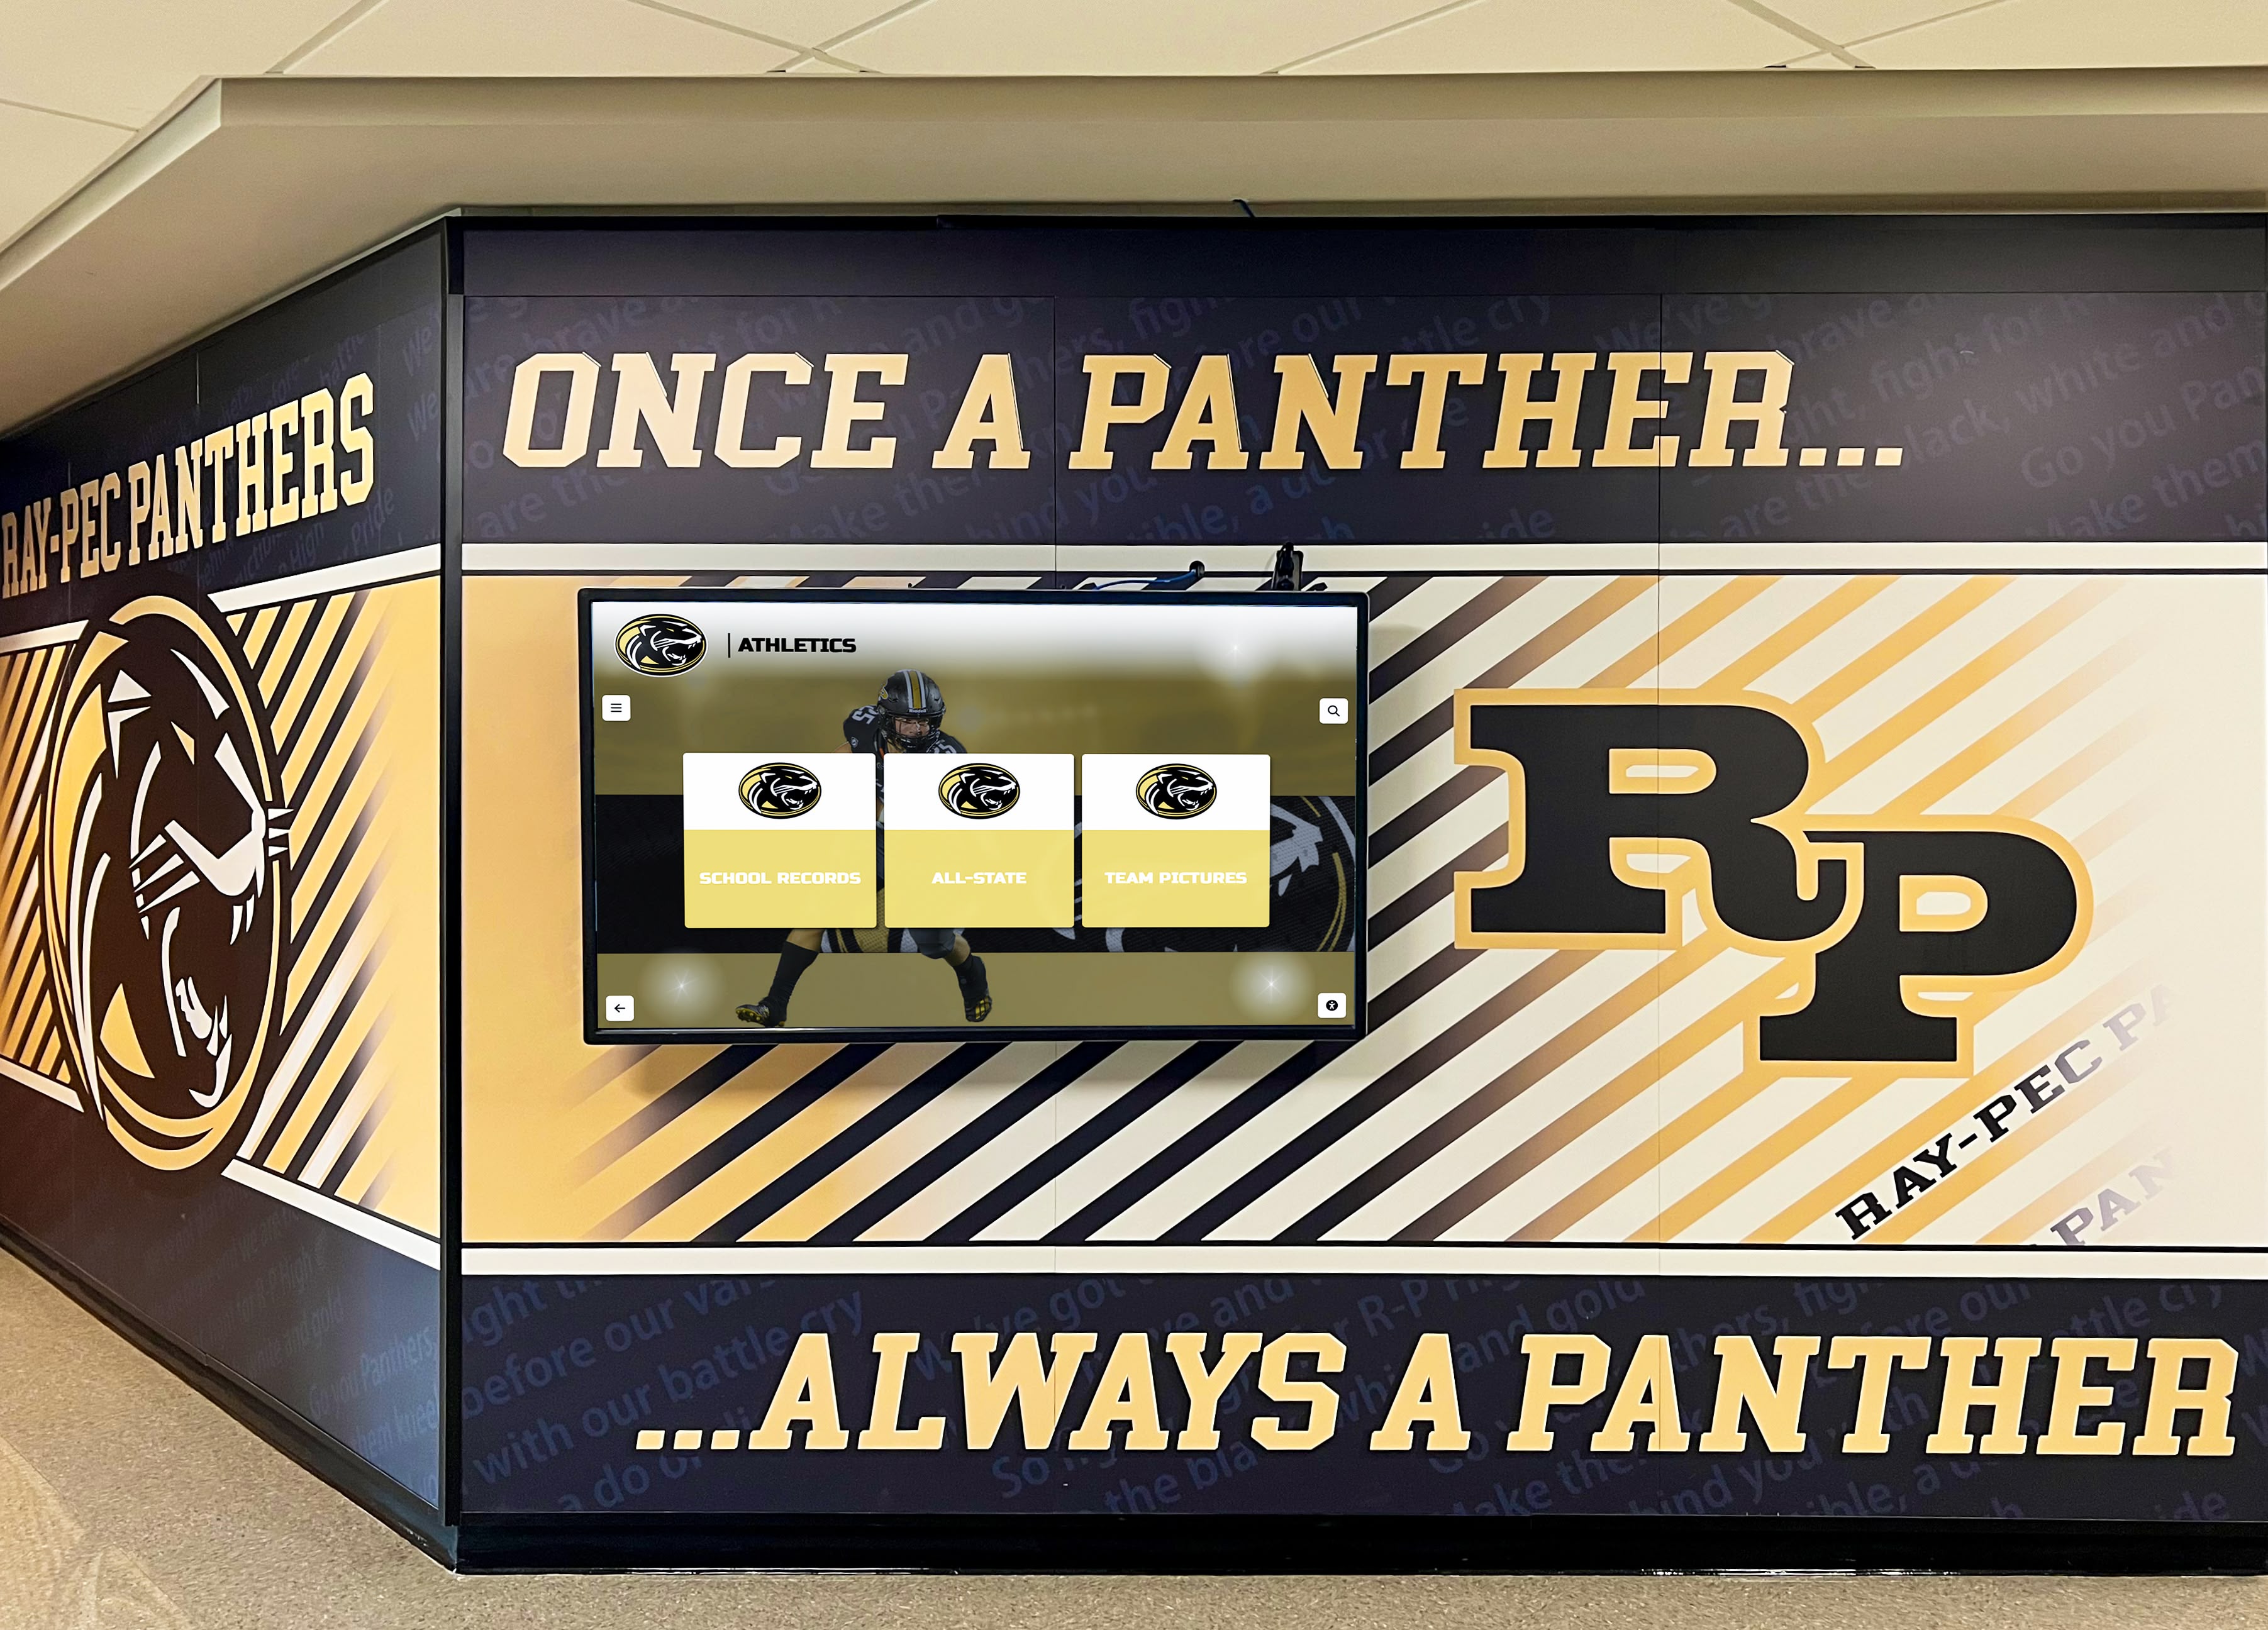
Athletic archive ferrotyping inspection is the pre-scanning assessment process that examines historic school team photo negatives for emulsion adhesion and surface deformation — conditions where the gelatin emulsion has bonded to an adjacent surface or developed contact-induced gloss marks — and determines which negatives can proceed to digitization and which must be isolated and referred to a photo conservator before any scanning or separation attempt begins. When photo negatives from a school’s team portrait sessions, championship documentation, or decades of athletic history were stored in non-archival enclosures, stacked without interleaving, or held in drawers and boxes in humid or uncontrolled environments, the gelatin binder that holds the image-forming silver can soften, become tacky, and bond to whatever surface it was pressed against. A negative that has adhered — to another negative, to a paper envelope, to a plastic sleeve, or to an adjacent print — cannot be safely separated by pulling, peeling, soaking, heating, or applying any solvent. Forced separation in a school environment, however gently attempted, risks tearing emulsion away from the base, lifting image-bearing silver layers from the surface, and permanently destroying the record of a championship season, a retiring coach, or an entire era of school athletic history.
This guide gives school athletic directors, recognition program owners, IT staff, librarians, and archive volunteers a practical ferrotyping inspection workflow for historic team photo negatives: a clear distinction between intentional ferrotyping as a historical photographic process and ferrotyping as an accidental adhesion condition, a numbered inspection procedure, documentation steps that record condition without disturbing adhered material, a classification table for routing negatives to the correct handling path, and the specific actions — including peeling, heating, soaking, and solvent application — that must not be attempted in a school setting.
Ferrotyping inspection for school team photo negatives is distinct from the pre-scan film assessments used for motion picture game reels — curl inspection, shrinkage measurement, and perforation damage review each address conditions specific to wound film with perforated transport edges. Still-photo negative collection inspection addresses flat-sheet or strip material in which the primary risk is emulsion-to-surface adhesion rather than film transport geometry. A school archive that holds both motion picture game reels and still-photo negative collections needs both inspection workflows applied to the appropriate material type.

School hallway recognition displays presenting team history and athletic programs depend on photography that was handled correctly at intake — ferrotyping inspection determines which historic team photo negatives are safe to scan and which require a photo conservator before any digitization proceeds
What Ferrotyping Inspection Is — And What “Ferrotyping” Means
The term “ferrotyping” appears in two distinct contexts in photographic history and conservation literature. Understanding both meanings matters for school archive staff, because the same word describes both an intentional historical print process and an accidental damage condition — and conflating the two leads to incorrect handling decisions.
Ferrotyping as an Intentional Photographic Process
In historical photography, ferrotyping referred to the practice of pressing a wet gelatin silver print, still processing, against a polished ferrotype plate — a tinned iron sheet with a high-gloss surface — and allowing the print to dry while in contact with that surface. The result was a highly glossy, mirror-like print surface that photographers and clients valued for its appearance in portrait and commercial work. Ferrotyping as a process was widely used through the mid-twentieth century and produced the high-gloss portrait prints recognizable from school portrait packages of that era. A print made by intentional ferrotyping is not damaged — the process produced that surface intentionally. Seeing the term “ferrotyped print” in a collection description or photographer’s catalog note means the print was made this way on purpose.
Ferrotyping as an Accidental Damage Condition
Ferrotyping as a condition — the sense used in photo conservation assessment — refers to unintended contact-induced surface changes that occur when a photographic emulsion surface is pressed against a smooth surface under conditions of elevated relative humidity. The gelatin binder softens as it absorbs moisture, conforms to the texture of the adjacent smooth surface, and dries locked in that position. The result is a localized high-gloss or mirror-like patch on the emulsion surface where the gelatin has been permanently deformed by contact. No tin plate is involved. The condition results from humidity, contact pressure, and time — and it marks a permanent change to the emulsion surface geometry in the affected area.
Emulsion Adhesion: The Severe End of the Spectrum
When relative humidity is high enough, for long enough, the gelatin binder does not merely soften and deform — it can physically bond to the adjacent surface. This is emulsion adhesion or sticking, sometimes called blocking in conservation literature. Sticking is the most severe result of the same conditions that produce ferrotyping: elevated humidity, direct contact pressure, and insufficient interleaving between photographic materials in storage. A negative that has ferrotyped has a surface marking; a negative that has stuck has a physical bond that requires specialist treatment — and cannot be released safely without expert intervention, appropriate materials, and controlled environmental conditions.
For school athletic archive inspection, the practical distinction is:
| Condition | Emulsion Change | Safe In-House Separation? | Required Path |
|---|---|---|---|
| Surface gloss — mild ferrotyping | High-gloss patch on emulsion surface; negative slides freely from enclosure | Not recommended without conservator review | Conservator review before scanning |
| Texture loss — ferrotyping with deformation | Gloss plus visible loss of matte micro-texture under raking light | No | Conservator evaluation |
| Partial adhesion | Negative resists sliding from adjacent surface but has not fully bonded | No — stop-work immediately | Conservator evaluation |
| Full emulsion adhesion | Negative physically bonded to adjacent surface; no movement without force | No | Conservator separation only |
| Emulsion transfer | Image material visible on surface of adjacent negative or enclosure interior | No | Conservator evaluation of entire group |
Why School Team Photo Negative Collections Face Ferrotyping Risk
Historic school athletic photo negative collections — portrait negatives from team photograph sessions, action negatives from championship seasons, contact sheets from decade-long documentation programs — accumulated in storage conditions rarely designed for photographic preservation. The factors that concentrate ferrotyping risk in these collections are consistent across school types and sizes.
Common storage conditions in school athletic archives that drive ferrotyping risk:
Non-archival paper enclosures: Inexpensive kraft paper envelopes, onionskin paper sleeves, and glassine enclosures (a semi-transparent paper historically used in photographic storage) all provide direct contact between enclosure material and the emulsion surface. Glassine in particular can adhere to gelatin emulsions under elevated humidity because its surface chemistry is compatible with gelatin at higher moisture levels — producing both enclosure-to-emulsion adhesion and surface-marking transfer when stored in humid conditions.
Stacked storage without interleaving: Negatives stored in stacks — flat in drawers, compressed in filing cabinets, grouped in shoeboxes — place emulsion surfaces in direct contact with adjacent base or emulsion surfaces. Without interleaving tissue or individually sized enclosures between each negative, every layer of the stack is a potential adhesion point under the right humidity conditions.
Uncontrolled storage environments: Gymnasium storage rooms, equipment closets, basement archival areas, and administrative filing rooms that share HVAC with building spaces see significant seasonal humidity variation. Summer humidity spikes in areas without dedicated climate control can expose photographic materials to relative humidity levels that cause gelatin softening and potential adhesion — conditions that the Image Permanence Institute addresses in their resources on photographic material storage, including the Color Storage Guide for photographic materials available at FilmCare.org, which covers the storage conditions essential for preventing physical damage to photographic emulsions.
Rubber bands and compression fasteners: Rubber bands applied to groups of negatives concentrate pressure on the emulsion at the contact points, creating the highest adhesion risk exactly where pressure is greatest. Rubber bands also off-gas sulfur compounds that cause chemical deterioration of silver-based emulsions — so negatives stored in rubber bands may present both adhesion damage and chemical deterioration at the same locations.
PVC-based plastic sleeves: PVC (polyvinyl chloride) sleeves, common in older photo storage supplies, off-gas plasticizers that interact chemically with gelatin emulsions and can accelerate the conditions that lead to adhesion. PVC sleeves sealed around a negative with humid air trapped inside create localized high-humidity micro-environments at the emulsion surface over the years the negative is stored.
For school athletic programs, the most at-risk material is typically medium-format or 4×5-inch sheet negatives from team portrait sessions commissioned from commercial photographers in the 1950s through the 1980s — material that was sometimes returned to the school without archival-quality enclosures and stored alongside other athletic records in whatever filing space was available.
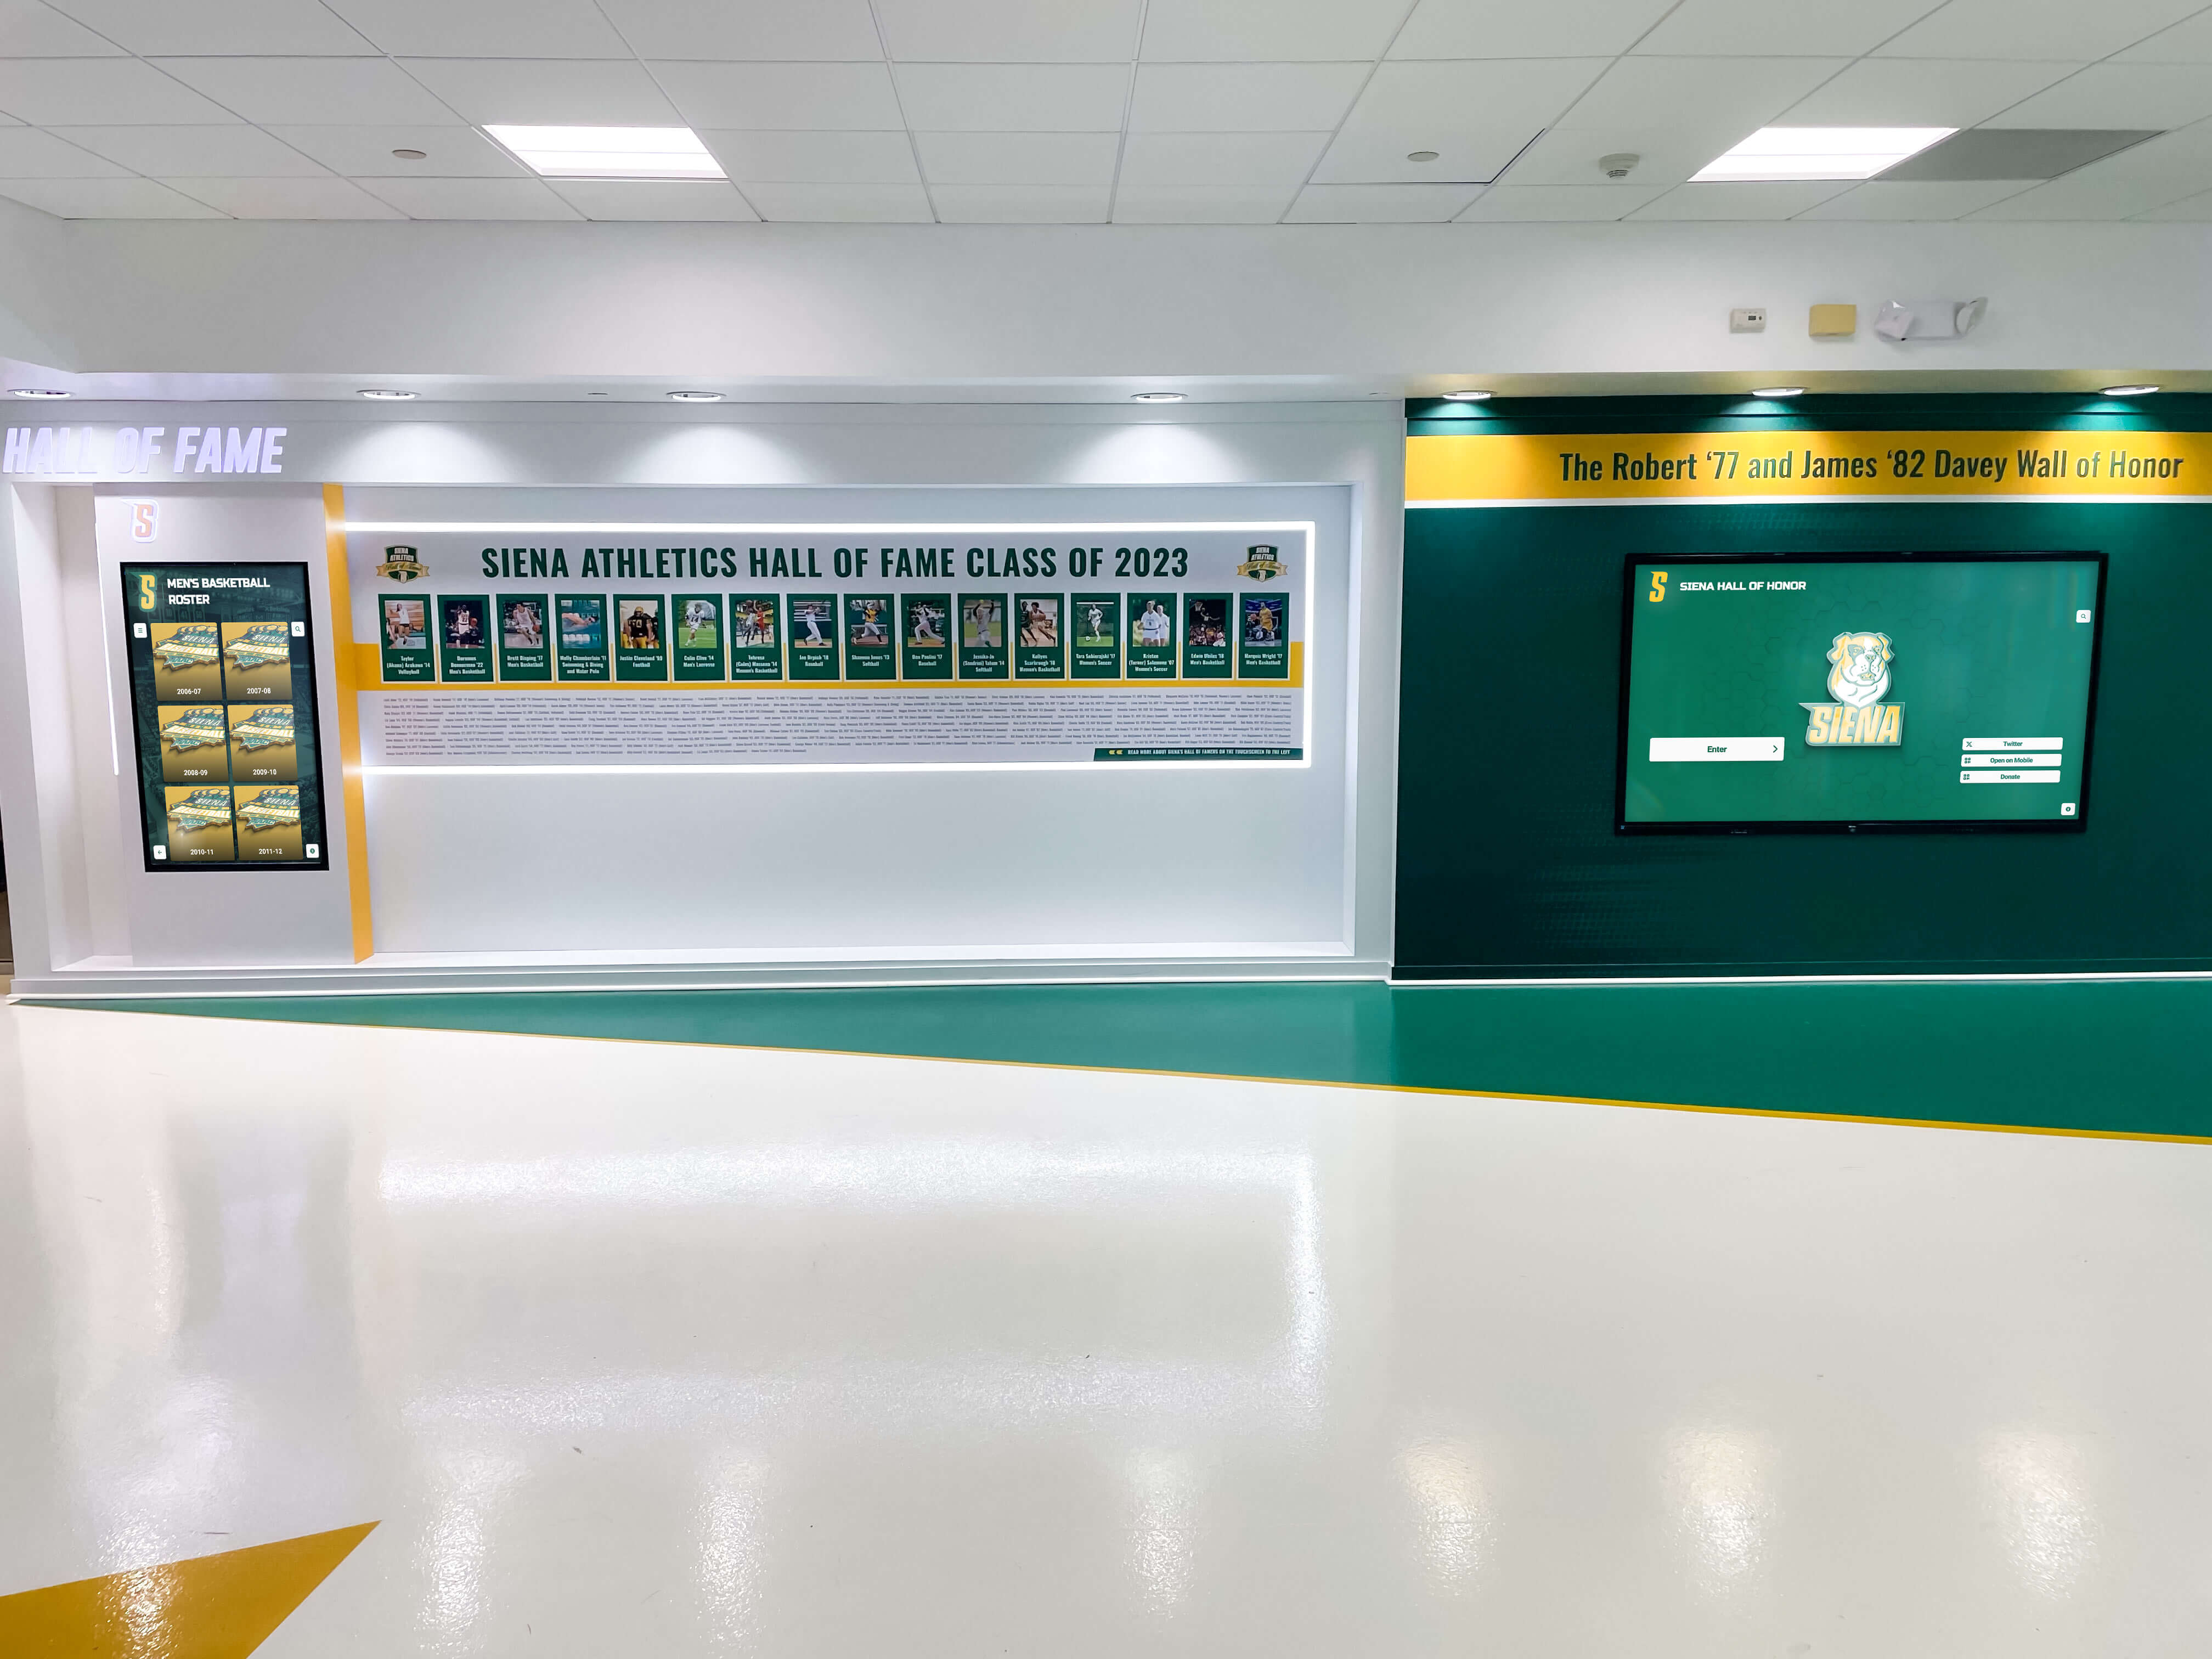
Athletic hall-of-fame displays presenting team portraits and championship records depend on source photography that survived the intake process intact — ferrotyping inspection determines which historic negatives need conservator treatment before their images can be recovered cleanly for display
Athletic Archive Ferrotyping Inspection: A 5-Step Workflow
Step 1: Prepare the Inspection Area
Establish a controlled inspection environment before touching any negative material. Preparation eliminates handling risks and creates conditions for accurate documentation before condition findings are encountered.
Required at the inspection station:
- Clean white cotton or nitrile gloves (worn throughout all handling)
- A clean, flat, non-abrasive surface (clean glass or laminate tabletop; avoid rough or textured surfaces that could scratch emulsion)
- A camera or smartphone capable of close-up photography with consistent, adjustable illumination
- A small scale reference visible in photographs — a ruler or archival label
- Archival-quality individual enclosures and acid-free interleaving tissue for re-housing negatives that can be safely removed from deteriorated enclosures
- Clean archival boxes or trays for isolating adhered groups as units
Do not place at the inspection station:
- Any heat source
- Any liquid, solvent, humidifier, or cleaning solution
- Spatulas, palette knives, card stock, or any implement that could be used for attempting separation
- Adhesive tape of any type
The absence of separation tools from the inspection area is a practical safeguard. The inspection workflow requires that no separation be attempted for any adhered material — removing potential tools removes the possibility of attempting separation when resistance is first encountered during a handling step.
Step 2: Assess the Storage Unit Before Handling Individual Items
Before removing any negative from its storage location, assess the storage unit — the box, drawer, folder, or envelope — from the outside. Two to three minutes of storage-level observation prevents the handling errors that occur when adhesion is discovered mid-removal.
Storage-level indicators of ferrotyping or adhesion risk:
Compression within the storage unit: A box or drawer where negatives are packed without air space creates uniform pressure across the stack — the same condition that concentrates adhesion risk. Note storage units where negatives or enclosures appear visibly compressed.
Enclosure material showing deterioration: Enclosures that have softened, yellowed, or warped indicate extended storage under conditions that also affect photographic emulsions. Deteriorated enclosures in direct contact with emulsion surfaces have a higher probability of adhesion at those contact surfaces.
Visible adhesion evidence from outside the enclosure: Negatives stored in paper envelopes may show the enclosure resisting removal from a folder in ways that suggest the negative inside has bonded to the enclosure wall. Enclosures deformed from the inside, or showing discoloration that corresponds to the shape of the negative within, warrant careful individual assessment before any item is removed.
Odor indicators: Vinegar odor from an enclosure suggests acetate film base decay — a separate condition but one that indicates a deteriorating storage environment likely to have produced adhesion damage as well. A sweet or chemical odor from a plastic enclosure suggests PVC off-gassing, relevant to adhesion risk assessment.
For each storage unit where these indicators are present, record the location and condition finding in your intake log before opening the unit.
Step 3: Identify Stuck Negatives Without Separating Adhered Material
This step is the core of ferrotyping inspection — and its most critical rule. When any resistance is felt during the initial attempt to slide or lift a negative, stop all movement immediately. Do not apply additional force. Do not attempt to flex, peel, or edge-separate the materials.
Procedure for assessing individual negatives:
Open the storage enclosure carefully. Unfold paper envelopes by lifting the flap only; do not pull the negative out by force. If the envelope opens freely and the negative can be seen lying inside without apparent contact with the envelope walls, proceed to the next sub-step.
Attempt gentle sliding. With gloved fingers at the negative base edge (the non-emulsion side), attempt to slide the negative approximately 5 mm horizontally within its enclosure. If the negative slides freely with no resistance, the adhesion risk at that contact surface is low. If there is any resistance — however slight — stop. Do not pull.
Observe the emulsion surface without separation. When any portion of the emulsion surface is accessible without forcing the negative from its enclosure, observe it for: (a) localized high-gloss patches where the emulsion surface has taken on a mirror-like appearance, indicating contact-induced ferrotyping; (b) any gloss pattern corresponding to the texture of the enclosure material (glassine weave, paper grain); (c) opacity changes or areas where the emulsion appears disturbed.
Do not attempt to separate a negative that shows any resistance. Document the negative in place (Step 4), mark the storage unit as requiring conservator referral (Step 5), and move to the next item.
What you are looking for:
| Observation | Interpretation | In-House Action |
|---|---|---|
| Negative slides freely; emulsion surface shows uniform matte or gloss finish throughout | No detectable adhesion | Continue to individual scanning intake assessment |
| Localized high-gloss patch on emulsion surface; negative slides freely | Mild ferrotyping condition — surface contact marking | Document; remove to clean archival enclosure; flag for conservator review before scanning |
| High-gloss area with visible loss of surface texture or image micro-structure under raking light | Moderate ferrotyping with surface deformation | Stop-work; document in place; route to conservator |
| Any resistance on sliding attempt; negative does not slide freely from its enclosure | Adhesion present — severity unknown without conservator assessment | Stop-work immediately; document in place; do not attempt separation |
| Negative appears bonded to enclosure wall, visible through translucent enclosure | Full emulsion-to-enclosure adhesion | Stop-work; document the enclosure with negative inside as a unit; route to conservator |
| Image material visible on surface of adjacent negative or inside the enclosure | Emulsion transfer has occurred | Stop-work; document the entire group in current position; route entire group to conservator |
Step 4: Document Condition With Photography — In Place, Without Disturbing Adhered Material
Photography is the primary documentation tool for ferrotyping and adhesion conditions. Unlike inspection findings that can be captured in a written measurement, adhesion and ferrotyping conditions are three-dimensional — the photographs taken in Step 4 communicate the condition geometry to a photo conservator and establish a baseline record of each negative’s condition at the time of intake.
Key principle: photograph the condition in place, before any attempt to move or separate materials. An adhered negative that has been disturbed before documentation produces photographs that show post-disturbance damage rather than the original adhesion condition.
Photographs to capture for each negative or group showing ferrotyping or adhesion:
Context photograph: The storage unit (box, drawer, folder) in its current position, showing the overall organization of the collection at that point and the accession identifier visible in frame.
Storage-level detail: The individual enclosure or enclosure stack showing the position of the affected negative within the storage arrangement — compressed layers, enclosures showing deformation, or visible external indicators of adhesion.
Emulsion surface under raking light: When any portion of the emulsion surface is accessible without separation, photograph it with a light source held at a very low angle to the surface. Raking light reveals gloss variations, texture deformation, and micro-structure changes that are not visible under direct overhead illumination — it is the most effective technique for documenting ferrotyping surface conditions at intake.
Any visible adhesion boundary: If the boundary between adhered and non-adhered areas is visible without separation, photograph it with the scale reference in frame. Adhesion boundary location and extent are relevant to the conservator’s assessment of how much of the image area is affected.
Enclosure condition: The interior of any enclosure showing adhesion evidence — texture patterns transferred to the enclosure surface, discoloration at contact points, or emulsion transfer marks on enclosure walls.
Store photographs alongside the accession record for each affected item. When routing to a conservator, include the full photograph set alongside the condition classification from Step 3 and any known storage history.
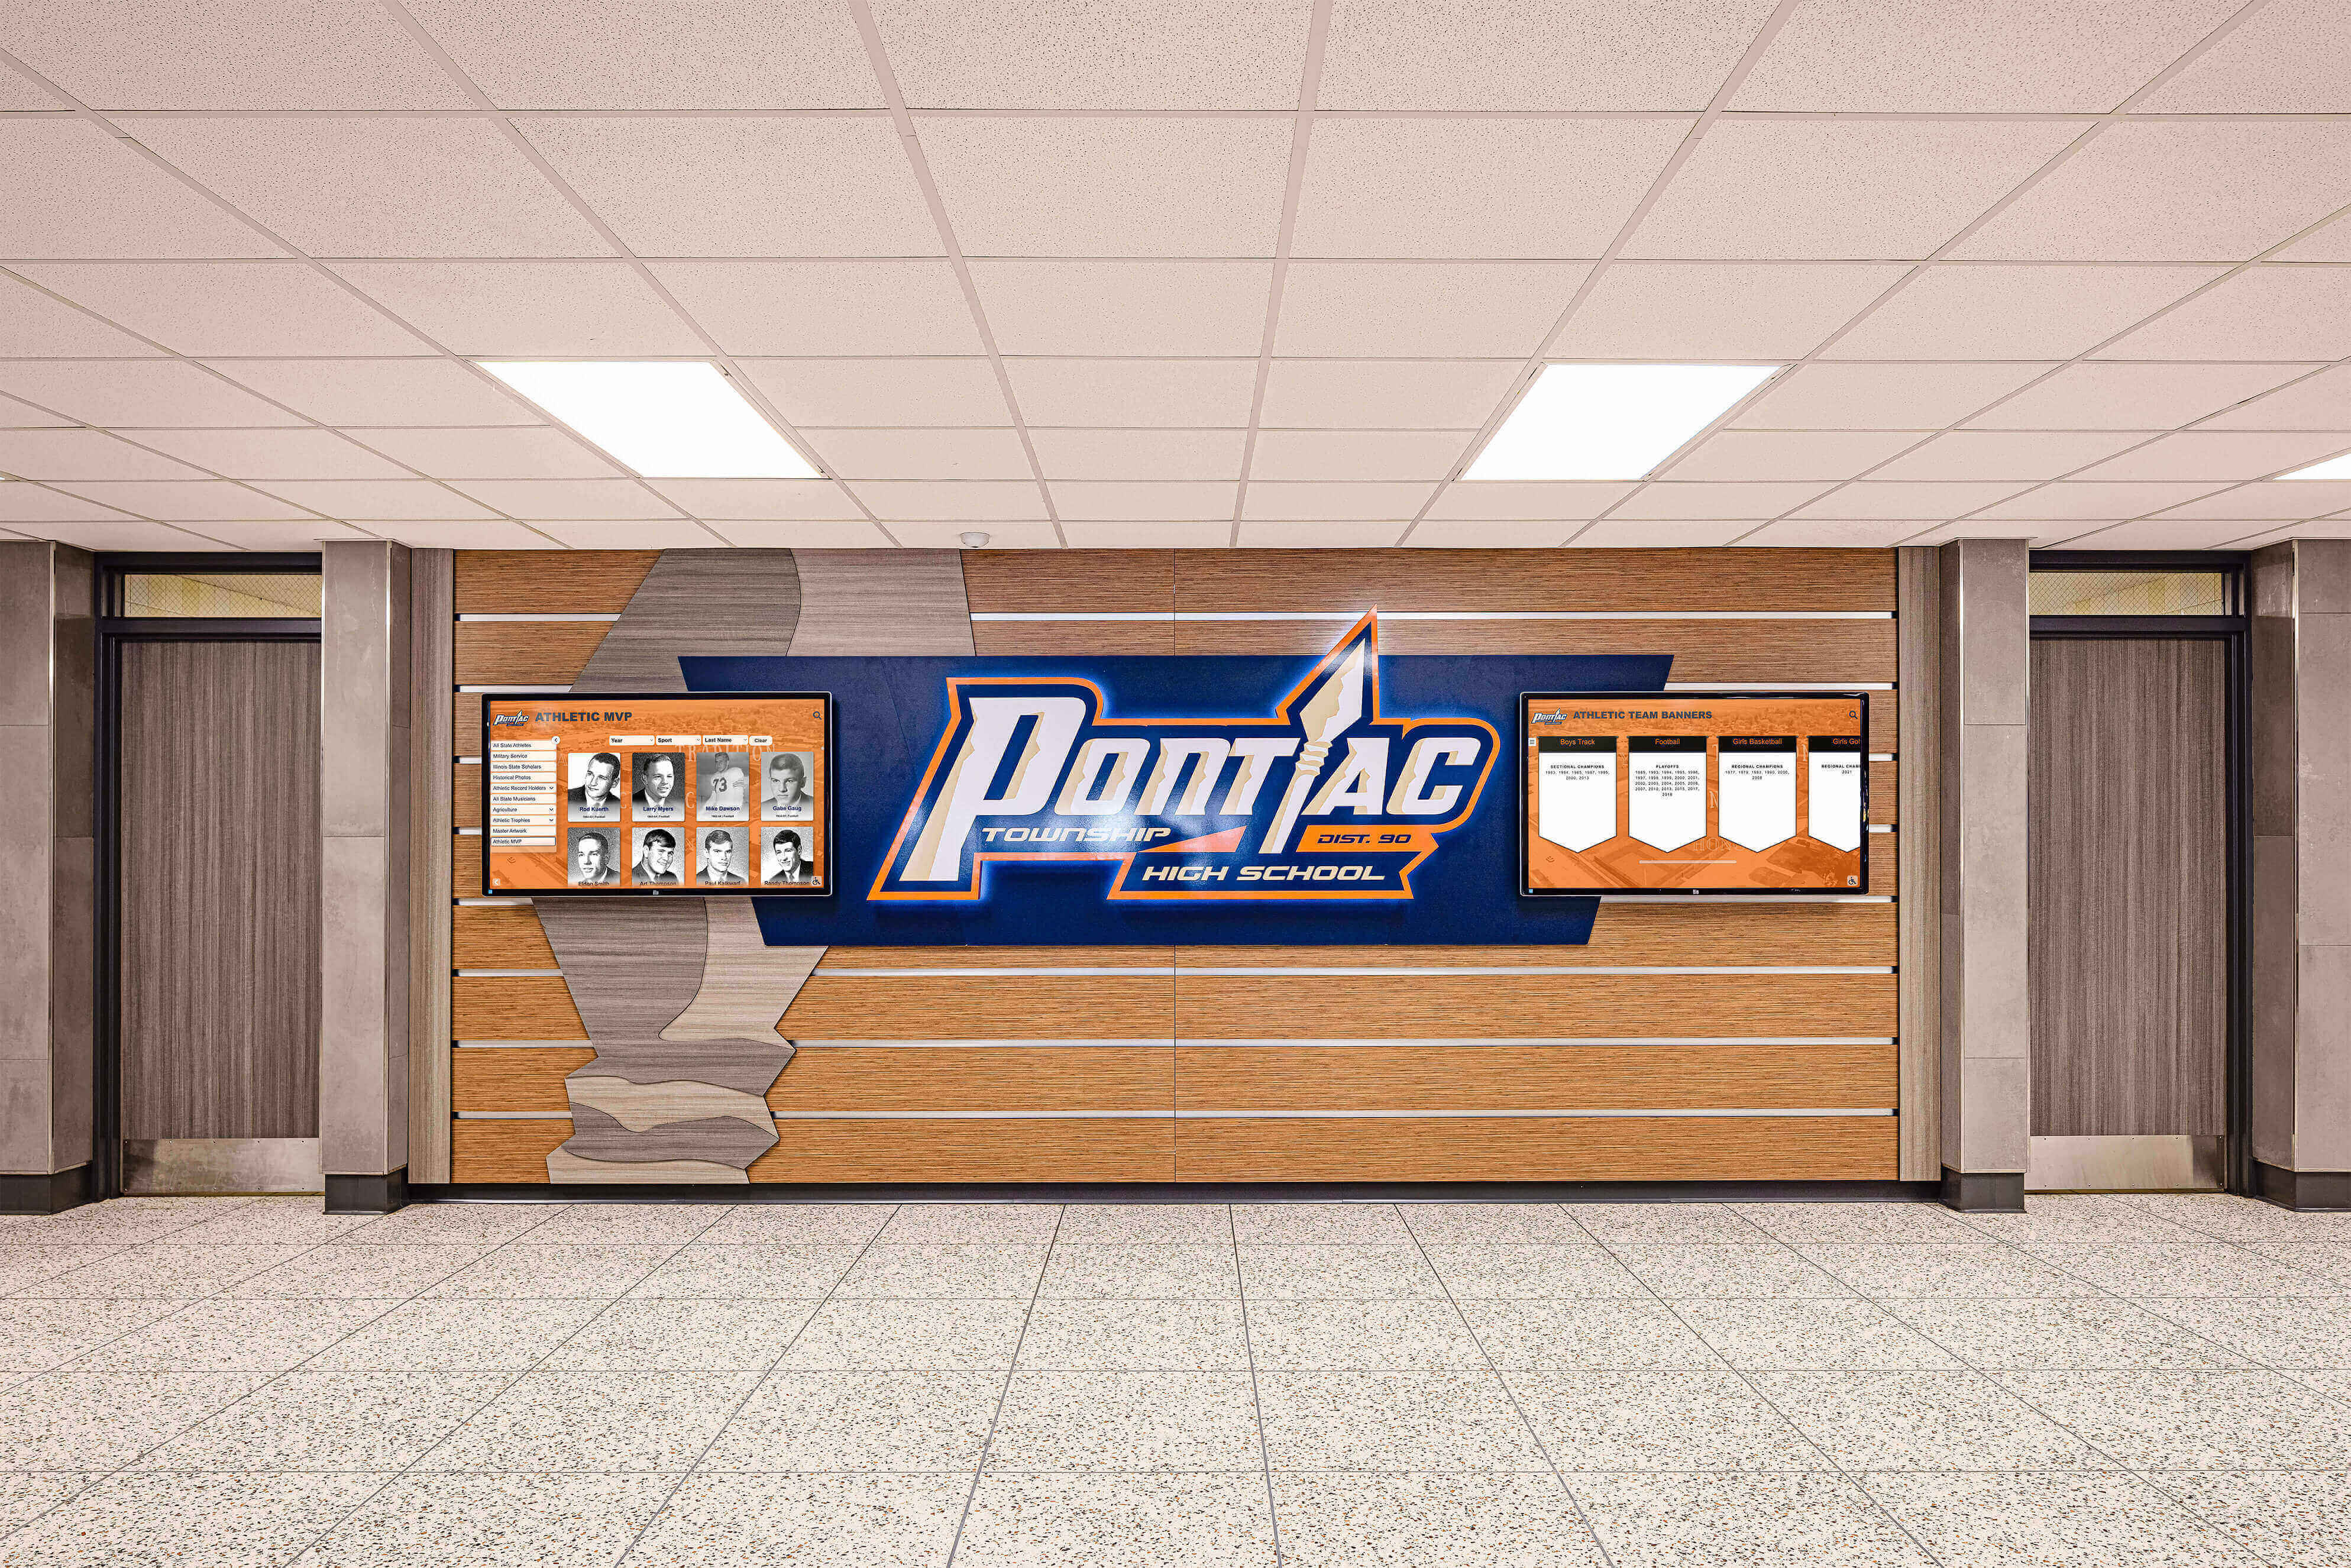
School hallway honor boards presenting athletic program history and team records draw on photography recovered from historic negative collections — ferrotyping inspection photography creates the documentation record that travels with each affected negative to the conservator and through every subsequent handling decision
Step 5: Isolate Adhered Negatives and Route to a Photo Conservator
Isolation procedure for negatives with confirmed or suspected adhesion:
- If the negative is still within its enclosure and the enclosure can be gently closed without applying pressure to the affected area, close the enclosure and proceed to labeling.
- If the negative was partially removed from its enclosure before adhesion was recognized, do not attempt to push it back. Photograph the current position (Step 4), then place the entire enclosure with the partially removed negative into a clean archival enclosure large enough to contain the arrangement without bending or compressing it further.
- If multiple negatives are adhered together as a group, do not attempt to separate any item from the group. Photograph the group as a unit, then place the entire group into a clean archival enclosure without compression.
Label each isolated item or group clearly with an archival label (soft pencil, not ballpoint or felt-tip) on the outside of the enclosure:
- Accession number
- Date of inspection
- Condition finding: FERROTYPING / ADHESION — DO NOT SEPARATE — CONSERVATOR REFERRAL
- Number of items in the group if multiple negatives are together
Do not route adhered negatives to any scanning equipment. A negative adhered to an adjacent surface cannot be placed on a flatbed scanner glass without force — and a negative whose emulsion surface has been damaged by ferrotyping may adhere to scanner glass, creating a second adhesion event that adds scanner-glass-to-emulsion bonding to the existing condition.
What a photo conservator provides that in-house staff cannot:
A photo conservator treating stuck photographic negatives may use controlled humidification — carefully graduated exposure to elevated relative humidity under monitored conditions, with appropriate support materials to prevent further adhesion or base deformation during treatment. Conservators also have access to instrumentation for characterizing emulsion composition and damage state before any treatment is applied, and to magnification equipment for evaluating adhesion boundaries that are not visible at inspection-table distances. These techniques require training, equipment, and environmental controls not available in a school setting — which is why in-house handling stops at documentation and isolation, and treatment is reserved for the specialist.
What Not to Do: Stop-Work Actions for Adhered Team Photo Negatives
School archive staff who discover stuck negatives may instinctively reach for available materials to free them. Each of the following approaches causes additional damage and must not be attempted.
| Action | Why It Causes Additional Damage |
|---|---|
| Peeling or pulling adhered negatives apart | Tears the gelatin emulsion layer from the base at the adhesion boundary; the torn layer takes image silver with it; damage is irreversible |
| Flexing to break the adhesion bond | Concentrates stress at the adhesion boundary; fractures an embrittled base at the stress point; promotes tearing from the adhesion edge into the picture area |
| Applying heat (hair dryer, warm plate, heated press) | Softens gelatin further, worsening adhesion or causing emulsion to flow and distort; may permanently fuse materials that were only lightly stuck |
| Soaking in water or photographic solutions | Uncontrolled re-humidification causes gelatin to swell non-uniformly; worsening adhesion in some areas while lifting emulsion from the base in previously stable areas |
| Applying any solvent | Solvents that dissolve adhesion bonds also dissolve or swell gelatin; solvent migration into the image layer causes irreversible image disturbance |
| Inserting a spatula, card, or blade at the adhesion edge | Applies shear force at the adhesion boundary; causes adhesion-line tearing into the picture area |
| Placing adhered negatives on a flatbed scanner | May cause the emulsion surface to adhere to the scanner glass, creating a second adhesion event; scanner lid pressure worsens existing adhesion |
Ferrotyping Condition Versus Ferrotyping Process: A Reference Summary
School athletic directors and archive partners who receive a collection assessment mentioning “ferrotyping” may need to confirm which usage applies to their materials.
| Context | What “Ferrotyping” Means | School Archive Action |
|---|---|---|
| Historical print description: “This portrait was ferrotyped” | An intentional glossy print-finishing process; the print was made this way — it is not damaged by the ferrotyping | No preservation action needed for the ferrotyping specifically; assess for other deterioration conditions |
| Condition assessment: “This negative shows ferrotyping” | Unintended contact-induced surface gloss from humid storage and pressure against a smooth surface | Document; assess adhesion status; refer to photo conservator before scanning |
| Condition assessment: “These negatives are stuck / adhered / blocked” | Physical emulsion-to-surface bonding — the most severe result of ferrotyping conditions | Stop-work; document in place; isolate as a group; route to photo conservator |
Who This Inspection Workflow Serves
| Role | Primary Concern | How Ferrotyping Inspection Helps |
|---|---|---|
| Athletic Director | Team portrait history and championship documentation | Prevents destruction of irreplaceable negative material through uninformed forced separation |
| Recognition Program Owner | High-quality imagery for hall-of-fame displays and alumni recognition | Identifies which negatives need conservator treatment before they can produce quality scans for display |
| IT / Facilities Partner | Systematic intake and routing workflow | Provides a clear decision table that non-specialist staff can apply consistently without risk |
| Librarian / Archivist | Collection condition documentation and intake records | Produces a documented condition record — including photographs — for every affected negative |
| Administrator | Institutional record completeness | Establishes that collection condition was assessed and referred appropriately, creating a defensible record |
Schools building long-term athletic recognition programs find that photo negative condition assessment connects directly to the overall school recognition display infrastructure because the quality of scanned imagery that reaches any display system depends entirely on the condition of the source negative when it entered the digitization workflow.

Athlete portrait collections displayed in school recognition programs depend on photography that was recovered cleanly from source negatives — ferrotyping inspection determines which negatives are ready for digitization and which require conservator treatment before their image can be safely scanned
Athletic programs that have assessed and correctly routed their historic team photo negative collections — and connected their conservator-treated scans to their broader recognition infrastructure — are positioned to build the kind of living archive that serves athletes, alumni, and the school community across decades. See how Rocket Alumni Solutions helps schools bring safely digitized archival photography into recognition programs that display team history with the quality those images deserve.
Connecting Ferrotyping Assessment to Athletic Recognition Programs
The purpose of ferrotyping inspection before digitization is the clean scan that comes through on the other side — team portraits, championship images, and coaching milestone photographs that were assessed, correctly routed, treated by a conservator where needed, and recovered as high-quality digital files that accurately represent the original photographic content.
For school athletic programs, those files are the source material for recognition installations that make institutional history visible and meaningful. Inductee profiles in a digital hall of fame depend on portrait quality that was preserved through correct intake handling. Championship display panels in a school lobby require photographic resolution that only an undamaged negative can deliver.
The standards for how athlete biographical, statistical, and photographic content should be structured within a recognition system — as covered in guidance on digital hall-of-fame inductee profile language and parts audits — assume that source photography meets a minimum quality threshold. A ferrotyped or stuck negative scanned without prior conservator treatment does not meet that threshold: the gloss distortion, texture loss, or emulsion transfer mark will appear in the scanned file and carry through to every display that uses it.
Schools that invest in lighting systems for trophy case and recognition display presentations, including considerations covered in trophy case LED lighting upgrade planning resources, are right to consider how that lighting will interact with display image quality — and that quality conversation traces directly back to whether the source negatives were protected at intake.
For schools that maintain long-term athletic awards records alongside their physical photograph archives — tracking championship seasons, record holders, and coaching tenures — the connection between athletic awards database record management practices and photograph preservation is direct: the award record and its associated portrait photograph should reach the same digital collection in the same intake cycle, not separated by years because the photograph was damaged by an uninformed separation attempt that a ferrotyping inspection would have prevented.
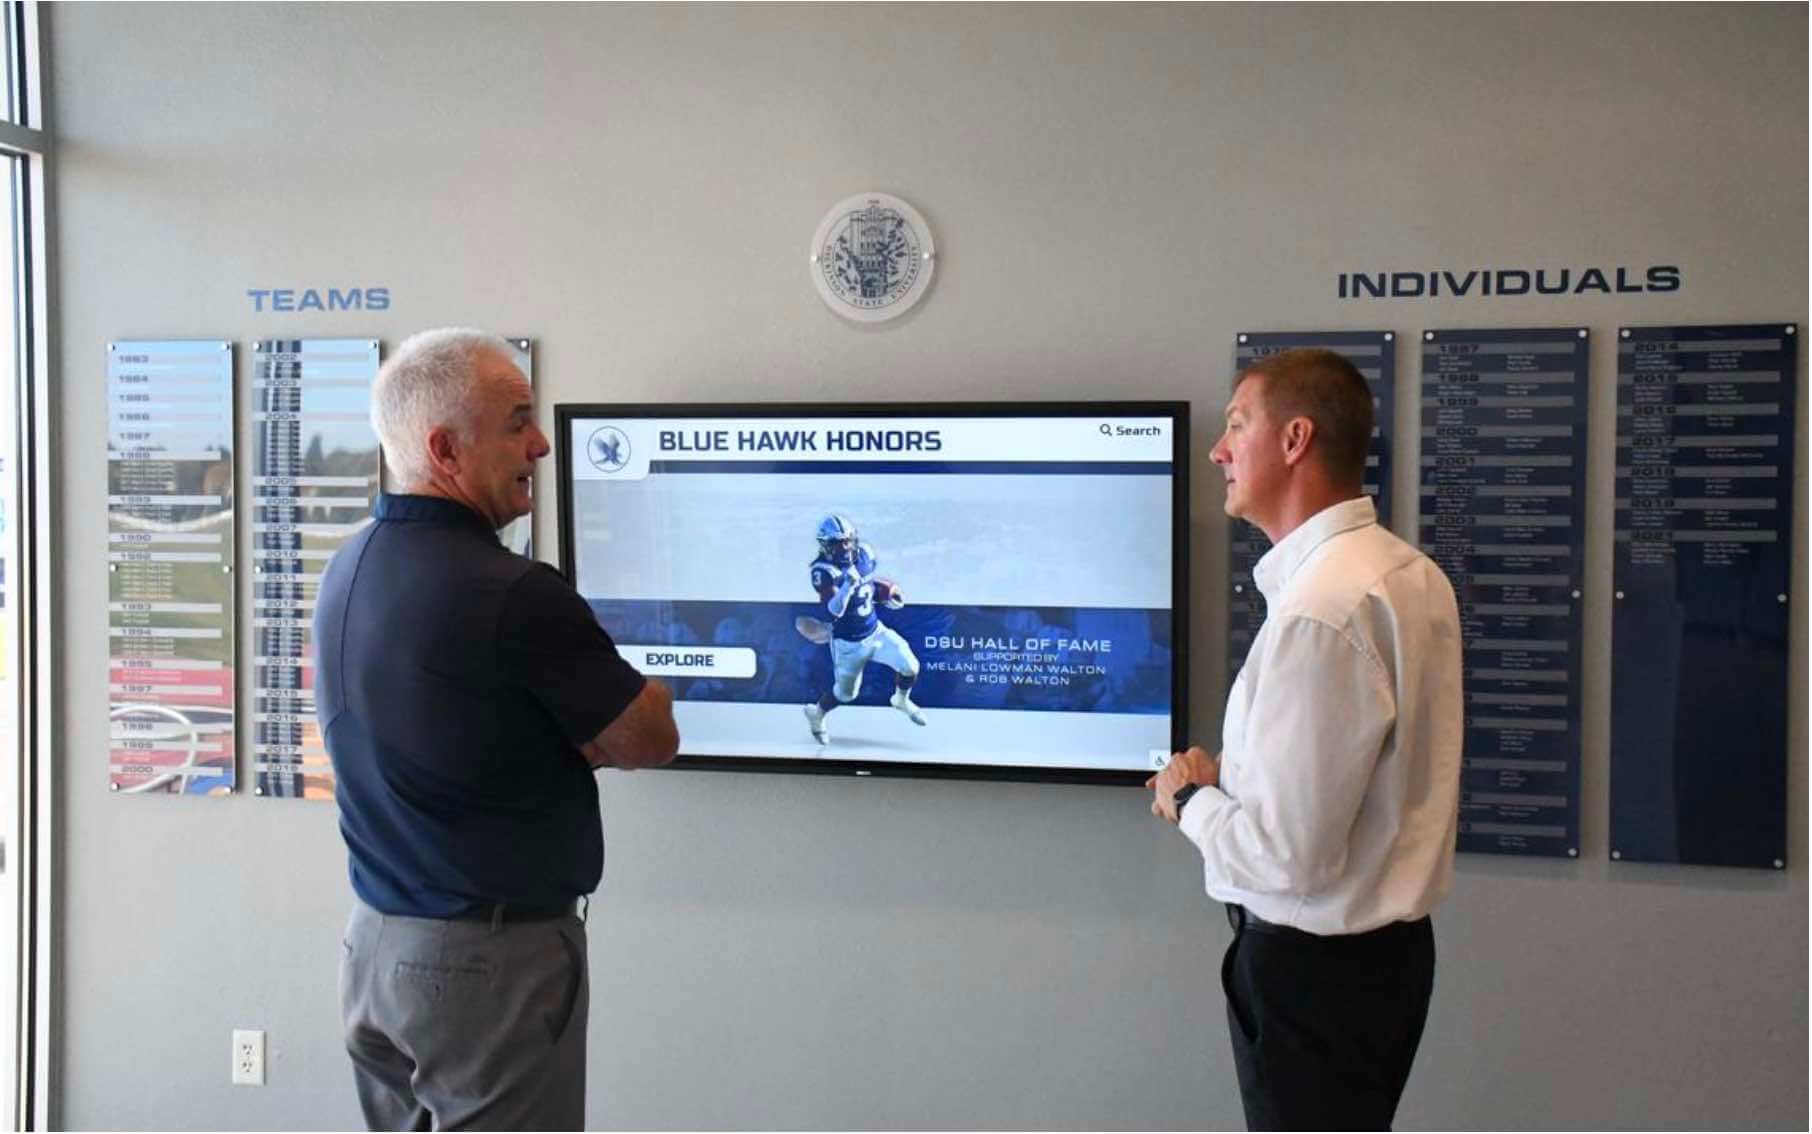
Digital hall-of-fame installations present athletic history to the school community throughout the year — every portrait image on that screen cleared a pre-digitization inspection workflow that confirmed the source negative could be scanned without damage from an attempted separation
The digital hall-of-fame accessibility standards that define search, navigation, and interface requirements for recognition systems assume that photographs within those systems load cleanly and display accurately — another downstream requirement that begins with whether the source negative was protected from additional damage at intake.
Frequently Asked Questions
What is the difference between the ferrotyping photographic process and the ferrotyping damage condition?
Ferrotyping as a photographic process was an intentional print-finishing technique: a wet gelatin silver print was pressed against a polished tin plate while drying, producing a highly glossy, mirror-like print surface valued in portrait and commercial photography. A print made this way is not damaged — its glossy surface was designed intentionally. Ferrotyping as a condition in photo conservation refers to the same word applied to an accidental outcome: when a photographic emulsion stored in humid conditions in contact with a smooth surface develops a localized high-gloss or mirror-like marking it was not intended to have. The mechanism is similar in both cases — gelatin conforming to a smooth surface under moisture and pressure — but one is intentional and produces the desired surface finish, while the other is accidental and marks surface damage. School archives working with old team portrait collections may encounter both: intentional ferrotyping in glossy commercial portrait prints, and accidental ferrotyping conditions in negative collections stored without adequate enclosures or humidity control.
Can a photo conservator always separate stuck negatives without image loss?
Not always. Whether conservator treatment can recover the full image depends on the emulsion type, the severity and duration of the adhesion, the base condition, and the specific materials involved in the adhesion. A conservator evaluates these factors before recommending or attempting treatment. In some cases, controlled humidification allows careful separation with minimal or no image loss. In others, the adhesion has caused emulsion transfer — image silver has physically migrated to the adjacent surface — and part of the image is permanently lost regardless of treatment. The conservator evaluation before treatment is precisely what determines whether treatment is feasible and what the realistic outcome is likely to be. This is why early referral — before any in-house separation attempt adds further damage — maximizes the range of options available to the conservator.
Does ferrotyping affect the image information recorded on the negative, or only the surface appearance?
Mild ferrotyping — the high-gloss surface contact marking with no physical adhesion — affects the emulsion surface geometry but not necessarily the underlying image silver density. A scan of a mildly ferrotyped negative may show a localized variation in surface reflectance in the affected area, but the image information may be intact beneath it. Moderate to severe ferrotyping with texture loss begins to affect the micro-structure of the emulsion surface in ways that influence how light scatters through the emulsion during scanning. Full emulsion adhesion with emulsion transfer represents a physical loss of image silver from the negative surface — the affected area has lost image information that cannot be recovered regardless of post-processing. This progression from surface-only marking to image-information loss is why early assessment and conservator referral — before a stuck negative is forced, heated, or soaked — matters: the difference between a mildly ferrotyped negative and a torn one may be the difference between a recoverable and an irrecoverable image.
Why can’t soaking the stuck negatives in water release them, since water is used in photographic processing?
Photographic processing involves controlled immersion of material in specific solutions at specific temperatures for known durations, with predictable chemical outcomes. Soaking a processed negative in water to attempt adhesion release is a different intervention entirely: the gelatin in a fully processed, dried negative swells non-uniformly when re-wetted, the rate and degree of swelling depends on the gelatin’s current state (which varies with age, prior storage conditions, and degree of crosslinking from the original processing), and the adhesion bond may not release uniformly even as the gelatin swells. Non-uniform swelling in a negative that dried in an adhered position can warp the base, cause the emulsion to separate from the base in areas where swelling stress exceeds the base-emulsion bond strength, and change the negative’s overall geometry in ways that make any resulting scan distorted even if adhesion eventually releases. A photo conservator using controlled humidification — carefully graduated exposure to elevated relative humidity, not full wetted immersion — achieves a different outcome than uncontrolled soaking, and only in appropriate cases after evaluating whether humidification is suitable for the specific materials involved.
What kind of specialist handles stuck photo negatives, and how do I find one?
The correct specialist is a photo conservator — a preservation professional with training and credentials specific to photographic materials. Photo conservators may hold credentials through the American Institute for Conservation (AIC), which maintains a Find a Conservator directory on the AIC website at culturalheritage.org. Regional conservation centers, state archives, and state historical societies often maintain referral lists of conservators with photographic specializations and can advise on which practitioners have specific experience with gelatin silver negatives. When contacting a conservator, provide your intake photographs, the condition classification from your inspection, known storage history, the negative format and approximate date of the photographs, and the historical context of the collection — this information allows the conservator to provide an accurate scope of work before any materials are transported.
Is ferrotyping inspection different from the film curl inspection used for game film reels?
Yes. Film curl inspection addresses geometric deformation — longitudinal and transverse curl in wound motion-picture film that prevents the strip from lying flat against a scanner’s gate or threading cleanly through a transport mechanism. Ferrotyping inspection addresses emulsion adhesion and surface deformation — conditions specific to flat-sheet or strip still-photo negatives stored in direct contact with adjacent surfaces. The two assessments involve different material formats, different physical conditions, different handling protocols, and different specialist referral pathways. A school archive with both a game film reel collection and a team photo negative collection applies both inspection workflows to the appropriate material type separately.
A systematic athletic archive ferrotyping inspection — applied to school team photo negative collections before any digitization workflow begins — is the intake step that distinguishes a collection handled with knowledge of its risks from one where irreplaceable images are lost to uninformed separation attempts. For schools that hold decades of team portraits, championship documentation, and coaching milestone photographs in historic negative form, ferrotyping inspection is what determines whether those images reach a digital recognition program or remain inaccessible because a forced separation added irreversible damage to a condition a photo conservator could have treated.
Ready to connect your safely assessed and digitized athletic photo archive to a recognition program that makes it visible?
Request a Rocket Alumni Solutions demo and see how schools are turning decades of team portrait and championship photography into touchscreen hall-of-fame displays, lobby recognition kiosks, and digital yearbook archives that celebrate athletic history for athletes, alumni, and the school community.































