A photo of a 1998 state championship team arrives in your athletic archive perfectly exposed, sharply focused, and tilted 90 degrees sideways — not because the scan was wrong, but because the EXIF orientation tag that tells software how to rotate the image on display is mismatched, missing, or simply ignored by your hall-of-fame platform. Multiply that problem by hundreds of photos submitted by parents, coaches, and community photographers over decades, and you have a collection in which a substantial fraction of images appear correctly on the camera that captured them, correctly in some desktop applications, and sideways in every other system that touches them — including the lobby kiosk, the digital yearbook viewer, and the print-production workflow for recognition booklets.
Athletic archive EXIF orientation normalization is the process of detecting which images in your collection carry a non-standard orientation tag, rotating the actual pixel data to match that tag, stripping or resetting the tag to the neutral value, and validating that every downstream derivative file displays the image correctly. Unlike a simple metadata edit, true normalization bakes the correct orientation into the pixels themselves so that every application — including those that ignore EXIF entirely — renders the image right-side-up.
This guide gives school administrators, athletic directors, archivists, and IT staff a complete, numbered workflow for auditing an existing athletic photo archive, performing lossless or near-lossless orientation correction, and validating results before files are published to recognition programs, digital displays, or yearbook platforms.

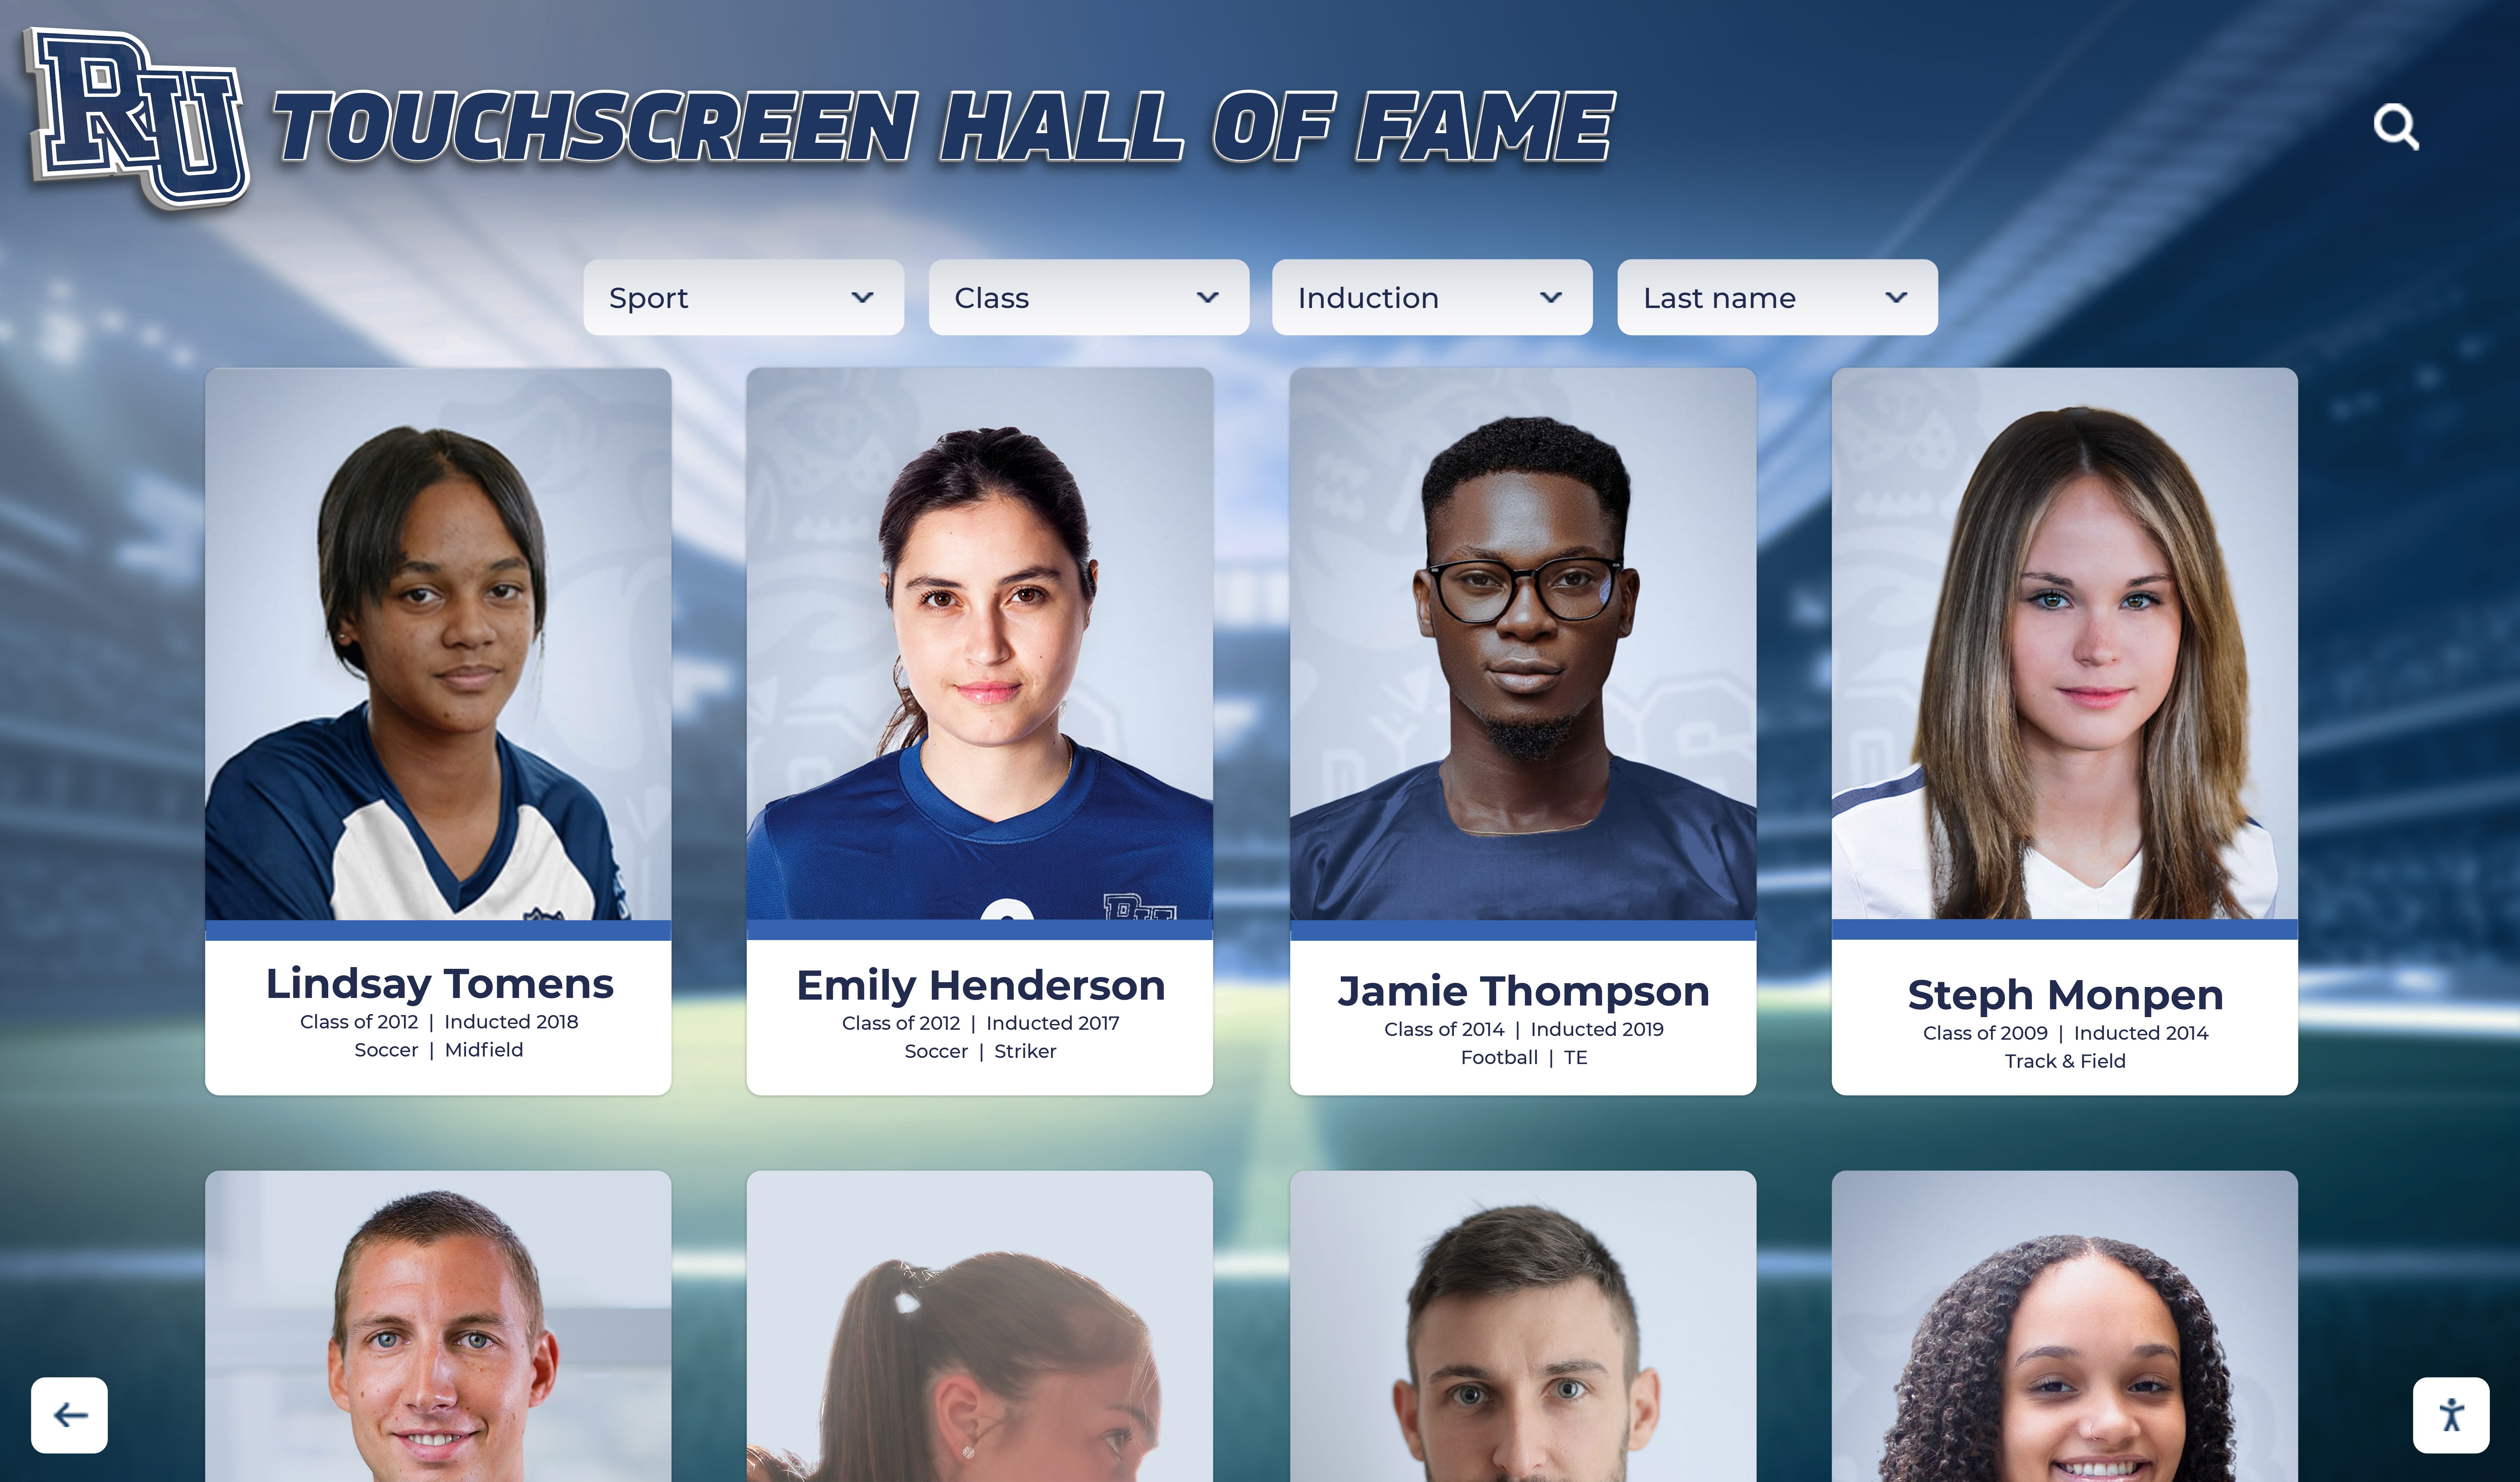
Recognition displays render archive photos without manual rotation — orientation normalization at the archive level is what ensures every athlete card displays correctly on every screen, in every venue
What EXIF Orientation Is and Why It Matters in Athletic Archives
EXIF (Exchangeable Image File Format) is a metadata standard embedded in JPEG, TIFF, HEIC, and RAW image files. Among the dozens of metadata fields EXIF supports, the Orientation tag (tag 0x0112) tells software how to rotate or flip the image when displaying it. The tag exists because camera sensors always capture pixels in a fixed physical orientation, but a photographer may hold the camera rotated — to shoot a tall athlete portrait in vertical format, for example, or to frame a wide group shot from an unusual angle. Rather than physically rotating millions of pixels at capture time, most cameras write the pixels in their native sensor order and set the Orientation tag to indicate how the display software should rotate the image.
The tag uses eight possible values:
| Tag Value | Meaning | Visual Result Without Correction |
|---|---|---|
| 1 | Normal — no rotation needed | Displays correctly on any software |
| 2 | Flipped horizontally | Mirror image of correct orientation |
| 3 | Rotated 180° | Upside down |
| 4 | Flipped vertically | Upside-down mirror |
| 5 | Rotated 90° CCW, then flipped horizontally | Sideways and mirrored |
| 6 | Rotated 90° CW | Rotated 90° clockwise — the most common problem in portrait photos |
| 7 | Rotated 90° CW, then flipped horizontally | Sideways and mirrored |
| 8 | Rotated 90° CCW | Rotated 90° counterclockwise — common in left-hand portrait shots |
Values 6 and 8 account for the vast majority of orientation problems in school athletic archives. A photographer who holds a smartphone or DSLR vertically to shoot an athlete portrait typically produces a file with Orientation = 6 or 8. A viewer that respects the EXIF tag (most modern operating systems and browsers) will display the image correctly. A viewer that ignores the tag — including many display platforms, content management systems, and older archive software — will display the photo sideways.
The problem compounds when files move through multiple systems. A photo arrives from a parent photographer with Orientation = 6. An archivist opens it in software that respects the tag, sees it correctly, and uploads it to the hall-of-fame platform. The platform ignores the tag and presents a sideways athlete portrait to every visitor. No one on staff sees the error because their own computers auto-rotate during preview — the problem is invisible in the workflow and visible only on the destination display.
Why Athletic Archives Are Especially Vulnerable to Orientation Errors
School athletic archives accumulate photos from a wide range of sources, each with different orientation handling:
Community photographers and parent submissions. Smartphones write Orientation tags reliably, but the volunteers who submit photos to school archives often compress, share, or re-export files through apps that strip EXIF metadata — including the orientation tag. A photo that displayed correctly on a parent’s phone arrives in the archive with no orientation information at all, and different applications will guess differently about how to display it.
Multi-decade archive collections. Digitization workflows from the 1990s and early 2000s predate widespread EXIF Orientation awareness. Flatbed scanners of that era often wrote Orientation = 1 regardless of how the original print or slide was positioned on the glass — meaning the scanned file displays correctly only if the operator remembered to physically rotate the print before scanning.
Donated files from coaches and alumni. Former staff members who manage personal hard drives of athletic photos over decades often use basic file management tools that may silently strip EXIF data during copy operations, bulk exports, or format conversions. A ZIP archive of donated photos can contain hundreds of files with missing or incorrect Orientation tags.
RAW-to-JPEG conversion pipelines. Photographers who shoot in RAW format and convert to JPEG using batch tools sometimes lose orientation metadata in the conversion — particularly if the conversion software does not explicitly carry orientation from the RAW sidecar to the JPEG output.
Platform-to-platform migrations. Moving an archive from one content management system, cloud storage provider, or yearbook platform to another can silently strip EXIF metadata if the migration tool does not carry image metadata through the transfer.
Step 1: Audit Your Archive for Orientation Problems
Before correcting anything, build a complete picture of which files in the archive have non-standard orientation values.
Install ExifTool. ExifTool (free, cross-platform, maintained by Phil Harvey) is the standard tool for reading and writing EXIF metadata across JPEG, TIFF, HEIC, and RAW formats. Install it from the official distribution — it requires no image editing software.
Run a batch orientation audit. From the archive root directory, run:
exiftool -r -Orientation -FileName -Directory -csv /path/to/archive > orientation_audit.csv
This command reads the Orientation tag from every image file recursively under the archive path and writes the results to a CSV file. Each row shows the filename, directory, and orientation value.
Filter for non-normal values. Open the CSV in a spreadsheet application and filter for Orientation values other than 1 (or “Horizontal (normal)”). The filtered list is your correction worklist — the set of files that require normalization.
| Audit Finding | Count | Priority |
|---|---|---|
| Orientation = 1 (normal) | — | No action needed |
| Orientation = 6 (90° CW) | — | High — very common in portrait photos; correct before any display use |
| Orientation = 8 (90° CCW) | — | High — correct before any display use |
| Orientation = 3 (180°) | — | High — upside-down images are immediately obvious at display time |
| Orientation = 2, 4, 5, 7 (flip variants) | — | High — mirror or compound transforms; correct before any display use |
| No Orientation tag present | — | Medium — spot-check a sample to determine whether the visual orientation is correct |
Files with no Orientation tag present require a visual spot-check. In the absence of a tag, most software assumes Orientation = 1 (normal). If a file without a tag is already right-side-up, it requires no action. If it is rotated, it must be corrected and will need the Orientation tag set to 1 (or the pixel rotation performed) to stay correct across all platforms.
Document your baseline. Before making any corrections, generate a checksum manifest for every file on the workist using SHA-256. This baseline lets you verify that the normalization tools modified only the intended files and provides a recovery point if a correction step produces unexpected results.
Step 2: Choose a Correction Method
Orientation normalization has two fundamentally different approaches, with meaningfully different quality implications.
Metadata-Only Correction (Not Recommended for Archival Use)
The simplest approach is to reset the EXIF Orientation tag to 1 without touching the pixel data. This tells software that the image is already in normal orientation — which is only true once you have actually rotated the pixels. Resetting the tag without rotating the pixels produces a file that is still sideways at the pixel level and will display incorrectly in any software that ignores EXIF (which includes many display platforms, older digital signage systems, and some print workflows).
Metadata-only tag stripping is sometimes useful as a diagnostic step but should never be used as the sole correction in an archival workflow.
Lossless Pixel Rotation for JPEG Files
For JPEG files, the correct normalization approach is lossless rotation — a mathematical operation that rearranges the JPEG’s DCT (Discrete Cosine Transform) coefficient blocks to produce a correctly oriented image without re-compressing the pixel data. Because no re-encoding occurs, the image retains its original quality; no additional compression artifacts are introduced.
jpegtran (from the libjpeg-turbo project, free and cross-platform) performs lossless JPEG rotation:
jpegtran -rotate 90 -perfect input.jpg > output.jpg
The -perfect flag causes jpegtran to fail rather than silently fall back to a lossy rotation if the image dimensions are not multiples of the JPEG block size (8 or 16 pixels, depending on the chroma subsampling setting). For archival use, this is the correct behavior — a failed command is preferable to a silently degraded file.
Lossless rotation caveat. JPEG lossless rotation is fully lossless only when the image dimensions are exact multiples of the block size. For images whose dimensions are not multiples (a 3001×4001 pixel photo, for example), jpegtran must handle the edge blocks — the strip of pixels at the right or bottom edge — by re-encoding them. The quality impact at the edge is minimal and typically invisible, but it is not zero. For maximum fidelity, the archival workflow should note this case in the manifest.
Using ExifTool’s -auto-rotate for JPEG
ExifTool can perform pixel rotation combined with tag normalization in a single command:
exiftool -auto-rotate filename.jpg
This command reads the current Orientation tag, applies the corresponding pixel rotation using the built-in rotation engine, and sets the Orientation tag to 1. It writes the corrected file and preserves the original with a _original suffix. ExifTool’s rotation is lossless for JPEGs when dimensions permit and falls back to re-encoding for non-multiple-of-8 edge cases — the same behavior as jpegtran.
For batch processing:
exiftool -auto-rotate -r /path/to/workfolder/
ImageMagick for TIFF and Other Formats
For TIFF, PNG, and HEIC files, ImageMagick’s convert -auto-orient applies the orientation correction as a pixel operation and removes the Orientation tag:
convert input.tiff -auto-orient output.tiff
For TIFF archival masters, lossless storage is maintained by using a lossless compression option:
convert input.tiff -auto-orient -compress LZW output.tiff
| File Format | Recommended Tool | Method | Quality Impact |
|---|---|---|---|
| JPEG (dimensions % 8 = 0) | jpegtran or ExifTool | Lossless DCT block rearrangement | None |
| JPEG (dimensions % 8 ≠ 0) | jpegtran -perfect (or flag edge case) | Lossless for interior, minimal re-encode at edge | Edge pixels only, minimal |
| TIFF (LZW compressed) | ImageMagick convert -auto-orient | Pixel operation, re-save with LZW | None (lossless format) |
| TIFF (uncompressed) | ImageMagick convert -auto-orient | Pixel operation, re-save uncompressed | None |
| HEIC / HEIF | ExifTool -auto-rotate (with libheif support) | Depends on build | Verify support before batch use |
| RAW (CR2, NEF, ARW) | Capture software (Lightroom, darktable) | Rotate in development; export corrected JPEG/TIFF | None to output files |
| PNG | ImageMagick convert -auto-orient | Pixel operation, re-save losslessly | None |
A Note on RAW Files
Camera RAW files (CR2, NEF, ARW, DNG) store orientation metadata differently from JPEG. For RAW files, the correct workflow is to apply the orientation correction at the point of RAW development — in Adobe Lightroom, Capture One, or darktable — and export corrected JPEG and TIFF derivatives with Orientation = 1. Do not attempt to rotate RAW pixel data with general-purpose tools; RAW formats have proprietary internal structures that can be corrupted by tools designed for JPEG.
Step 3: Execute the Normalization Workflow
With a correction method selected and a baseline checksum manifest in place, execute normalization in a controlled sequence.
Substep 3a: Back Up the Workfolder
Copy every file on the correction workfolder to a separate backup location before executing any correction commands. Lossless rotation tools carry a risk of silent failure if disk space runs out, a file is read-only, or a tool version behaves unexpectedly. A pre-correction backup is the recovery point — restore from it if any step produces unexpected results.
Substep 3b: Run Correction on a Small Test Batch
Before processing the entire workfolder, run correction on five to ten representative files — including examples of the most common orientation values (typically 6 and 8) and at least one edge-dimension example if your collection includes photos with non-standard resolution.
Verify each test file manually:
- Open the corrected file in a browser tab (browsers render without auto-rotating EXIF orientation) and confirm the image displays correctly
- Open it in your image editing software and confirm the orientation
- Run
exiftool -Orientation filename.jpgand confirm the output is1orHorizontal (normal)
Proceed to batch processing only after the test batch passes all three checks.
Substep 3c: Process the Full Workfolder by Orientation Value Group
Process one orientation value at a time, starting with the most common (typically Orientation = 6):
# Process all Orientation=6 files (90° CW rotation required)
jpegtran -rotate 90 -perfect input.jpg > corrected/input.jpg
Repeat for each non-normal orientation value. Grouping by value allows you to verify a sample from each group before moving to the next — if one group produces unexpected results, you can stop before processing the others.
Substep 3d: Strip or Reset the Orientation Tag After Pixel Rotation
After pixel rotation is complete, ensure the Orientation tag in each corrected file is set to 1 (Horizontal / Normal). Tools like jpegtran do not automatically update the EXIF tag — they rotate the pixels but leave the original tag in place, which would cause double-rotation on software that respects the tag. After pixel rotation with jpegtran, run:
exiftool -Orientation=1 -n corrected_filename.jpg
If you used ExifTool’s -auto-rotate command, it handles both steps automatically.
Step 4: Validate Corrected Files and Update Your Checksum Manifest
Validation is not optional — it is the step that confirms the correction workflow produced the intended results before files are published to recognition platforms or used to generate derivatives.
Visual Spot-Check
Open a statistically representative sample of corrected files — at minimum 10% of the workfolder, or every file in collections under 100 — in a platform-agnostic viewer that does not apply EXIF-based auto-rotation. Web browsers are ideal for this purpose: navigate to file:///path/to/corrected_filename.jpg in a browser, which will render the image as stored without orientation adjustment. A correctly normalized file should display right-side-up in this test.
Why this check matters. Display platforms for recognition programs — hall-of-fame kiosks, digital yearbook systems, athletic awards databases — often use browser-based rendering engines. A photo that passes the browser test will display correctly in most web-based recognition systems. For schools building sports awards databases that track winners, criteria, and photos, orientation normalization is a prerequisite for consistent display across every entry in the database.
ExifTool Metadata Verification
After visual spot-check, run a batch metadata audit on the corrected folder:
exiftool -r -Orientation -FileName -csv /path/to/corrected/ > post_correction_audit.csv
Every file in the output should show Orientation = 1 or no Orientation tag. Any file showing a non-normal orientation value failed the correction step and should be reviewed individually.
Post-Normalization Validation Checklist
- Orientation tag = 1 (or absent) on every corrected file, confirmed via ExifTool batch audit
- Visual spot-check passed for ≥10% of corrected files in a browser (no EXIF auto-rotate)
- No corrected file shows double-rotation (e.g., was 6, now upside-down — indicating pixel rotation without tag reset)
- Corrected file sizes are within expected range — unusually small files may indicate a tool failure that produced a truncated output
- SHA-256 checksums differ from pre-correction baseline (pixel data changed) — identical checksums after correction indicate the tool failed silently
- No original files remain in the corrected folder — corrected files should be in a separate output directory until validation is complete
Update the Checksum Manifest
Once validation is complete, regenerate the checksum manifest for all corrected files and record the correction event in your archive log:
| Manifest Field | Example Value |
|---|---|
| Date of correction run | 2026-08-23 |
| Files processed | 412 |
| Orientation values corrected | 6 (284 files), 8 (101 files), 3 (22 files), other (5 files) |
| Tool used | ExifTool 12.x -auto-rotate |
| Lossless confirmation | Yes — all files had dimensions divisible by 8; jpegtran -perfect returned no errors |
| Validation method | ExifTool batch audit + browser spot-check (45 files, 10.9%) |
| Validation result | Pass — all audited files display correctly; no tag reset failures |
| Operator | J. Martinez, IT department |
| Next scheduled audit | Annual archive review |
Step 5: Generate Corrected Derivatives
After the archival masters are corrected and validated, regenerate any derivative files that were produced from the pre-correction originals. Display derivatives — web-optimized JPEGs, thumbnails, PDF exports — may have been generated from rotated originals and will display incorrectly even after the masters are fixed.
For schools using a yearbook platform or digital awards display, this typically means:
- Re-exporting web-size JPEGs from the corrected masters
- Re-generating any thumbnails used in archive indexes or search results
- Re-uploading affected files to the recognition platform rather than relying on cached versions
For archives connected to touchscreen awards displays, it is worth confirming with the platform vendor how derivative caches are cleared — many digital display systems cache thumbnails at ingest and do not automatically refresh when the source file changes.
Maintaining a clear separation between archival masters (corrected, full-resolution, SHA-256 verified) and display derivatives (generated from masters, sized for each delivery context) simplifies this regeneration step. Derivatives can always be regenerated; archival masters should be corrected once and protected.

An athlete's portrait on a recognition touchscreen is a public-facing representation of their legacy — orientation normalization ensures that representation is presented correctly on every screen that displays it
EXIF Orientation Normalization and Recognition Program Quality
Orientation errors in an athletic archive are more than a technical inconvenience — they produce visible failures at the moments when a school’s recognition program makes its strongest impression.
Hall-of-fame inductions. Inductee profile photos displayed on a lobby kiosk during an induction ceremony represent the school’s respect for its athletes. A sideways portrait in a hall-of-fame display signals disorganized stewardship to the inductee’s family, colleagues, and the community present at the event. Digital hall-of-fame profile guidelines consistently identify photo quality and correct orientation as baseline requirements for a credible inductee profile — not optional improvements.
Class reunion and alumni events. Photos from multiple eras displayed on a class reunion platform or slideshow draw from the full archive. A collection with inconsistent orientation produces a visually jarring display experience that distracts from the content. Schools managing class reunion platforms and alumni-facing digital experiences find that photo quality — including orientation — is one of the details alumni notice immediately because they are viewing images of people they know.
Recognition walls and visual displays. When photos are exported for a physical recognition wall, a printed donor booklet, or a gym wall installation, orientation errors produce clearly incorrect results in the final physical artifact — a problem that cannot be corrected after printing or installation. Schools planning gym mural and recognition display designs that incorporate historic photos benefit from a corrected, validated archive before any design work begins.
Homecoming and event documentation. Athletic events generate large volumes of photography that often enter the archive immediately after the event, sometimes uploaded in bulk from multiple photographers. Homecoming documentation — team photos, parade footage, event photography — is a typical source of batch orientation problems when photos from multiple camera orientations arrive together. Schools managing event documentation photo collections benefit from an orientation audit step at the point of ingest rather than discovering problems when photos are pulled for a recognition display weeks later.
Visual consistency in multi-era displays. A recognition display that draws from photos spanning three or four decades must render every era consistently. Orientation errors in older material create a visually inconsistent display that undermines the design. Achieving design consistency across multi-era athletic archives depends on clean, normalized source files — the display platform cannot compensate for orientation errors in the underlying photos.
Print and graphics workflows. Schools producing recognition booklets, award ceremony programs, or signage graphics from archived athletic photos need correctly oriented source files in the production workflow. Graphics workflows for school recognition programs depend on image files that will place correctly in layout applications — an image with a non-standard EXIF tag that the layout application ignores will require manual rotation in every document where it appears.
Preventing Future Orientation Errors
A correction workflow addresses the existing archive. The following practices reduce orientation accumulation in newly ingested files.
Specify normalized files in submission guidelines. When soliciting photo submissions from alumni, parents, or community photographers, include a line in the submission instructions requesting that photos be submitted in their correct display orientation — most smartphone share sheets offer a “rotate” option that writes corrected pixels rather than setting a tag.
Include an orientation check in the ingest workflow. Add an ExifTool audit step to your standard ingest process. Running exiftool -Orientation filename.jpg on each new file before acceptance takes seconds and flags problems before they enter the archive. For bulk submissions, a folder-level audit with CSV output can be reviewed in a few minutes.
Apply auto-rotate at vendor handoff. When receiving files from digitization vendors, include orientation normalization in the scope of work. A vendor delivering files with non-standard Orientation tags has not completed the deliverable at archival standard. A one-line specification — “all delivered JPEG files must have EXIF Orientation = 1 with pixel data rotated accordingly” — gives the vendor a clear, testable requirement.
Establish a pre-display check. Before loading files into a recognition platform or yearbook system for a specific event, run a brief orientation audit on the files being used. This is lighter than a full-archive audit and directly prevents orientation problems from appearing in a public-facing display.
EXIF Orientation Normalization: Quick Reference Checklist
Audit Phase
- ExifTool batch audit run across full archive; CSV output saved
- Files filtered by non-normal Orientation values (2, 3, 4, 5, 6, 7, 8)
- Files with missing Orientation tag identified and spot-checked visually
- Correction workfolder assembled; pre-correction SHA-256 manifest generated
Correction Phase
- Pre-correction backup of workfolder to separate location
- Test batch (5–10 representative files) processed and validated before full run
- Orientation value groups processed separately (6, 8, 3, then others)
- Pixel rotation performed with lossless-capable tool (jpegtran / ExifTool -auto-rotate)
- Orientation tag confirmed reset to 1 on each corrected file
- TIFF and non-JPEG formats processed with ImageMagick -auto-orient + lossless compression flag
Validation Phase
- Browser spot-check on ≥10% of corrected files (no EXIF auto-rotation environment)
- Post-correction ExifTool batch audit: all corrected files show Orientation = 1
- Corrected file SHA-256 values differ from pre-correction baseline (pixel data changed)
- No double-rotated files detected
- Correction event documented in archive log
Derivative and Display Phase
- Display derivatives regenerated from corrected masters
- Platform derivative caches cleared or re-uploaded as appropriate
- Pre-display orientation check built into recognition event workflow
- Submission guidelines updated to specify normalized orientation
Frequently Asked Questions
Q: Is resetting the EXIF Orientation tag to 1 without rotating the pixels safe?
No — for archival or display use. Resetting the tag without rotating the pixels produces a file that is correctly labeled but incorrectly stored. Any software that ignores EXIF — including many display platforms and some print applications — will display the image in its native (rotated) pixel orientation. The correct workflow always rotates the pixels to match the intended display orientation, then sets the tag to 1.
Q: Can we trust our photo management software to apply EXIF orientation correctly for everyone?
Not reliably. Most modern operating systems and major desktop applications (Windows Photo Viewer, macOS Preview, iOS Photos) respect EXIF Orientation tags. Many content management systems, older digital display platforms, and print-production tools do not. Because you cannot control which software will eventually access your archived files, normalizing orientation at the archive level — ensuring the pixels are in the correct orientation regardless of what a viewer does with the tag — is the only approach that guarantees correct display universally.
Q: Does lossless JPEG rotation damage image quality?
For images whose dimensions are exact multiples of 8 pixels (for 4:2:0 chroma subsampling) or 16 pixels (for 4:2:2 or 4:4:4), lossless rotation is completely lossless — no pixel values change, and the JPEG quality at every subsequent open is identical to the original. For images with non-multiple dimensions, the tools re-encode a strip of pixels at one edge. The quality impact on that strip is minimal — typically indistinguishable from the surrounding image — but it is not strictly zero. For collections where this distinction matters, use the -perfect flag in jpegtran to fail-fast on non-multiple-dimension files and handle them individually.
Q: Our digitization vendor delivered all files with Orientation = 1. Can we trust that they are correctly oriented?
Orientation = 1 is the correct value for a properly normalized file — but it can also mean the vendor stripped the tag without rotating the pixels, or that the tag was never written at all. Before trusting a vendor delivery, spot-check a sample of portrait-format images visually. If vertical-format athlete photos display correctly in a browser without auto-rotation, the files are genuinely normalized. If they display sideways, the vendor reset the tag without correcting the pixels — and the delivery does not meet archival standard.
Q: How do we handle files where the correct orientation is genuinely ambiguous — old prints scanned without clear framing reference?
For scanned prints where the correct orientation is unclear — a cropped team photo with no clear top or bottom reference — consult any available physical context: the original print envelope, a photographer’s catalog from the era, or staff members or alumni who might recognize the event. If the orientation cannot be determined from available evidence, document the ambiguity in the archive manifest — note that the image was scanned with uncertain orientation and list the physical characteristics (jersey numbers, banner text, court markings) that would allow future researchers to determine the correct orientation if additional context becomes available. Do not guess and normalize without basis.
Q: We have thousands of files. Is automated batch normalization safe?
Automated batch normalization using ExifTool’s -auto-rotate or a jpegtran script is safe when preceded by a controlled test batch and followed by the validation steps in this guide. The risks in batch processing are: silent failures (tool encounters an error and moves to the next file without correction), double-rotation (pixel rotation applied to a file that was already correctly oriented in its pixels but had a residual tag from a previous partial workflow), and incomplete tag cleanup. Running the post-correction ExifTool audit catches all three failure modes — any file not showing Orientation = 1 in the post-correction audit warrants individual review.
Ready to connect your orientation-normalized athletic archive to recognition displays that showcase it correctly?
Rocket Alumni Solutions builds digital hall-of-fame kiosks, touchscreen recognition walls, and interactive athletic archive displays specifically for schools — designed to surface correctly oriented, high-quality photos across every platform, every event, and every generation of student-athletes your program has honored.
Request a demo to see how Rocket can bring your corrected athletic archive to life →































