An athletic archive digitization sampling plan is a documented QA protocol that lets your school verify a statistically representative portion of newly scanned files—yearbooks, game programs, team photos, and record books—before accepting an entire digitization batch from a vendor or internal scanning team.
Accepting a large digitization batch without a formal sampling check is one of the most common ways schools inherit a degraded athletic archive. A vendor may return 4,000 scanned items and flag zero errors, yet a systematic sample reveals dozens of blurred pages, clipped highlights in portrait images, or incorrectly ordered files across multiple sport folders. Once original materials have been repackaged and returned to storage—or in some cases transferred off-site—reopening the project to rescan damaged items is expensive and sometimes impossible.
A repeatable athletic archive digitization sampling plan protects the source material—bound yearbooks, printed game programs, analog photographs, and handwritten record books—by defining how many files you check, which file attributes you inspect, and what pass/fail thresholds trigger partial or full rejection before materials are released for recognition display use, hall-of-fame induction projects, or permanent digital preservation.

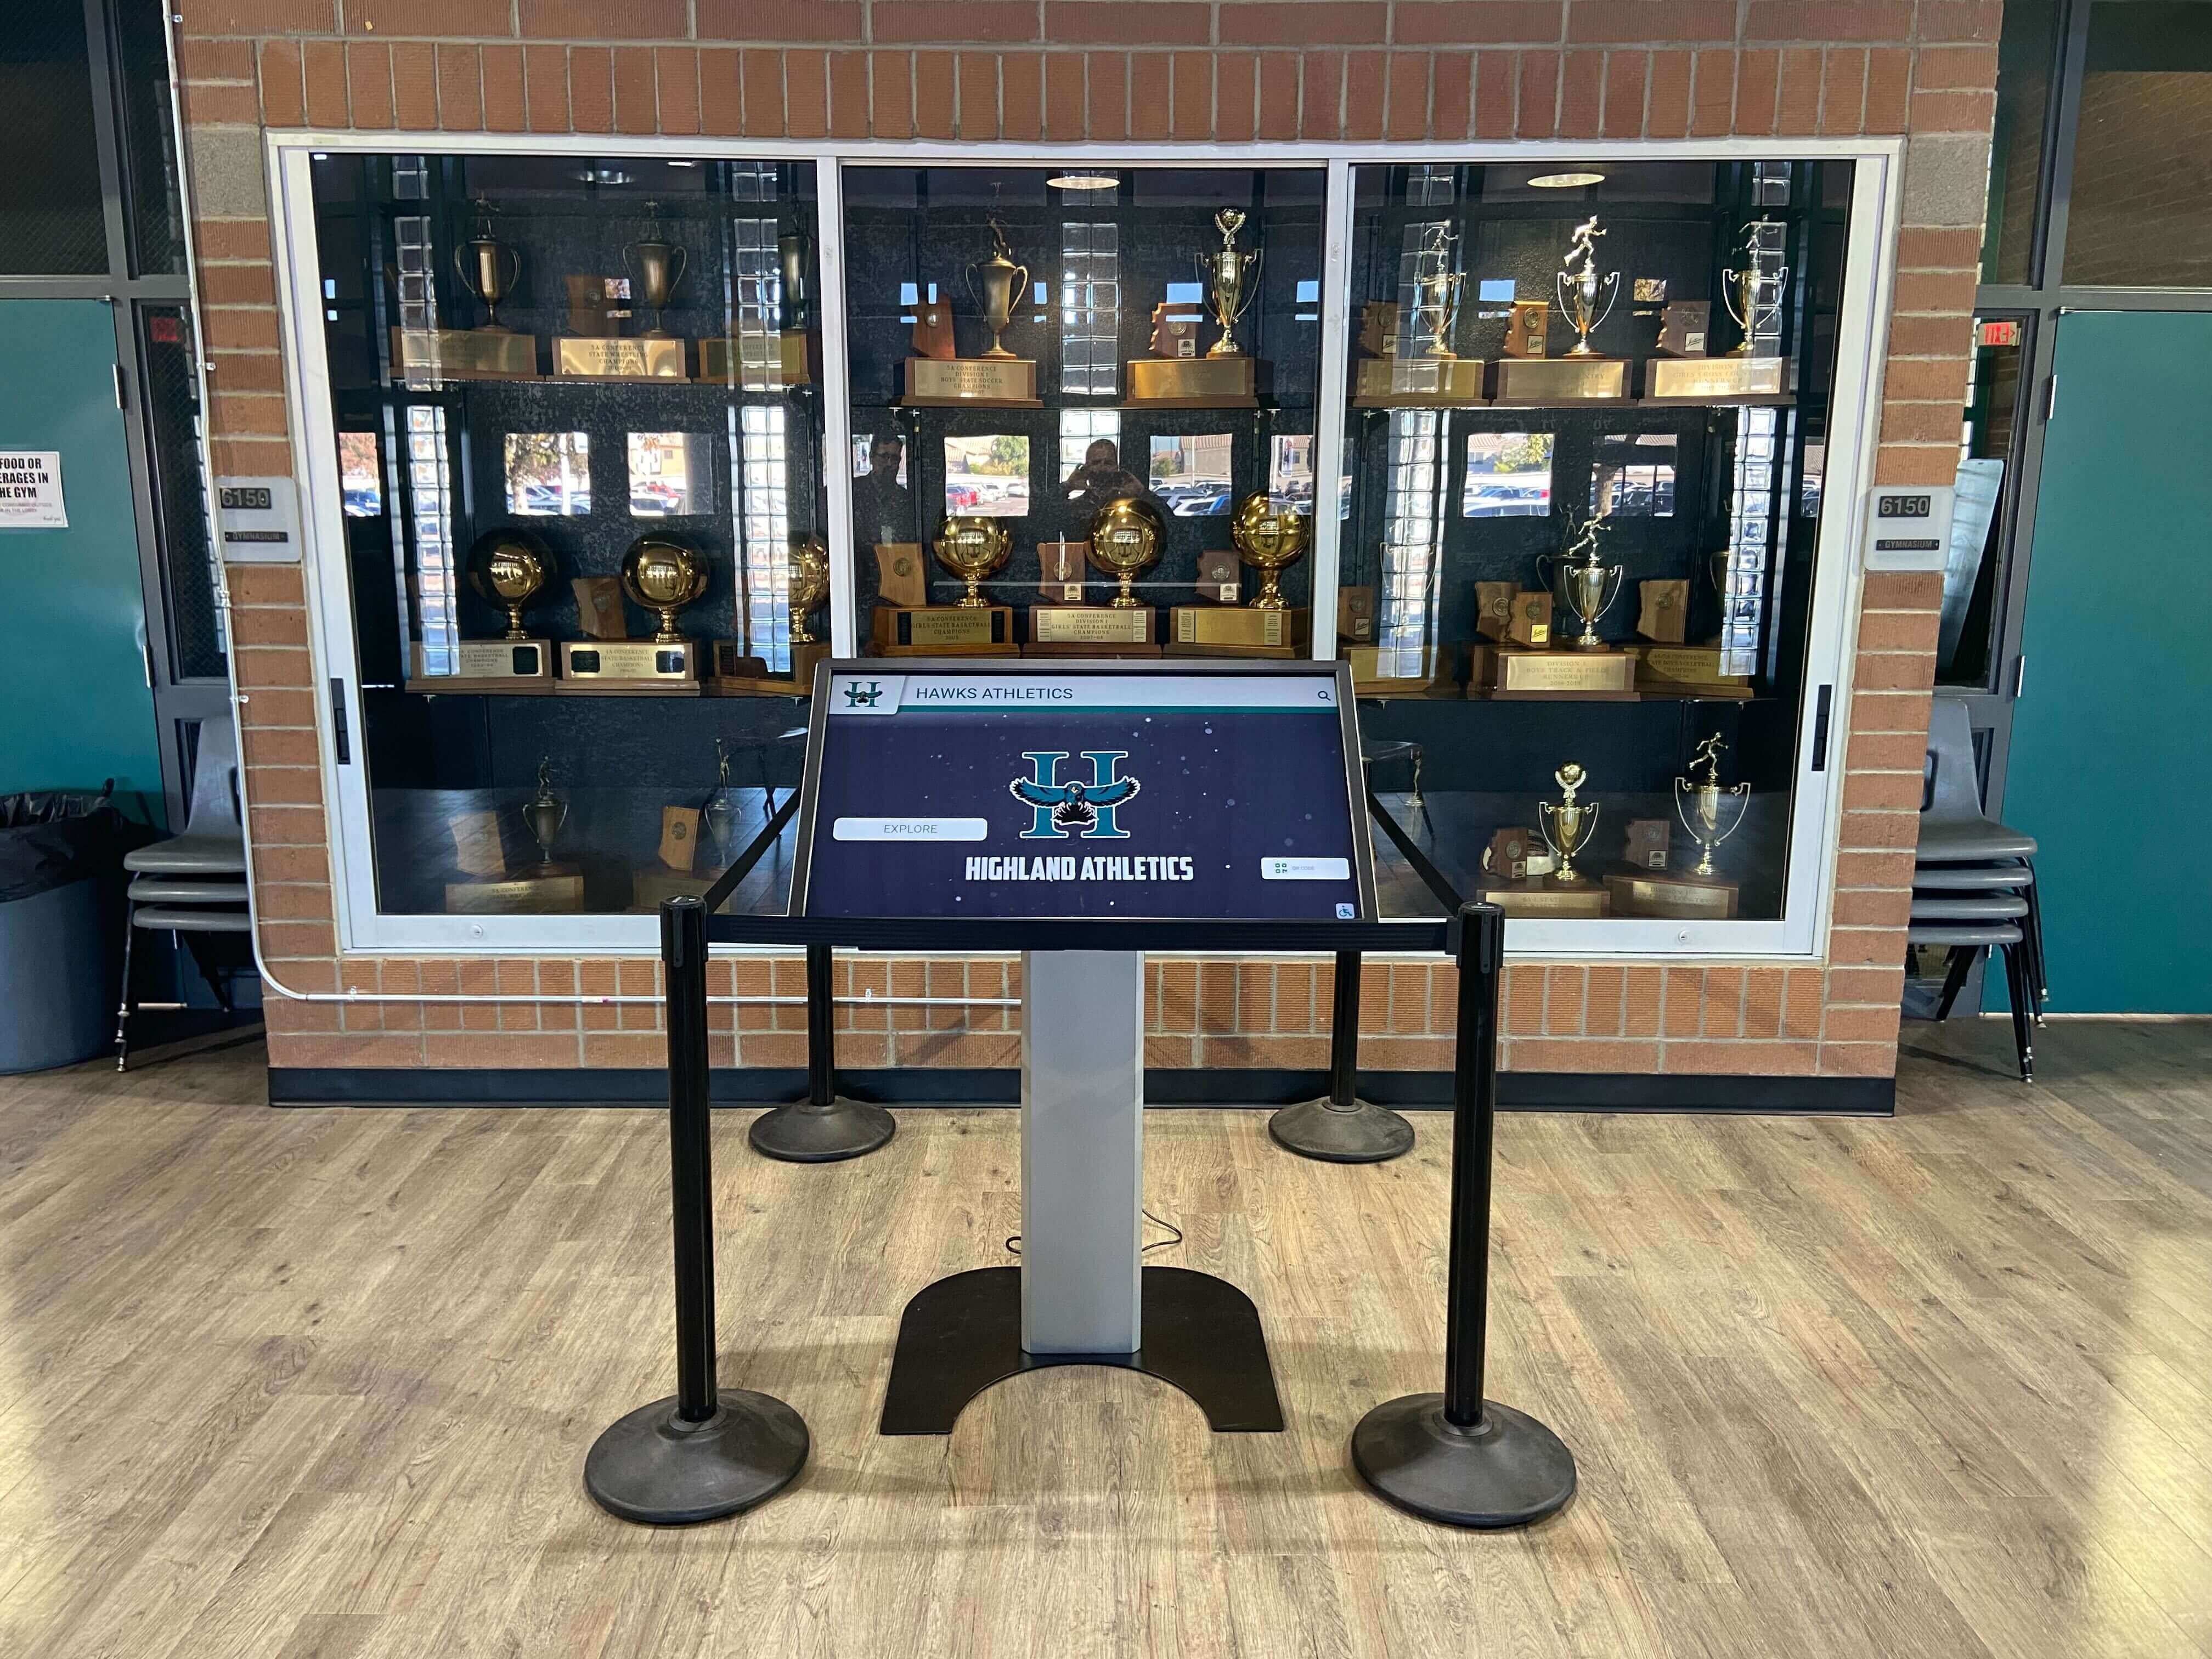
A trophy case kiosk or hall-of-fame display is only as accurate as the batch acceptance process that cleared the archive files powering it
What an Athletic Archive Digitization Sampling Plan Covers
A complete sampling plan defines four things before a single file is reviewed:
- Population: the full set of items in the digitization batch (for example, 800 scanned yearbook pages, 1,200 game programs, 500 portrait photographs)
- Sample size: how many items from each population your team will inspect, expressed as a count or percentage
- Inspection criteria: the specific attributes each sampled file must meet—resolution, color accuracy, file format, naming convention, metadata completeness
- Acceptance and rejection thresholds: the defect rate at or above which you reject the batch, either in full or for a specific sub-collection, and require remediation before materials are integrated into the archive
A sampling plan does not replace a full audit. It establishes a defensible, documented methodology for making a go/no-go acceptance decision on a batch that is too large to review file by file—which is the practical reality for most school athletic archives containing decades of accumulated materials.
Why Sampling Before Acceptance Matters for Athletic Record Programs
Athletic records support programs that extend well beyond storage: hall-of-fame inductions, donor recognition walls, athletic alumni reunion events, and interactive lobby displays all draw from the same digitized archive. A single degraded batch, accepted without inspection and integrated into a shared file system, can propagate errors across every downstream program that touches those files.
The cost of a sampling QA step—typically a few hours of staff time at batch receipt—is consistently lower than the cost of discovering errors after materials have been returned to storage, after files have been integrated into a recognition platform, or after a display has gone live with incorrect or illegible content. Schools building athletic hall-of-fame programs find that a documented sampling plan also simplifies vendor conversations: clear acceptance criteria communicated before a digitization project begins reduce disputes about whether a batch meets quality standards upon delivery.
The 8-Step Athletic Archive Digitization Sampling Plan
Step 1: Define the Batch Population by Material Type
Before sampling begins, document the complete inventory of the batch you are evaluating. Group items by material type, since different types have different quality benchmarks and failure modes.
| Material Type | Examples | Common QA Failure Modes |
|---|---|---|
| Bound yearbooks | Annual yearbooks, athletics section pages | Spine shadow clipping, gutter text loss, page-order errors |
| Game programs | Football, basketball, track programs | Bleed-through from newsprint, color cast on covers, missing pages |
| Team photographs | Portrait sets, group shots, action photos | Soft focus, blown highlights on white uniforms, incorrect crop orientation |
| Record books | Statistical ledgers, roster sheets, scorebooks | Low contrast on handwritten text, skewed pages, illegible marginalia |
| Certificates and plaques | Award certificates, championship records, hall-of-fame documentation | Glare from glass or foil elements, color shift from aging paper |
| Newspaper clippings | Local coverage, feature stories, game recaps | Halftone interference, low contrast, torn-edge artifacts |
Record the count for each material type before sampling. A batch of 3,000 files composed of 800 yearbook pages, 1,200 programs, 500 photographs, and 500 miscellaneous documents needs a sample drawn from each sub-population independently—not a single random draw across the entire mixed batch—because the failure modes and inspection criteria differ by type.
Step 2: Set Sample Sizes Using the Sampling Table
Sample size depends on batch size and the confidence level your program requires. The table below gives practical sample sizes for common athletic archive batch volumes, reflecting the balance between inspection time and statistical confidence appropriate for institutional archive use.
| Batch Size (items per material type) | Minimum Sample | Recommended Sample | Notes |
|---|---|---|---|
| 1–50 | 100% (full review) | 100% | Small batches are fully reviewable without sampling overhead |
| 51–150 | 20 items | 30 items | Review every 3rd–5th item in a sorted list to avoid clustering |
| 151–500 | 32 items | 50 items | Use a random number generator or systematic interval selection |
| 501–1,200 | 50 items | 80 items | Stratify across sub-types (early pages, middle, end) |
| 1,201–3,200 | 80 items | 125 items | Allocate proportionally across material sub-types |
| 3,201–10,000 | 125 items | 200 items | Allocate by sport or decade as well as by material type |
| 10,001+ | 200 items | 315 items | Consult with your digitization vendor on statistical acceptance standards |
For most K-12 athletic archive projects, batches fall in the 151–1,200 range per material type, making a sample of 50–80 items per type practical for a single staff member to complete in a half-day review session. Document the selection method—random, systematic interval, or stratified—in the sampling plan before beginning so the methodology is auditable.
Step 3: Select the Sample Items
Random and systematic interval selection are both acceptable for athletic archive sampling. Avoid convenience selection, which means reviewing only files that are easiest to access or look the most complete, because it systematically undersamples edge cases: files near the beginning or end of a run, files from less-documented sport seasons, and files from the earliest decades of the archive, which are often most at risk for quality problems.
Systematic interval selection is practical for most school archive staff. Divide the total batch count by your sample size to get an interval, then review every nth file starting from a random point within the first interval. For a batch of 600 game program files with a sample size of 80, the interval is 7.5, so review approximately every 7th or 8th file.
Stratified selection is appropriate when the batch contains clearly distinct sub-populations—for example, programs from before and after a major archive gap, or photographs contributed by different donor sources. Allocate sample items proportionally across strata so each sub-population is represented in the review.
Record which items were selected, including their file names and positions in the batch, before beginning the inspection. The selection record is part of the sampling plan documentation.
Step 4: Define Inspection Criteria for Each Material Type
Each sampled file should be evaluated against a fixed set of criteria. Applying consistent criteria across all reviewers—whether IT staff, administrative coordinators, or athletic department personnel—prevents subjective acceptance decisions that cannot be reproduced or defended in a vendor remediation conversation.
| Inspection Criterion | Pass Threshold | How to Check |
|---|---|---|
| Resolution | ≥ 300 DPI for photographs; ≥ 400 DPI for text documents | View file properties in operating system or image viewer |
| Color accuracy | No visible color cast on neutral grays or whites; skin tones render naturally | Visual comparison to a reference print; flag obvious warm or cool casts |
| Sharpness | Text legible at 100% view; fine detail (player numbers, stats) readable without interpolation | Zoom to 100% in an image viewer; inspect jersey numbers and small print |
| Tonal range | No clipped (pure white) highlights in key areas; shadow detail preserved | Use histogram view; look for flat tails at either edge of the histogram |
| File format | TIFF for archival masters; JPEG at ≥ quality 85 for access copies; PDF/A for documents | Check file extension; for JPEG, confirm quality setting via image editor file info |
| File naming | Matches the agreed naming convention; no spaces or special characters | Spot-check filename against the naming specification in the digitization agreement |
| Metadata | Embedded title, date, and description fields populated | Check file properties or open in a metadata viewer such as ExifTool or Adobe Bridge |
| Page completeness | All pages in sequence; no missing spreads, duplicate pages, or reversed orientation | Count pages against the physical source count; verify page numbers match |
| Physical artifact absence | No scanner platen debris, fingerprints, or stray lint visible in the image area | Zoom in on open areas of the image such as margins and blank backgrounds |
| File accessibility | File opens without error in standard software | Attempt to open each sampled file; record any that fail to open |
Digitization projects that feed school athletic history archives and digital recognition programs benefit from these inspection criteria being established in the digitization agreement itself, so the vendor’s production process targets the same thresholds your QA plan enforces at acceptance. Setting criteria after delivery rather than before creates the conditions for disputed findings.
Step 5: Conduct the Inspection and Record Results
Work through sampled files systematically, recording a pass or fail for each criterion per file. Use a simple spreadsheet with one row per sampled file and one column per criterion. Mark each cell with P (pass), F (fail), or N/A (criterion not applicable to this file type).
Record defect descriptions in a notes column. A defect description should specify what failed and where in the file—for example, “highlight clipping in upper-right sky area,” “page 14 missing from sequence,” or “jersey number illegible at 100% view.” Descriptive defect records give the digitization team actionable information for remediation without requiring them to re-examine files they have already processed.
Time your inspection as a planning reference: a typical file-level review for one sampled item across all criteria takes three to five minutes. A sample of 80 items therefore runs four to seven hours, which is realistic as a single scheduled review session before accepting a batch delivery.
Step 6: Calculate the Defect Rate and Apply Acceptance Thresholds
After inspecting all sampled items, calculate the defect rate per criterion and overall. The overall defect rate is the number of files with at least one failing criterion divided by the total sample size.
| Overall Defect Rate | Recommended Action |
|---|---|
| 0–2% | Accept batch; note defect types for vendor performance tracking |
| 2–5% | Conditional acceptance: require vendor to remediate identified defective files and provide a remediation confirmation before full release |
| 5–10% | Partial rejection: reject the affected material-type sub-population; accept passing sub-populations; require full rescan of the rejected group |
| > 10% | Full batch rejection: return entire batch for remediation; conduct a process review with vendor before resubmission |
Apply the defect rate calculation independently by material type, not just across the full batch. A 3% overall defect rate that hides a 12% defect rate in team photographs—the highest-value assets for recognition display use—would incorrectly trigger a conditional acceptance rather than a partial rejection of the photograph group.
Schools managing digitization projects that feed academic and athletic recognition programs find that separating defect rates by material type also helps prioritize remediation: photograph defects affecting portrait quality have a more immediate impact on recognition program readiness than defects in administrative document scans, and should be addressed first.
Step 7: Document the Sampling Results and Communicate Findings
Regardless of the acceptance decision, produce a written sampling report at the end of every batch review. The report serves as the institutional record of the acceptance decision and provides the evidentiary basis for vendor remediation requests or internal escalation.
A sampling report should include:
- Batch identifier: project name, delivery date, and vendor or team that produced the batch
- Population summary: total item count by material type
- Sample selection method and size: how items were selected and how many were reviewed per material type
- Defect summary: overall and per-type defect rates, with a list of each failing criterion and the count of files that failed it
- Acceptance decision: accept, conditional accept, partial reject, or full reject—with the specific threshold that triggered the decision
- Remediation requirements: specific defective files or file types that must be corrected, with the criterion they failed and the expected remediation action (rescan, color correction, metadata repair)
- Reviewer and date: who conducted the review and when
Store the sampling report alongside the batch manifest in the archive management system, not in a personal folder. The report needs to survive staff transitions and be retrievable when a display installation vendor or alumni program manager asks why a specific file was flagged years after the original acceptance review.
Step 8: Connect Accepted Files to Recognition Workflows
A QA process that ends at acceptance without a clear handoff to downstream programs adds overhead without adding value. Once a batch is accepted, files should move into the archive structure that feeds your school’s active recognition programs—and the sampling report should accompany them so display platform operators know which files passed inspection and under what criteria.
Practical handoff checkpoints for school athletic archives:
Hall-of-fame and display installations need portrait-quality photographs at specific resolutions and aspect ratios. Communicating your sampling plan’s photograph criteria to hall-of-fame program designers and all-state record board vendors before the digitization project begins—rather than after QA reveals format mismatches—prevents the most common causes of display integration delays.
Athletic alumni reunion events draw on historical photographs, scanned programs, and championship records as event materials and exhibit content. A documented, accepted archive lets the planning team pull files confidently rather than discovering quality problems during event preparation, when source materials may be inaccessible. Resources for planning athletic alumni reunion programs increasingly assume that schools have digitized archives ready to support event production materials, printed timelines, and lobby displays.
Touchscreen display and interactive kiosk platforms apply their own technical requirements to uploaded content. Files that passed your sampling criteria but still fail platform upload checks indicate a mismatch between your QA thresholds and the platform’s technical specifications—a gap worth closing before the next digitization batch. Reviewing current hall-of-fame touchscreen platform requirements as part of setting your sampling criteria ensures your QA thresholds are calibrated to actual downstream use.
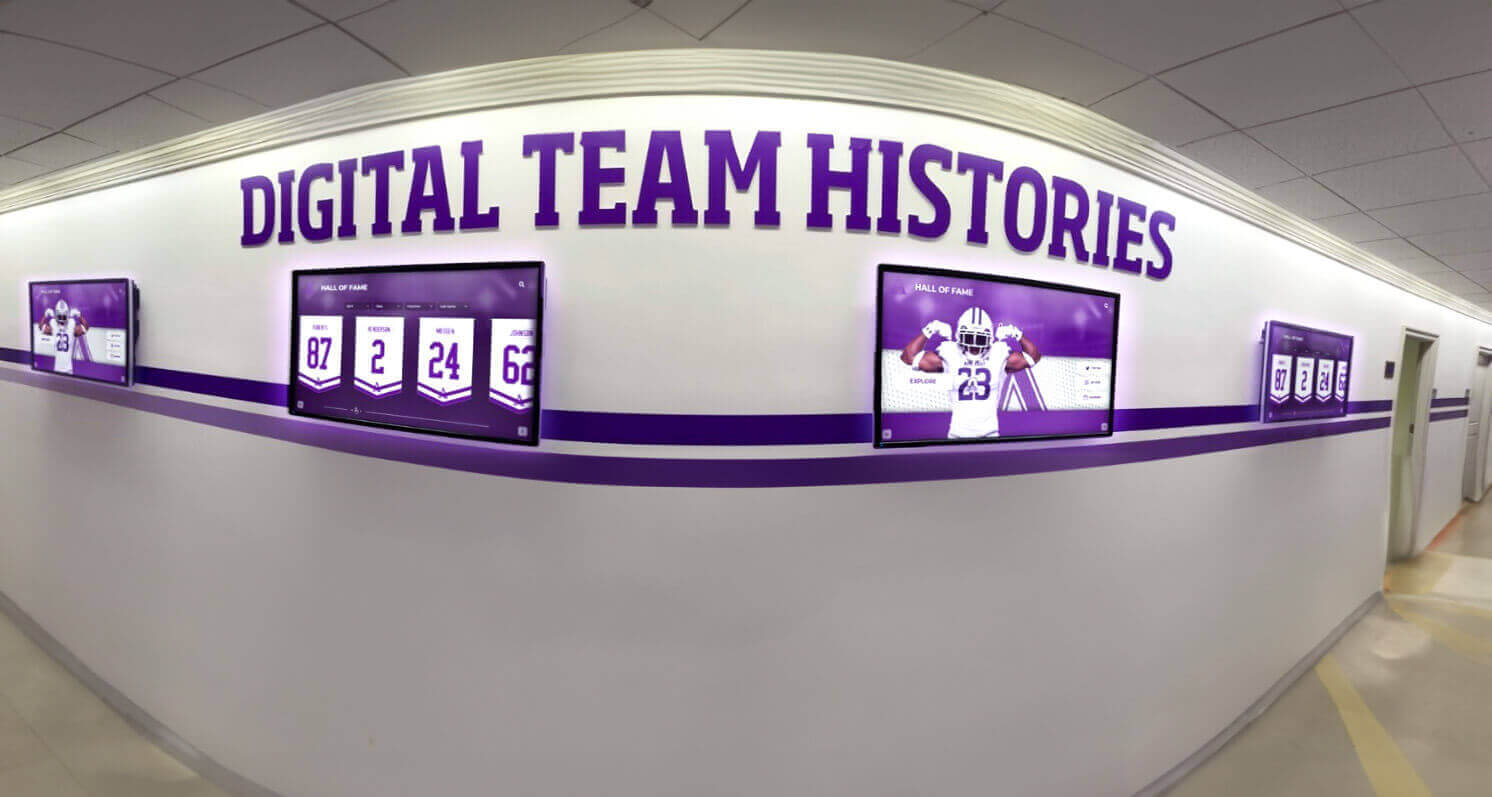
Hallway recognition displays draw directly from accepted archive files — a documented sampling plan creates a clear chain of custody from source material to public display
Quick Reference: Sampling Plan Phases at a Glance
| Phase | Key Decision or Action | Output |
|---|---|---|
| Population audit | Count and categorize all items by material type | Population inventory by type |
| Sample sizing | Apply table to each material type; document selection method | Sample count per type |
| Item selection | Random or systematic interval draw; record file names | Selection record |
| Criteria definition | Establish pass thresholds for all applicable criteria | Inspection checklist |
| Inspection | Review each sampled file; record P/F per criterion | Completed inspection spreadsheet |
| Defect calculation | Compute defect rate per type and overall | Defect rate summary |
| Acceptance decision | Apply threshold table; determine accept/reject per type | Written acceptance decision |
| Sampling report | Document population, sample, defects, and decision | Stored sampling report |
| File handoff | Move accepted files to archive; notify downstream programs | Handoff confirmation |
Frequently Asked Questions
Q: Does the sampling plan apply only to vendor batches, or also to internally produced scans from staff and volunteers?
A sampling plan applies to any digitization batch large enough to make full review impractical, whether the files came from an external vendor or from internal scanning sessions conducted by staff or volunteers. Volunteer-run scanning days are particularly prone to inconsistency across operators and equipment states, making sampling just as important as with vendor-produced batches. At the end of each scanning session, define the session’s population, draw a sample, and record the results before files move into the main archive.
Q: Can we use this sampling plan for materials other than flat documents and photographs—such as digitized trophies or physical artifacts?
A digitization sampling plan specifically addresses file-level quality review for two-dimensional scanned materials. Three-dimensional artifacts digitized via photogrammetry or 3D scanning have different quality dimensions—mesh density, texture map resolution, model alignment—that require a separate evaluation framework. For the typical athletic archive covering yearbooks, programs, photographs, and record books, the plan described here covers the full scope of relevant material types.
Q: What happens if our vendor disputes our defect calculation?
The selection record—which files were sampled and how they were chosen—and the inspection spreadsheet—how each criterion was scored for each file—are the evidentiary basis for resolving disputes. A vendor who disagrees with a defect finding should be asked to review the specific flagged files against the specific criteria, not the overall pass/fail decision. Reviewing disputed files together, virtually or in person, resolves most disagreements quickly when both parties agreed to the inspection criteria before the project began.
Q: How do we conduct sampling when the batch arrives on physical media (hard drive or USB) rather than via cloud transfer?
The process is identical regardless of delivery method. Copy the batch to an internal staging area before beginning the QA review—do not review files directly from the delivery media, as accidental writes can create chain-of-custody complications. Once the review is complete and the batch is accepted, copy the accepted files from staging to the archive. If the batch is rejected, retain the staging copy until remediation is complete and a replacement batch is received.
Q: How does this sampling plan interact with checksum verification?
They are complementary practices. Sampling evaluates file quality—whether the content of each scanned file meets visual and technical standards at acceptance. Checksum verification evaluates file integrity—whether a file’s content has changed since it was created or accepted. In a complete QA workflow, sampling happens at batch acceptance before files enter the archive, and checksum verification happens at the point of ingest and on a periodic schedule thereafter. Running both processes confirms you accepted quality files and can verify they have remained intact since acceptance.
Q: Do we need specialized software to conduct the file inspection?
Most inspection criteria can be evaluated with software already present in schools: an image viewer capable of 100% zoom (Windows Photos, macOS Preview, or IrfanView), an image editor with histogram display (GIMP, Adobe Photoshop, or Affinity Photo), and a file properties panel or metadata viewer (ExifTool for detailed metadata inspection). GIMP is a free, cross-platform option that covers histogram inspection, 100% zoom review, and basic metadata display for schools without dedicated image editing software installed.
Connect Your Accepted Archive to Recognition Programs Built to Last
A completed sampling plan documents that your archive files are accurate, complete, and ready for use. Turning that acceptance into a visible recognition resource—live on lobby displays, searchable by alumni, featured at induction events—is where the QA investment pays off for your school community.
Rocket Alumni Solutions helps schools connect verified, accepted digital archives to interactive hall-of-fame displays, digital yearbooks, and alumni engagement platforms designed for long-term recognition use.
Schedule a demo with Rocket Alumni Solutions to see how your accepted athletic archive can power recognition displays that honor every athlete, every season, and every chapter of your program’s history.































