Athletic archive compression artifact detection is the process of systematically reviewing digitized photos, scanned documents, and historic video footage for lossy-encoding defects — blockiness, ringing, banding, mosquito noise, and color bleeding — before those files enter a yearbook archive, hall-of-fame display, or recognition program. When a championship photo is saved at too-low a JPEG quality setting, or a game-film transfer is over-compressed during encoding, the damage is invisible in a file directory listing and easy to overlook in a quick visual spot-check. It only becomes apparent when a file is projected on a lobby display, printed in a donor recognition booklet, or published in a digital yearbook — at which point it is too late to go back to a clean source without starting the digitization process over.
Compression artifacts are distinct from other quality problems — resolution shortfalls, color shifts, scanning noise — because they are introduced at the encoding stage, not the capture stage. A high-resolution scan of a 1987 state championship team photo can still contain severe blockiness if a staff member re-saved it at JPEG quality 40 before uploading it to the archive. Detecting artifacts before ingest is the only reliable way to catch this class of defect before it propagates across every copy and backup in your preservation system.
This guide gives school administrators, athletic directors, yearbook advisers, IT teams, and archivists a complete, step-by-step checklist for detecting compression artifacts in both still-image and video collections, along with a reference table of artifact types, causes, and remediation paths.

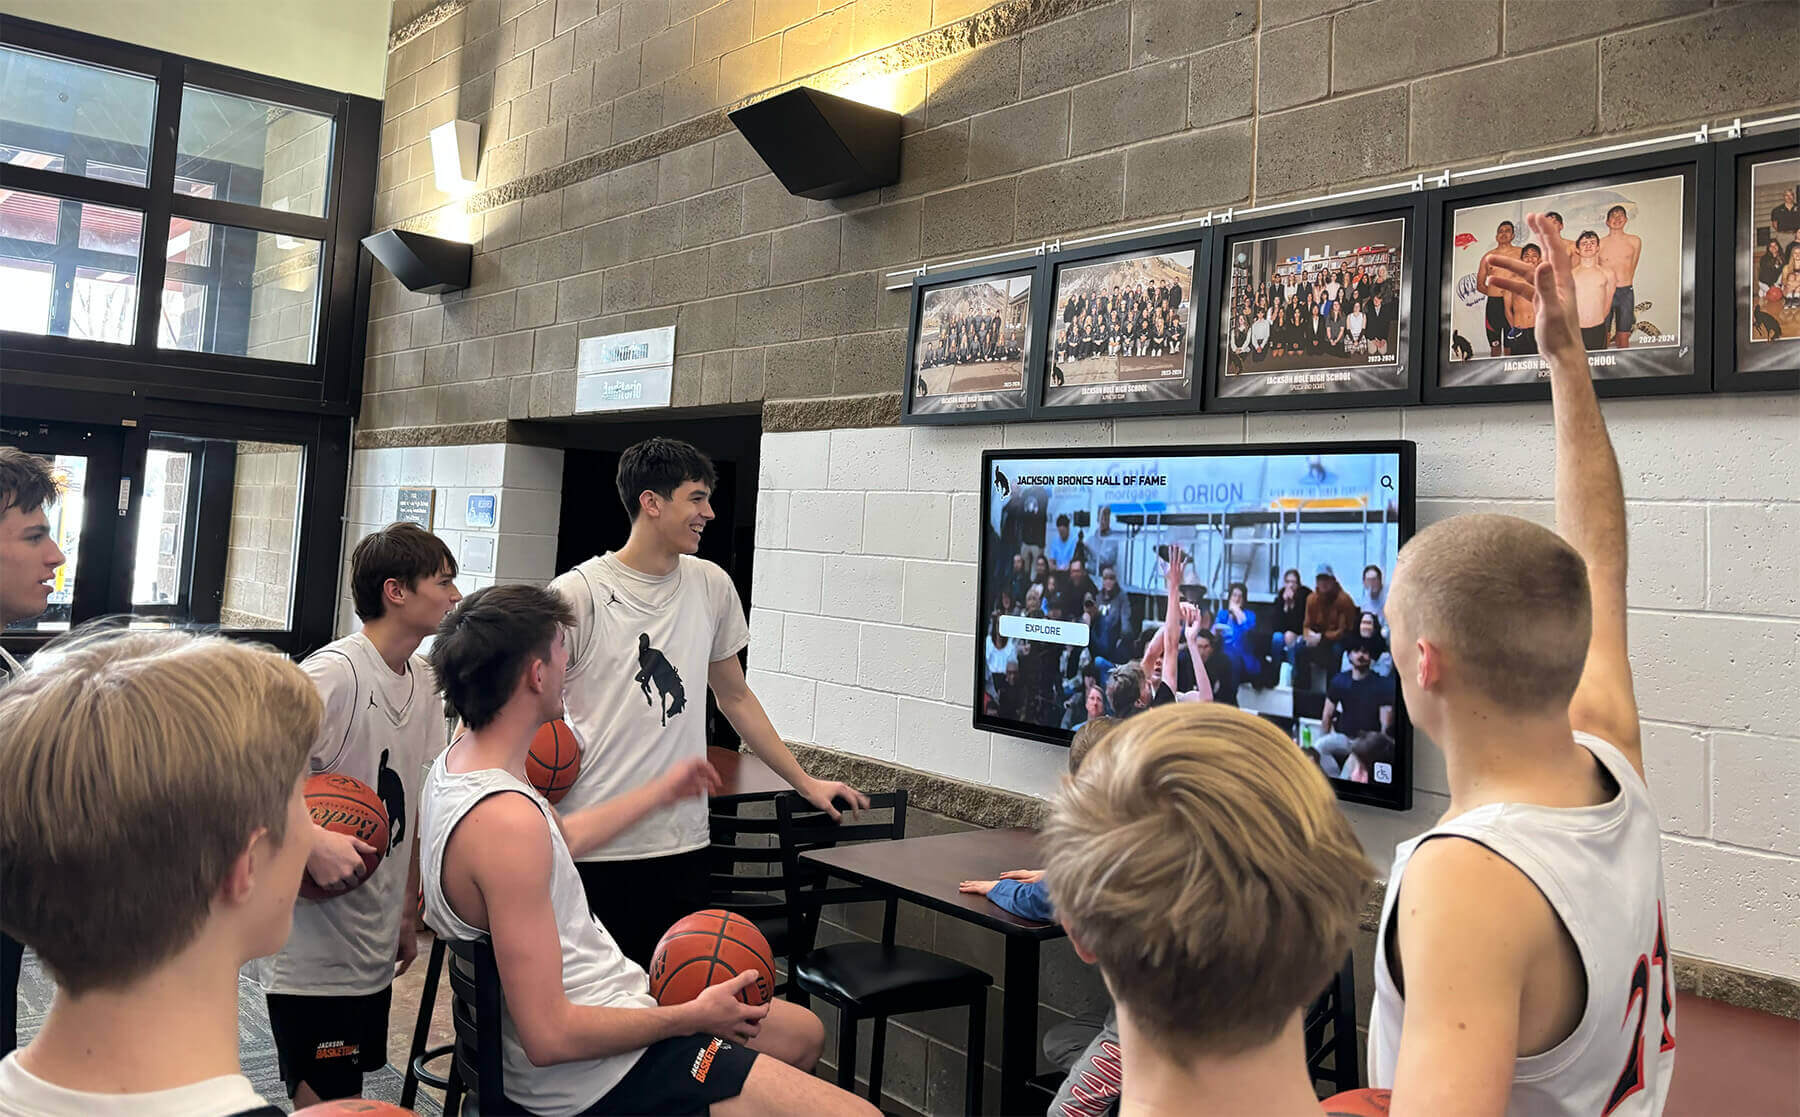
Game highlights projected on lobby screens draw directly from the athletic archive — compression artifacts invisible on a laptop screen become plainly visible at display size and distance
What Compression Artifacts Are and Why They Appear in Athletic Archives
Compression artifacts are visual or auditory defects introduced when a file is encoded using a lossy compression algorithm at a quality setting too low for the content. Every commonly used media format in school athletic archives — JPEG for photos, MPEG-2 and H.264 for video, MP3 for audio recordings — is a lossy format by default. Compression itself is not a problem; it is what makes archiving large video libraries practical. The problem is over-compression: applying a quality setting so aggressive that the algorithm discards more information than the viewer can tolerate.
School athletic archives accumulate compression artifacts through predictable, avoidable workflows:
- A scanned photo is saved as JPEG at an overly low quality setting by a volunteer unfamiliar with archival standards
- A digitized VHS tape is compressed a second time when a staff member converts it for “easier sharing” without realizing the original was already compressed
- A vendor delivers video at the contracted resolution but at a bitrate far below what that resolution requires
- A social-media screenshot is used as an archive copy of a game photo because the original file was never saved
- A file is re-encoded every time it moves between systems, each pass degrading quality further (generational loss)
Connecting athletic archives to recognition infrastructure — whether a touchscreen hall-of-fame kiosk, a digital yearbook platform, or an alumni-facing recognition display — depends on the source files being free of encoding defects. A recognition program that surfaces degraded imagery undermines the athletic history it is designed to celebrate.
The Six Artifact Types Your Checklist Must Cover
Understanding each artifact type before you run a detection pass lets you recognize it when you see it and understand which remediation path applies.
| Artifact Type | What It Looks Like | Common Cause | Affected Formats |
|---|---|---|---|
| Blockiness (Macroblocking) | Visible square grid pattern, especially in smooth areas like sky or skin tones; image looks like a tile mosaic | JPEG saved below quality 60; video encoded at too-low a bitrate | JPEG, MPEG-2, H.264, HEVC |
| Ringing (Gibbs Effect) | Dark or light halos around high-contrast edges; text appears to have a shadow on the wrong side | Aggressive JPEG compression; over-sharpening combined with low bitrate | JPEG, MPEG-2 |
| Banding | Visible stepped transitions between similar tones; gradients look like a staircase instead of a smooth fade | Insufficient bit depth or color range before encoding; low-bitrate video in sky or court areas | JPEG, H.264, any 8-bit format |
| Mosquito Noise | Small flickering dots or “sparkling” around moving edges in video; text subtitles appear to vibrate | Low-bitrate video with complex motion; high temporal compression | MPEG-2, H.264, H.265 |
| Color Bleeding | Color from a saturated area (a jersey, a court logo) spreads into an adjacent neutral area | Chroma subsampling at 4:2:0 or lower; aggressive JPEG chroma compression | JPEG, H.264 |
| Blurring (Temporal Smearing) | Motion looks smeared or ghosted; fast action frames appear to drag across the image | High inter-frame compression; low bitrate for the motion complexity | MPEG-2, H.264, HEVC |
Each artifact type requires a different detection approach. Blockiness is visible to any reviewer who knows what to look for. Mosquito noise is only apparent in motion and must be evaluated in video playback. Banding is most evident in large, smooth tonal areas — common in indoor court photography and locker-room ceremony video — and can be masked by a small screen or a low-brightness monitor.
Part 1: Still-Image Artifact Detection Checklist
Run this checklist on every JPEG or lossy-format image entering the archive from any source: digitization vendors, community donations, staff uploads, social media saves, and existing archive files being migrated to a new system.
Step 1: Prepare Your Review Environment
Detection quality depends entirely on the review environment. A monitor calibrated for office brightness will hide banding that is plainly visible on a display-calibrated screen.
- Use a monitor set to at least 100 PPI effective resolution — a 24-inch 1920×1080 display is the minimum acceptable
- Set monitor brightness to 120–160 cd/m² (typical display brightness, not office-dim)
- Open images in a viewer that does not apply sharpening or upscaling (GIMP, Photoshop at 100% zoom, IrfanView at 1:1)
- View each image at 100% zoom (one screen pixel = one image pixel) — thumbnail views mask blockiness
- Set the room to standard office lighting — not bright sunlight on the screen and not complete darkness
- Disable any monitor “vivid” or “dynamic contrast” display modes that alter what you see
Step 2: Check Image Quality Settings Before Opening
Before a visual review, check the file’s encoding metadata. Tools like ExifTool (free, cross-platform) and IrfanView expose JPEG quality estimates without opening the file.
- Run
exiftool -JPEGQualityEstimate filename.jpgon a sample batch — flag any file reporting below 75 - Check file size relative to pixel dimensions: a 3000×2000 JPEG should be at least 800 KB for archival use; files below 300 KB at that resolution are almost certainly over-compressed
- For batches larger than 100 files, run ExifTool across the entire folder and sort results by quality estimate — review low-scoring files first
- Flag any file with the extension
.jpgbut whose metadata shows it was re-saved from an already-compressed source (look for progressive JPEG encoding without an original quality record)
| JPEG Quality Estimate | Archive Suitability | Action |
|---|---|---|
| 90–100 | Excellent — minimal artifacts | Accept for archival ingest |
| 75–89 | Acceptable — minor artifacts possible | Visually confirm; accept if review passes |
| 60–74 | Marginal — likely blockiness in smooth areas | Full visual review required; request re-scan if source is available |
| Below 60 | Not acceptable for archival use | Reject; return to vendor or seek original source |
| Below 40 | Severe artifact damage probable | Reject and document as degraded; escalate if no alternative exists |
Step 3: Visual Review — Blockiness
Blockiness is the most common artifact in athletic photo archives and the easiest to detect.
- Open the image at 100% zoom in a non-sharpening viewer
- Scroll to the largest areas of uniform color or smooth tone: sky backgrounds, gymnasium floors, court surfaces, painted wall sections
- Look for a regular square-grid pattern — if you can trace a grid of approximately 8×8 or 16×16 pixel blocks across a smooth area, the file is over-compressed
- Check skin tones in athlete portraits and ceremony photos — blockiness appears as a “patchy” or “tiled” texture on faces
- Check the background of team photos taken in gymnasiums or on fields — uniform-color backgrounds reveal blockiness clearly
- Flag any file where the grid pattern is visible at normal reading distance from the screen (arm’s length from a 24-inch monitor)
Step 4: Visual Review — Ringing
Ringing (Gibbs effect) is most visible around text, jersey numbers, trophy edges, and any other high-contrast boundary.
- Zoom to 200% on any area containing text: scoreboard overlays, jersey numbers, banner lettering, award certificate text
- Look for dark fringe lines on the light side of a dark edge, or light fringe lines on the dark side of a light edge
- Check trophy case photos and award display images — metallic objects against dark backgrounds show ringing prominently
- Check images of recognition walls and honor boards — lettering on plaques is a common ringing site
- Flag any file where ringing is visible at 100% zoom (not just 200%) — that level of severity will be visible in print and on large displays
Step 5: Visual Review — Banding
Banding (tonal stepping) is most evident in areas with smooth color gradients: skies, court surfaces, gym ceilings, and fabric.
- Open the image and navigate to any large uniform or gradient-tone area
- Look for distinct tonal “steps” — if you can count discrete bands of color where a smooth fade should be, banding is present
- Tilt the monitor slightly — banding is easier to detect at an angle than head-on
- Check the compression athlete profile headshots against plain-color backgrounds — banding appears in the gradient falloff around the subject
- Flag any file where banding is visible at 100% zoom
Step 6: Visual Review — Color Bleeding
- Look at images containing strongly saturated color next to neutral areas: red or blue uniforms against white walls, bright athletic logos on neutral backgrounds
- Check the boundary between the saturated color and the neutral area at 200% zoom — color bleeding appears as a soft halo of the saturated color extending into the neutral zone
- Team photos with multiple jersey colors on a neutral background are the highest-risk file type for this artifact
- Flag any file where color appears to “leak” more than 2–3 pixels beyond the edge of the saturated region
Step 7: Document Findings and Disposition
- Record the filename, detected artifact type(s), severity (minor / moderate / severe), and recommended disposition for every reviewed file
- Files rated minor (not visible at 100% zoom): accept with notation in the manifest
- Files rated moderate (visible at 100% zoom, not visible at arm’s length from a 24-inch display): accept with quality flag; request replacement from vendor if source is available
- Files rated severe (visible at arm’s length from a standard display): reject from archival ingest; request re-scan or locate alternative source
- Files with no recoverable source: accept with severe-quality flag, document degraded status, and note that the file should not be used for print or large-format display without further remediation
Part 2: Video Archive Artifact Detection Checklist
Video artifact detection requires playback review in addition to technical metadata checks. Most video artifacts are motion-dependent and cannot be detected in a still frame.
Step 8: Check Technical Metadata Before Playback
Use a free tool like MediaInfo (cross-platform, free) to inspect encoding metadata before playback review.
- Check video bitrate: standard-definition (480p) archival video should be encoded at minimum 3–5 Mbps; HD (1080p) at minimum 8–15 Mbps
- Check codec: MPEG-2 and older DV formats are legacy; H.264 at adequate bitrate is acceptable; H.265/HEVC at adequate bitrate is preferred for new encodes
- Check chroma subsampling: 4:4:4 is best; 4:2:2 is acceptable for archival masters; 4:2:0 is delivery-only and should not be used as an archival format
- Flag any file encoded at or below 1 Mbps for standard definition or 4 Mbps for HD — extreme compression is a near-certain source of visible artifacts
- Check frame rate: inconsistent or incorrectly reported frame rates can indicate transcoding errors
| Video Format | Minimum Archival Bitrate | Notes |
|---|---|---|
| MPEG-2 SD (480p) | 4 Mbps | Legacy format; migrate to H.264 or H.265 for long-term storage |
| H.264 HD (1080p) | 10 Mbps | Acceptable archival format at adequate bitrate |
| H.264 SD (480p) | 3 Mbps | Acceptable for archival if source was SD |
| H.265/HEVC HD (1080p) | 6 Mbps | Preferred for new encodes; higher efficiency than H.264 |
| ProRes 422 HQ | Variable (150+ Mbps) | Best-quality intermediate; use for archival masters when storage allows |
| DV / DV25 | 25 Mbps (fixed) | Legacy format from VHS-era camcorders; acceptable if original format |
Step 9: Playback Review — Blockiness and Macroblocking
- Play the video at full resolution on a display at least 24 inches — macroblocking visible on a small laptop screen is severe; detect it before it appears on a lobby display or recognition kiosk
- Advance to sequences with complex motion: fast breaks in basketball footage, sprinting in track video, crowd movement in stadium recordings
- Pause on a frame mid-motion — if blocks are visible in moving areas, the bitrate was insufficient for the motion complexity
- Check static backgrounds during crowd shots — a gym ceiling or bleacher section should not show a tile-grid pattern in a properly encoded video
- Advance to transitions between scenes — macroblocking often spikes at cuts where the encoder must suddenly reference new content
- Document the timestamp and description of any visible macroblocking episode
Step 10: Playback Review — Mosquito Noise
Mosquito noise is a temporally dynamic artifact — it flickers or sparks around moving edges during playback and is invisible in still frames.
- Play sequences containing text overlays: scoreboard graphics, lower-third name labels, date stamps on older recordings
- Watch the area around text characters during playback — mosquito noise appears as a sparkling or fizzing halo that moves with the text
- Check game-film sequences where athletes’ jersey numbers are clearly visible — numbers against a contrasting background are a prime mosquito-noise site
- Watch transitions into fast-motion sequences — mosquito noise intensifies when the encoder is under compression stress
- Flag any file where mosquito noise is visible during normal playback speed (not slow-motion analysis)
Step 11: Playback Review — Temporal Smearing and Ghosting
- Play sequences with rapid lateral movement: basketball dribbling, runners in track events, thrown or kicked balls
- Look for motion trails — a ball should have a clean edge in motion; if it appears to drag a smear or duplicate ghost behind it, temporal compression is too high
- Check panning shots of the gymnasium, field, or crowd — a smooth pan should remain in focus with readable detail; a smeared pan indicates high inter-frame compression
- Play the file at half-speed if the review software supports it — temporal smearing is easier to identify at reduced playback rate
- Flag any file where fast motion is illegible or smeared at normal playback speed
Step 12: Playback Review — Banding in Video
- Advance to sequences with uniform lighting: interior gym shots, locker room ceremony recordings, auditorium induction events
- Check the wall surfaces, ceiling panels, and floor areas in these sequences for visible tonal banding
- Look for sky areas in outdoor athletic footage — clear sky is the canonical banding test: it should transition smoothly, not in visible steps
- Flag any file where banding is visible in a full-screen view at normal playback speed
Step 13: Audio Artifact Check (for event recordings)
For ceremony recordings, induction speeches, and interview footage held in the athletic archive:
- Check audio bitrate in MediaInfo: minimum 128 Kbps for archive-quality audio; 192–320 Kbps preferred
- Play a quiet section of the recording and listen for encoding artifacts: digital distortion at loud moments, garbled passages in low-bitrate recordings, clipping
- Flag any file with audio bitrate below 64 Kbps — this is below voice intelligibility for archival use
- Check audio in combination with video — audio-video sync errors introduced during transcoding are a common ingest failure that does not appear in technical metadata
Connecting Detection Findings to Your Ingest Decision
Every artifact detection checklist item feeds one of three outcomes:
| Finding | Ingest Decision | Required Action |
|---|---|---|
| No artifacts detected | Accept for archival ingest | Add to manifest with clean-quality flag |
| Minor artifacts — not visible at display distance | Accept with notation | Flag in manifest; do not prioritize for replacement |
| Moderate artifacts — visible at 100% zoom, not at display distance | Conditional accept | Note in manifest; request vendor replacement if source available |
| Severe artifacts — visible at display distance | Reject from ingest | Return to vendor for re-encode; seek original source if vendor file is unrecoverable |
| Severely degraded — no recoverable source | Accept with degraded flag | Document in manifest; restrict from print and large-format display use |
Files in the “severely degraded — no recoverable source” category warrant a community outreach effort. Alumni, former coaches, local newspapers, and community photographers often hold duplicate copies of athletic records that schools do not know exist. Schools with active alumni programs — including those building digital yearbook resources — can frame a targeted solicitation as a preservation initiative, which tends to generate strong community response.
Remediation Options When Artifacts Are Found
Detection is the first half of the workflow. When artifacts are found and the source file cannot be replaced, several remediation approaches are available — each with trade-offs.
Re-encode from the original capture source. The cleanest remediation: locate the original VHS tape, camera card, or negative and re-digitize at a higher quality setting. This is only possible if the physical source survives and has not degraded beyond use.
AI-based artifact reduction. Modern AI upscaling and restoration tools — including open-source options like Real-ESRGAN and commercial services — can reduce blockiness and ringing in heavily compressed files without access to the original source. Results vary by content type: uniform-color areas respond well; fine detail like jersey lettering may be altered rather than restored. Use these tools on a copy, never on the archival master.
Accept and restrict use. For files where no source or remediation is practical, document the degraded status and restrict the file’s use: exclude it from print projects and large-format displays, but retain it for reference and small-format digital contexts where the artifacts are less visible.
Separate the archival master from the display derivative. For files with moderate artifacts, create a lightly processed display derivative — artifact-reduced via appropriate software — while retaining the original degraded file as the archival master. The manifest should reference both.
Integrating Compression Artifact Detection Into Your Archive Workflow
Compression artifact detection is most effective when it is built into the standard ingest process rather than run as a periodic cleanup project. A periodic cleanup finds artifacts after they have been distributed across every copy, backup, and derivative in the system. An ingest gate catches them before propagation.
At vendor handoff. Any digitization vendor delivering photo or video files should expect artifact review as part of your acceptance criteria. Documenting that expectation in your scope of work — and specifying minimum JPEG quality floors and video bitrate minimums — shifts the quality burden to the vendor before delivery. Schools building out comprehensive athletic archives through vendor partnerships can reference recognition program best practices to align file quality standards with the display platforms that will use them.
At community submission. When alumni, parents, and community photographers submit files for the archive, artifact levels are unpredictable. A quick metadata check with ExifTool and a visual spot-review against the key artifact types takes fewer than two minutes per file and catches the most common problems before they enter the collection. Schools running active alumni recognition programs — including those described in alumni newsletter template resources — often receive more community submissions than their archivist can manually review; in that case, an automated metadata pre-filter that flags low-quality-estimate files for human review reduces the manual burden substantially.
At archive migration. Storage migrations — moving from a school server to cloud storage, upgrading archive infrastructure, consolidating multiple athletic department drives — are a high-risk moment for generational quality loss. Before migrating, run a detection pass on the source. After migrating, verify that no transcoding occurred during the transfer (file hashes should match). Transcoding during migration is a common and preventable source of artifact introduction.
Before recognition events. A targeted detection pass on files scheduled for use in a hall-of-fame induction display, an annual awards video, or a yearbook publication is lighter than a full-archive audit and directly prevents the most visible failures. Schools whose recognition programs include donor showcase boards or similar public-facing displays have a concrete deadline that motivates the pre-event pass.

Hall-of-fame displays surface archive files at a scale that makes every quality defect visible — compression artifact detection before ingest is what ensures the display honors athletes with accurate, visually intact imagery
Frequently Asked Questions
Q: Is visual inspection sufficient, or do we need specialized software to detect compression artifacts?
Visual inspection — conducted at 100% zoom on a calibrated monitor — is sufficient to detect moderate and severe artifacts in still images. For video, playback on a display large enough to reveal macroblocking at normal viewing distance is the primary tool. Specialized software (VMAF for video quality scoring, ExifTool for metadata analysis, MediaInfo for bitrate review) accelerates and systematizes detection but does not replace human judgment for borderline cases. For archives of more than a few hundred files, automated metadata pre-filtering (flagging low-quality-estimate files for visual review) is more practical than reviewing every file manually.
Q: Can we prevent compression artifacts from appearing in new donations and submissions?
Yes, by specifying minimum technical standards in the submission guidelines you share with donors and alumni. A one-page submission guide specifying JPEG quality 85 or higher, file size minimums, and a preference for camera originals over social-media downloads addresses the most common sources of donor-submitted artifact damage. Including the submission guide in recognition program outreach — such as cross-country and athletic program communications — normalizes quality standards before files arrive rather than after.
Q: Our athletic archive includes game footage on digitized VHS tapes. Are those files inherently artifact-ridden?
VHS-sourced video has an inherent resolution ceiling (approximately 240 lines of horizontal resolution), which means some detail loss is unavoidable. However, the digitization process itself should not introduce additional compression artifacts. If a VHS transfer is blocky, smeared, or shows mosquito noise, the problem is typically the bitrate at which the digitization service encoded the output file — not the original tape. Request the transfer at a higher bitrate (minimum 5 Mbps for MPEG-2 SD, or as an uncompressed or lightly compressed intermediary like DV25 or HuffYUV) and re-evaluate.
Q: How do we handle a file where the only available copy is severely artifact-damaged and no re-scan source exists?
Document the file’s degraded status in the archive manifest — artifact type(s), severity, and reason no replacement is available. Restrict the file from print and large-format display use. Retain it at the archival level, because even a degraded file may be useful for reference or may be improved by future AI restoration tools. Simultaneously, initiate a community outreach inquiry: alumni, local media archives, and school boosters often hold duplicate copies of historically significant athletic records. Frame the request as a preservation effort — not an admission that your archive is missing files — and you will often receive community response within a few weeks.
Q: Does re-saving a file from JPEG to TIFF remove the compression artifacts?
No. Converting a JPEG to TIFF creates a losslessly encoded copy of the artifact-damaged image — the artifacts are preserved, not corrected. The only way to remove artifacts from an existing file is AI-based artifact reduction or re-digitization from the original source. TIFF conversion is still useful: it prevents further quality loss from subsequent JPEG re-saves, and a TIFF archival master with documented artifact damage is preferable to a chain of re-saved JPEGs that degrades further with each generation.
Q: How often should we run artifact detection passes on files already in the archive?
For files already in the archive and successfully ingested: a full retrospective detection pass is worth running once — during an initial archive audit — to surface any problems that pre-date the detection workflow. After that, artifact detection should be a forward-looking ingest control, not a recurring audit on previously reviewed files. Compression artifacts do not develop spontaneously in stored files; a file that was artifact-free at ingest will remain artifact-free in storage (assuming storage integrity, which is what checksum verification addresses separately).
Q: Can we automate the entire detection process?
Metadata-based pre-filtering (JPEG quality estimates, video bitrate checks) can be fully automated. Visual inspection cannot be fully automated with current tools — automated quality metrics like VMAF and SSIM measure quality relative to a reference file, but for archival ingest you typically do not have a reference file to compare against. The practical workflow is: automate the metadata filter to flag low-quality-estimate files, then apply human visual review only to flagged files. For a typical school athletic archive of a few thousand files, this reduces the human review burden to a fraction of the total collection.
Turn Your Verified Archive Into an Active Recognition Program
Catching compression artifacts is the quality gate that protects your athletic archive. What you build on top of that archive — hall-of-fame displays, digital yearbooks, alumni engagement programs, touchscreen recognition kiosks — is where the preservation work pays off in community value.
Rocket Alumni Solutions helps schools connect clean, verified athletic archives to interactive recognition displays designed to surface every athlete, every championship, and every milestone your program has earned.
Schedule a demo with Rocket Alumni Solutions to see how your archive can power recognition infrastructure that lasts.































