An athletic archive color space conversion workflow is a documented, repeatable process for translating the color information embedded in historic photos, slides, film, and video into a consistent, display-safe color space before those files enter a school’s recognition system, yearbook platform, or public archive. Without a defined conversion workflow, color data from different source formats — a 1970s Kodachrome slide, a 1990s VHS transfer, a flatbed scan of a black-and-white print, a donated JPEG with no embedded profile — arrives in inconsistent color spaces. Team colors shift: the school’s cardinal red turns brick orange, the navy blue becomes purple, the gold fades to olive. Athletes and coaches who remember these moments see inaccurate renditions of the seasons that defined their programs.
Color space conversion sits between “the file exists” and “the file is correct.” A well-run workflow catches color shifts before files enter the collection, before they appear on a lobby hall-of-fame display, and before a community audience sees them projected at an induction ceremony. This guide provides school administrators, athletic directors, archivists, and IT teams a nine-step workflow for converting historic athletic media to consistent, display-accurate color — covering still images, slides and negatives, and historic video.

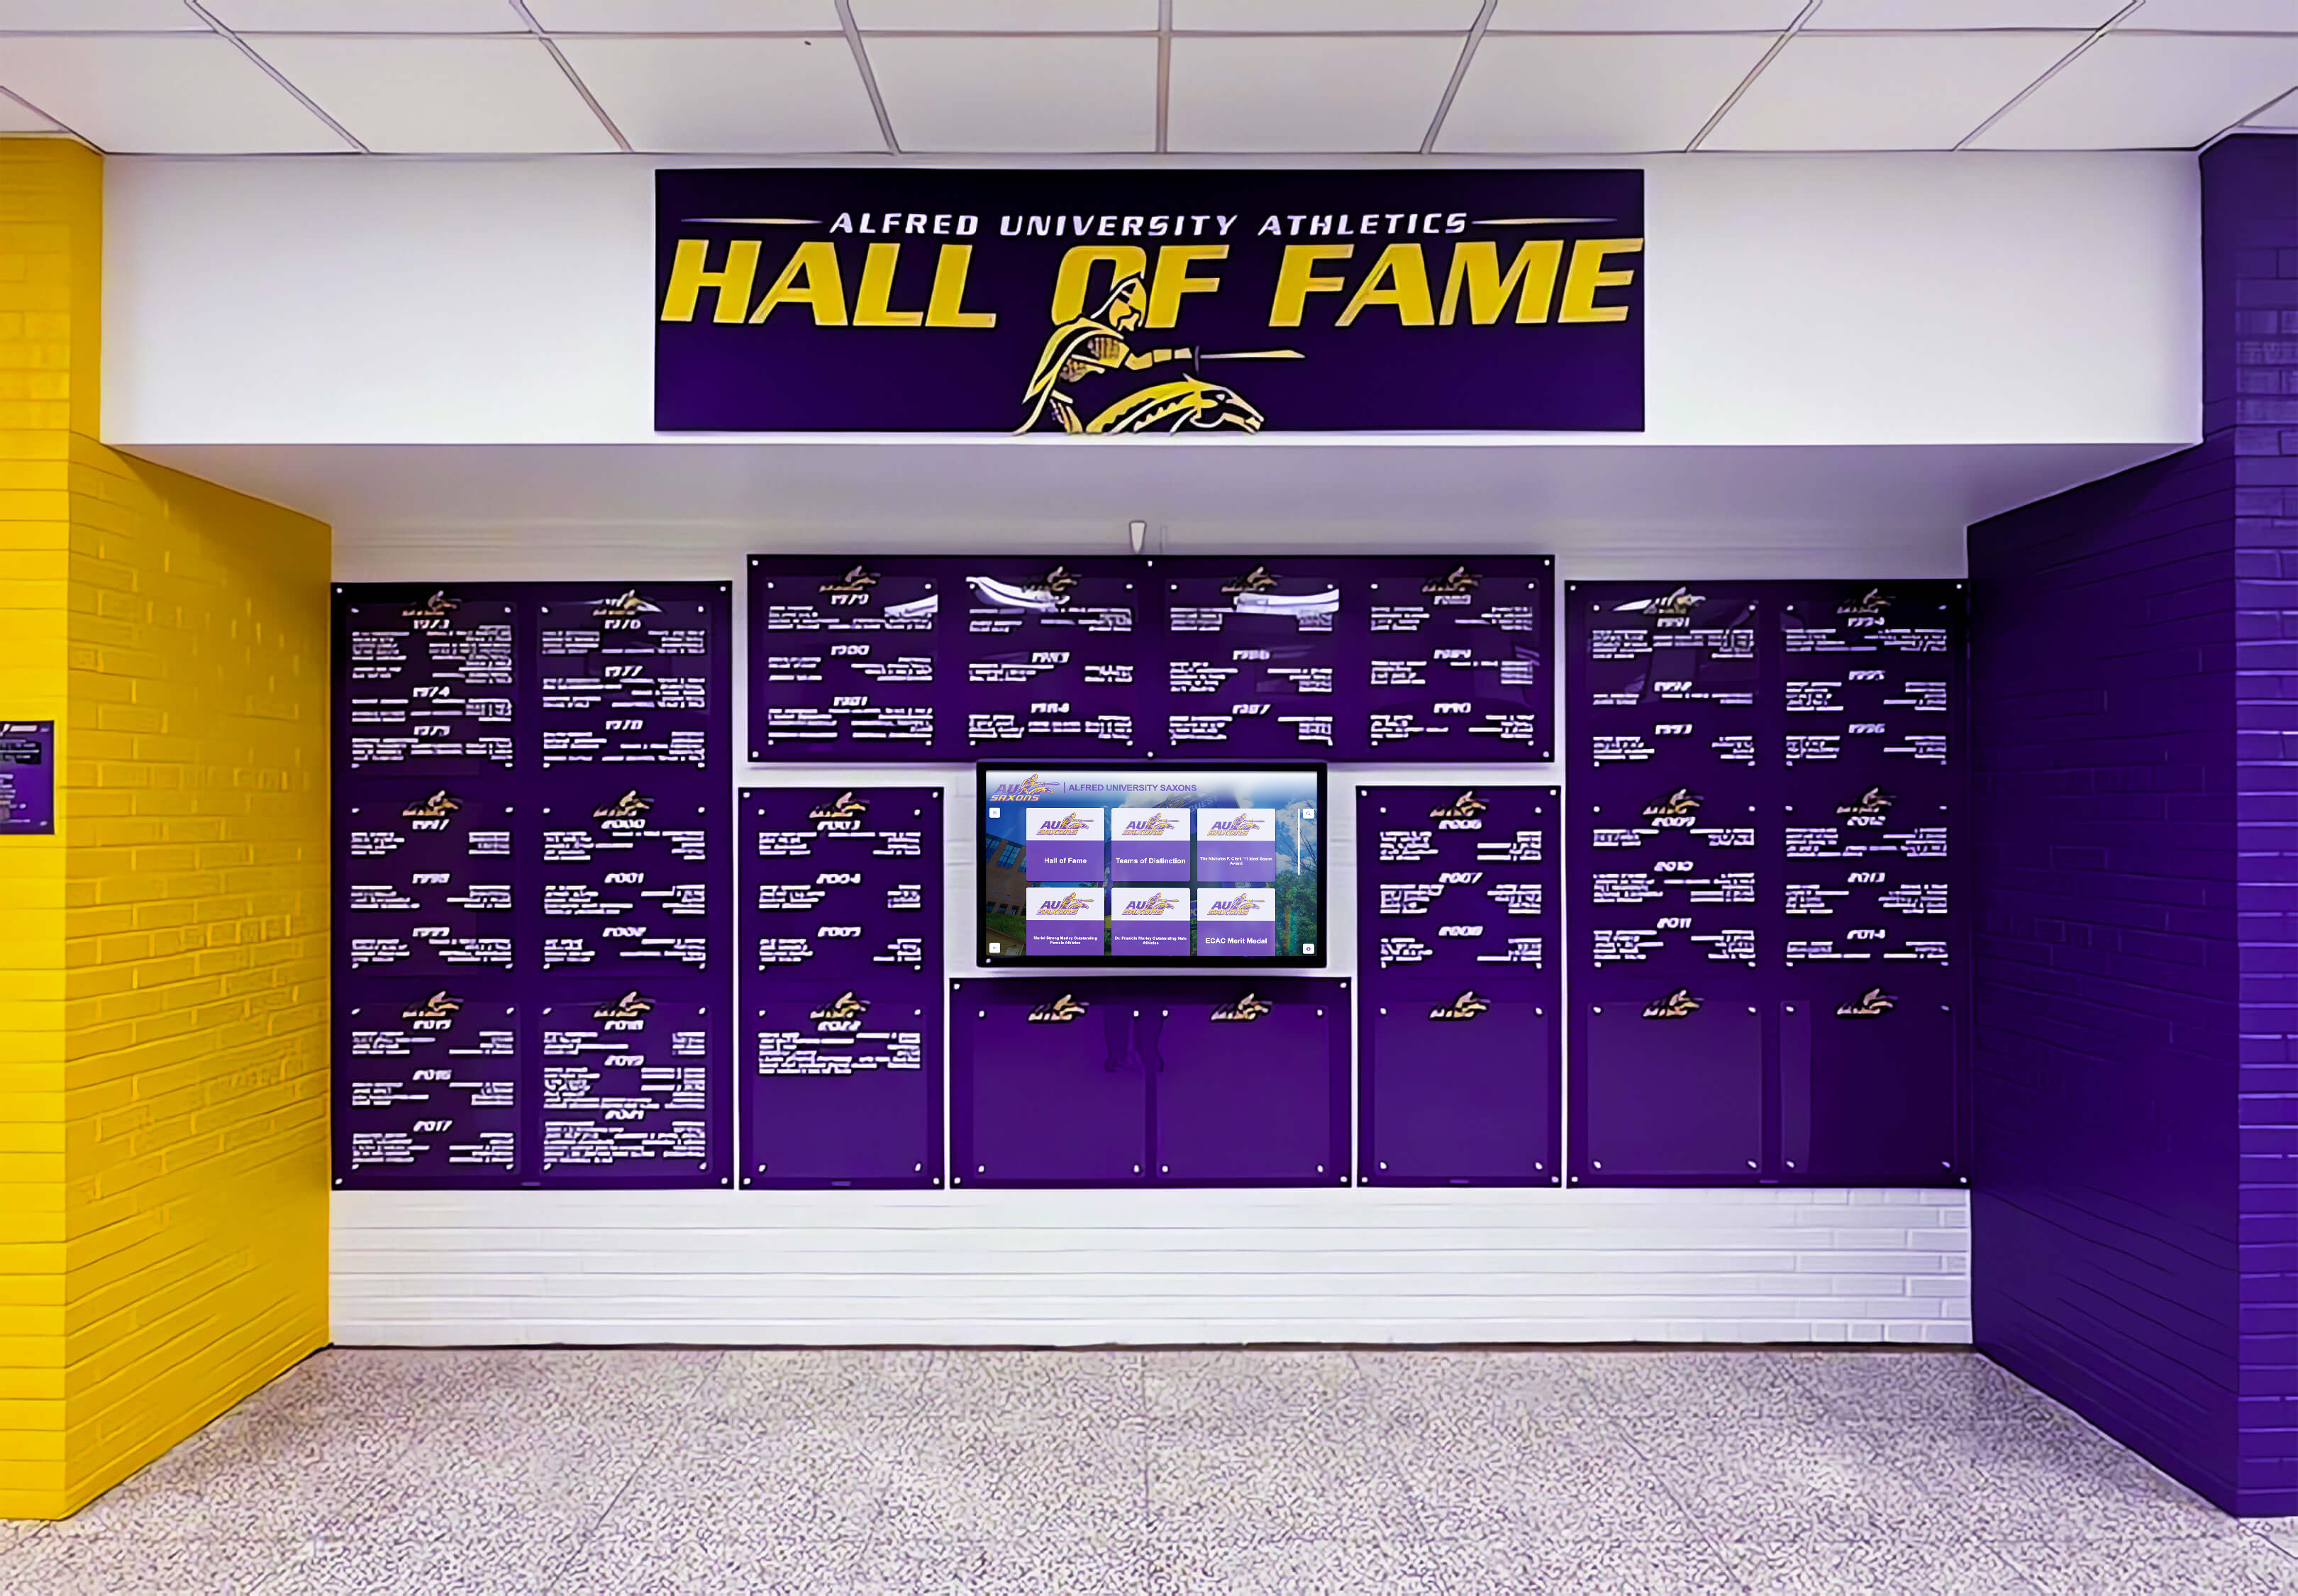
Recognition displays surface athletic archive files at scale — a color space conversion workflow run at ingest is what keeps team colors accurate across every historic photo and every modern display
Why Color Spaces Matter in Athletic Archives
A color space is a defined range and organization of color values that tells a display, printer, or application how to interpret the numbers stored in a file. Two image files with identical pixel values but different embedded color profiles will render visually differently on the same calibrated monitor. For most archival content, a slight shift is an annoyance. For athletic archives, it is a fidelity problem: team colors carry institutional identity, and an inaccurate reproduction of a championship photo implies the wrong color scheme has represented the program for decades.
School athletic archives draw from sources created across six or more decades, each with its own native color behavior:
| Source Type | Native Color Behavior | Common Problem at Ingest |
|---|---|---|
| 35mm color slide (Kodachrome) | Dense, saturated; warm yellow-red bias | Scanned as generic RGB; warm cast not accounted for |
| 35mm color slide (Ektachrome) | Cooler, finer grain than Kodachrome | Scan profiles treat it identically to Kodachrome |
| Color print (C-41 process) | Accurate but subject to dye fade after 20+ years | Faded orange/magenta cast misassigned to sRGB |
| VHS or Beta video transfer | Rec. 601 (SD) color space; limited gamut | Transfer software tags as Rec. 709 or leaves untagged |
| Digital camera JPEG (1990s–2000s) | sRGB or proprietary color space; often untagged | Untagged file treated as display-native; gamut mismatch |
| Flatbed scan (no profile set) | Scanner-native profile; varies by hardware | File treated as sRGB when scanner produced wider gamut |
When files with inconsistent or missing color profiles are mixed in a single archive, the downstream display pipeline — a hall-of-fame kiosk, a digital yearbook viewer, a donor recognition wall — must guess the color interpretation for every file it renders. Some platforms apply sRGB as a fallback; others render untagged files as the display-native space. Both produce color inaccuracies visible to any viewer who remembers what the 1983 state championship uniforms actually looked like.
Step 1: Audit Your Source Media Types
Before running any conversions, map what source types exist in the archive. Conversion parameters differ enough between slides, prints, video, and digital files that a single batch setting will produce wrong results for at least some categories.
- List every source format in the collection: slides (specify Kodachrome, Ektachrome, or unknown), color prints, black-and-white prints, digital camera files (with approximate date ranges), video transfers (specify original format: VHS, Betamax, 8mm film, 16mm film, MiniDV)
- Note the decade of origin for each format group — 1970s prints fade differently than 1990s prints
- Identify files with embedded color profiles (check in ExifTool:
exiftool -ColorSpace -ProfileDescription filename.jpg) and files without any embedded profile - Separate files that already exist only as digital originals (a 2005 digital camera JPEG) from those that were produced by digitizing an analog source — they require different handling
This audit typically takes a few hours for a collection under 2,000 files and one to two days for larger institutional archives. Producing a simple spreadsheet with source type, decade, and profile status for each folder is sufficient — you do not need to catalog individual files at this stage.
Step 2: Establish a Color Reference for Team Colors
Before converting any files, document the school’s official colors in at least two color systems. This reference set becomes the validation target every converted file is checked against.
- Obtain the official Pantone values for every team color used across the school’s history — many schools have changed colors or added accent colors over the decades; document each era separately
- Convert each Pantone value to its sRGB equivalent (Pantone’s official swatches include this conversion) and note the hex code
- Photograph or scan a current physical artifact — a jersey, a banner, a booster-club color swatch — using a calibrated camera or scanner as a visual reference
- Store the reference values in the conversion manifest (see Step 9) so that any staff member performing validation can compare converted files against known-correct targets
If official Pantone documentation is unavailable for older eras, the most reliable fallback is a physical artifact in good condition photographed under a standard D65 (6500 K daylight) light source and processed with a color checker card in the same frame. The color checker provides a reference that allows accurate profile assignment to the entire photograph.
Step 3: Configure a Calibrated Conversion Environment
Conversion decisions made on an uncalibrated monitor are unreliable — a monitor set too warm, too cool, or at the wrong brightness will produce conversions that look correct in the review environment and wrong everywhere else.
- Calibrate the conversion workstation monitor using a hardware colorimeter (X-Rite, Datacolor, or equivalent) with a D65 white point and 2.2 gamma target; recalibrate monthly
- In your image editing software (Photoshop, GIMP, or a dedicated DAM application), set the working color space to ProPhoto RGB if the software supports it, or Adobe RGB (1998) as the minimum — both provide a gamut large enough to preserve slide and print color data without clipping
- Enable “Use Embedded Profiles” in the color settings so the software respects the profile in each file rather than silently assuming a default
- Set the rendering intent to Perceptual for photographic content — this intent compresses the source gamut to fit the destination gamut while preserving the visual relationships between colors, which produces the most natural-looking results for skin tones, grass, and fabric colors
Schools that invest in well-designed athletic displays and trophy showcases typically extend that investment to the underlying archive — a calibrated conversion environment is the production infrastructure that protects image quality before it reaches the display.
Step 4: Assign and Convert Profiles for Still Images
Still images are the most common element in school athletic archives and the most variable in terms of embedded profile status.
Files with no embedded profile
- Determine the likely source: a scan made before widespread ICC profile awareness (pre-2000) is typically scanner-native sRGB; a donated file of unknown origin should default to sRGB unless evidence suggests otherwise
- In Photoshop: Image → Mode → Assign Profile (not Convert to Profile) — assign the most likely source profile without altering pixel values
- After assigning the source profile, verify visually: open a sample against the team color reference; if the assigned profile produces an accurate color, convert to ProPhoto RGB or Adobe RGB for the archival master
- If the assigned sRGB profile produces an inaccurate color, try Adobe RGB — some older scanners and digital cameras produced wide-gamut output that was mislabeled or unlabeled
Files with an embedded profile
- Accept the embedded profile as authoritative for files from digital cameras (2000s onward) and from digitization vendors who documented their color workflow
- Convert from the source profile to ProPhoto RGB (archival master) using a Relative Colorimetric rendering intent with Black Point Compensation enabled — this preserves maximum color fidelity for archival use
Files from print scans (color prints, C-41 process)
- Color prints from the 1970s onward are subject to dye fading — the cyan dye fades fastest, producing an orange-magenta cast in aging prints
- Assign sRGB as the source profile, then perform a manual correction to neutralize the cast before converting to the archival master profile
- Document the correction parameters in the conversion manifest so the adjustment can be reviewed or reversed if better correction methods become available
A useful external reference for scanning still images is the DPI guidance available for yearbook digitization projects, which addresses resolution alongside color to help staff make scan settings decisions that preserve both spatial detail and color fidelity.
Step 5: Convert Slides and Negatives
Slides and negatives are the highest-quality source material in most school athletic archives and carry the most color information to preserve. They also have the most distinctive color behavior of any analog format.
Kodachrome slides (discontinued 2009): Characterized by dense saturation, high contrast, and a warm yellow-red bias. Scanners that do not have a Kodachrome-specific profile tend to oversaturate warm tones. If your scanner provides a Kodachrome preset, use it. If not, scan to a wide-gamut ICC profile and expect to reduce red-channel saturation by 5–10% in post before assigning the archival profile.
Ektachrome and other E-6 process slides: Cooler and finer-grained than Kodachrome. Standard scanner profiles designed for E-6 film are generally accurate. If the slides are more than 30 years old, check for yellow-layer fading (the image takes on a cyan cast) and correct before conversion.
Color negatives (C-41 process): Most film scanners invert and balance negatives automatically. Accept the scanner’s interpretation, assign sRGB as the source profile, and verify against the team color reference. If the automatic inversion produces an inaccurate cast, use the scanner’s manual balance settings before scanning rather than correcting afterward — post-scan corrections to inverted negatives are harder to make reversible.
Black-and-white prints and negatives: Assign a grayscale ICC profile (typically Dot Gain 20% for prints or Gamma 2.2 for digital display) rather than sRGB or Adobe RGB. Storing black-and-white content in an RGB color space wastes storage, introduces the possibility of color cast from minor tonal variations, and does not improve quality.
Step 6: Convert Historic Video Footage
Video color space conversion requires attention to two separate standards that changed with the transition from standard-definition to high-definition broadcasting.
| Video Source Era | Native Color Space | Correct Handling |
|---|---|---|
| VHS, Betamax, U-matic (pre-2000) | Rec. 601 (SD) | Tag as BT.601; convert to BT.709 only for HD delivery |
| MiniDV, Digital8 (late 1990s–2000s) | Rec. 601 for SD mode | Tag as BT.601; verify chroma subsampling is 4:2:2 or higher |
| HDV, early HD camcorders (2000s) | Rec. 709 (HD) | Confirm BT.709 tagging; typically no conversion needed |
| Modern HD/4K digital video | Rec. 709 or Rec. 2020 | Accept as-is; confirm tagging in MediaInfo |
| 16mm or 8mm film transfer | Linear or log color; transfer vendor-dependent | Request ICC or LUT documentation from transfer vendor |
The most common problem in athletic video archives is a VHS transfer that was encoded at SD resolution but tagged as Rec. 709 (the HD standard). Rec. 601 and Rec. 709 have different coefficients for converting between luminance and chrominance — when a Rec. 601 file is displayed as Rec. 709, the color saturation shifts and skin tones take on an incorrect hue. The conversion from Rec. 601 to Rec. 709 is a documented, lossless mathematical operation available in all professional video editing platforms.
To check whether a video file is correctly tagged: open it in MediaInfo and review the “Color primaries,” “Transfer characteristics,” and “Matrix coefficients” fields. A 1990s VHS transfer correctly tagged will show “BT.601 NTSC” or “BT.601 PAL” in the matrix coefficients field. A file showing “BT.709” for a clearly SD-era transfer is mislabeled and should be re-tagged before entering the archive.
Step 7: Validate Team Color Accuracy
After converting a batch of files, validate a representative sample against the team color reference established in Step 2.
- Open the converted file and the team color reference side by side in the same application
- Use the eyedropper tool at 5×5 pixel average sampling to measure the school color in the converted image: check jersey colors, banner lettering, and any area where team color should appear
- Compare the measured sRGB values to the reference values from Step 2 — allow a tolerance of ±5 per channel (a delta of 5 in a 0–255 scale) for photographs of physical objects, where lighting conditions affect color even in correctly converted files
- Files that fall outside tolerance on key team colors should be reviewed for incorrect source profile assignment and reconverted if a more accurate source profile can be identified
For schools building displays that require visual consistency across many media types, this validation step is what ensures that a jersey color photographed in 1975 and a jersey color photographed in 2015 appear as the same school color on a recognition wall that displays both side by side.
Step 8: Export Archival Masters and Display Derivatives
Each file in the workflow produces two outputs: an archival master optimized for permanence and a display derivative optimized for the systems that will actually serve the file.
| Output Type | Format | Color Space | Resolution | Use Case |
|---|---|---|---|---|
| Archival master (still) | TIFF (LZW compressed) | ProPhoto RGB or Adobe RGB (1998) | Full scan resolution | Long-term storage, future processing |
| Display derivative (still) | JPEG (quality 85–90) | sRGB | Screen-appropriate (longest edge ≤ 4000 px) | Yearbook platform, kiosk, web display |
| Print derivative (still) | TIFF or JPEG quality 95+ | CMYK (press profile) or sRGB | 300 DPI at print size | Donor recognition booklets, awards materials |
| Archival master (video) | MKV or MOV with H.265 | BT.709 | Full source resolution | Long-term storage |
| Streaming derivative (video) | MP4 with H.264 | BT.709, sRGB container | 1080p or 720p | Hall-of-fame kiosk, digital yearbook |
The key principle: the archival master retains the widest possible color information; the display derivative converts to sRGB because every display platform from mobile browsers to lobby kiosks to digital yearbook viewers assumes sRGB as the default rendering space. Converting to sRGB at the derivative stage — rather than at the master stage — ensures that future display platforms with wider gamut support (DCI-P3, Rec. 2020) can be served from the original master without re-digitizing source materials.
Step 9: Build a Conversion Manifest
A conversion manifest is a simple reference document that connects every converted file to the decisions made during its conversion. Without it, a staff turnover event or a multi-year gap between archive projects means the next person to work with the collection cannot determine which files have been converted, what parameters were applied, or what the original source profiles were.
The manifest should record, at minimum:
- Filename of the source file and filename of each derivative
- Source profile assigned (and whether it was embedded or manually assigned)
- Destination profile for the archival master and display derivative
- Rendering intent applied
- Any corrections applied before conversion (fade correction, cast neutralization) with parameter values
- Date of conversion and name of the operator
- Validation result: which team colors were checked, measured values, and pass/fail against the reference tolerance
A spreadsheet is sufficient for archives under a few thousand files. Larger archives benefit from a database or digital asset management (DAM) system that stores this metadata alongside the files themselves.
Schools with active memorabilia and display programs that regularly pull files from the archive for physical and digital installations will find a well-maintained manifest essential — it eliminates repeated re-derivation work and provides a clear answer when a display vendor asks “was this image converted correctly?”
Common Color Space Conversion Mistakes to Avoid
Converting instead of assigning. When a file has no embedded profile, the correct first step is to assign the most likely source profile — not to convert. Converting applies a mathematical transform to the pixel values; assigning simply labels existing pixel values with their correct interpretation. Applying a convert when you meant to assign permanently alters the pixel values and cannot be undone without the original file.
Using sRGB as the archival master space. sRGB is the correct delivery space for screen display, but it clips color information present in wide-gamut sources like slides and color prints. Archival masters should use ProPhoto RGB or Adobe RGB (1998) to preserve the full gamut of the source material for future use.
Ignoring video color space tagging. An untagged video file is not the same as an sRGB file — video applications use different default interpretations than image applications. An untagged SD video file assumed to be Rec. 709 by the playback software will display inaccurate color on any display that correctly implements the standard.
Skipping validation for black-and-white materials. Sepia-toned prints, hand-colored vintage photos, and “black-and-white” prints that have aged to brown-gray all contain intentional or incidental color information. Treating them as neutral grayscale discards that information. Scan in color, validate the color rendering, and then convert to grayscale if the color information is genuinely incidental.

Each athlete card on a recognition display is rendered from the underlying archive file — a color space conversion workflow ensures uniform color across every era represented in the display
Frequently Asked Questions
Q: Can we batch-convert our entire archive to sRGB without reviewing individual files?
Batch conversion to sRGB is a valid approach for generating display derivatives from already-reviewed archival masters. It is not a valid approach for initial ingest from a mixed-source archive. Files with incorrect or missing source profiles will be converted incorrectly in a batch — a batch operation cannot correct a wrong source profile assignment, it can only propagate it. The individual review step for source profile assignment (Steps 4 and 5) cannot be replaced by batch processing.
Q: Our archive has photos going back to the 1950s. What if we cannot identify the original team colors for that era?
The most reliable sources for historical team color reference are physical artifacts in good condition (trophies, letter jackets, framed team photos hung in the school for decades that were never reproduced digitally) and local newspaper archives from the era, which sometimes include color feature photography or color printing that preserves era-accurate team color rendition. A school’s physical team gift and memorabilia records sometimes preserve era-specific colors in award items that have not faded. If no reference is available, document that the era’s colors are unverified and note the caveat in the manifest.
Q: Do we need color space conversion for modern digital photos taken at current athletic events?
Current digital cameras embed color profiles automatically — typically sRGB for JPEG output or a proprietary wide-gamut profile for RAW files. Modern files generally require no source profile assignment. However, they still benefit from the workflow step of converting RAW archival masters to Adobe RGB and generating sRGB display derivatives, and they should be included in the conversion manifest for completeness.
Q: Our digitization vendor delivered files but did not document the color profiles they used. What do we do?
Request the documentation — a reputable digitization vendor should be able to provide the ICC profiles they applied during scanning and any color workflow documentation. If the vendor cannot supply this, assign sRGB to still images and BT.601/BT.709 as appropriate to video files based on the source era, validate against the team color reference, and note the uncertainty in the manifest. If validation reveals systematic color inaccuracies across the vendor’s deliverables, that is grounds for requesting re-delivery at a higher quality standard before accepting the files.
Q: Is color space conversion something we can handle in-house, or do we need a professional service?
The core workflow — assigning source profiles, converting to archival master space, generating display derivatives — is technically within reach for any staff member comfortable with Photoshop, GIMP, or a free tool like dcraw for RAW conversion. The calibration step (Step 3) requires a hardware colorimeter that runs $100–250. For slides and film, a capable dedicated film scanner (Plustek, Epson Perfection series) handles conversion in-house; for large slide collections, a vendor with documented color workflows may be more cost-effective. Video color space re-tagging can be performed with free tools like HandBrake (for simple re-encodes) or FFmpeg (for re-tagging without re-encoding).
Q: How does color space conversion relate to scanning resolution?
They are independent concerns that are best addressed together. A high-resolution scan with the wrong color profile is high-resolution and color-inaccurate. A correctly profiled scan at low resolution is color-accurate but insufficiently detailed for large-format display. For comprehensive guidance on resolution decisions alongside color, the best DPI practices for scanning old yearbooks provide a useful parallel framework that applies equally to athletic archive photos and slides.
Q: Should archival masters be stored in the same location as display derivatives?
No. Archival masters should be stored in a separate, access-controlled location (local NAS or cloud archive tier) with checksum verification and at least one offsite backup. Display derivatives live in the working collection accessible to the recognition platform, the yearbook system, and other display infrastructure. Separating them prevents display-system operations — format conversions, resizes, re-exports — from accidentally overwriting or degrading the archival master.
Turn a Color-Accurate Archive Into an Active Recognition Program
A well-executed color space conversion workflow protects the accuracy of every historic photo and video in your athletic archive. The recognition infrastructure built on top of that archive — hall-of-fame kiosks, digital yearbooks, touchscreen trophy cases, donor recognition walls — is where the preservation work becomes visible to students, alumni, and families.
Rocket Alumni Solutions helps schools connect verified, color-accurate athletic archives to interactive recognition displays designed to surface every athlete, every championship, and every milestone your program has earned.
Schedule a demo with Rocket Alumni Solutions to see how your archive can power recognition infrastructure that honors your school’s history accurately.































