Athletic archive chroma noise correction is the process of identifying and reducing random color speckles, crawling color grain, and floating patches of incorrect hue that appear in the color channels of analog game footage — defects most visible in uniform-color areas such as gymnasium floors, playing-field turf, solid-color jerseys, and low-light sequences from indoor arenas — so that school athletic video accurately represents the events, athletes, and institutional colors it documents before it enters a permanent archive, hall-of-fame display, or digital yearbook platform. In composite and consumer analog video — VHS, S-VHS, Hi8, Betamax, and 3/4-inch U-matic tape — the chroma channels carry color at narrower bandwidth and lower signal-to-noise ratio than the luminance channel. Tape degradation, low-light recording conditions, high-gain camera amplification, and poor-quality capture hardware all disproportionately corrupt the color information, introducing noise that presents as magenta-and-green speckle patterns over what should be neutral surfaces, “crawling” hue shifts in shadowed areas, or diffuse color smearing around the edges of uniform numerals and court logos.
Unlike luma (brightness) noise — which mimics film grain and is sometimes considered acceptable in archival context — chroma noise is visually disruptive on every type of downstream display because it introduces colors that were never present in the original scene. When corrected game footage from the 1980s and 1990s plays on a lobby kiosk, athletic hall-of-fame screen, or digital yearbook player, chroma noise is one of the most immediate cues that the footage was not properly prepared for display — it draws viewer attention away from the athletic achievement being honored and toward the artifact itself. This guide gives school administrators, athletic directors, AV coordinators, and IT staff a complete workflow for identifying chroma noise across an existing game footage collection, selecting the appropriate reduction strategy for each stage of the process, applying hardware reduction at the point of capture and software reduction in post-production, validating corrected output, and setting intake standards that minimize chroma noise in all new digitization work.

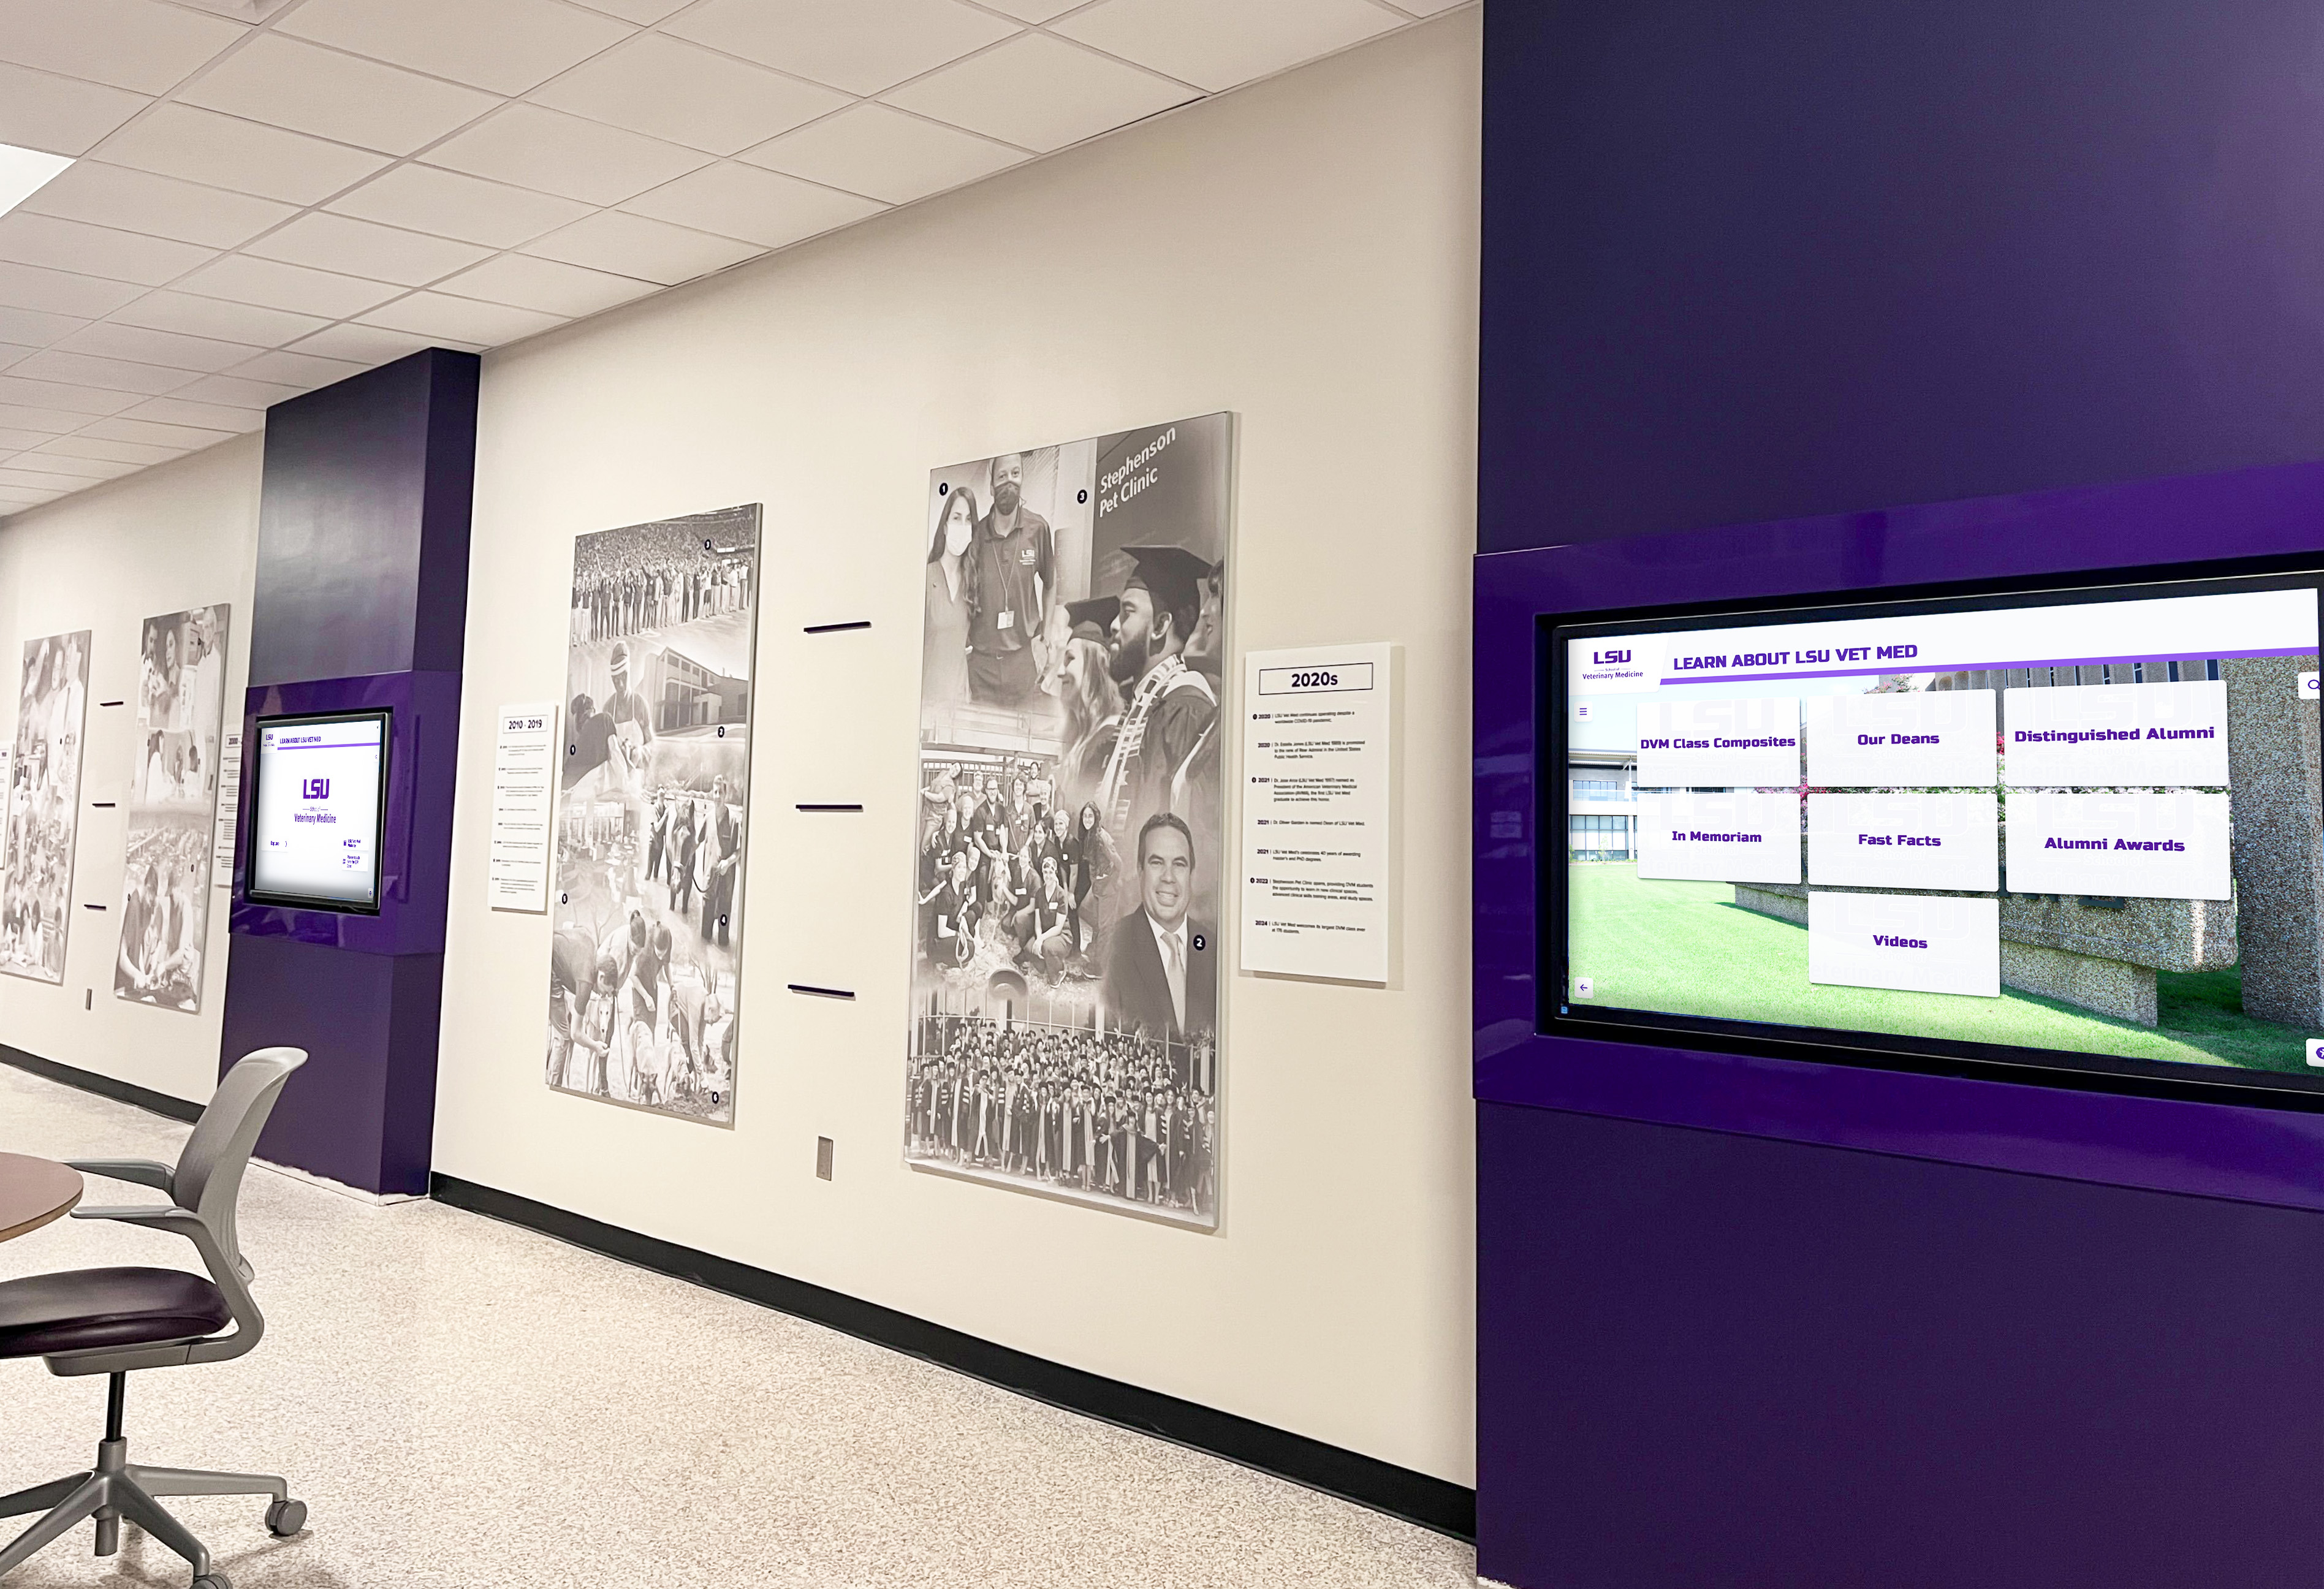
Hallway recognition displays loop historic game footage in front of students, families, and visitors every day — chroma noise in uncorrected files appears as colored speckle over uniforms, floors, and logos at every scale from lobby kiosk to full-wall projection
What Chroma Noise Is and Why Athletic Archives Are Vulnerable
Video noise has two distinct channels: luma noise and chroma noise. Luma noise is random variation in brightness — the gray grain visible in underexposed film or poorly-lit video. Chroma noise is random variation in color: magenta-green speckle, shifting hue patches, and crawling color grain that appears over areas that should be a single solid color. The two are related — both worsen in low light and on degraded tape — but they respond differently to correction tools and are perceived very differently by viewers.
Chroma noise is more visually objectionable than luma noise for two reasons. First, the human visual system is highly sensitive to unexpected color variation against a stable surface — a speckle of magenta over a blue uniform immediately reads as “wrong” in a way that gray grain over the same surface does not. Second, luma noise can read as texture; chroma noise cannot. A gymnasium hardwood floor that shows luma grain may look like a highly textured surface. The same floor covered in crawling magenta-and-green speckle looks like a signal artifact, not an honest record.
Why school athletic archives are particularly vulnerable:
VHS and Hi8 chroma bandwidth limitations. VHS records luminance at approximately 3 MHz bandwidth and chrominance at approximately 0.4–0.5 MHz — roughly one-eighth the resolution. This compressed chroma channel has an inherently lower signal-to-noise floor than the luma channel, meaning even a well-maintained VHS tape in good playback conditions produces color information that is noisier than the brightness information beside it.
Low-light athletic conditions. Indoor gym lighting of the 1980s and 1990s was substantially dimmer than modern LED athletic lighting. At low light, camcorder circuits increase gain (amplify the signal electronically), which amplifies noise alongside the image signal. Gain-induced chroma noise is particularly severe because the chroma channels are already at narrower bandwidth.
Tape oxide shed and binder breakdown. As magnetic tape ages, the binder holding iron oxide particles to the polyester base softens and sheds. Shed oxide causes random dropouts and signal variations that appear most prominently in the chroma channels — the first visible sign of tape degradation is often not dropouts in the picture but rather increased color grain in shadow areas and uniform surfaces.
Consumer capture hardware. USB capture cards under $200 — the most common tool for one-off VHS digitization in school settings — frequently apply no chroma noise processing. They pass the raw demodulated signal directly to the MPEG or H.264 encoder, which then compresses a noisy signal rather than a clean one. Compression makes chroma noise substantially harder to remove afterward.
Mixed playback deck conditions. Playing a tape on a different deck model than the one that recorded it introduces additional playback noise, including chroma noise from head-to-tape contact variations and electrical mismatch.
Chroma Noise Susceptibility by Source Format
| Source Format | Era in School Archives | Chroma Noise Risk | Primary Visual Symptom | Correction Priority |
|---|---|---|---|---|
| VHS (standard play, SP) | 1980s–2005 | High | Magenta-green speckle on floors and jerseys; crawling grain in shadows | High — address at capture and in post |
| VHS (extended play, EP/SLP) | 1980s–2005 | Very high | Same as SP but significantly amplified due to lower recording density | Very high — hardware TBC + software NR both required |
| S-VHS | 1987–2005 | Moderate–high | Higher luma resolution makes chroma noise more visible by contrast | High — luma is clean; color noise stands out sharply |
| Hi8 / Video8 | 1989–2005 | High | Color smear in low-light sequences; floating hue patches on skin and uniform | High |
| Betamax / Beta Hi-Fi | 1975–1988 | Moderate | Subtle color noise on shadowed areas | Moderate |
| 3/4" U-matic | 1970s–1990s | Moderate | Broadcast-grade format; noise more controlled but present in degraded tapes | Moderate |
| Betacam SP | 1986–2000s | Low | Component recording format separates Y and C — lower inherent chroma noise | Low — apply lightly if present |
| MiniDV / Digital8 | 1995–2010 | Very low | Digital format; chroma noise mechanism does not apply | None — digital NR for compression artifacts only, if needed |
| HDV / AVCHD / DSLR | 2003–present | None | All-digital recording; chroma noise not applicable | Not applicable |
The clear dividing line is the shift from composite analog recording to component or digital formats. Any format that encoded chroma as a modulated subcarrier mixed into a composite signal — VHS, Hi8, Betamax, U-matic — is susceptible. The specific risk level within that group depends on tape age, recording conditions, playback deck condition, and capture hardware quality.
For most school athletic archives, the chroma noise reduction workflow applies almost entirely to VHS and Hi8 footage: the formats that cover game video from approximately 1980 through the mid-2000s, spanning exactly the decades when most programs built the athletic records now being recognized on hall-of-fame displays and digital yearbook platforms.
Step 1: Identify Chroma Noise in Existing Footage
The first step is determining which files in the archive actually show chroma noise that warrants correction. Not every VHS capture will require the full workflow — a capture performed with quality hardware in good conditions may produce acceptably clean color. Visual triage is the primary identification method.
What to look for during playback review:
Open each candidate file in a full-screen video player — VLC Media Player on Windows or macOS — and examine the following frame types:
- Gymnasium floor sequences. Hardwood courts are large uniform-color surfaces. Pause on a wide shot of the court during play stoppage. If the floor shows crawling magenta-green speckle rather than consistent wood-tone color, chroma noise is present.
- Solid-color jersey areas. Pause on a medium shot of a player. Look at the large fabric areas between lettering and numerals. Speckle patterns that shift frame-by-frame over what should be a uniform team color indicate chroma noise.
- Shadow areas. Seek to sequences under stadium overhangs, on the dark underside of uniform sleeves, or in low-light crowd areas. Chroma noise is typically most severe in low-luminance areas.
- Painted court or field markings. The large paint areas of a basketball lane or football end zone should appear as consistent saturated color. If they show hue variation that crawls between frames, chroma noise is present.
- Night game or dimly lit indoor footage. Any sequence where the camera was clearly operating at high gain (visible grain throughout the image) will also carry amplified chroma noise.
How to confirm chroma noise vs. luma noise:
Pause on a noisy frame and look carefully at the grain. If the grain has color — particularly if you see complementary-color pairs like magenta-and-green or orange-and-cyan within the speckle — it is chroma noise. Gray-toned grain without obvious coloration is luma noise. Many degraded VHS captures show both simultaneously; the correction workflow addresses them separately, with different strength settings for the two channels.
Logging the results:
Record each file that shows visible chroma noise, the severity level (light / moderate / heavy), and the sequences most affected (low-light, shadow, or all). This log informs which correction strategy to apply and what filter strengths to use. Consistent documentation before correction begins makes before/after validation straightforward. A well-maintained award winner database for your program applies the same principle to recognition records: accurate upstream cataloging determines the quality of everything downstream.
Step 2: Choose the Correct Reduction Strategy
Chroma noise reduction can be applied at two stages of the workflow: at the point of capture (hardware-level) and in post-production (software-level). These approaches are complementary, not alternatives.
Hardware correction at capture is always preferable for new digitization work and for re-digitizing previously captured tapes. A quality time base corrector (TBC) with a processing amplifier stabilizes the analog signal before the digitizer sees it, reducing chroma noise at the source rather than trying to remove it from an already-encoded file.
Software correction in post-production is the primary path for chroma noise already present in existing archive files and is also applied as a second stage after hardware capture to address residual noise. It is more flexible and more powerful than hardware correction alone for severe cases.
The two-stage approach — hardware correction during digitization, software reduction in post — produces the cleanest results for heavily degraded VHS footage. For previously captured files where re-digitization is not practical, software-only correction is the fallback.
| Noise Level | Recommended Approach | Notes |
|---|---|---|
| Light (barely visible on uniform surfaces) | Software NR only — conservative settings | Capture hardware may already be adequate; verify before re-digitizing |
| Moderate (clearly visible speckle on solid areas) | Software NR — standard settings | If re-digitizing, add TBC to capture chain for best results |
| Heavy (continuous crawling grain; colors shift noticeably frame-to-frame) | Hardware TBC + software NR | Both stages required; hardware correction first, then software pass |
| Severe (extreme noise; low-light sequences nearly unreadable) | Hardware TBC + proc amp + software NR at maximum | Accept that some loss of color fidelity is unavoidable; prioritize detail preservation over perfect color accuracy |
Step 3: Hardware-Level Chroma Noise Reduction at Capture
If your institution is still digitizing tapes — or if the budget allows re-digitizing previously captured tapes — the capture hardware setup determines how much chroma noise enters the archive.
Time base correctors with proc amp controls. A standalone TBC stabilizes horizontal sync and provides processing amplifier controls including chroma gain adjustment. For noisy VHS footage, reducing chroma gain slightly (typically 80–90% of the nominal value) reduces the amplitude of chroma noise without eliminating legitimate color information. Setting chroma gain below roughly 75% of nominal begins to desaturate colors visibly; keep adjustments conservative and calibrate against a known color reference.
Recommended TBC models for school archive use include the Datavideo TBC-1000 and the Honestech HDVS-200 series for budget-constrained settings; for higher-volume or professional-grade work, the DataVideo TBC-1000 paired with an S-Video or component pass-through captures cleanly. Frame synchronizers with chroma noise reduction built in — found on some Snell & Wilcox, Miranda, and For-A units — are effective for collections with a significant budget but are rarely cost-justified for school programs.
Capture card selection. A capture card with a good signal-to-noise ratio (specified as dB in the product documentation) introduces less noise from its own electronics. Cards based on the Blackmagic Intensity family, Canopus ADVC-110, or Magewell USB Capture HDMI all perform well. Avoid no-name USB capture sticks for archival work — even clean tape played through an inexpensive capture card produces measurably noisier output.
Playback deck condition. Clean and demagnetize playback deck heads before each digitization session. A dirty head introduces additional high-frequency noise that amplifies chroma grain. Never clean tape heads with a dry cloth — use isopropyl alcohol at 99% concentration on a lint-free swab, applied with the transport stopped, and allow two minutes of drying time before playing a tape.
Step 4: Software Chroma Noise Reduction in Post-Production
For existing archive files and as a second stage after hardware capture, software noise reduction is the primary tool for chroma noise correction. Three approaches are practical in a school archive context.
Option A: FFmpeg with HQDn3D Filter (Free, Command-Line)
FFmpeg’s hqdn3d filter applies high-quality 3D denoising separately to luma and chroma channels. Setting luma parameters to zero (or very low) while applying meaningful chroma reduction preserves image sharpness and documentary character while eliminating color speckle.
Basic command for chroma noise reduction:
ffmpeg -i input_file.mp4 -vf hqdn3d=luma_spatial:luma_temporal:chroma_spatial:chroma_temporal output_corrected.mp4
Recommended starting parameters by noise level:
Light noise:    hqdn3d=0:0:2:3
Moderate noise: hqdn3d=0:0:4:6
Heavy noise:    hqdn3d=0:0:6:9
In these settings, the first two values (luma spatial and luma temporal) are set to zero to leave brightness detail untouched. The third value (chroma spatial) reduces same-frame color speckle; the fourth value (chroma temporal) reduces noise across adjacent frames — which is typically more effective than spatial reduction alone because chroma noise is highly frame-variable.
A complete batch command for a directory of files (macOS/Linux):
for f in *.mp4; do
  ffmpeg -i "$f" -vf hqdn3d=0:0:4:6 -c:v libx264 -crf 18 -preset slow -c:a copy "corrected_${f}"
done
Use -crf 18 for high-quality output suitable for archive masters. Do not use values above 23 (higher = lower quality) for archive files.
Option B: Neat Video Plug-In (Commercial, NLE-Based)
Neat Video is a commercial noise reduction plug-in available for DaVinci Resolve, Adobe Premiere, Final Cut Pro, and Vegas Pro. It builds a noise profile from a sample of the footage and applies adaptive reduction that varies by local luminance and texture, making it particularly effective for chroma noise in mixed-light athletic footage.
Workflow:
- Import the file into your NLE.
- Apply the Neat Video plug-in to the clip.
- In the Neat Video panel, click Build Auto Profile over a frame that shows heavy noise on a uniform surface (gymnasium floor or solid-color jersey area).
- In the Noise Filter Settings tab, set Chroma Noise reduction strength to 60–80% and Luma Noise to 10–20% (or lower). Keeping luma reduction minimal preserves the documentary texture of the footage.
- Render a 30-second test segment and review before processing the full file.
Option C: DaVinci Resolve Temporal Noise Reduction (Free Version Available)
DaVinci Resolve’s Temporal NR in the Color page is effective for chroma noise when used conservatively. The free version is sufficient for most school archive workflows.
Steps:
- Import the clip into a Resolve timeline.
- In the Color page, open Motion Effects (the blur/NR panel).
- Under Temporal NR, set Chroma strength to 10–20 on the default 0–100 scale and Luma to 0–5.
- Raise Frames to 3 (uses adjacent frames for temporal smoothing — effective for frame-variable chroma noise).
- Render via Deliver at the highest available quality setting. For archive masters, use DNxHD 185 or Apple ProRes 422 HQ as the output codec.
Step 5: Validate Corrected Files
Validation is not optional. Software chroma noise reduction applied too aggressively erases fine color detail that is part of the legitimate image — skin tone variation, the subtle gradient of a painted surface, or the individual thread texture of a woven team logo. Over-processing makes footage look digitally plastic rather than naturally corrected.
Validation checklist:
- Pause on uniform surfaces. The gymnasium floor or a large jersey area should appear as a consistent, stable color with no crawling speckle. If noise is completely eliminated but the surface now shows slight blurring of any underlying texture, the strength is acceptable for archival purposes.
- Check high-contrast edges. Jersey numerals and court line markings should remain sharp. If edges appear soft or color bleeds slightly across the boundary, reduce chroma spatial strength.
- Compare skin tones. Athletes’ faces and arms should retain individual skin tone variation — different people have different complexions. If skin tones resolve to a single, even color regardless of individual variation, the temporal NR strength is too high; reduce it.
- Play through a full sequence. Temporal noise reduction can introduce a slight “watercolor” smearing effect on fast-moving objects when set too high. Play through a sequence with rapid athlete movement and verify that jersey numerals and limbs do not trail color artifacts during motion.
- Compare to uncorrected source. Keep the original capture file and compare a short test segment before submitting the corrected file as the archive master. If the corrected version looks demonstrably cleaner on uniform surfaces without losing edge sharpness, the correction is appropriate.
| Validation Check | Correct Result | Over-Correction Sign | Under-Correction Sign |
|---|---|---|---|
| Gymnasium floor in wide shot | Uniform warm wood tone; no color speckle | Flat even color; slight blurring of floor seams | Visible magenta-green crawling grain |
| Solid jersey fabric between letters | Consistent team color; no frame-to-frame variation | Team color appears posterized or plastic | Color speckle still shifting frame-to-frame |
| Shadow areas under bleachers | Darker version of scene color; controlled texture | Black or near-black without surface variation | Severe crawling hue variation |
| Athlete faces — medium close-up | Individual skin tone; natural variation retained | All faces resolve to same flat complexion | Obvious color speckle over skin |
| Fast-moving jersey numeral | Sharp numeral; no color trailing at edges | Color smear or halo around numeral during motion | Speckle visible around numeral |
| Court line markings paused | Clean, consistent line color | Slightly blurred line edge | Color noise on the painted area adjacent to line |
For collections that feed a school recognition display system, corrected files should also be tested at the actual playback resolution and display size before declaring them ready for archive ingest. A file that looks acceptable in a preview window can reveal residual noise at the scale of a 55-inch lobby kiosk.
Step 6: Set Intake Standards for New Acquisitions
Every tape that enters the digitization workflow in the future should be captured under standards that minimize chroma noise from the start. Defining these standards now prevents the correction backlog from growing.
Minimum intake standards for new VHS and Hi8 digitization:
- Capture hardware must have a documented signal-to-noise specification of at least 48 dB for chroma channels. This eliminates the cheapest USB capture sticks from archival use.
- Every tape must be captured through a functional TBC. A TBC is not optional for VHS; tape transport irregularities on 30-year-old tapes produce chroma noise that cannot be corrected in post to the same quality level as hardware correction at source.
- Playback deck heads must be cleaned before each capture session and logged in the session record.
- Capture files must be reviewed for chroma noise within 48 hours of digitization. Any file showing heavy chroma noise triggers a re-capture review — evaluating whether re-digitizing the tape with adjusted settings is preferable to software correction.
Applying these standards consistently means that only tapes with inherent tape-level degradation — old oxide shed, severe binder breakdown — will require software chroma noise correction. The correction workflow becomes an exception process rather than a routine step for every file.
For institutions managing larger volumes of digitized footage, the same data quality principles that govern athletic award records — consistent standards, documented intake criteria, and periodic audit — apply directly to the video archive: clean data at entry produces far better long-term results than cleaning data after the fact.
Chroma Noise Reduction Settings Reference
| Tool | Chroma Spatial | Chroma Temporal | Luma Settings | Notes |
|---|---|---|---|---|
| FFmpeg hqdn3d — light | 2 | 3 | 0, 0 | Use for captures that look mostly clean but show slight color grain in shadows |
| FFmpeg hqdn3d — moderate | 4 | 6 | 0, 0 | Standard starting point for typical VHS captures from the 1980s–1990s |
| FFmpeg hqdn3d — heavy | 6 | 9 | 0, 0 | For EP/SLP tapes, severely degraded binders, or very low-light source footage |
| FFmpeg hqdn3d — maximum | 8 | 12 | 1, 2 | Last resort for extreme cases; apply minimum luma to mask grain at this chroma strength |
| Neat Video — light | Chroma 40% | — | Luma 10% | Use auto-profiling on floor or jersey; let adaptive NR modulate by local content |
| Neat Video — moderate | Chroma 65% | — | Luma 15% | Standard for typical VHS archive footage |
| Neat Video — heavy | Chroma 80% | — | Luma 20% | For severely degraded or EP tapes; validate skin tones before committing |
| DaVinci Resolve Temporal NR — light | Chroma 10, Frames 2 | — | Luma 3 | Quick pass; efficient in batch |
| DaVinci Resolve Temporal NR — moderate | Chroma 18, Frames 3 | — | Luma 5 | Standard; check motion sequences at this setting |
| DaVinci Resolve Temporal NR — heavy | Chroma 28, Frames 4 | — | Luma 8 | Validate carefully for motion smear and skin-tone posterization |
These are starting points, not fixed prescriptions. Every tape, capture workflow, and display context is different. Always validate on a representative test segment before applying settings across a batch of archive files.
From Corrected Footage to a Complete Athletic Recognition System
Chroma noise correction is a preservation step — it makes the footage accurate and displayable. The downstream question is how that corrected footage connects to the athletic recognition infrastructure that gives it context and audience.
A corrected VHS clip of a 1987 state championship basketball game is most valuable when it can be called up instantly by a student browsing a basketball hall of fame display, linked to the individual player records those athletes later accumulated, and surfaced in a digital yearbook sequence alongside photographs, game results, and program notes from the same season. Corrected video alone is an artifact; video connected to a structured recognition system is a resource that honors athletes, engages alumni, and builds the institutional memory that defines a school’s athletic identity.
Schools that have invested in correcting and archiving historic game footage benefit most when that footage is integrated with a platform designed to surface it. Lobby kiosks, digital walls, and interactive hall-of-fame installations that present corrected video alongside athlete profiles, award records, and season statistics give the preservation investment its full return. When schools evaluate recognition infrastructure, platforms that manage both the content catalog and the display layer — handling accessibility standards, exhibition controls, and update workflows — reduce the ongoing staff burden of keeping the archive accessible after the initial digitization project concludes.
The same principle applies to the data surrounding the footage. Alumni management tools that connect video archives to athlete records and contact information allow the school to notify alumni when footage featuring their playing years is added to the display — a straightforward engagement touchpoint that a static physical archive cannot provide.
If your school is building or upgrading an athletic recognition platform and wants to see how corrected archive footage, athlete profiles, and hall-of-fame content can be integrated and displayed, Rocket Alumni Solutions works with K-12 schools and universities to design and implement recognition systems scaled to the program.
Ready to see your corrected archive footage displayed in a purpose-built athletic recognition system?
Schedule a live demo with Rocket Alumni Solutions to walk through how digitized and corrected game footage integrates with athlete profiles, hall-of-fame installations, and digital yearbook platforms.
Frequently Asked Questions
Does chroma noise correction change the actual color accuracy of the footage, or just reduce grain?
It changes both, in carefully controlled ways. Removing chroma noise does reduce the random color variation that masks the “true” color underneath — so corrected footage typically reads as having more accurate, stable color than the uncorrected version. However, applying too much chroma NR also removes legitimate subtle color variation such as skin tone differences and multi-tone gradients on painted surfaces. The goal is to remove the random, frame-variable component while preserving the intentional, stable color information. Conservative settings achieve this; aggressive settings over-smooth the color and can make footage look artificial.
Should chroma noise correction happen before or after aspect ratio correction?
Chroma noise correction should happen after aspect ratio correction but before any lossy re-encode that will serve as the archive master. The sequence is: (1) capture and TBC correction, (2) aspect ratio correction using FFmpeg or equivalent, (3) chroma noise reduction, (4) final encode to archive master format. Applying noise reduction before aspect ratio correction can introduce subtle artifacts at the scaling boundary; applying it after the final re-encode forces another generation of lossy compression.
Is there a risk of over-correcting to the point that the footage no longer looks authentic?
Yes, and this is the primary risk in software chroma noise reduction. Footage that has had excessive NR applied looks smooth, plasticky, and visually inconsistent with genuine analog video — which undermines the documentary character of the archive. The validation checklist in Step 5 is designed specifically to catch over-correction before corrected files enter the archive. If a test segment looks “too clean” — if the gymnasium floor resembles a solid-color computer graphic rather than a real surface — reduce the chroma temporal strength until the natural texture returns.
Can chroma noise correction be applied to already-compressed MP4 files from a previous digitization project, or does it require the original tape?
Software chroma noise reduction can be applied to any video file regardless of container format, including existing MP4, MOV, and AVI captures from previous projects. The correction will be less effective than hardware-plus-software correction on a freshly digitized tape — compression codecs (H.264 in particular) reorganize and reduce noise during initial encode in ways that can make noise harder to separate from legitimate detail — but substantial improvement is achievable in most cases. For files that show very heavy chroma noise and were captured with a low-quality capture card, re-digitizing the original tape with better hardware will produce meaningfully better results than software-only correction of the compressed file.
Do gymnastics scoring overlays or other graphics embedded in game footage require special treatment during chroma noise correction?
Embedded text overlays — scoreboard graphics, clock displays, player identification lower-thirds — are high-contrast elements that chroma noise reduction can soften slightly at the edge. Reducing chroma spatial strength (the third HQDn3D parameter, or the Neat Video spatial control) relative to chroma temporal strength preserves edge sharpness for graphic elements. The judging criteria for complex multi-element displays that integrate multiple information streams is a reminder that accuracy in detail — whether scoring data or archive footage — depends on the underlying system preserving fine elements, not just the broad structure.
How does chroma noise correction interact with other artifact correction workflows — for example, cross-color artifact correction or chroma delay correction?
These corrections address different defects and should be applied in separate passes in a defined order. Recommended sequence for heavily degraded VHS footage: (1) TBC correction at capture to stabilize sync and chroma timing, (2) chroma delay correction to fix Y/C timing offset, (3) cross-color artifact reduction to address composite luminance-chroma interaction artifacts, (4) chroma noise reduction as the final color-cleanup step. Applying chroma NR before cross-color correction can reduce the contrast of cross-color artifacts to the point where they are still present but not visible in the test frame — and then reappear at high-contrast edges on the display. Order matters; document which corrections were applied to each file in the archive metadata.
Managing a large backlog of uncorrected VHS game footage? The most practical starting point is a triage pass: identify the ten to twenty clips most likely to appear on a hall-of-fame display or digital yearbook highlight reel, and apply the chroma noise correction workflow to those files first. A corrected highlight library with accurate color is more valuable for recognition purposes than a fully digitized but uncorrected archive where the best footage is buried in noise.































